Steam ChestsHello Gentlemen. 
Now it’s time to take care of the steam chest. This is a very important piece of the steam engine, it’s truly the heart of the steam engine.
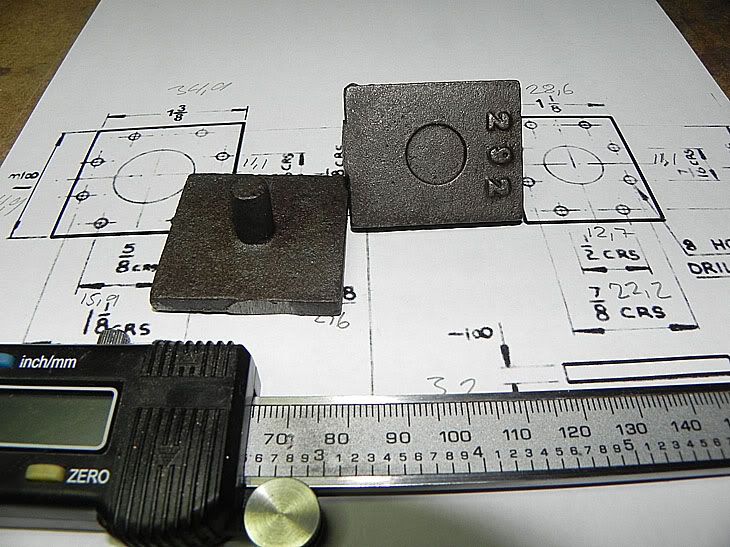
I’ll begin with the cover. The cover has a spigot on the backside so it’s very easy to set up in the lathe.
 Building Stuarts Compound Steam Engine
 Here I have set up the cover in my lathe for removing the cast skins.
 Building Stuarts Compound Steam Engine
 After that I move the cover to my mill so I can mill the side in square.
 Building Stuarts Compound Steam Engine
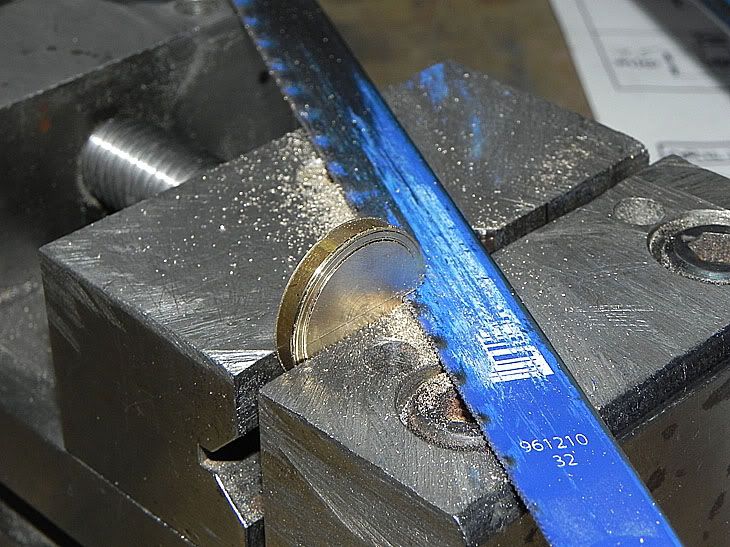
Then with a hacksaw I cut of the spigot.
 Building Stuarts Compound Steam Engine
 Then flatten the backside.
 Building Stuarts Compound Steam Engine
 Now I have to mark out for all holes…
 Building Stuarts Compound Steam Engine
… and drilled the holes and countersink the holes.
 Building Stuarts Compound Steam Engine
 I feel radar pleased with the result.
 Building Stuarts Compound Steam Engine
 I’ll continue with the steam chests.
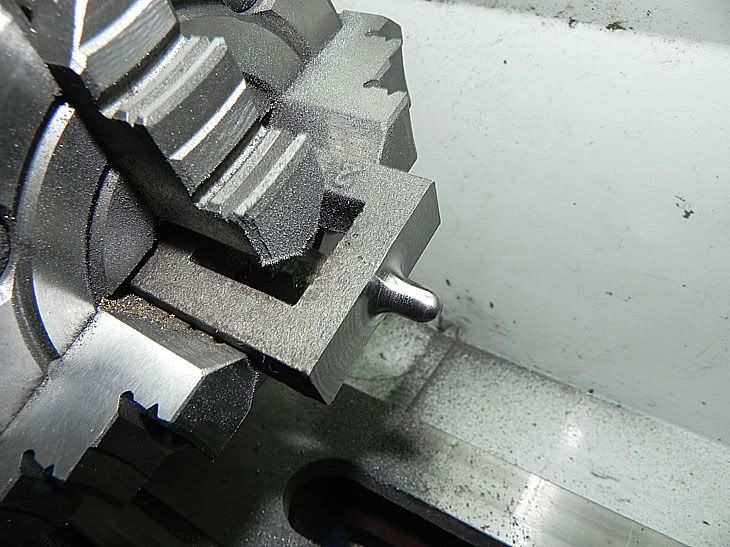
In the lathe I set up the steam chest in a four jaw chuck and took some turn on the top making the valve rod guide…
 Building Stuarts Compound Steam Engine
 … and the bottom for the packing gland.
 Building Stuarts Compound Steam Engine
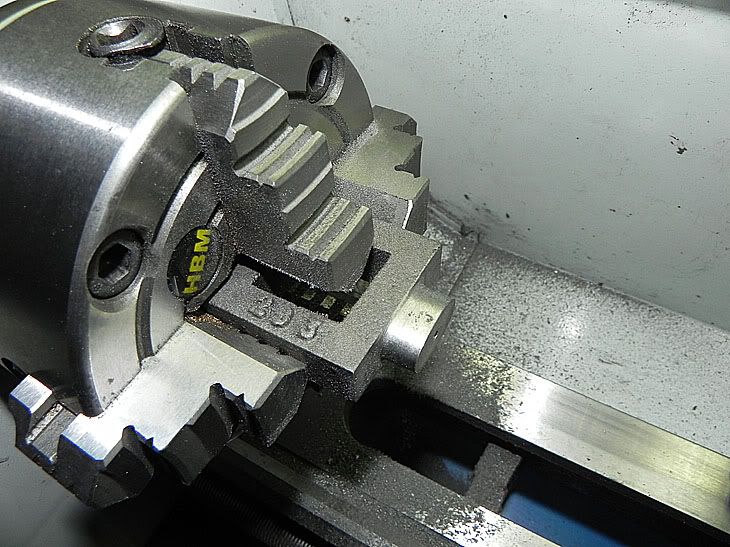
 With a good fill I smooth the packing gland.
Moving over to the mill for milling both sides to the steam chest…
 Building Stuarts Compound Steam Engine
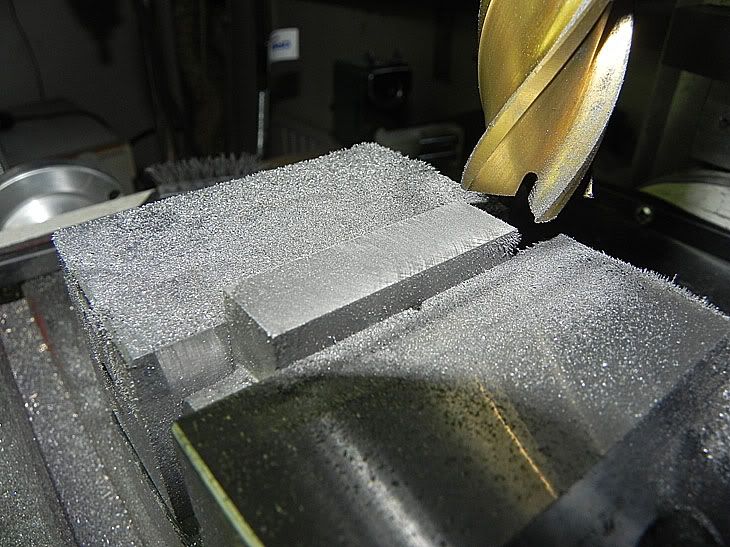
 Then I milled both sides…
 Building Stuarts Compound Steam Engine
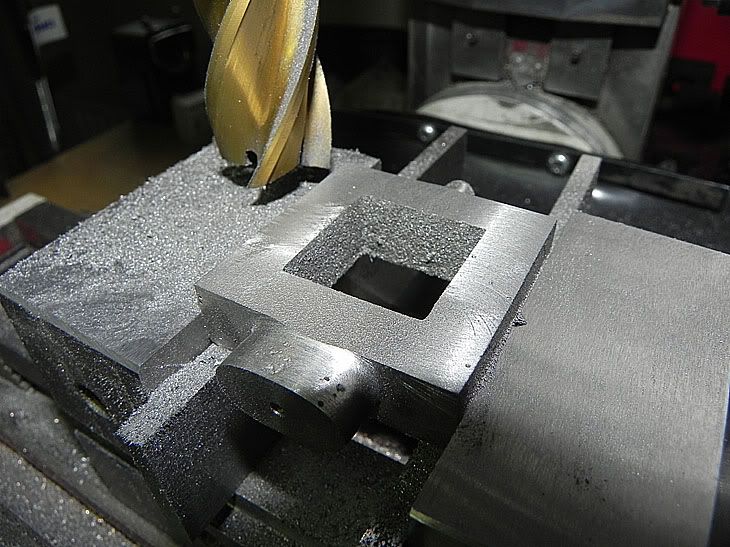
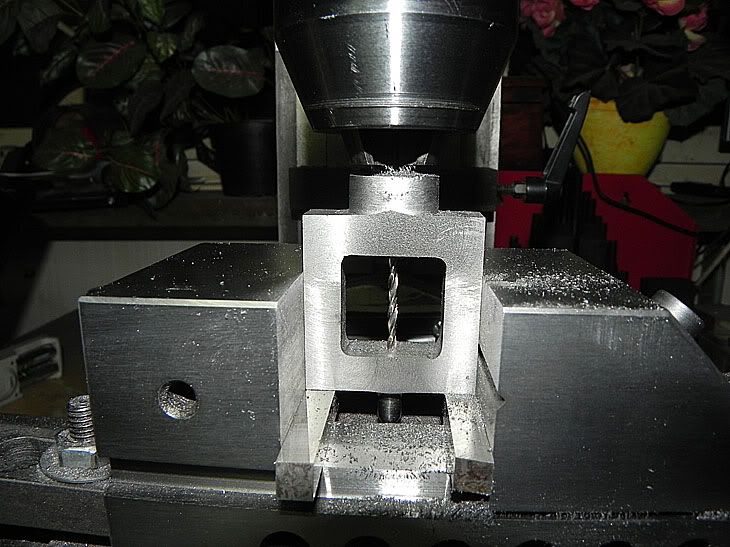
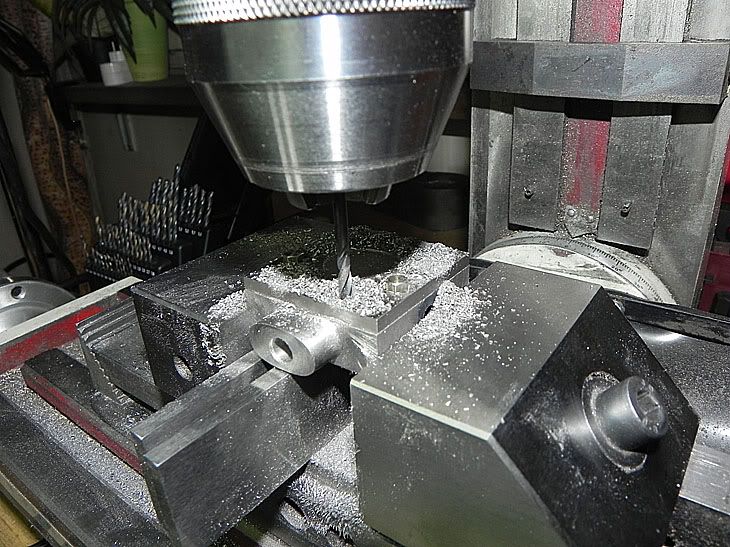
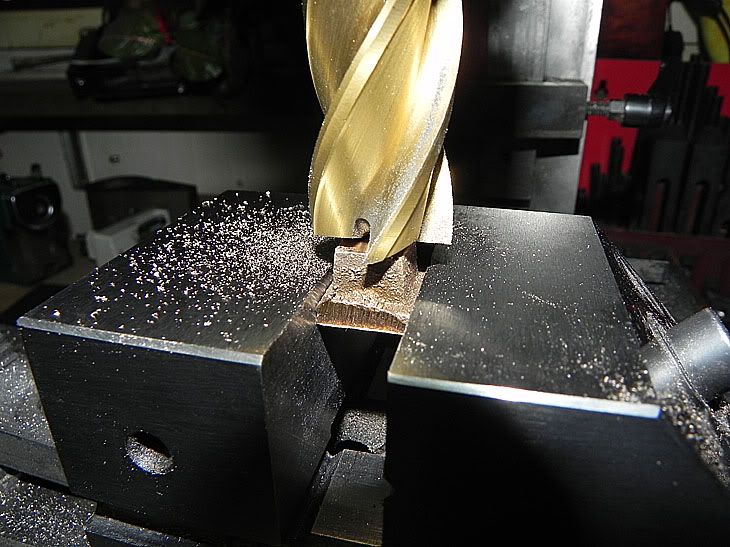
 … and the insides as well.
 Building Stuarts Compound Steam Engine
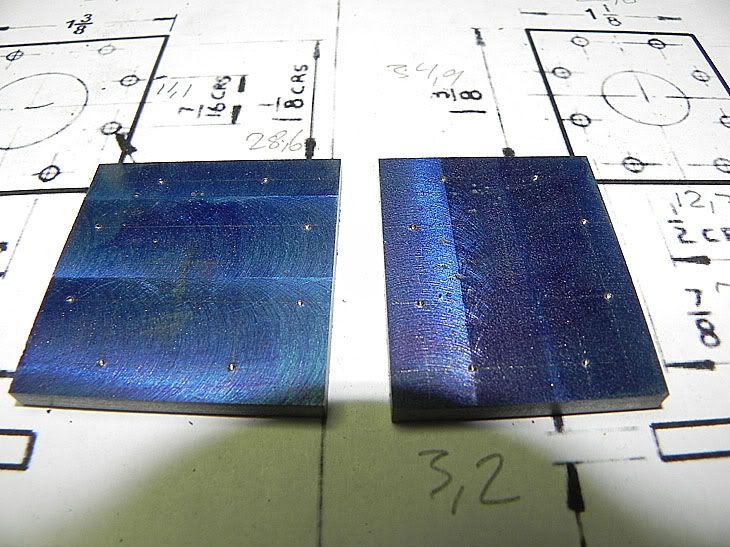
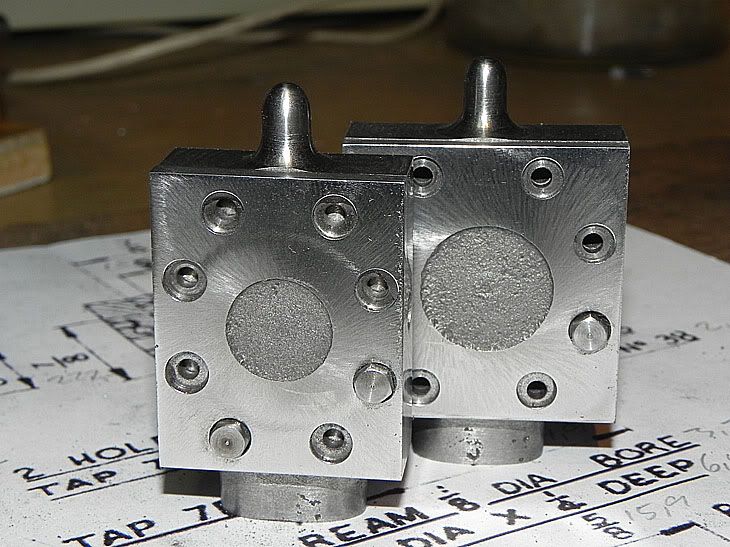
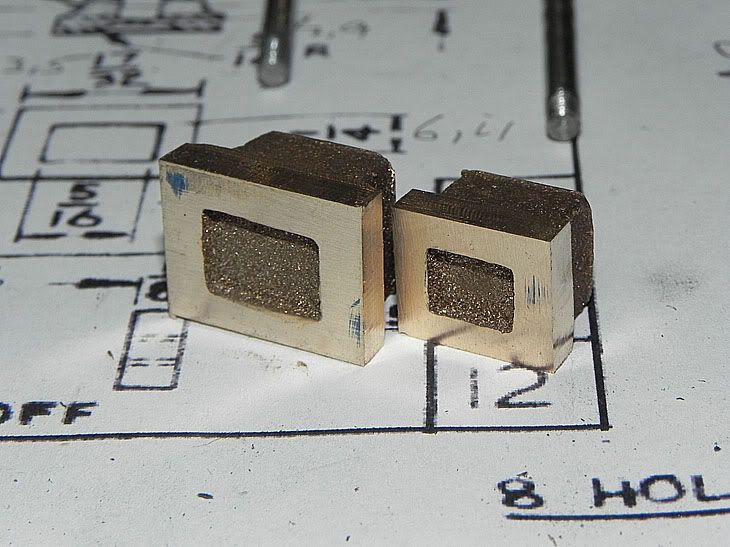
 And now I have four pieces so far.
 Building Stuarts Compound Steam Engine
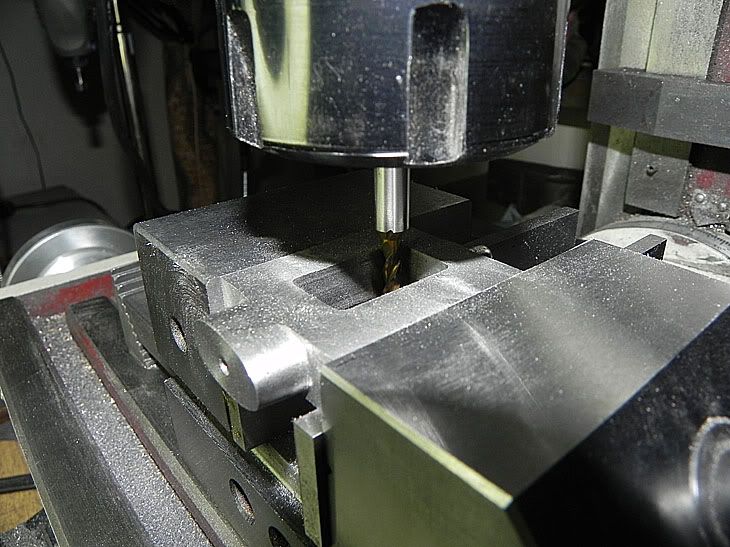
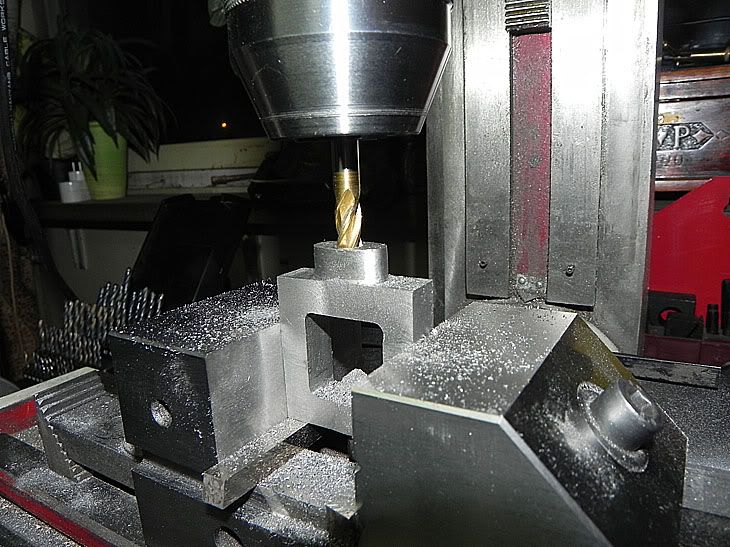
 Next, drilling the holes for the valve rod guide…
 Building Stuarts Compound Steam Engine
 …and then using an end mill for the packing gland.
 Building Stuarts Compound Steam Engine
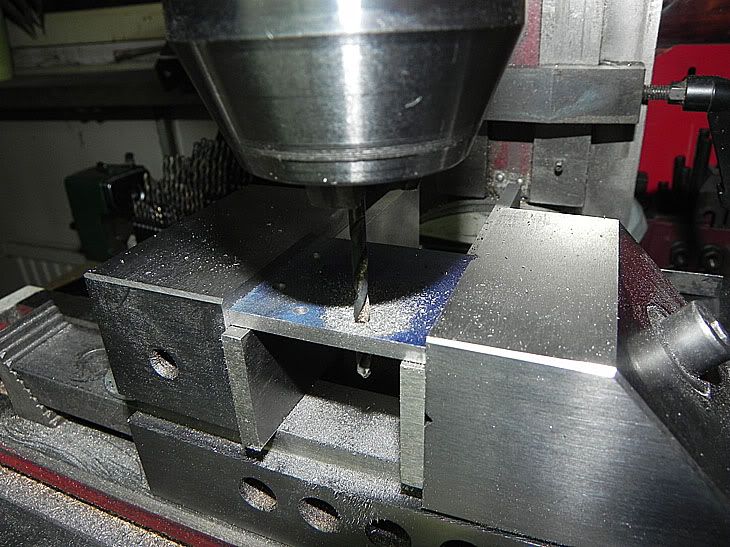
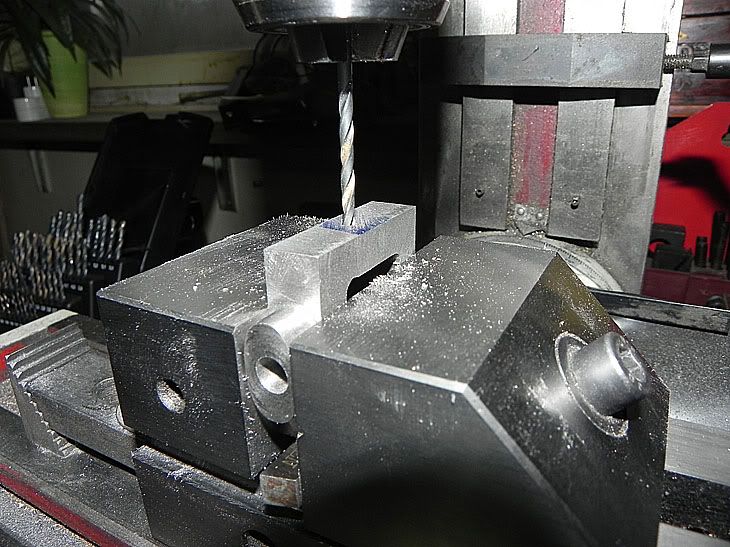
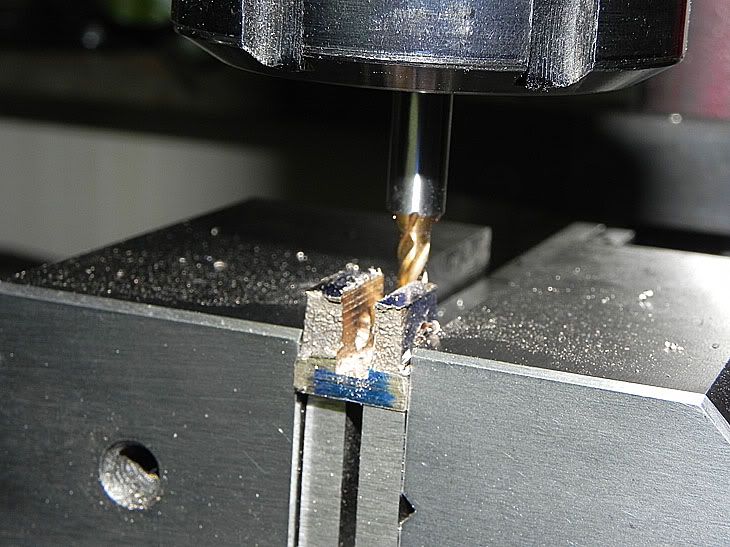
 After that I drilled the hole for the steam inlet.
 Building Stuarts Compound Steam Engine
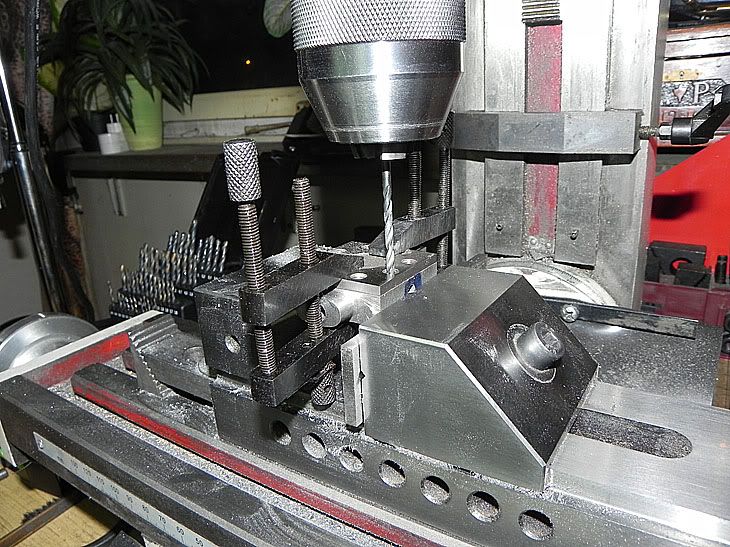
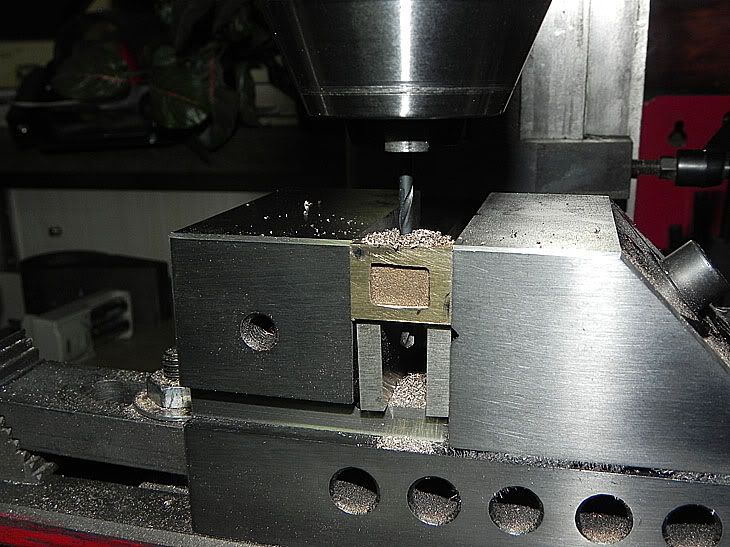
 A new setup so I could drill the hole into the steam chest.
 Building Stuarts Compound Steam Engine
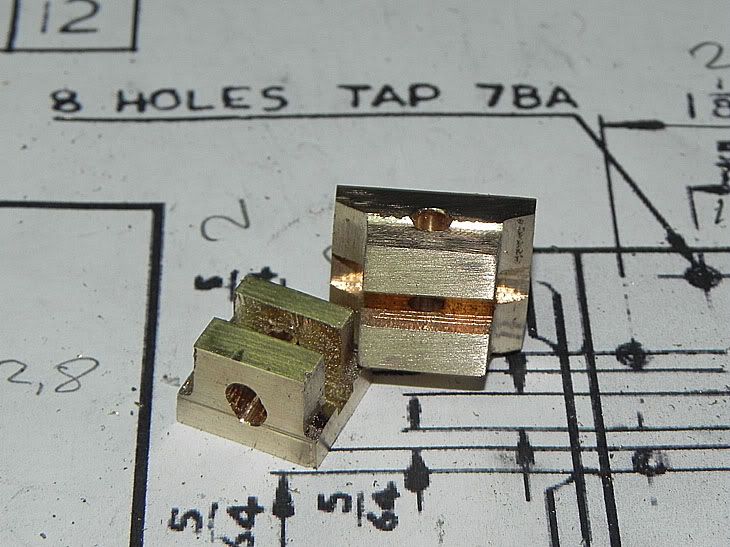
 After two holes I’ll use bolt and nuts to hold the two pieces together.
 Building Stuarts Compound Steam Engine
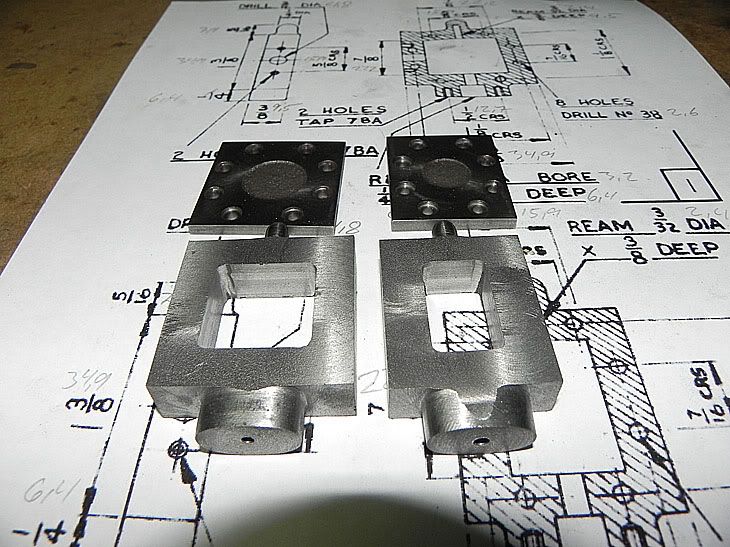
 And here we go.
 Building Stuarts Compound Steam Engine
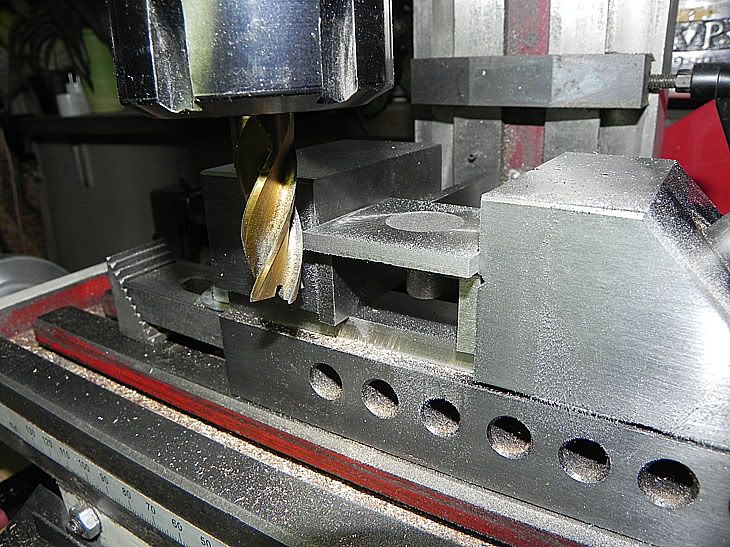
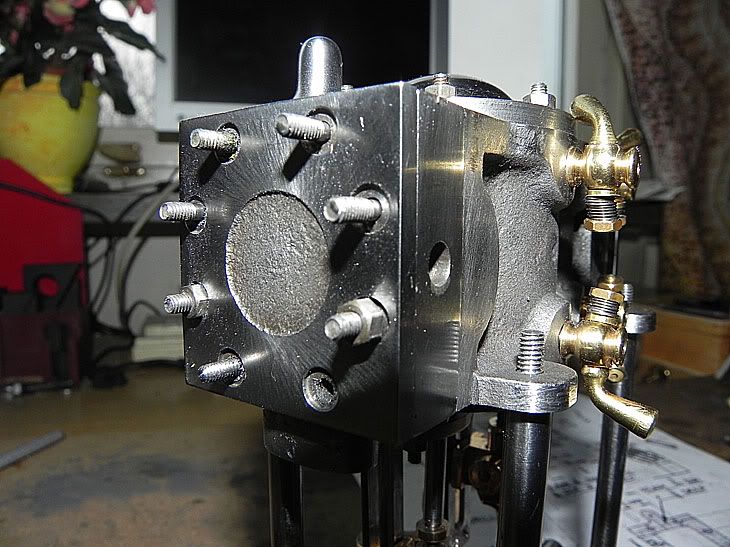
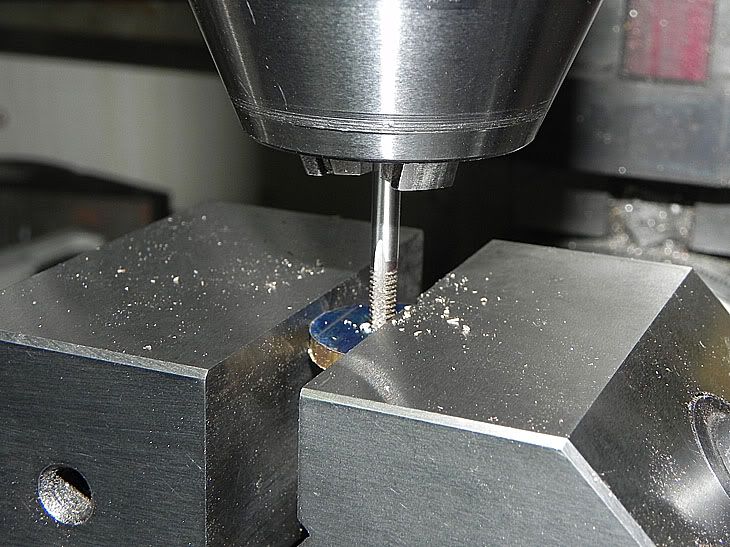
 Then, using the cover I drilled the holes in the cylinder block…
 Building Stuarts Compound Steam Engine
 …and threaded the cylinder block with help of a top hat.
 Building Stuarts Compound Steam Engine
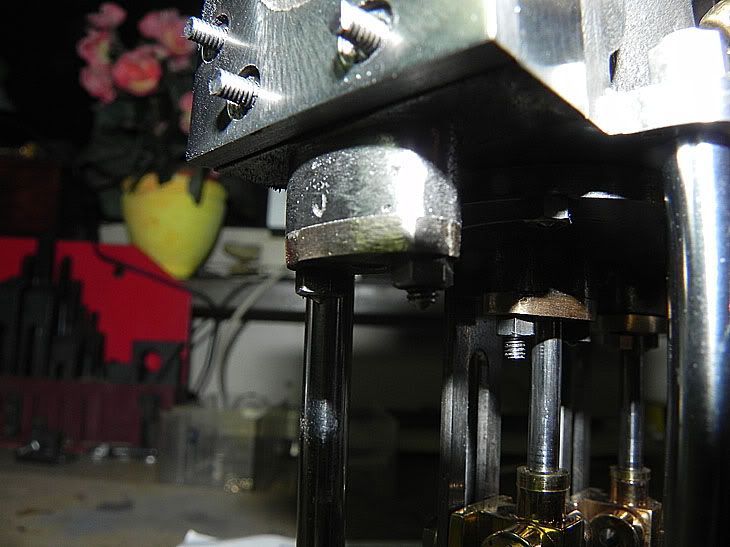
 The stem chest with the cover seams to fits very well.
 Building Stuarts Compound Steam Engine
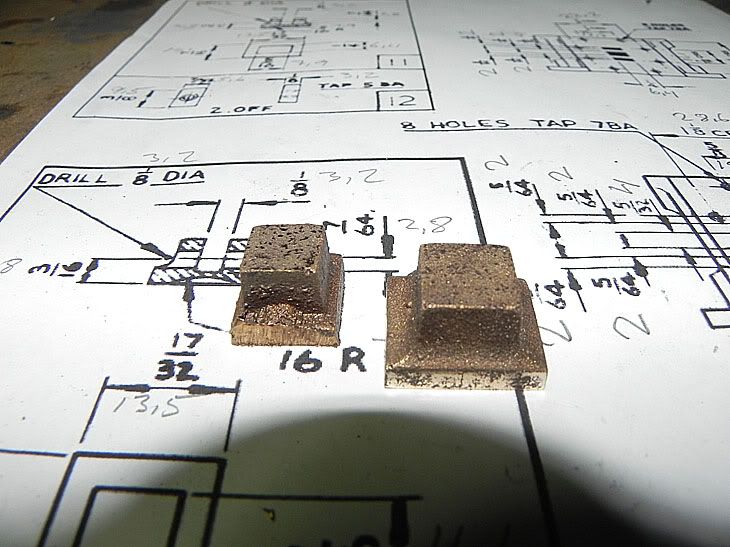
 Next, the packing glands.
 Building Stuarts Compound Steam Engine
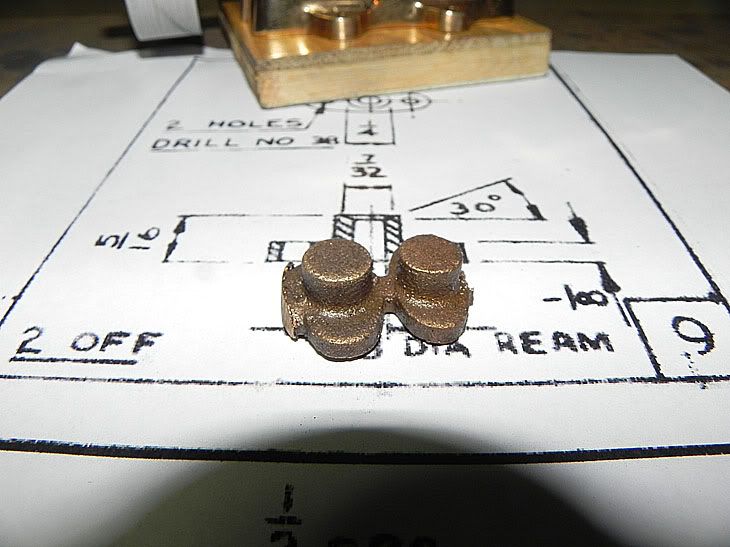
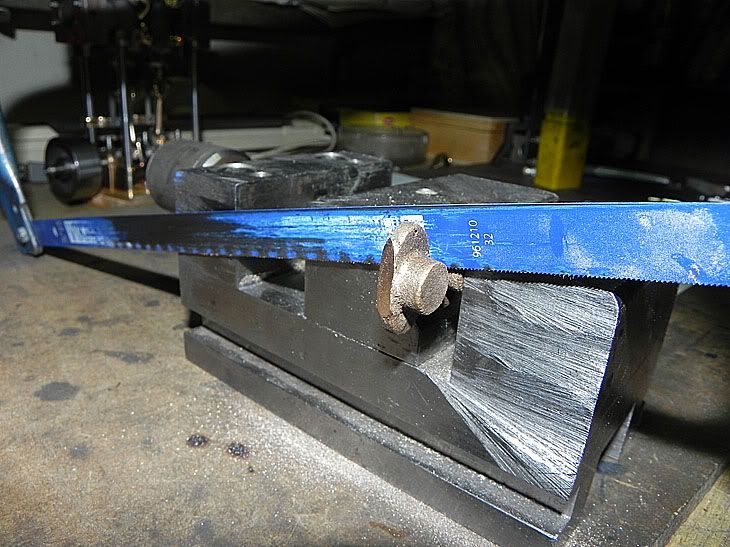
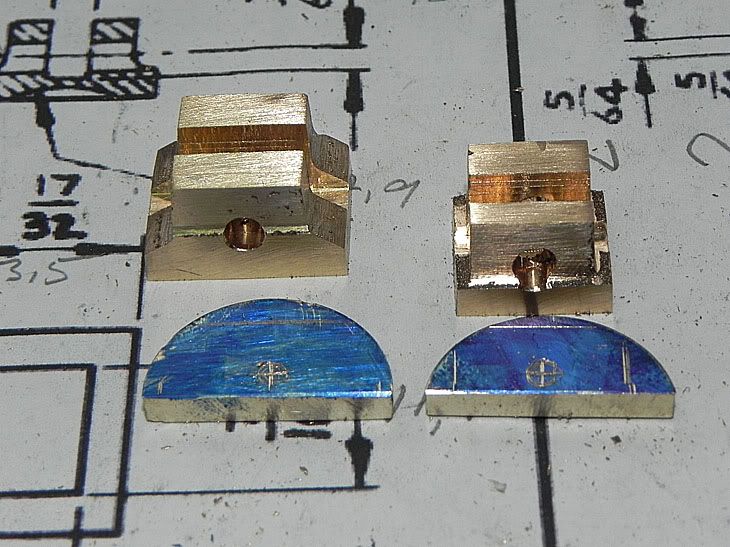
 First I have to cutting of the pieces…
 Building Stuarts Compound Steam Engine
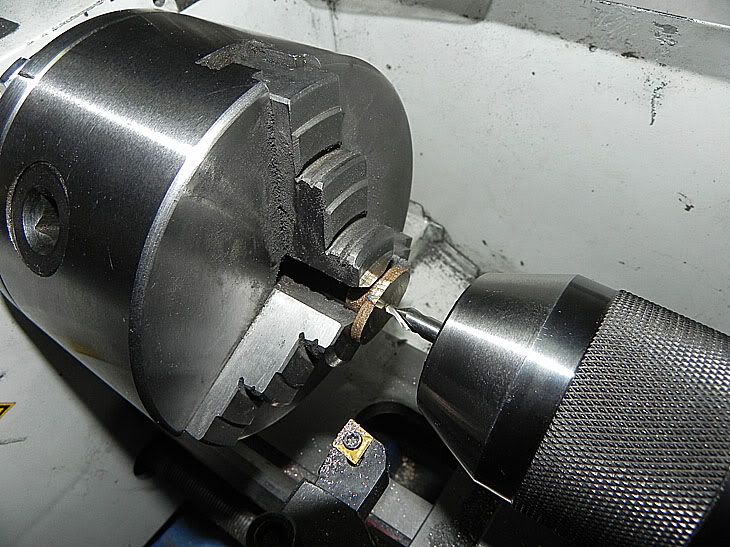
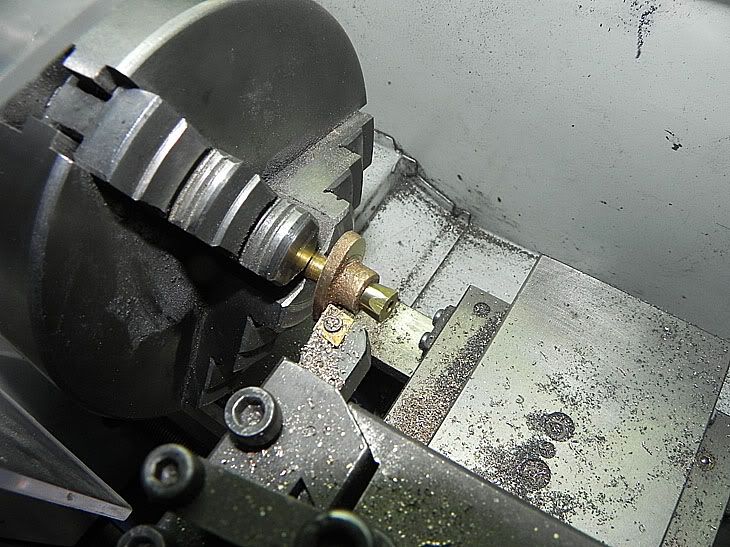
 …and the in the lathe for some turns, flatten one side and center drill /drilled a hole.
 Building Stuarts Compound Steam Engine
 Then I use a spigot so I could turn the other side.
 Building Stuarts Compound Steam Engine
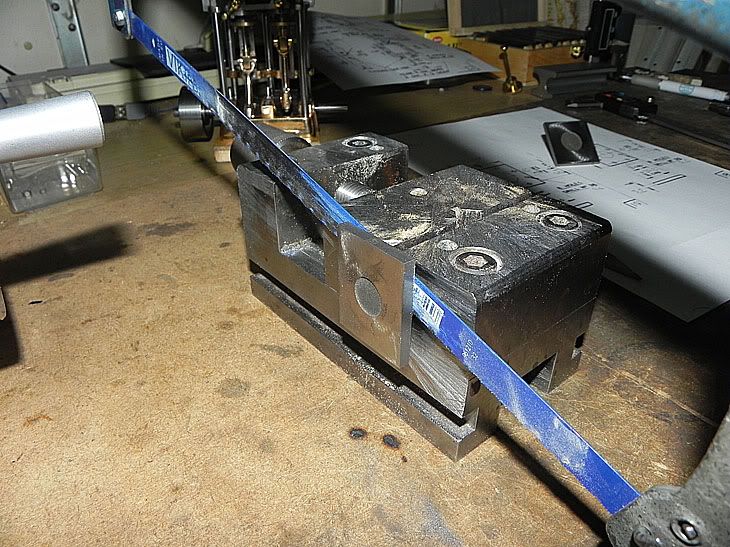
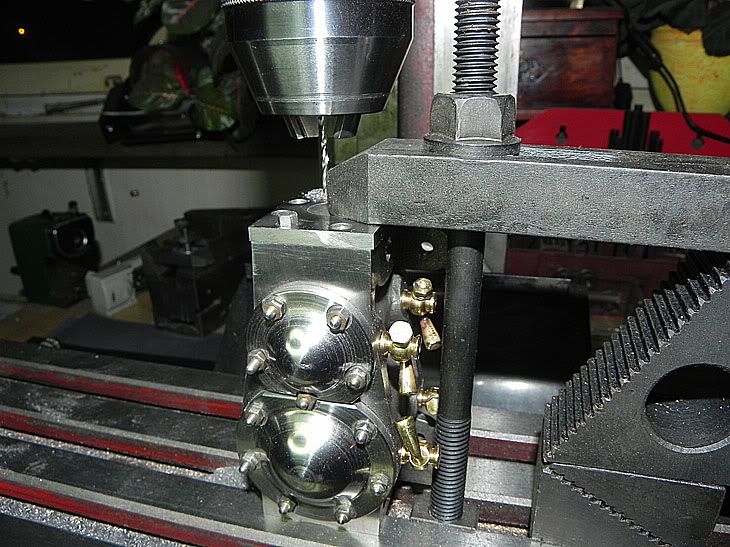
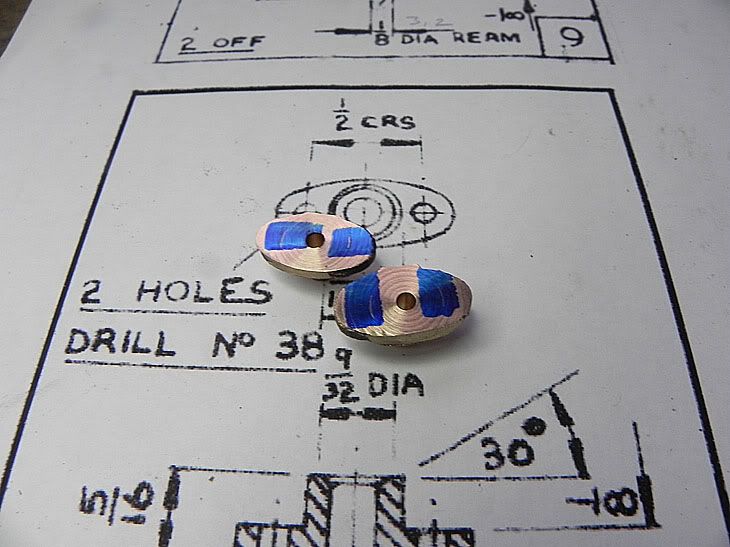
 Marking for the holes for the stud, then threaded and then drilling through …
 Building Stuarts Compound Steam Engine
 Building Stuarts Compound Steam Engine
 …and after some good work with my fill I have to check so it fits well.
 Building Stuarts Compound Steam Engine
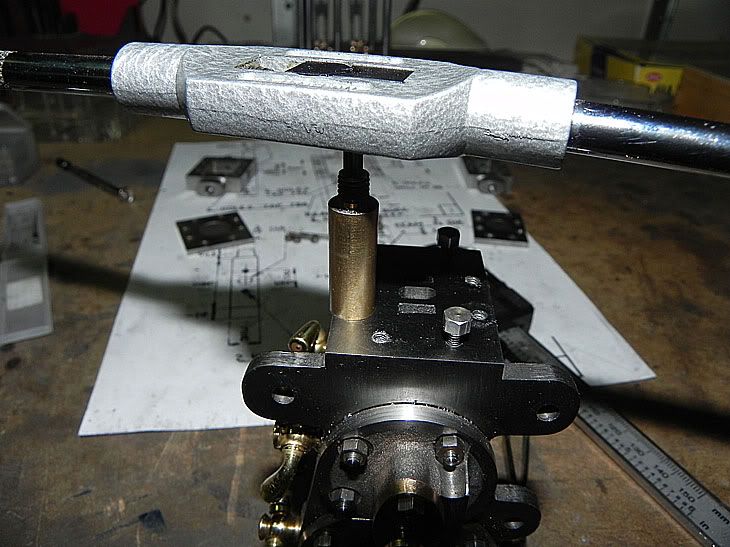
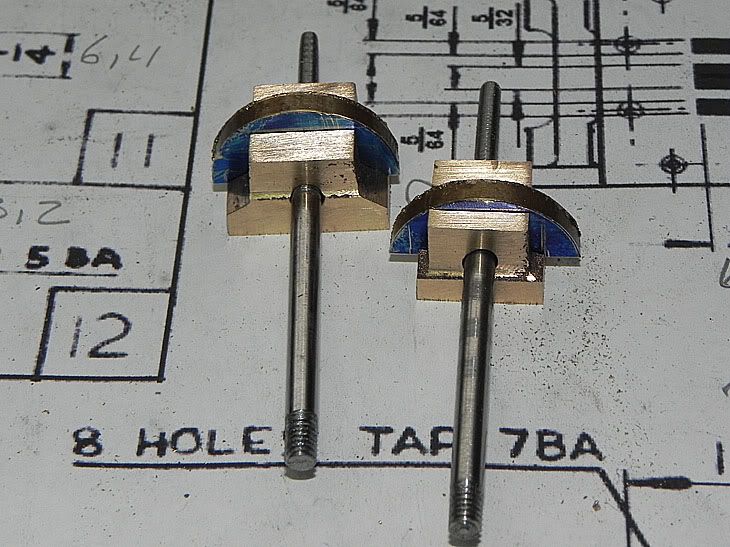
 No it’s time for the valve roads.
 Building Stuarts Compound Steam Engine
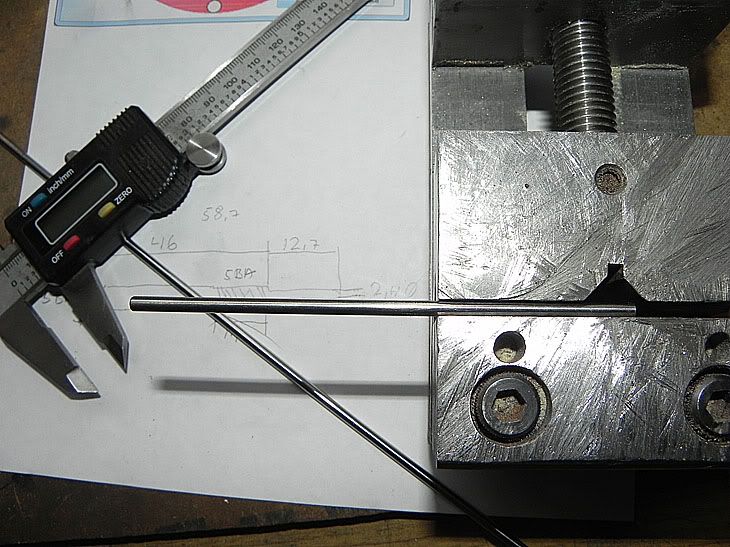
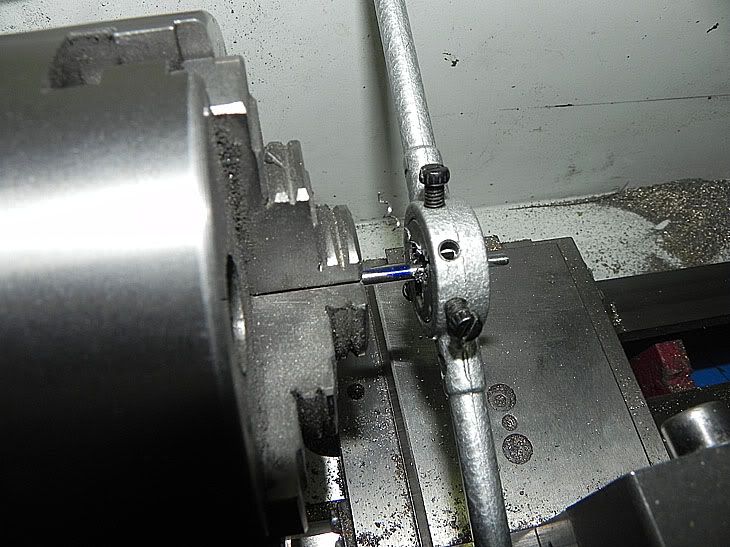
 After cutting the parts I took some turn in the lathe and threaded the valve roads …
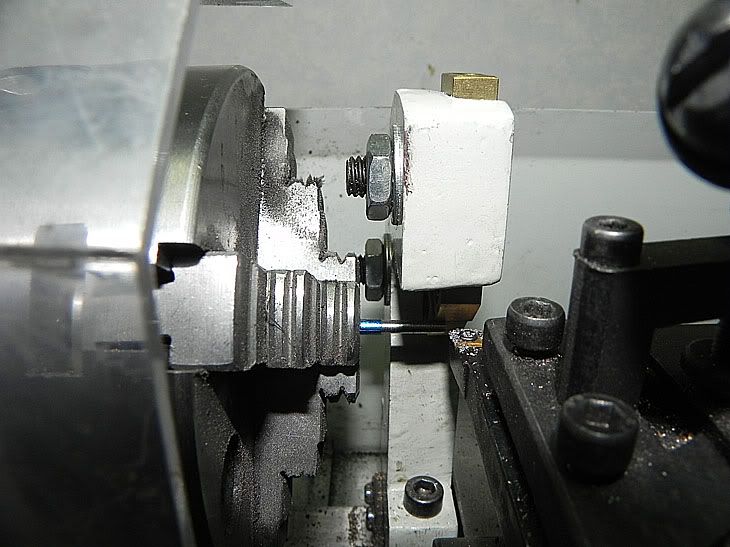 Building Stuarts Compound Steam Engine
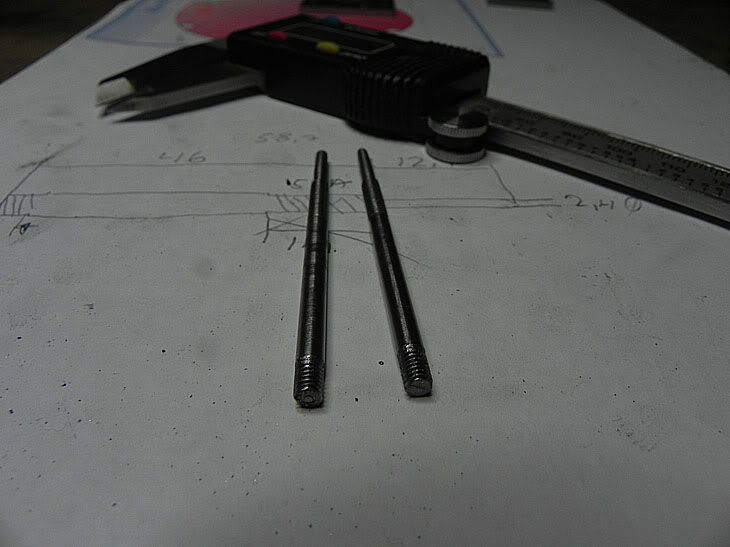
 …in both end.
 Building Stuarts Compound Steam Engine
 And now there is to more pieces to the steam chest.
 Building Stuarts Compound Steam Engine
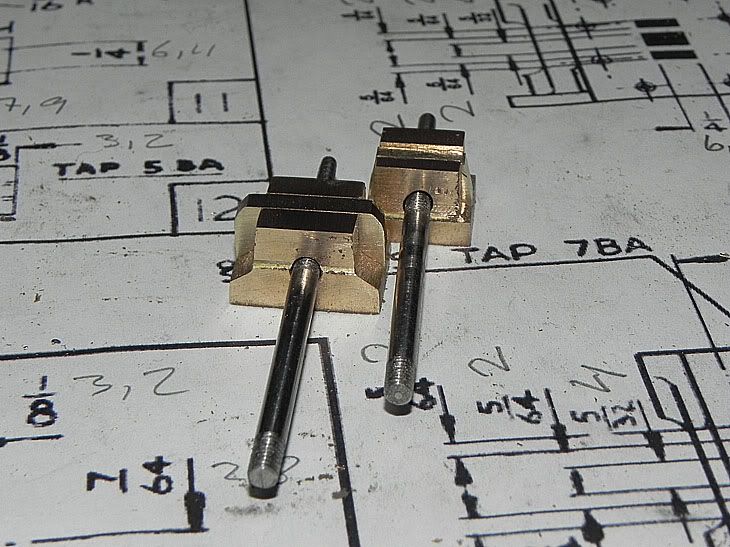
 Next, the valve.
 Building Stuarts Compound Steam Engine
 First in the mill I flatted both sides…
 Building Stuarts Compound Steam Engine
 …trying to have a smooth side on the valve.
 Building Stuarts Compound Steam Engine
 Then drilled throe …
 Building Stuarts Compound Steam Engine
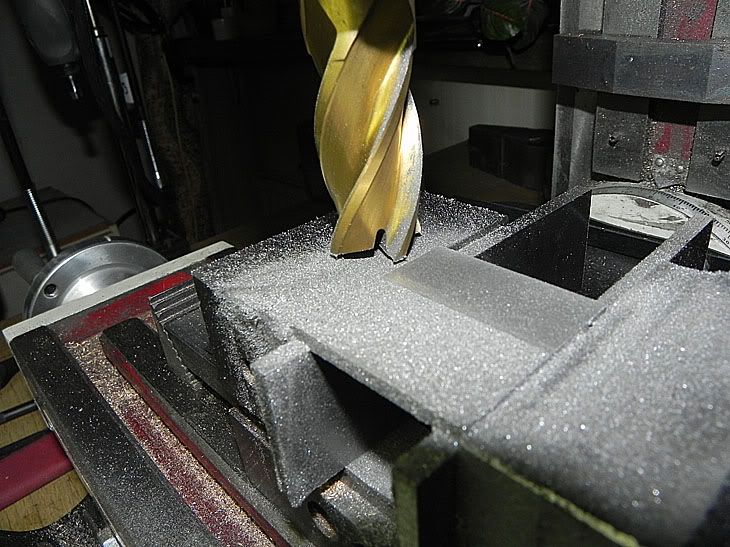
 …and then mill a track in the valve.
 Building Stuarts Compound Steam Engine
 And now two more pieces finish.
 Building Stuarts Compound Steam Engine
 Then I cut of a piece of bras…
 Building Stuarts Compound Steam Engine
 …and mark up for a hole to be drilled…
 Building Stuarts Compound Steam Engine
 …and threaded…
 Building Stuarts Compound Steam Engine
 …and again check for fitting.
 Building Stuarts Compound Steam Engine
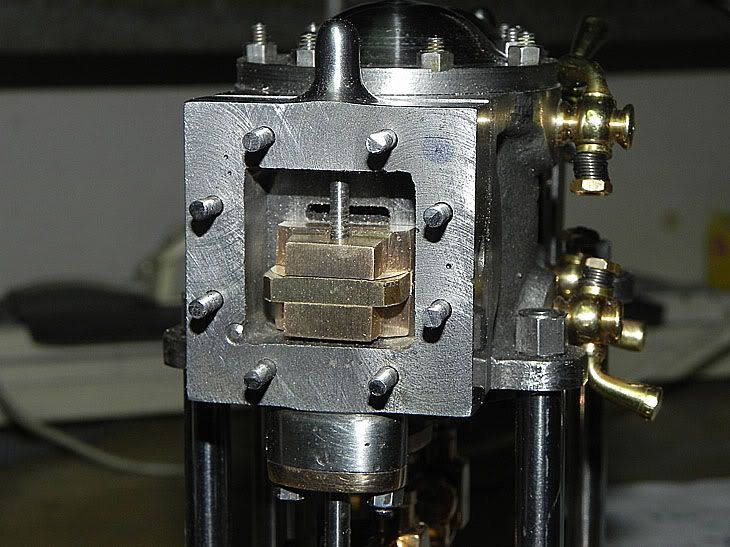
 Then with a hacksaw and a fill I’ll got this…
 Building Stuarts Compound Steam Engine
 …and it fits well in the steam chest.
 Building Stuarts Compound Steam Engine
 And now another piece is finish.
 Building Stuarts Compound Steam Engine
 This update took some times, it was radar many pieces to make and they have to be accurate, but nothing bad happened so I am very pleased over this update.
I’ll be back.


