Thank you all, I'm putting my bad memory down to heavy metals, I had actually seen the Ox tools video, completely forgot it, maybe, now that I have a lathe with a thread indicator I might just remember the technique! Definitely take the panic out of things!
Russel, the face plate wont bomt up, there is a boss on the back, modification is going to be in order.
Thanks AdeV, I haven't cleaned up my thread indicator plate much yet, I could probably do better! Steve's photo editing methods should improve things.
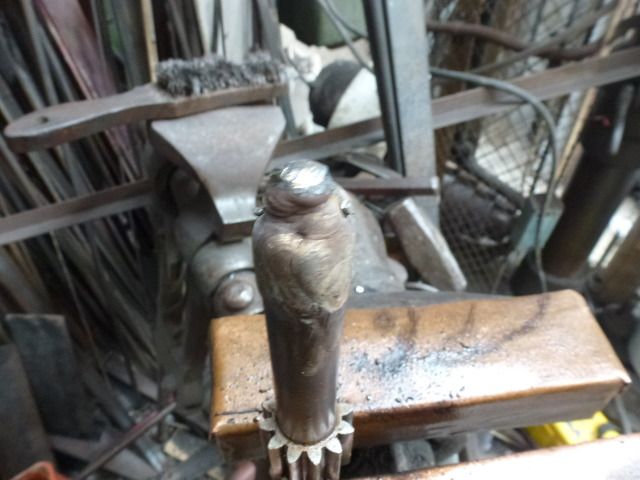
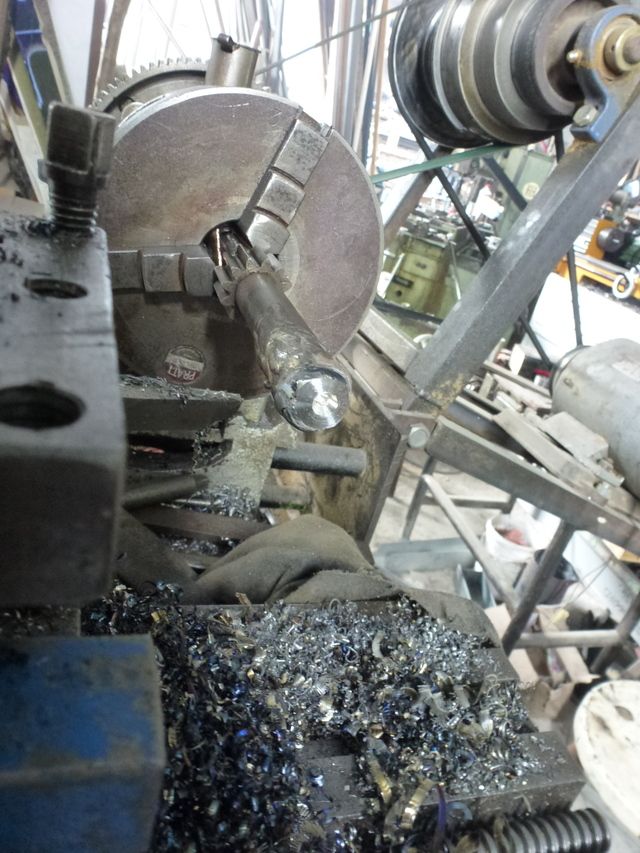
Building up the end of the shaft.
 The Eddgwick arrived!
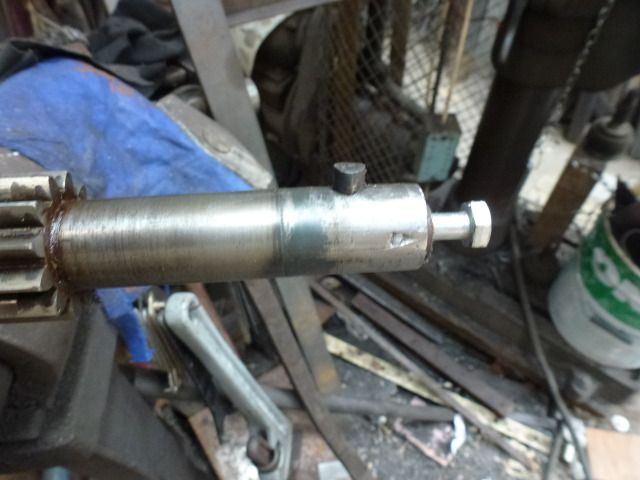
The shaft was broken between the hand wheel and the dial. Underneath the dial, was a buton to adjhust the friction on the dial. A screw in the shaft pushed against a taper, pushing out the friction piece. You can see where the shaft had been heated to remove or straighten it. The bearing part of the shaft is straight and untouched.
 The Eddgwick arrived!
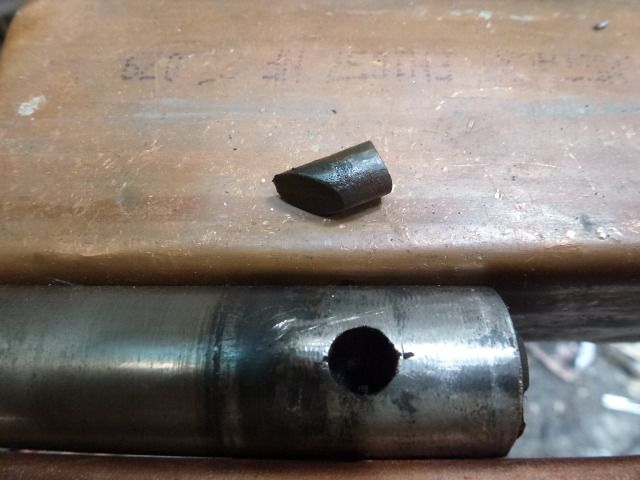
I was lucky, I got the wedge out easily!
 The Eddgwick arrived!
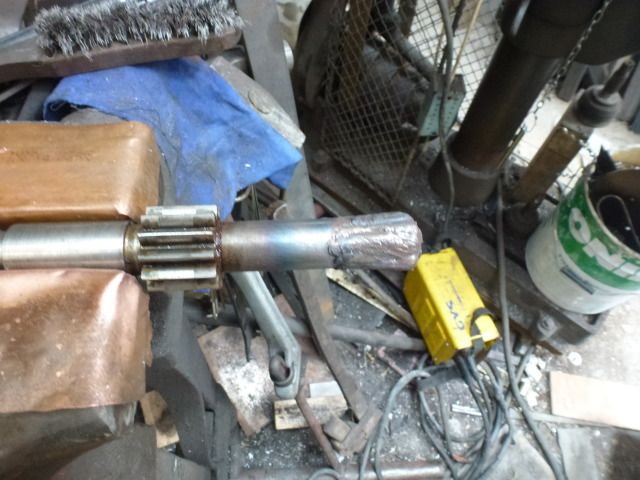
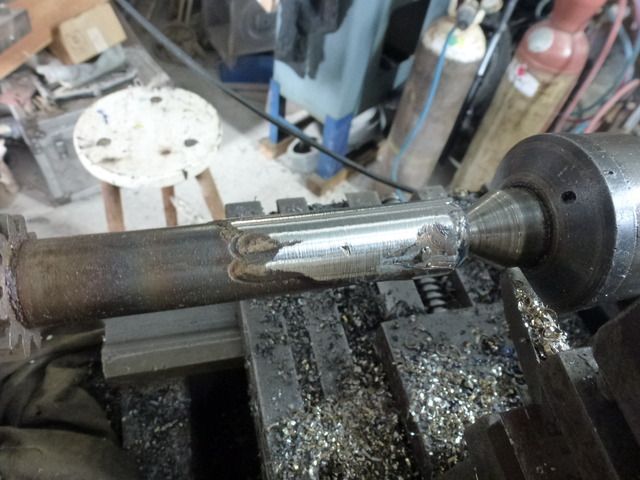
I began by building up on the side opposite the bend.
 The Eddgwick arrived!
more building up. I used some Castolin rods that I bought for welding railway track! They don't quench harden. I was able to keep the shaft both cool and soft.
 The Eddgwick arrived!
Faced off and centre drilled.
 The Eddgwick arrived!
Turning down the weld.
 The Eddgwick arrived!
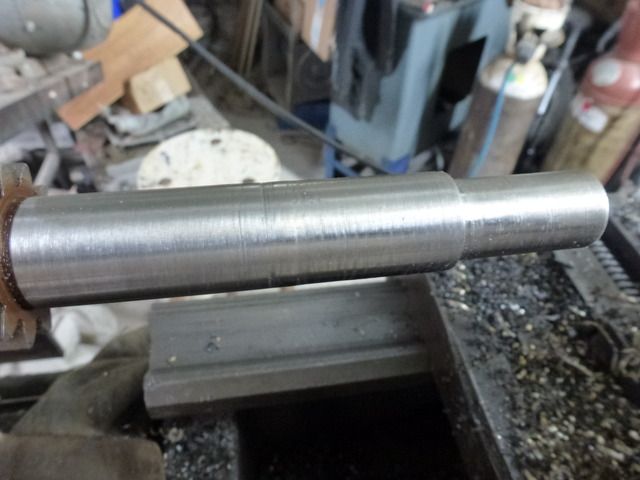
As the bearing part of the shaft was untouched it was relatively easy to cut the major diameter.
 The Eddgwick arrived!
It's not very photogenic! This was after a little touch up with emery paper, it looks better "in the flesh"!
 The Eddgwick arrived!
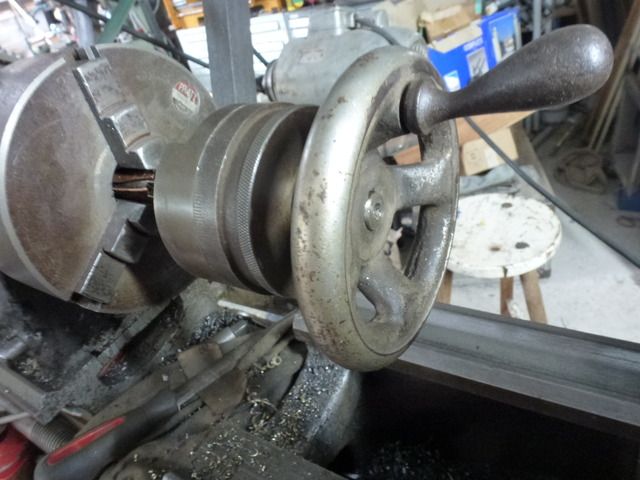
All the bits fit, it needs the key way and drilling and tapping for the friction adjuster!
Regards, Matthew


