We have been away on a short holiday and I got so involved with finishing the governor that I am a bit behind in updating.
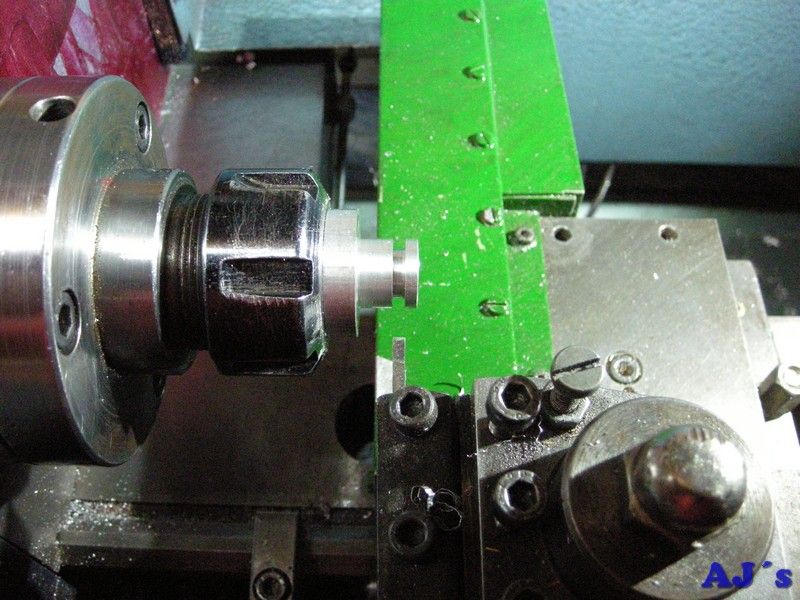
Because of a few tricky operations on the governor body it was made from aluminium. I could just squeeze it into a 25mm round bar.
The outer end was faced and turned down.
 Elmer's horizontal mill engine.
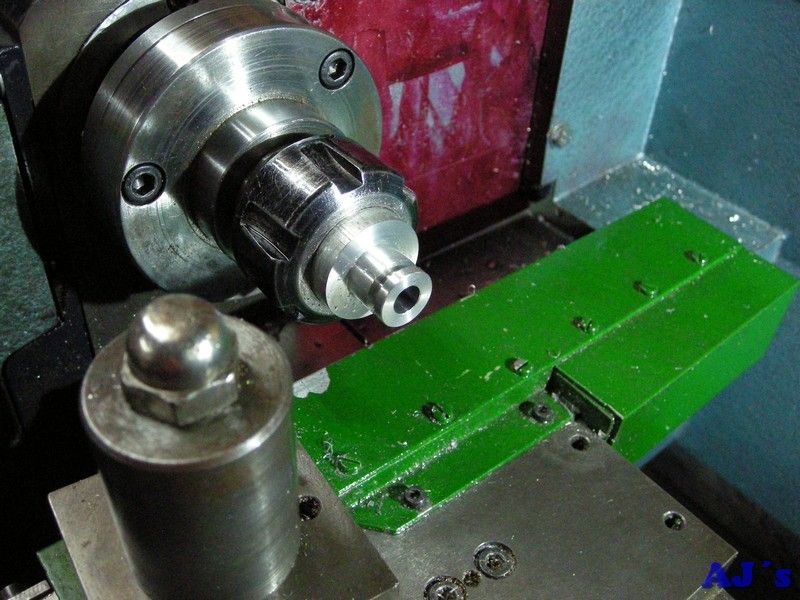
It was mounted in the collet chuck and the inner end faced and turned to size. The groove for the fork was cut with a parting off tool.
 Elmer's horizontal mill engine.
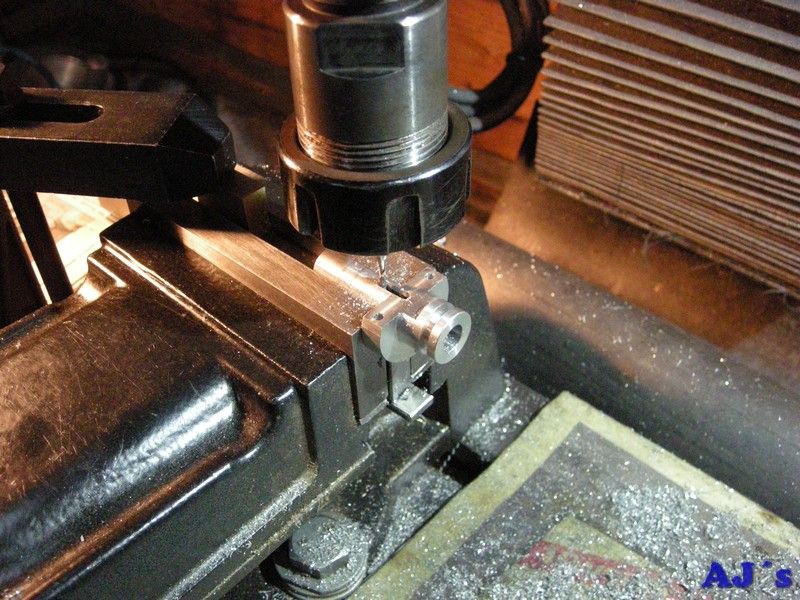
It was carefully drilled for the spring and shaft and the very end drilled through and taped for the adjusting screw.
 Elmer's horizontal mill engine.
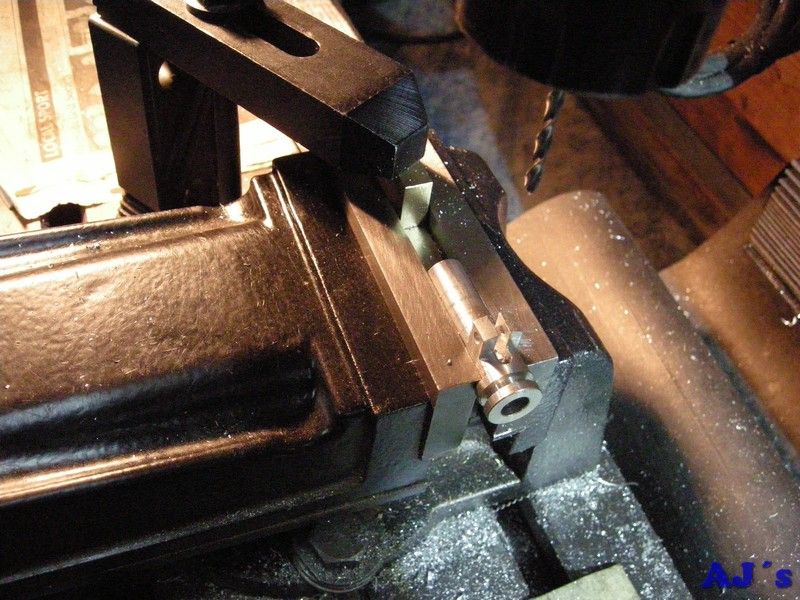
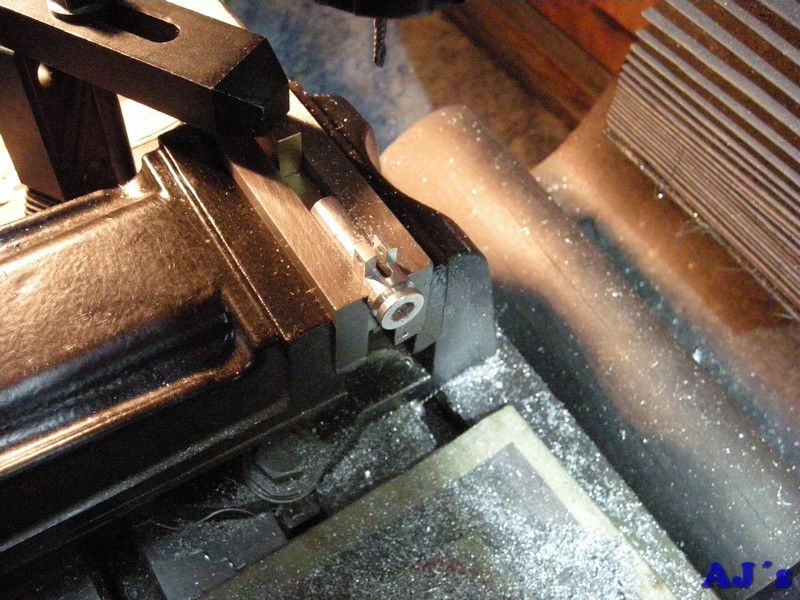
Then it was over to the mill to mill the ears flat, drill the holes for the weight arms and mill the slot for the drive pin.
 Elmer's horizontal mill engine.
After doing the same on the other side it was set up and the slot for the arms milled flush with the outer part. Holes were then drilled at the ends of the slot.
 Elmer's horizontal mill engine.
The slots were finished with a carbide single flute cutter that I normally use on the CNC router, as this is thin and long it was done very slowly.
 Elmer's horizontal mill engine.
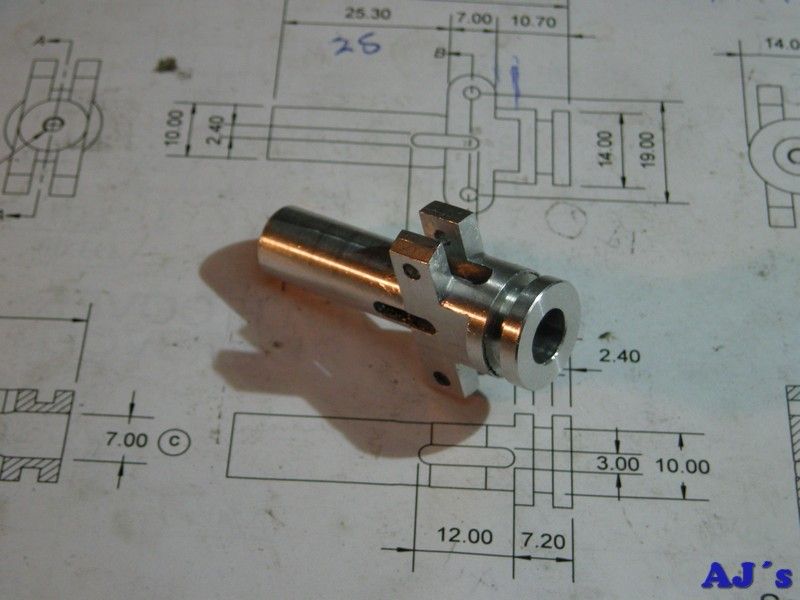
The finished body. The “ears” will be filed round.
 Elmer's horizontal mill engine.
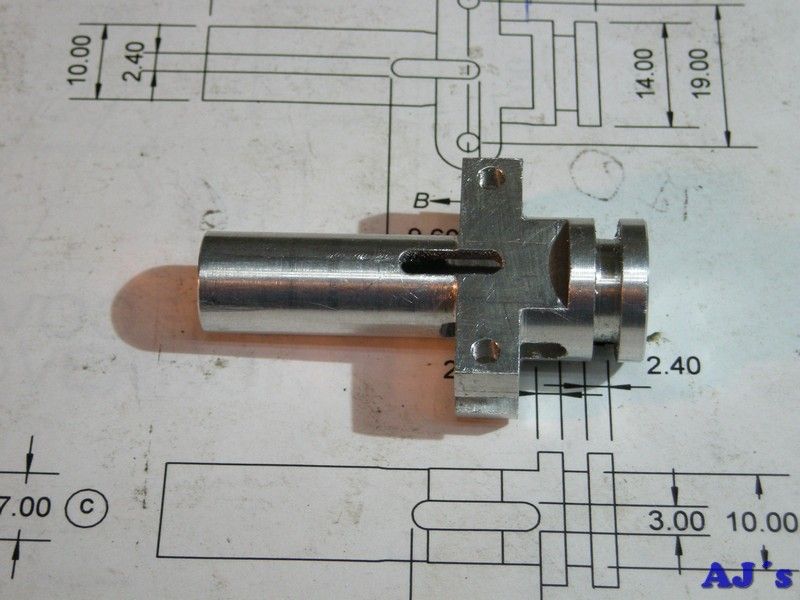 Elmer's horizontal mill engine.
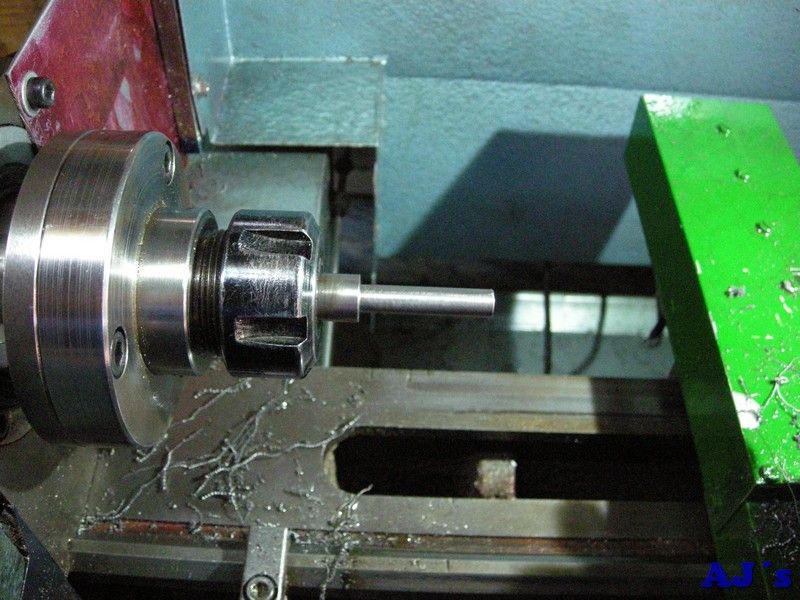
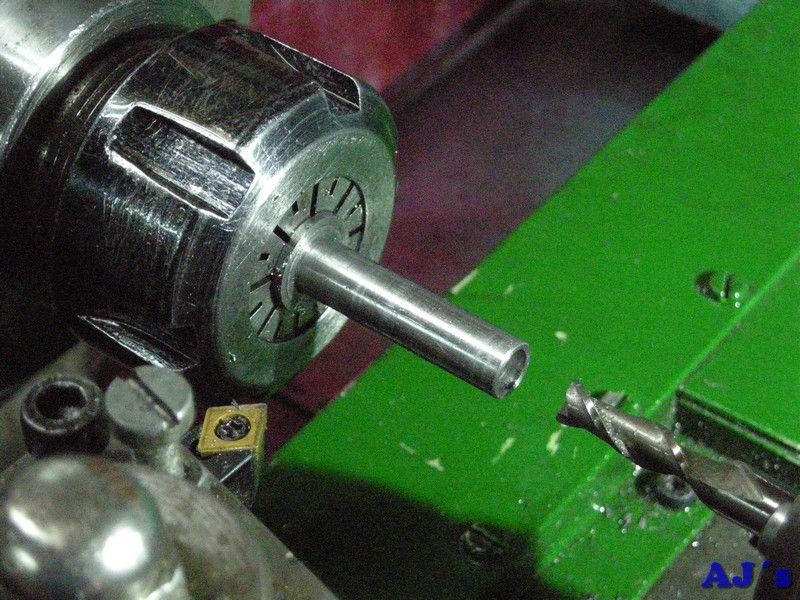
Next a piece of mild steel bar was turned down for the bearing end of the shaft.
 Elmer's horizontal mill engine.
It was swapped around and the end that fits in the body was turned down. A pocket was cut in the end for locating the spring.
 Elmer's horizontal mill engine.
It was then clamped in a V-block and set up on the mill to cut the two slots where the arms engage.
 Elmer's horizontal mill engine.
The V-block and shaft was then repositioned to drill the hole for the drive pin.
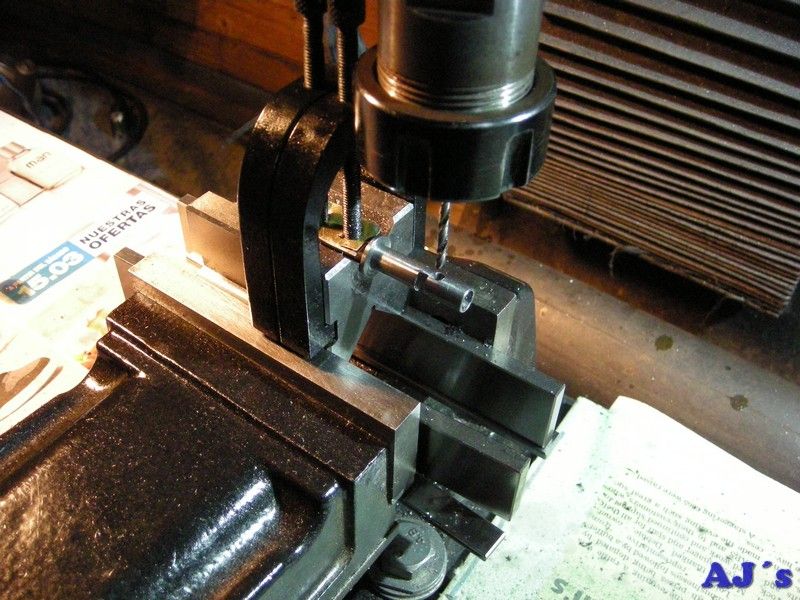 Elmer's horizontal mill engine.
The shaft and body.
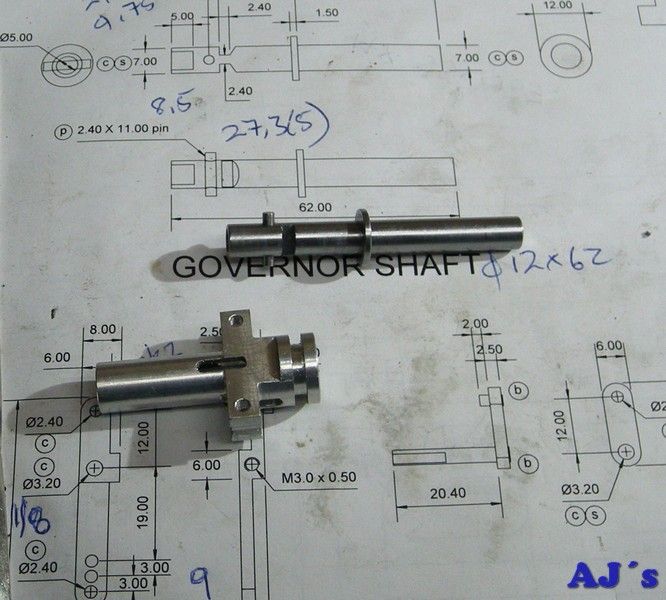 Elmer's horizontal mill engine.
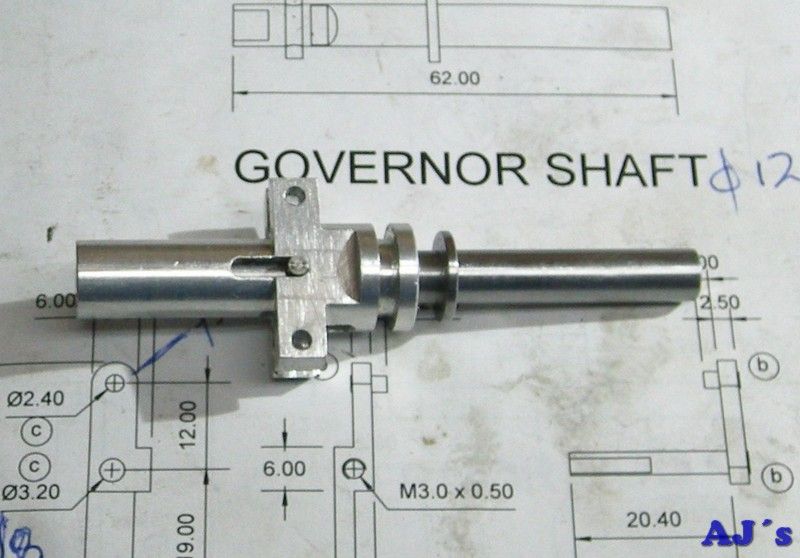 Elmer's horizontal mill engine.
The weights were turned and then, after a bit of head scratching, clamped down like this on the fixed jaw of the milling vice to cut the slots for the arms.
 Elmer's horizontal mill engine.
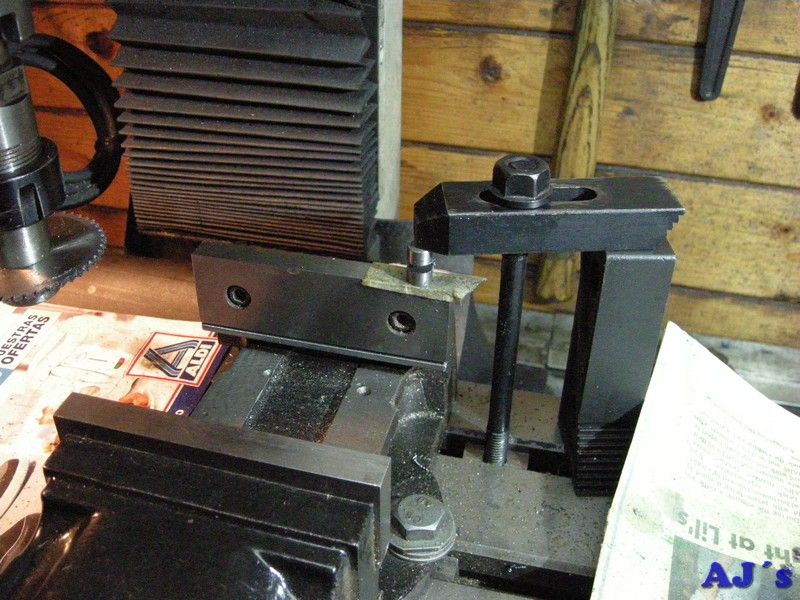
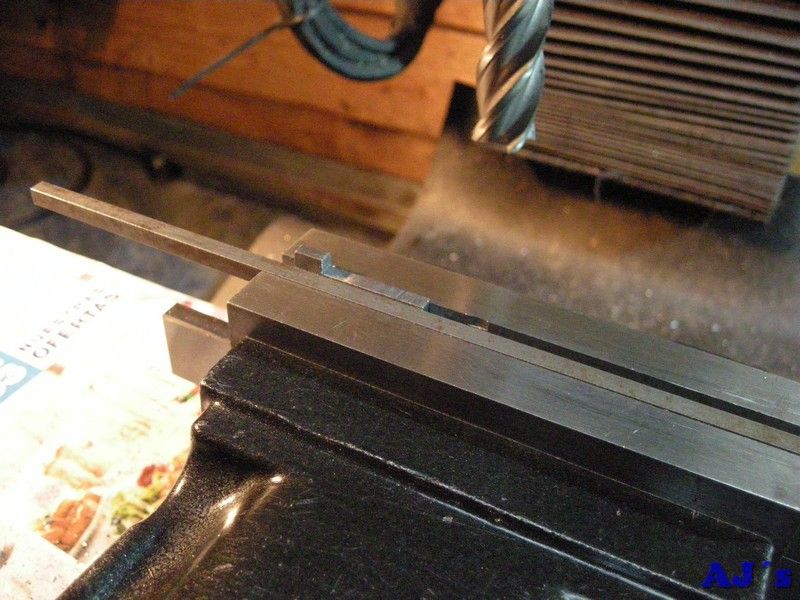
For the arms a few pieces of 3mm plate was milled with a tiny upright on the one side (these will be filed to engage with the slots in the shaft).
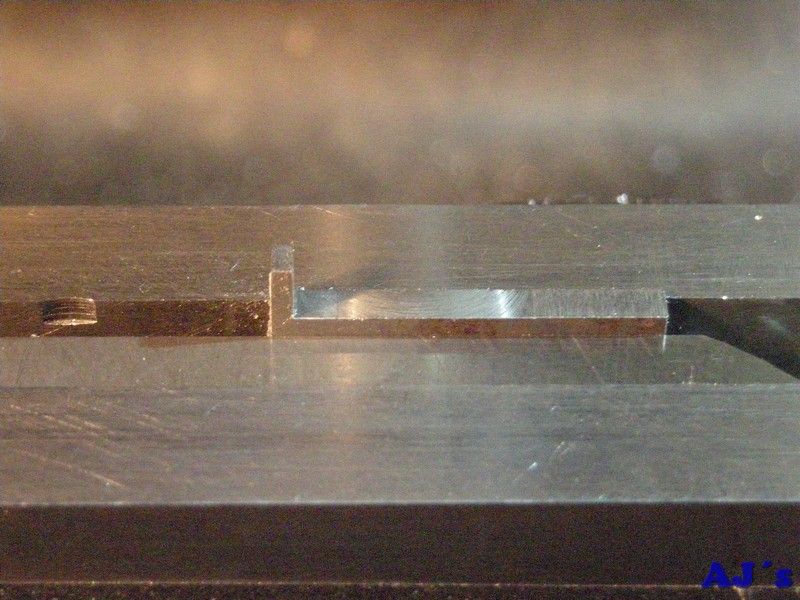 Elmer's horizontal mill engine.
The other sides were milled down leaving material to file the pivot ears.
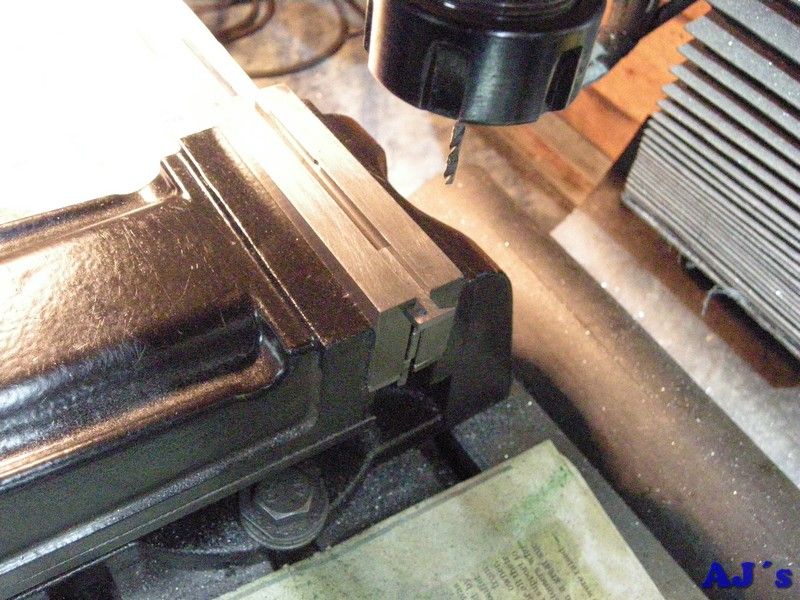
 Elmer's horizontal mill engine.
They were then held on their sides and the pivot holes located and drilled.
 Elmer's horizontal mill engine.
Turning the pivot pins.
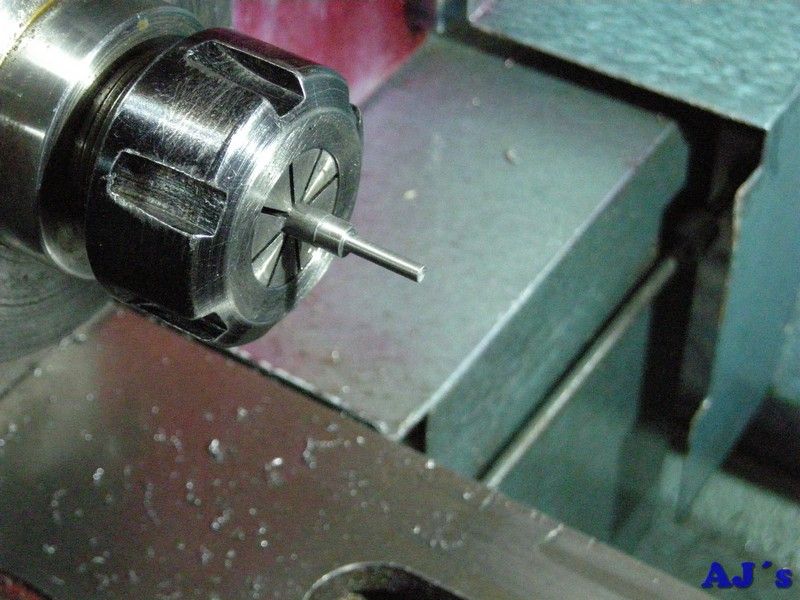 Elmer's horizontal mill engine.
The pins were drilled for split pins.
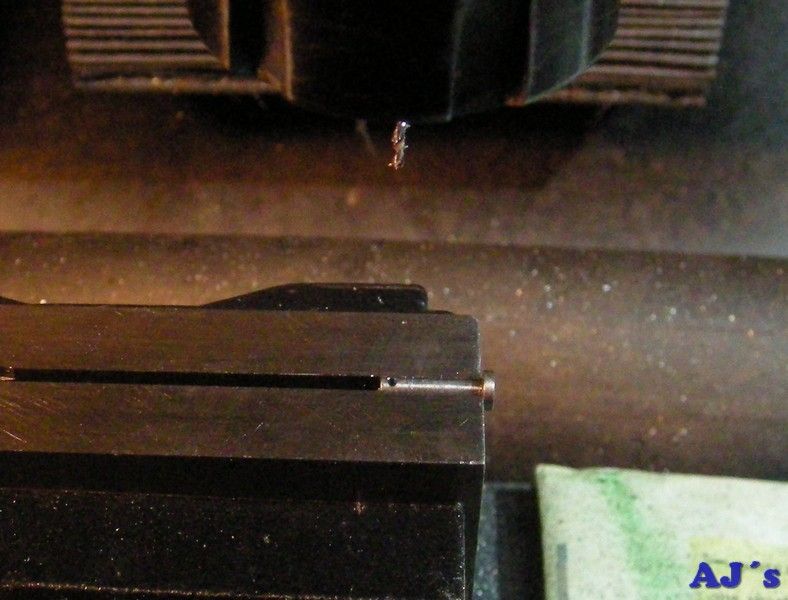 Elmer's horizontal mill engine.
Various other pins were made from 3mm and 2.5mm rod. Had to cut these with a cutoff disk in the Dremel as these rods are some mystery very hard material and could not me turned.
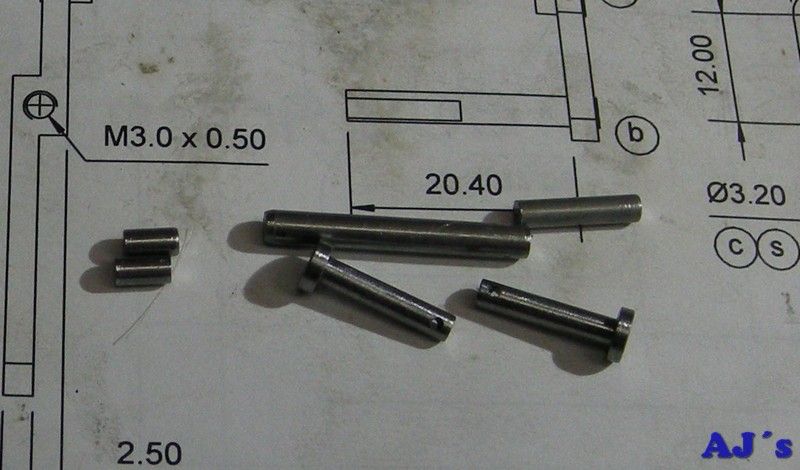 Elmer's horizontal mill engine.
All the parts so far, after soldering, filling and a bit of cleanup.
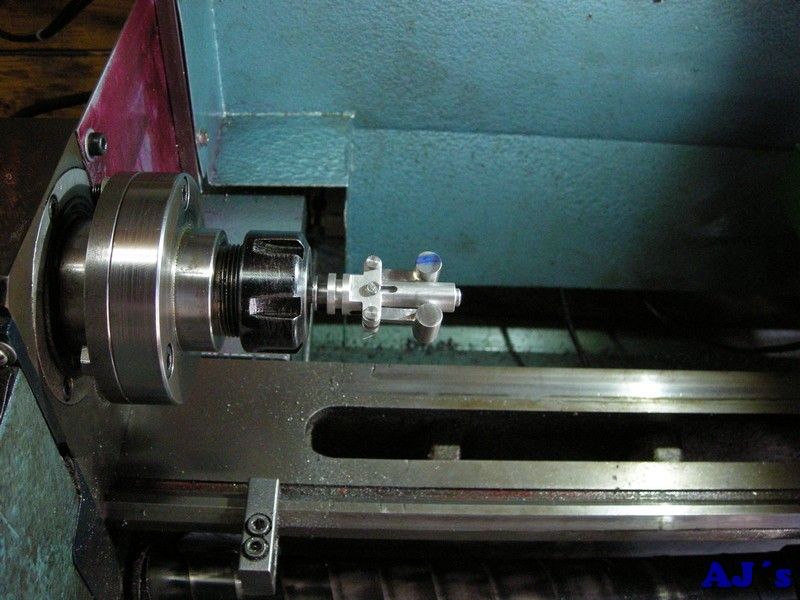
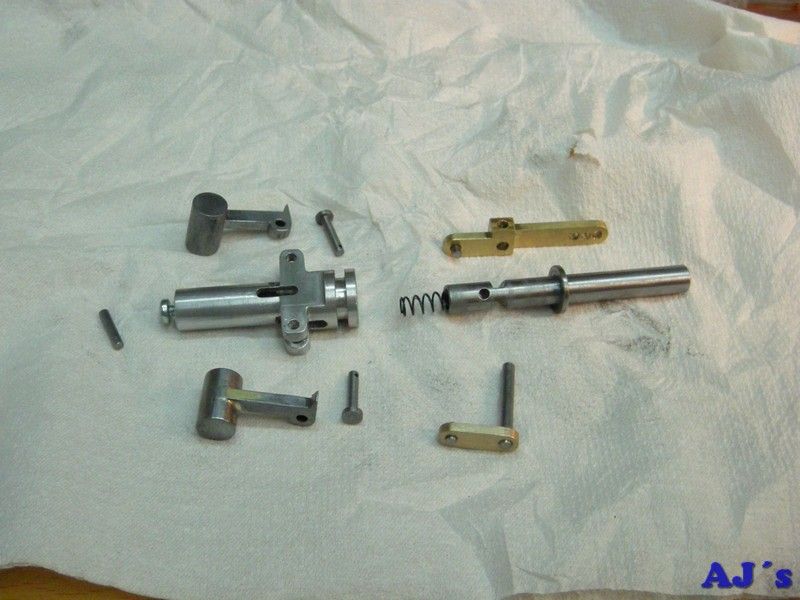 Elmer's horizontal mill engine.
The governor was assembled and tested in the lathe. A few different springs were tried until one was found that gave a nice smooth operation. With this spring it was at full travel around 600 RPM. Once fitted it might be tweaked a little more.
 Elmer's horizontal mill engine.
More to follow.
Cheers
Abraham


