Well I finally got this die filer pretty much done.
Thanks everyone for the comments.
I doubt there would much of a demand for these castings, they aren't as finished as some would expect and I'm far too lazy to try to make them marketable. This was just an exercise to try to expand my knowledge on pattern making and casting and hopefully end up with something that would be useful, plus I feel like I need to justify the money and time it took to put my little foundry together!

Here are the final stages:
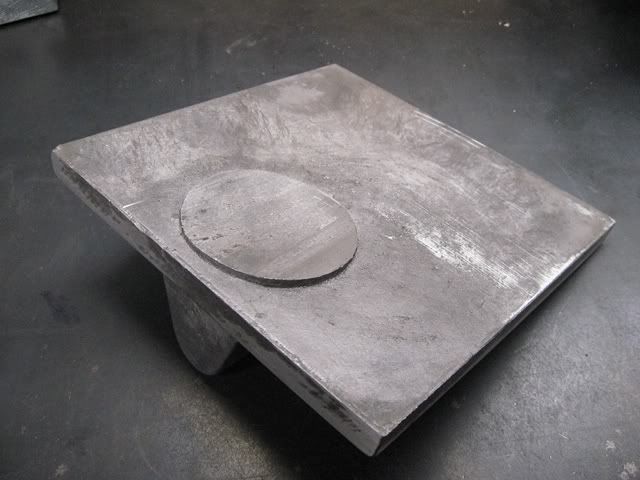
Cast the table pattern. You can see the size on the sprue I used to try to prevent shrinkage defects. I seemed to work since none appeared in the casting:
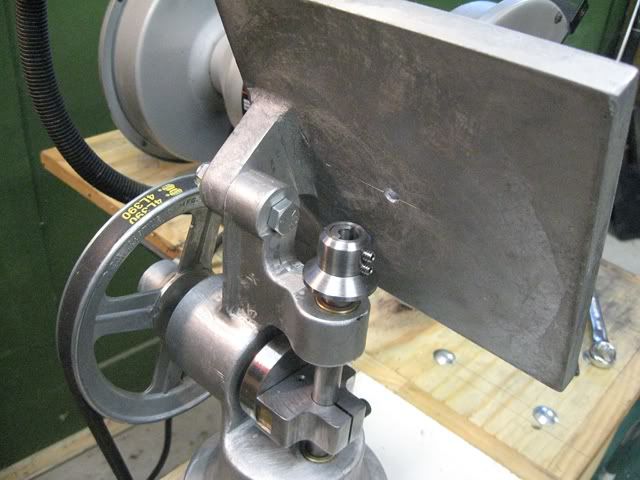
Machined the pivot for a true surface to hold the table while fly cutting with the big shop built adjustable fly cutter I made. I don't get to use this very often. Check out the video at the end to see it in action:
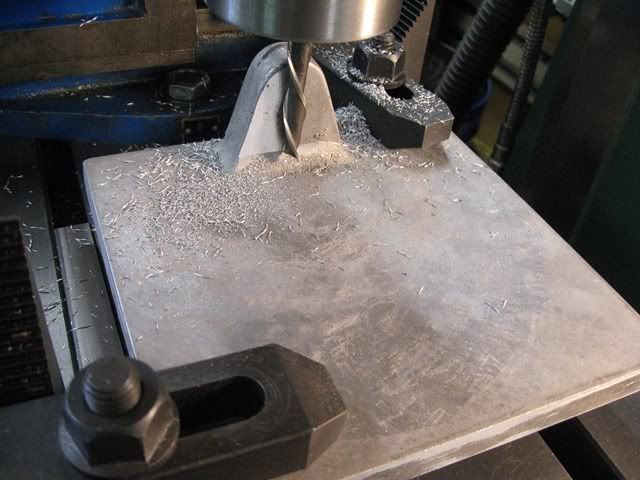
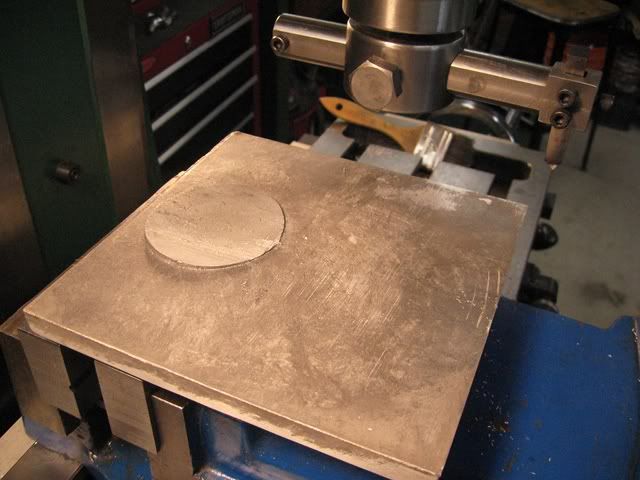
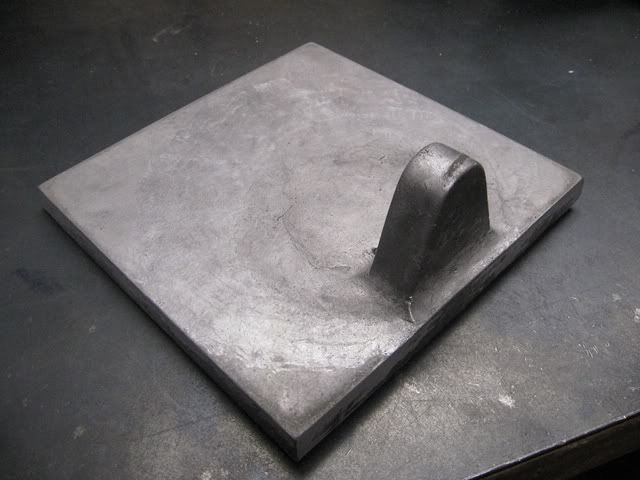
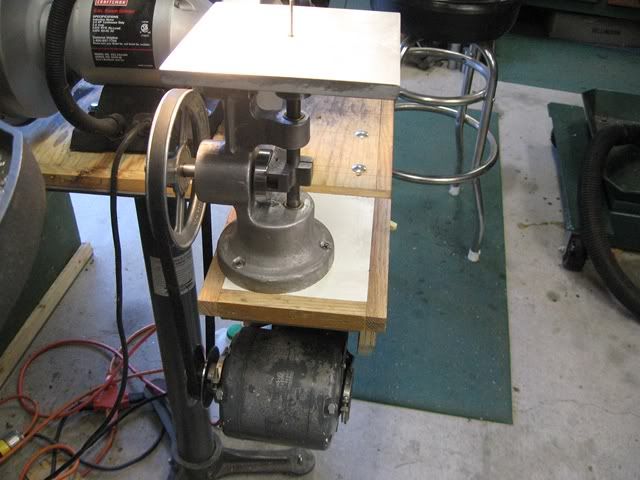
Table mounted on the die filer:
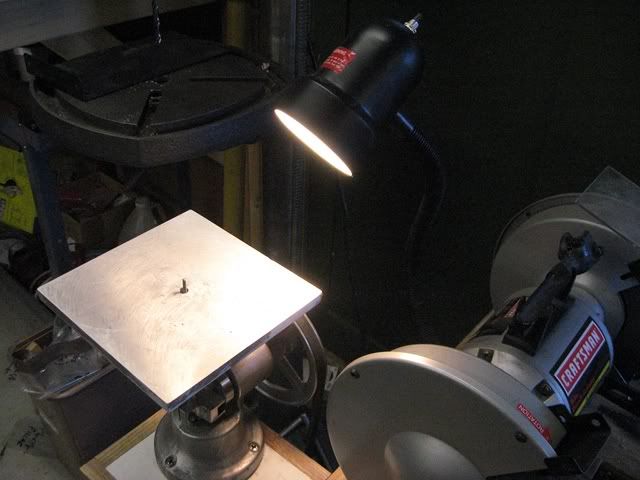
I made a mount for the die filer and the motor to drive it. I hung it off my grinder stand to use the light attached to the grinder, thrifty yes, but is vibrates a little more than it would on a stand alone base.
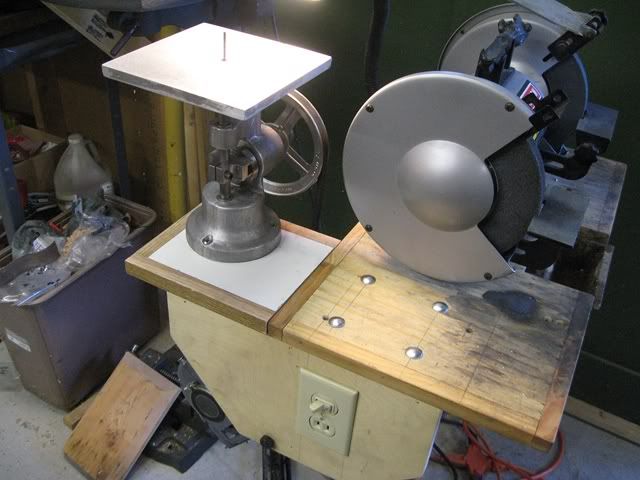
Notice the use of the split switch/plug combo I found in my junk drawer - it controls the motor and provides another handy plug in socket!

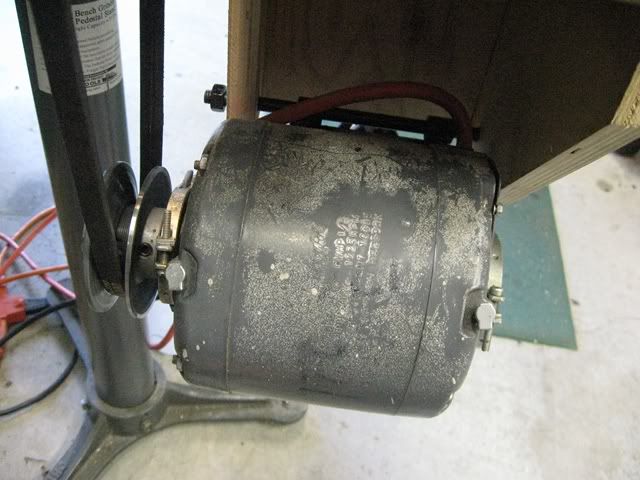
The motor mount and a close up the 1/8 hp motor I got at an estate sale which came with an adjustable pulley that was worth more the $10 I paid for the motor. The motor is just perfect for this application.
Anyway, that's the project finished except for drilling a hole to lube the drive shaft bushings (made grease?)
Now, I have figure out what to do with it? Here is a video of the table fly cutting and it in operation for the first time. I only had a thin piece of galvanized sheet to try it out on. Don't know what I'm doing and it shows! I think this would be a great tool for the kind of clock work stuff
craynerd does.
Thanks for sticking with me through the whole process, I enjoyed your comments.
Al


