Disclaimer part I.... Yes this is a knife, no it's not U.K. street legal and if you wanted a knife for being naughty with you most probably wouldn't go through all this to make it so....politics, politics, politics.... Let's get on!
Disclaimer part II .... This is the way I do this, I'm not a professional anything except mechanic and garage door fitter. I hope I show enough to "help" someone else but that's only a possibility!

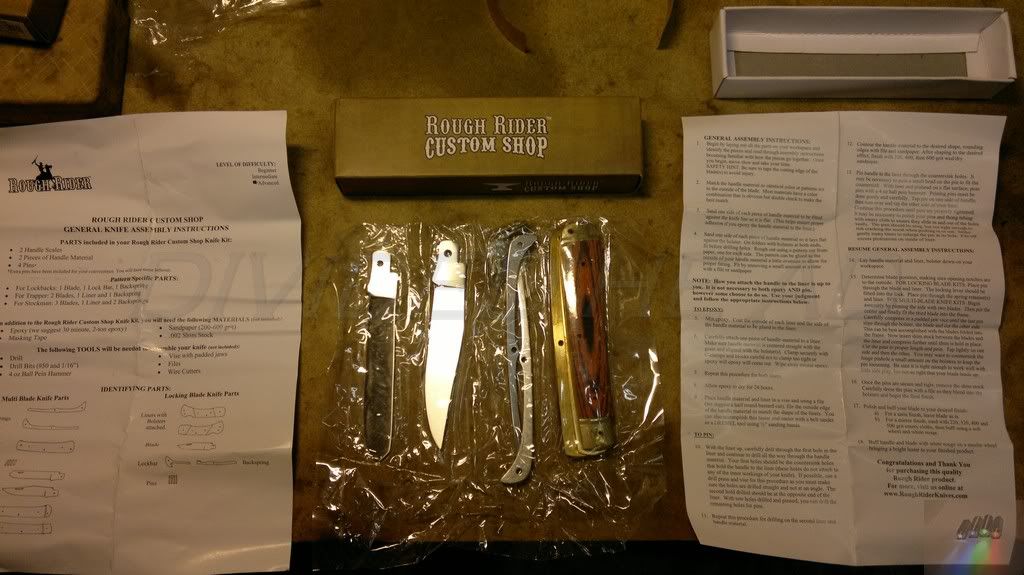
Well I know it's cheating but. I purchased a kit to allow me to learn how to build a knife.
I made this in approx 3 hours so sorry but no build along just lots of pictures.... 122 to be exact. But I'll try and shorten it a little
for you. I'm going to post this (I think) like it's for someone who has no idea... (Like me until 6 days ago) on how these things go together.
It's a kit from a company called Rough Rider. Their website (FYI roughriderknives.com) is a little under developed. Basically it's a bit of spiel and a link to 2
stores.
Oh, and don't forget their facebook page filled with comments from the general public. Ranging from praise to complete astonishment at the lack of help the site provides.
Basically the instructions in the box are all you get and although they do tell you the basic requirements they are not exactly upto
much! I have always gone with the picture' thousand words motto and they have no pictures!

That said, what do you expect for £8:00 Yes.... eight quid!
Anyway, I'm boring myself now so, on with the show!
(disclaimer part III.... I'm using the words pein, peining, peined and any other that come to mind... I know it's spelt differently elsewhere but it's basically the hammer with a hemisphere on one side and it's used to bash rivets into place!)
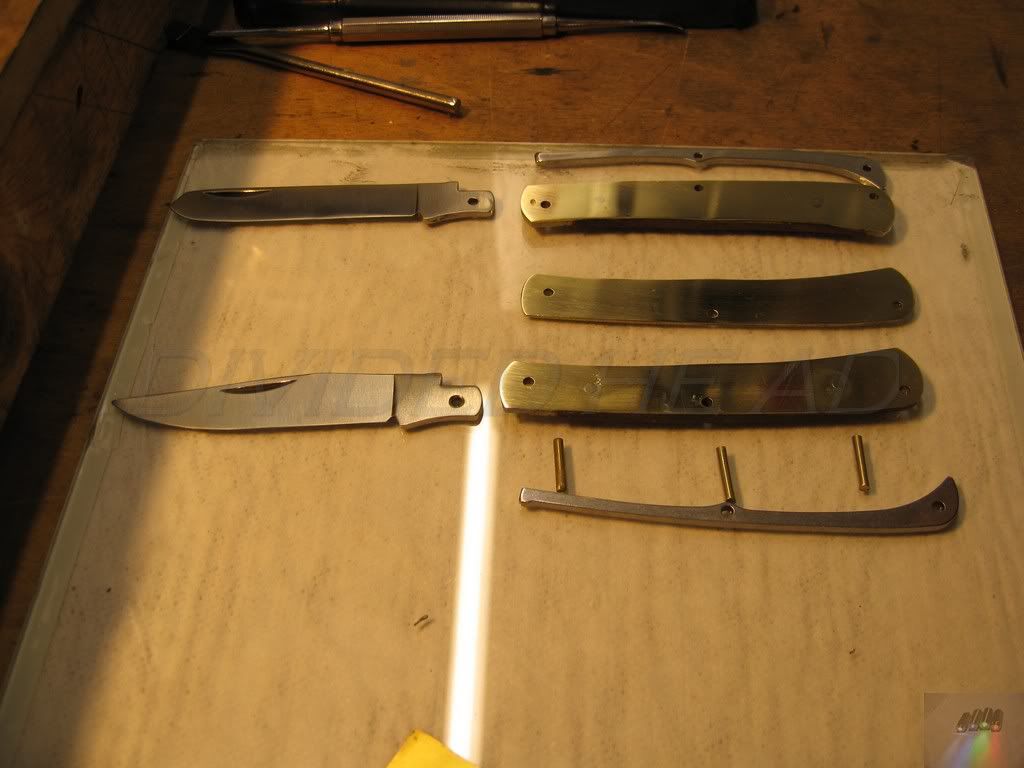
Pictures to show you what you get in the box...
 Rough Rider Knife kit build... and long video!
 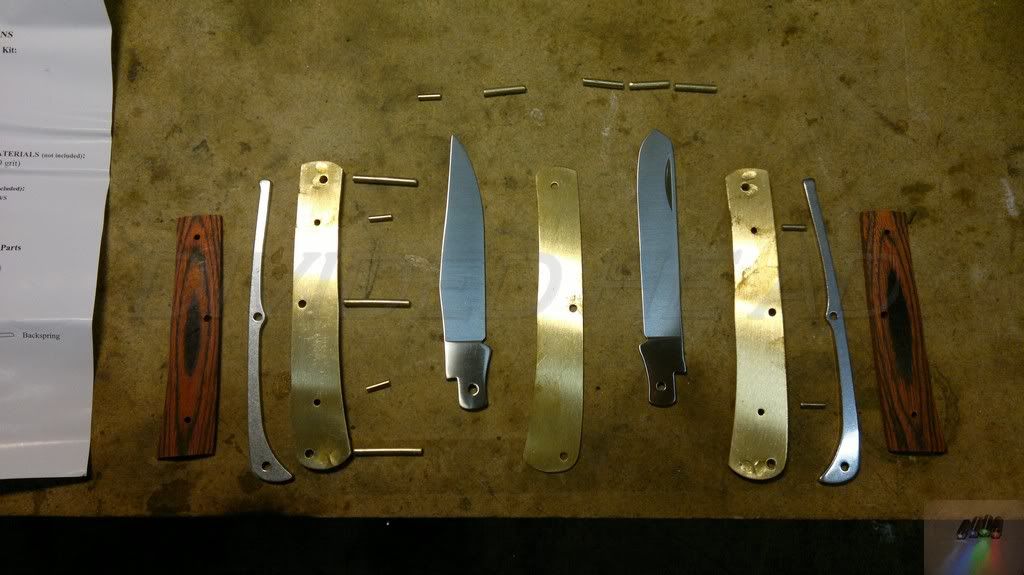 Rough Rider Knife kit build... and long video!
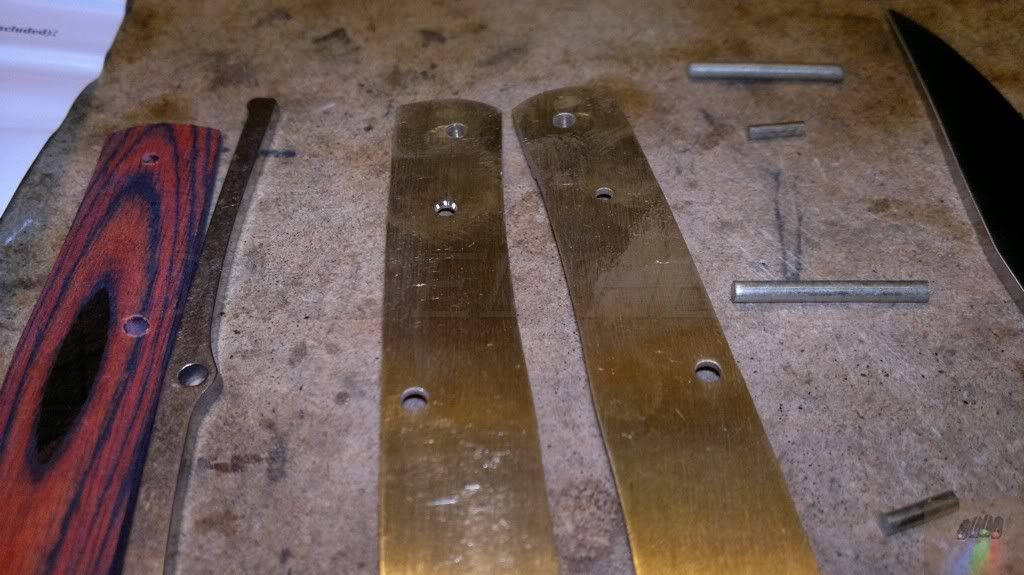
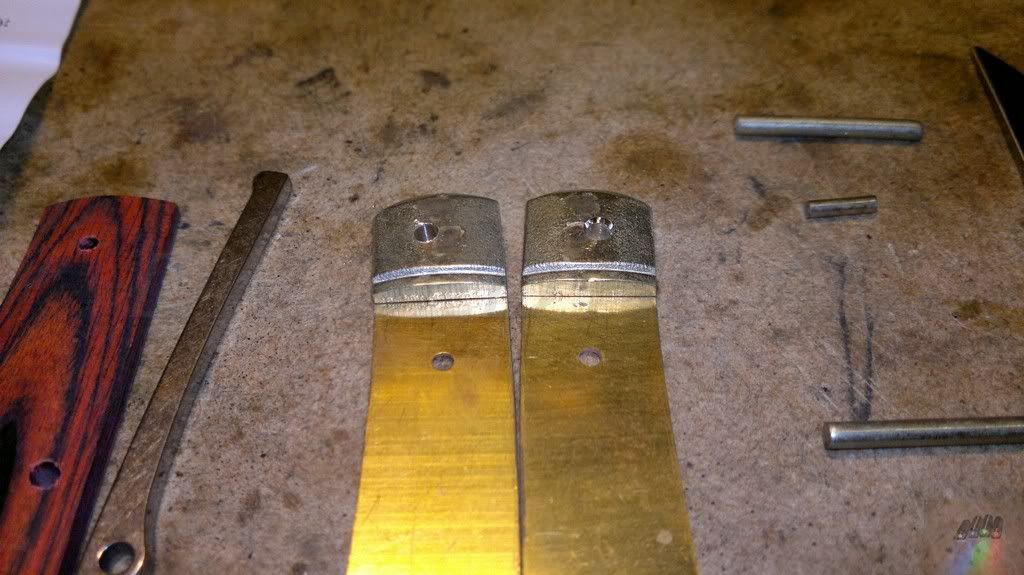
 Picture of the liners inner side. Note the left hand liner has a slight chamfer in the smaller holes (compare it to the right hand
one) These are the holes used to pin the scales to the liner. I chamfered the holes to allow the peining to get a real seat in the
material. I did this on every hole that the pins would be peined into even the wood. Just to make sure there would be no loose pins in
the near future.
 Rough Rider Knife kit build... and long video!
 The chamfer was cut using a centre drill in a small hand held chuck, one turn and it was cut, more than enough to make a good seat for
the pin.
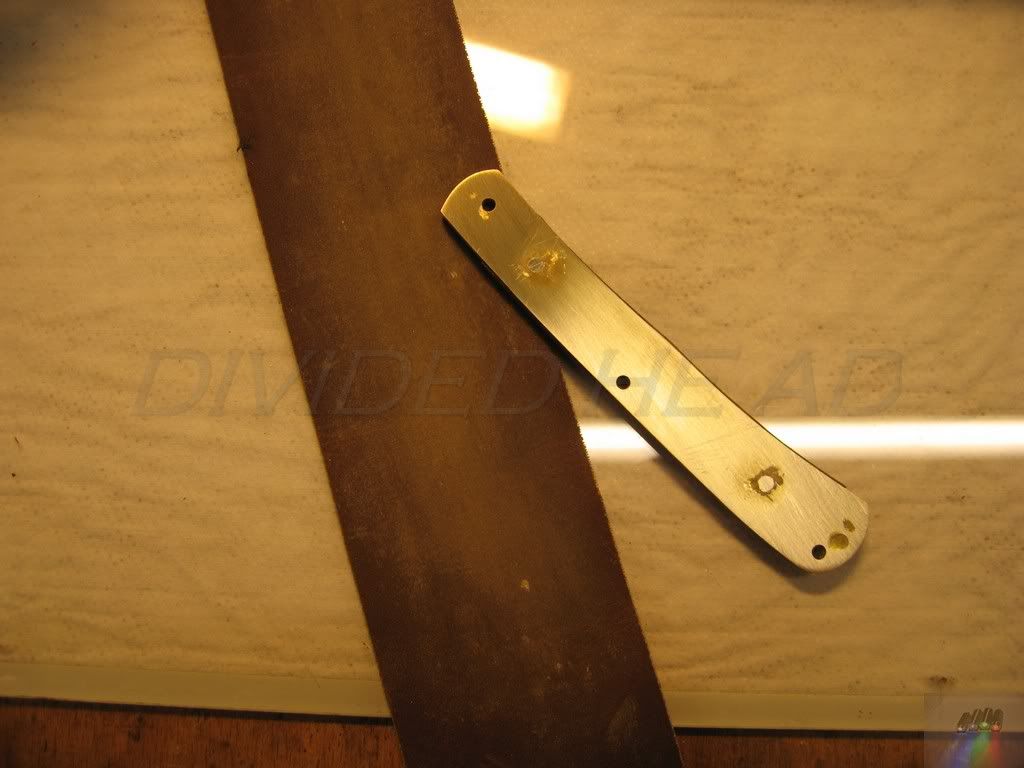
The outside of the liners with the chamfer in the bolster (left hand one untouched only for comparison)
 Rough Rider Knife kit build... and long video!
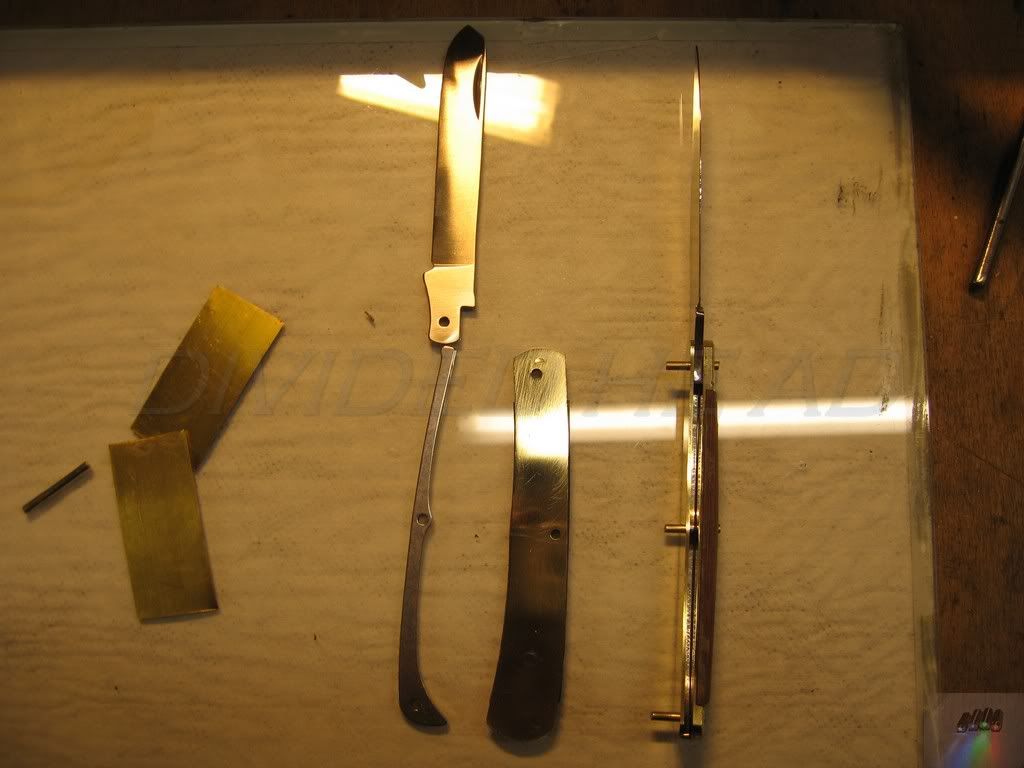
 A quick push together to see how it will fit.... Pretty damn good.
 Rough Rider Knife kit build... and long video!
 The instructions say you can use epoxy, pin or both to attach the scales (they also read as if the holes have not been pre-drilled??)
I decided on both since I had the means and I wanted to make sure it was fixed.
Nice and clean and all checked for a good fit...
 Rough Rider Knife kit build... and long video!
 Epoxy ready
 Rough Rider Knife kit build... and long video!
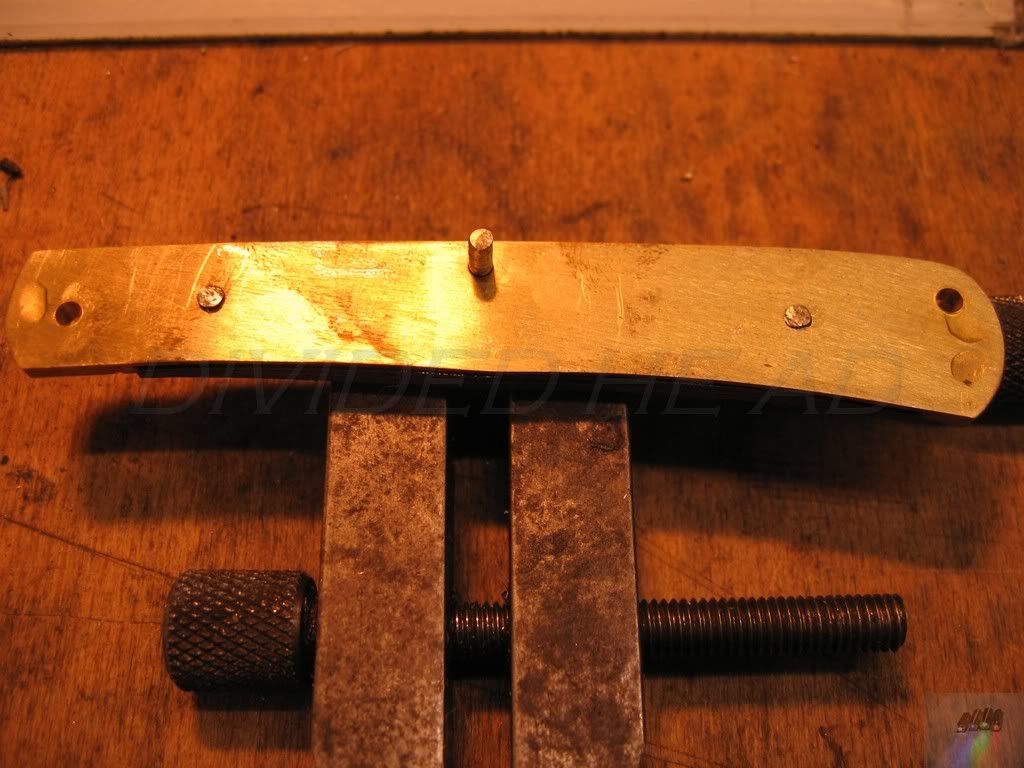
 Then I peined the pins on the inside first (balanced on the clamp for photo' reasons not peined there)
The peining was carried out using a small ball pein hammer and the anvil on the back of my bench vice.
The pins do not have to be hammered flush. Just enough to fill the chamfer you have made, the rest is filed off flush to the job and then finished later. (read on)
 Rough Rider Knife kit build... and long video!
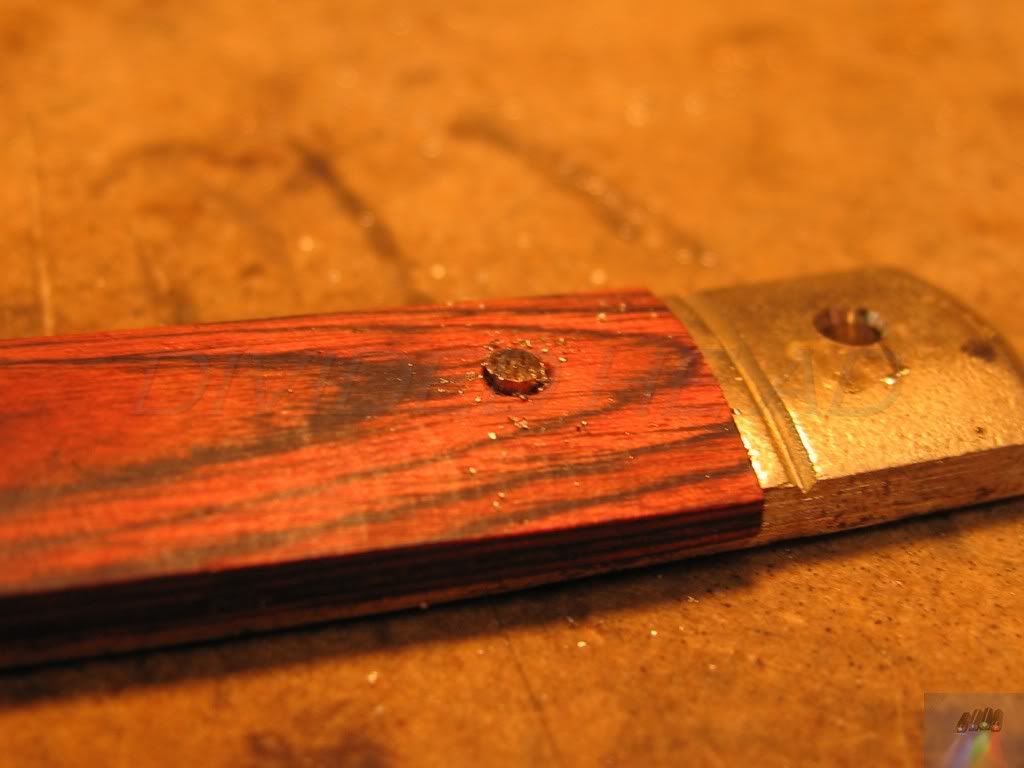
 Peined left hand pin, filed down right hand pin. This was needed to make sure the wood didn't split, like it did on the first pin I did

(You might be able to see the "character" I created in my handle later in the pics? )
 Rough Rider Knife kit build... and long video!
 You must file the pin so that only about 1mm is left to pein (dependant a little on the size of the chamfer you create etc).
 Rough Rider Knife kit build... and long video!
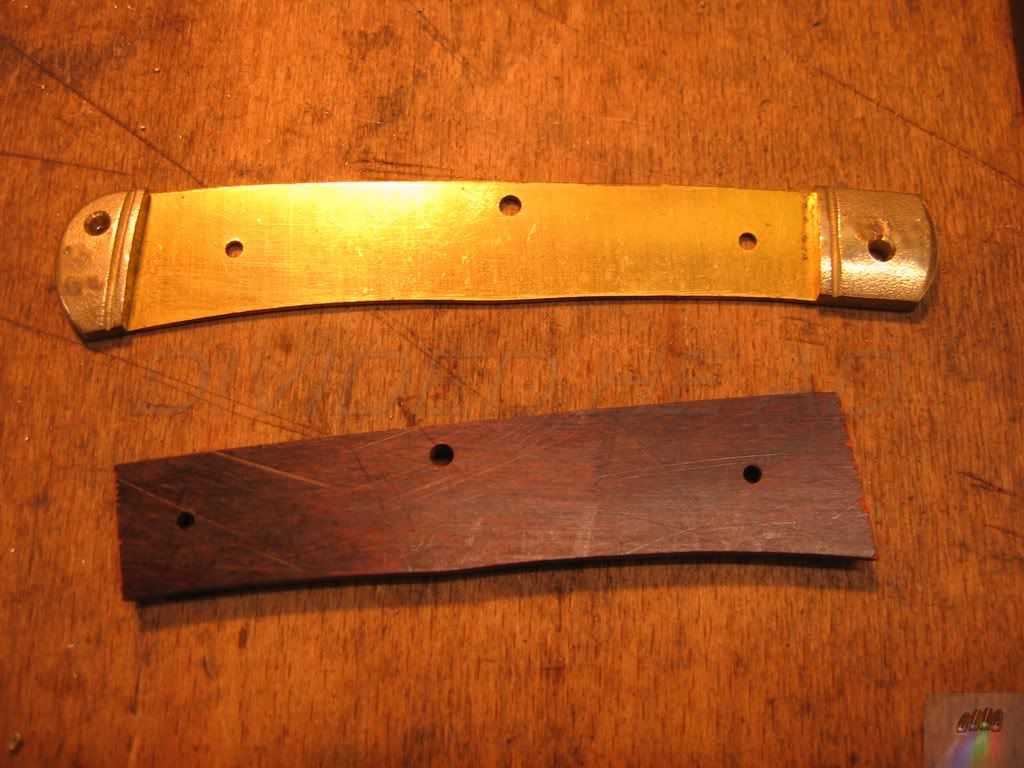
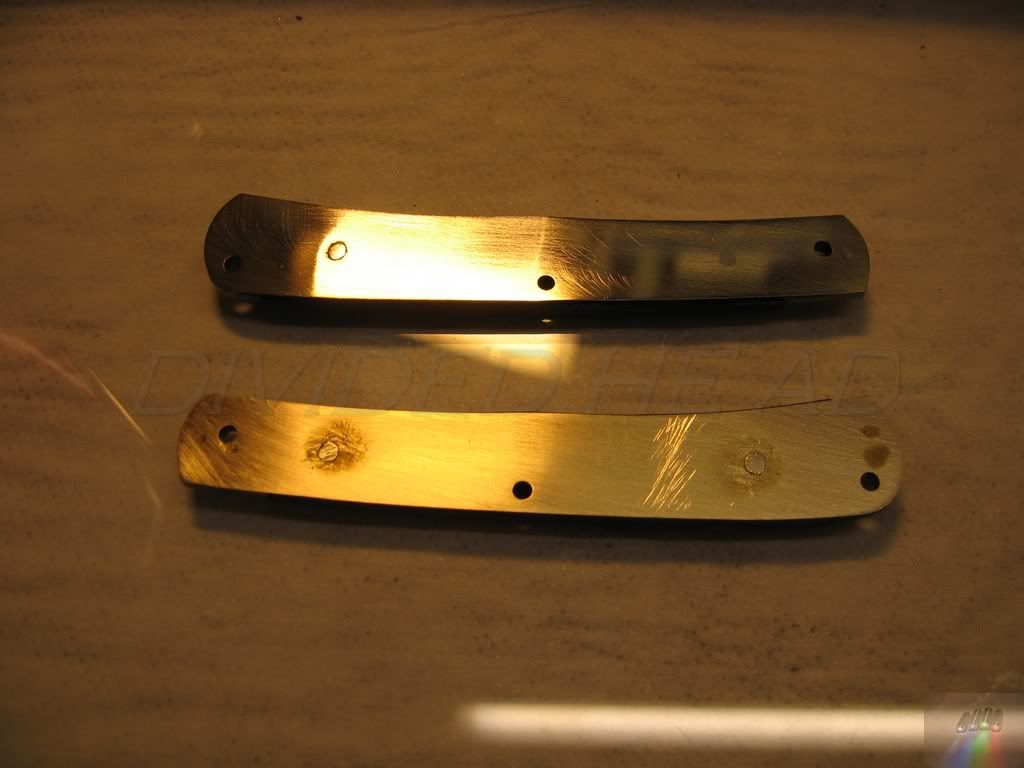
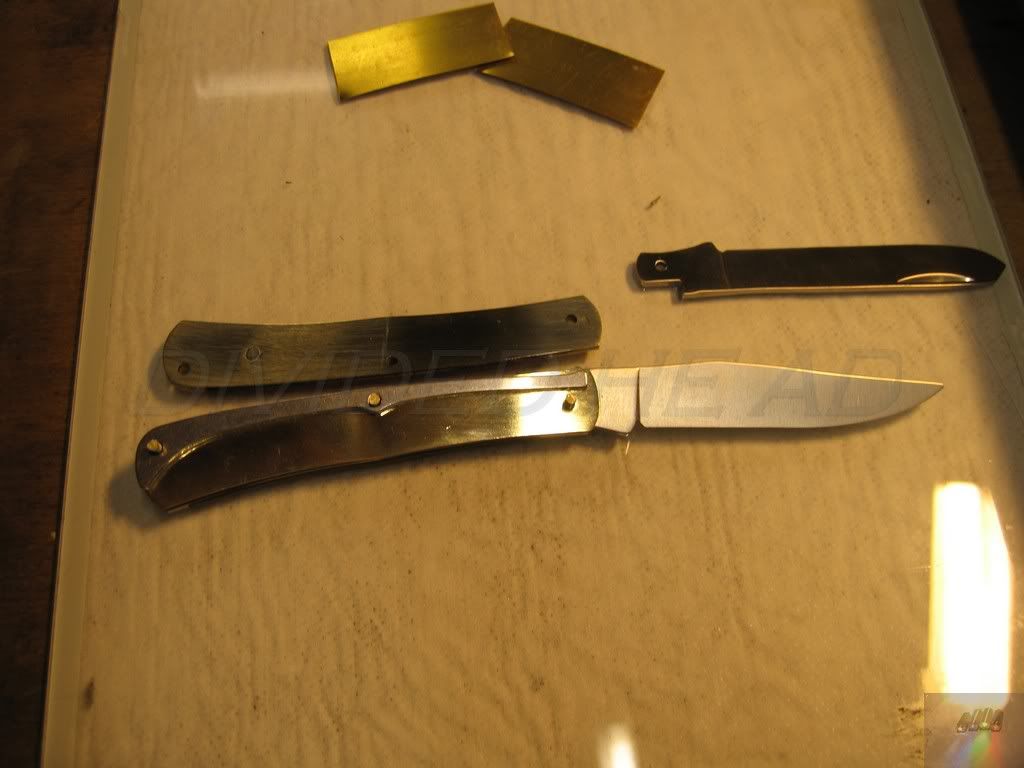
 Now me being me I needed to know that I'd be proud to show this to people so.... I filed the excess pin material off and flatted the inner liners then polished them a little (by hand only). I know, sad!


 Rough Rider Knife kit build... and long video!
 But looks better though eh? (the bottom one there for comparison)
 Rough Rider Knife kit build... and long video!
 Next getting ready for assembly.
 Rough Rider Knife kit build... and long video!
 Put the pins through the holes, put the springs on and then the blade. (making sure you have the finger nail cut outs correctly orientated) Then fit the middle liner/separator.
 Rough Rider Knife kit build... and long video!
 Then the other spring, blade and the other liner (sorry, forgot the pic's of the blade in position.. My only excuse, nerves and concentration!)
 Rough Rider Knife kit build... and long video!
 This one shows one peined and 2 waiting to be filed and then peined
 Rough Rider Knife kit build... and long video!
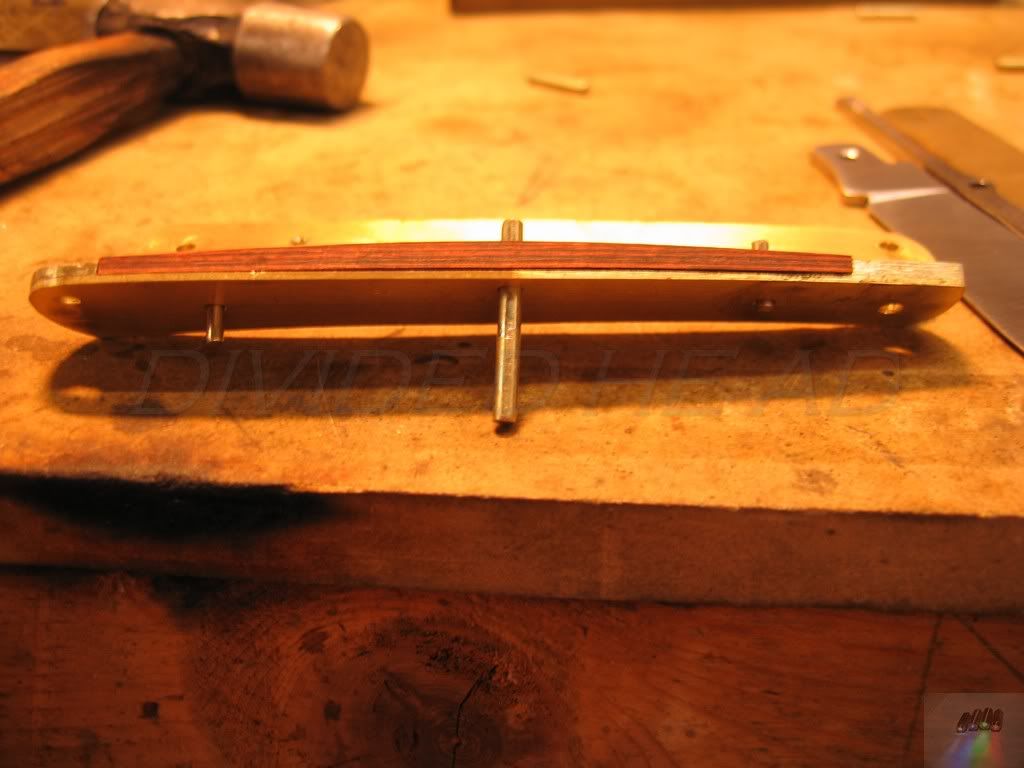
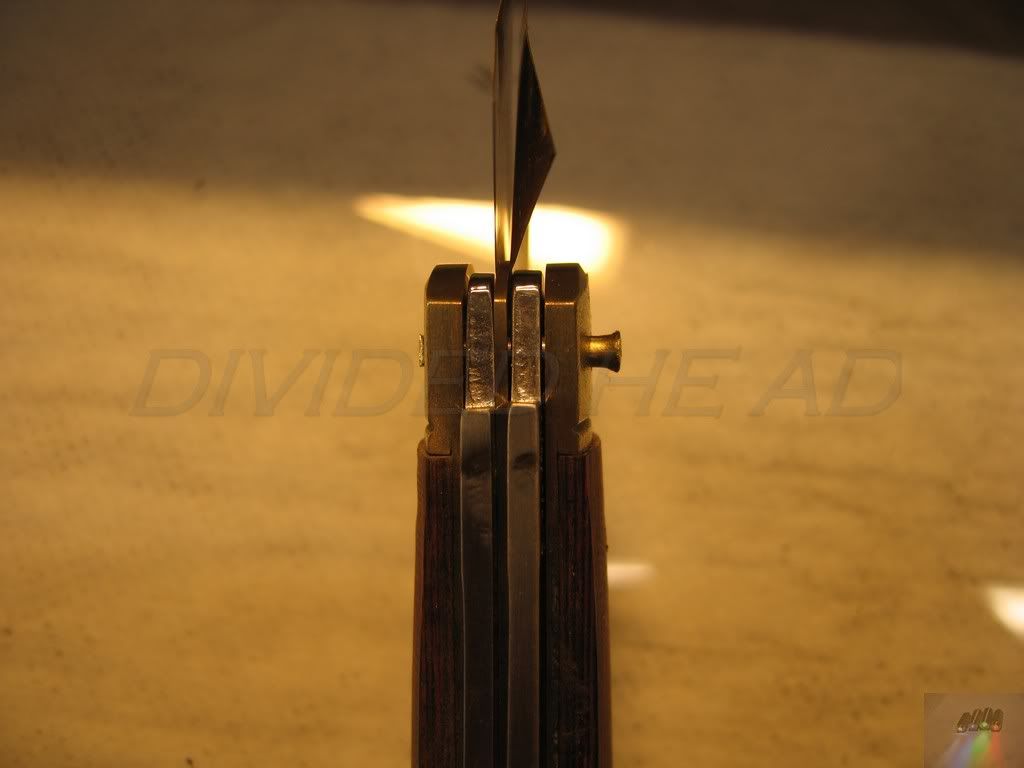
 Now the important bit, shims fitted to the blade pivot end before peining. This is very important. To avoid clamping the blades into the handle. Easy to do when belting hell out of the pin with a little hammer!!
The instructions wanted a set of .002 shims... I didn't have any. But I did have some brass shim stock at .005... So that got used and I hit it a little harder to squeeze it up a bit... Worked a treat!
This pic shows the shims in place and the one side of the pin peined over, this is then knocked through and the other end filed to length.
 Rough Rider Knife kit build... and long video!
 Filed to length and shimmed ready to pein over...
 Rough Rider Knife kit build... and long video!
 The final centre pin is done, the shims removed and the blades opened... Then I remember the tip shown on a video I watched a couple of months ago of a master knife maker from Sheffield....(without which I don't think I'd have been this quick!! I love youtube!

) He used a mix of french chalk and engine oil on the liners and blades to allow them to be lubricated and free to move... Oh well, remember for the next one. I just used a little engine oil dribbled in.
 Rough Rider Knife kit build... and long video!
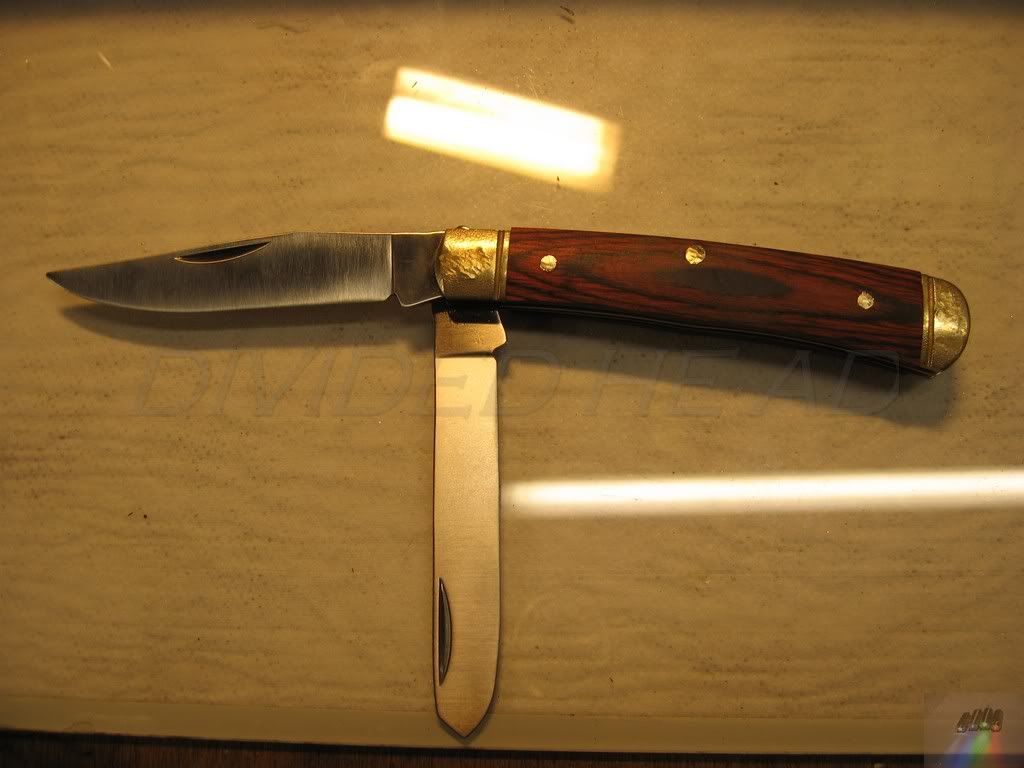
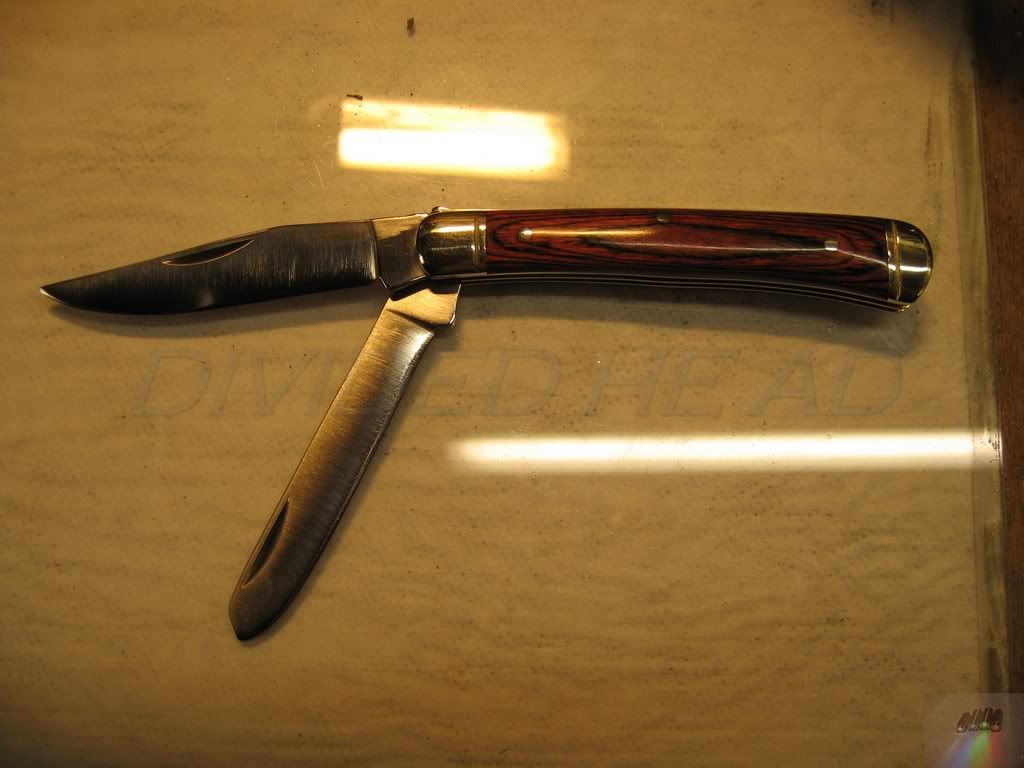
 Well that's it... One knife made.
Well, ok. there might just be a few pic's left.... I hope some of you might like to see it finished?
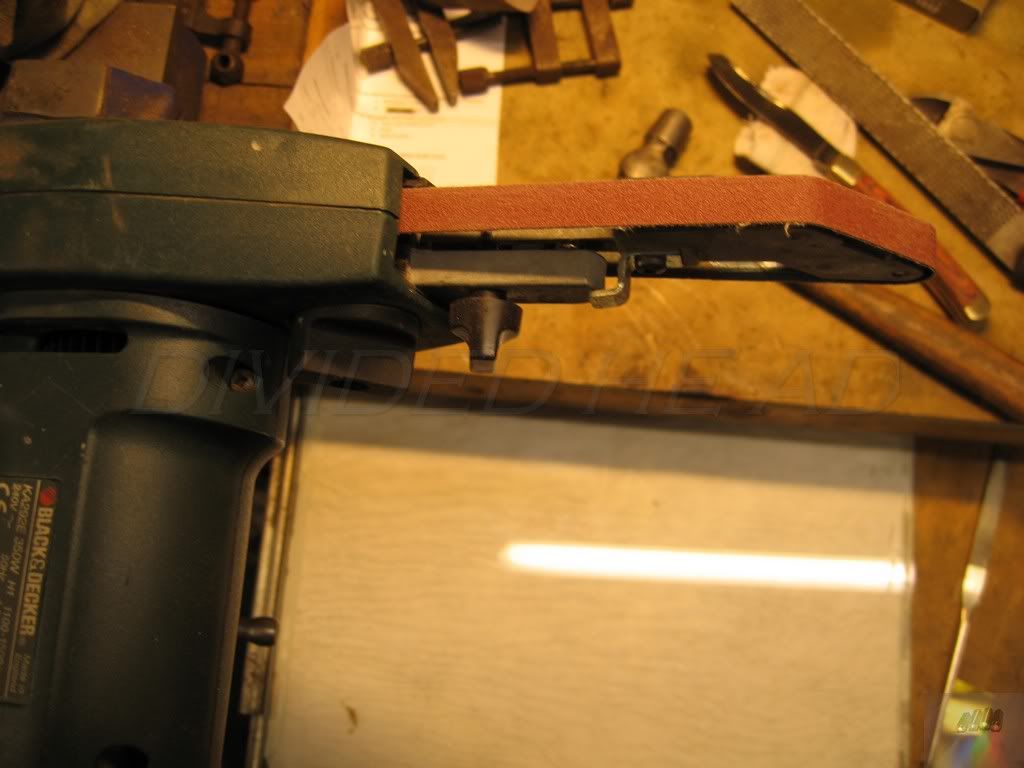
I cheated here a little too.... I used a kind of mini hand held linisher (Cheers Bogs

) It worked a treat, and since the blades were blunt I could hold them while finishing the handle off.
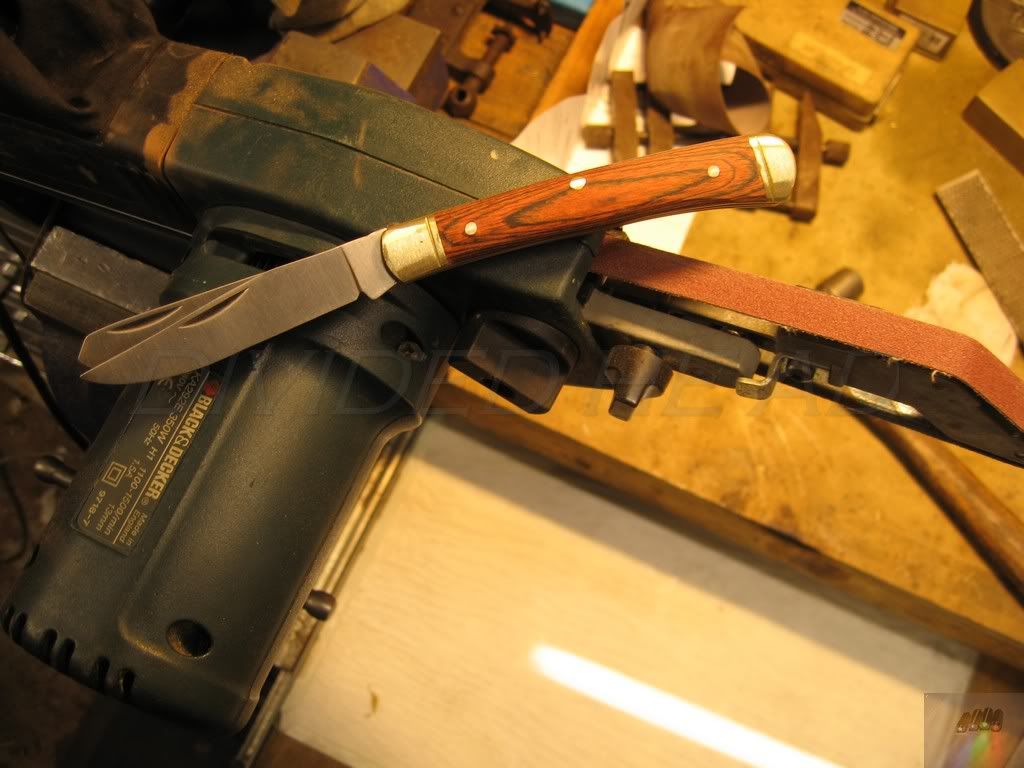
The liners stood up a good 1mm above the bolsters and the spine of the knife was all over the place so it was all fettled true to each other to give a smooth feel. Could be done by hand yes.... But I had technology on my side.... Why waste it?

The weapon of choice (held securely in my bench vice. Trust me it was checked and double checked for security)
 Rough Rider Knife kit build... and long video!
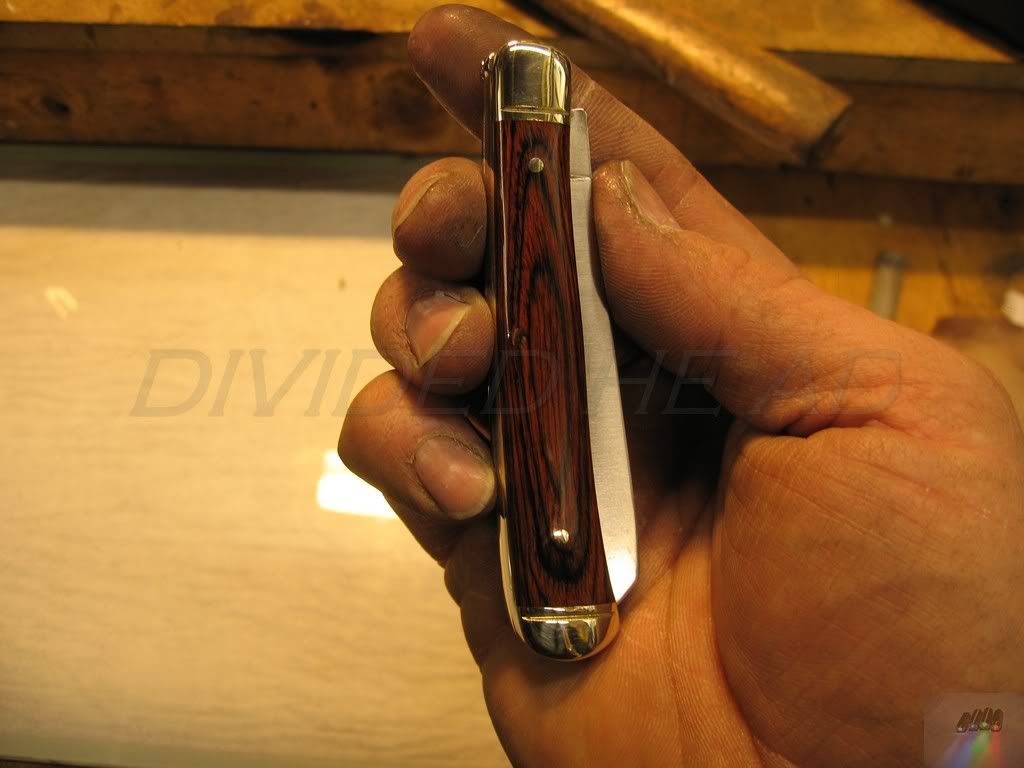
 Shaped and cleaned up it's not looking bad.... Remember the pins and bolsters are much harder than the wood and need a little fettling to get then feeling ok. I stopped shaping when I was happy with the in hand feel of the knife.
 Rough Rider Knife kit build... and long video!
 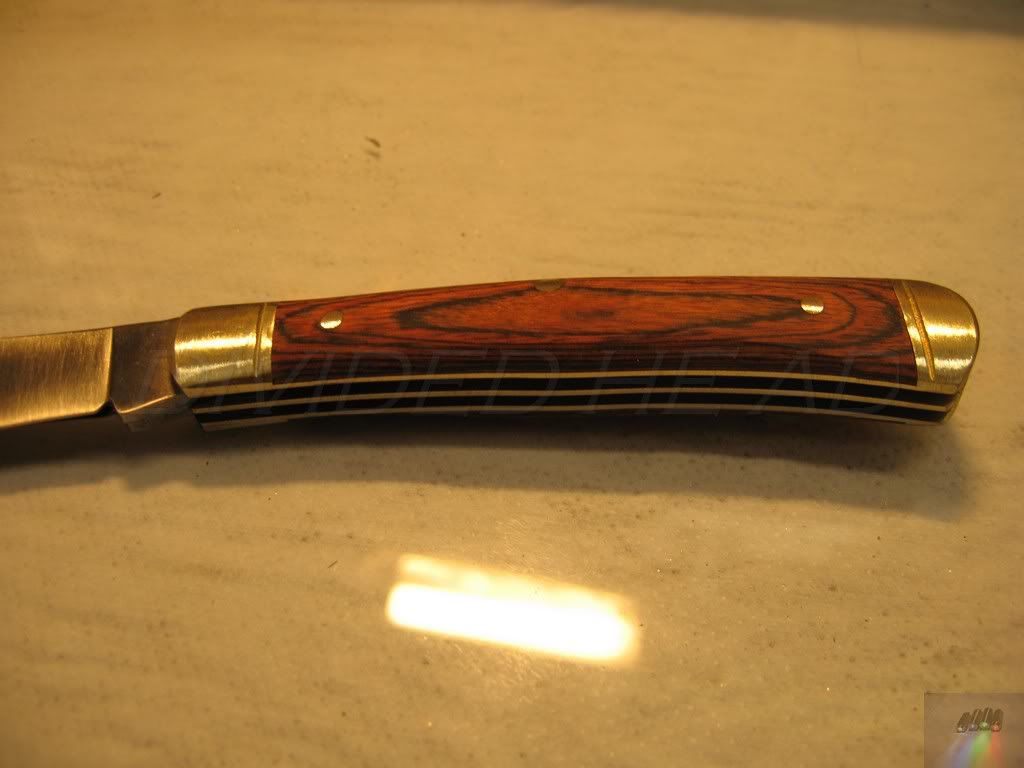 Rough Rider Knife kit build... and long video!
 Then a quick seeing to on the polishing mops lead to this.... and yes, that is the finish of the wood off my polishing mops too!! Some cool hard wood, don't know what it is exactly? But it's great
 Rough Rider Knife kit build... and long video!
 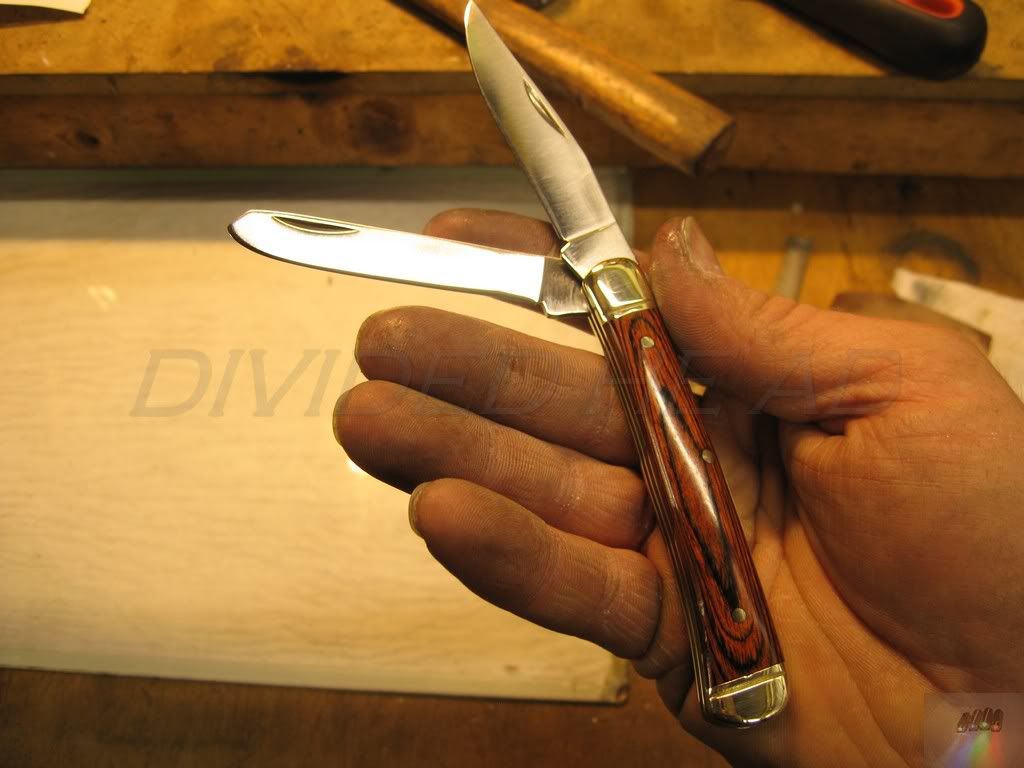 Rough Rider Knife kit build... and long video!
 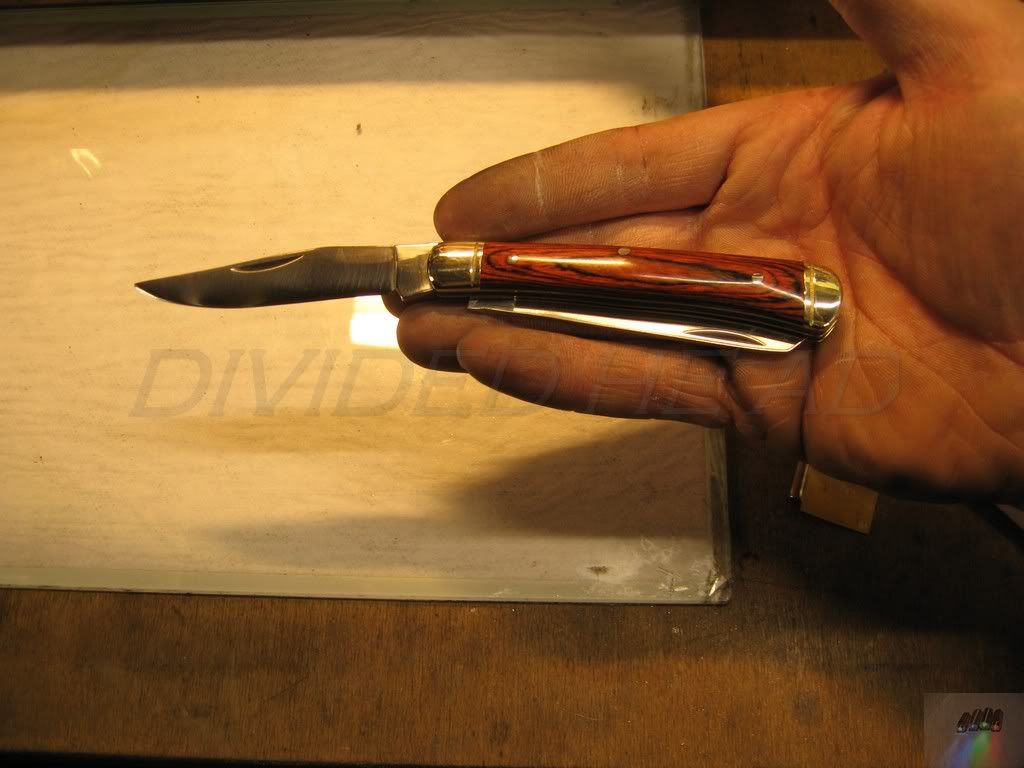 Rough Rider Knife kit build... and long video!
 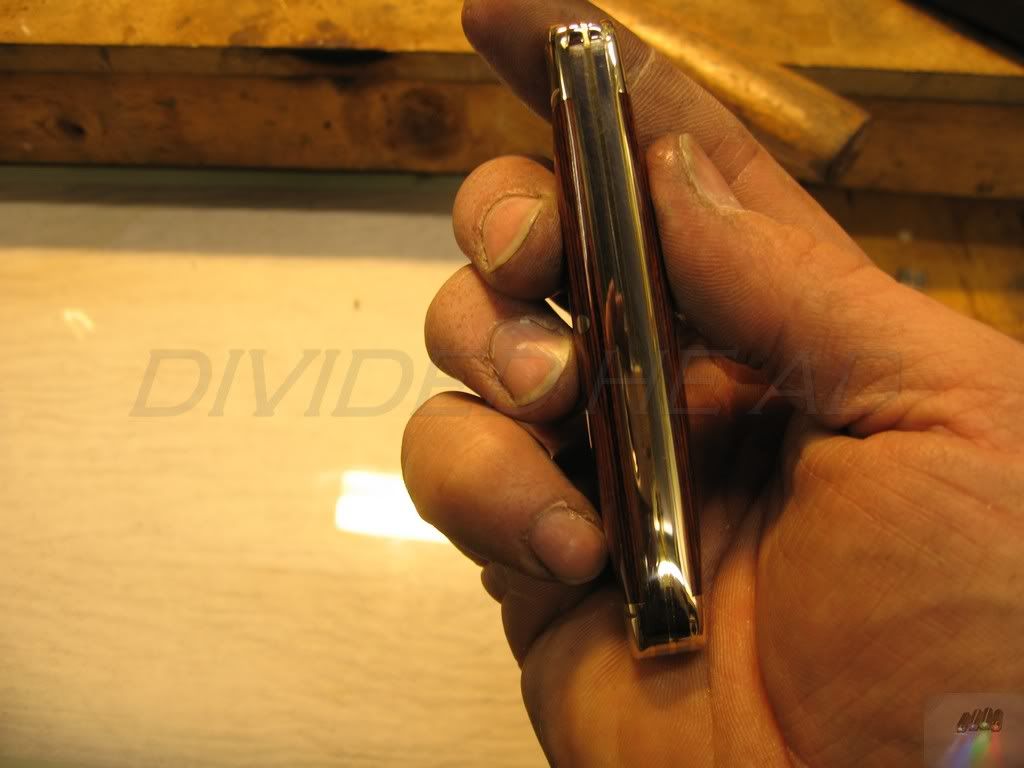 Rough Rider Knife kit build... and long video!
 Well that's it. A very pic' heavy post I know but it seemed a little easier than breaking it up into little ones.
Hope that some of you like it, I know knives are not everyone's cup of tea but I wanted to have a go so I did.
Daft bit is this is not U.K. legal (Blades longer than 75mm) so I can only use it round the house or when camping... Oh well, it was a lot of fun making it....
Got 2 different kits on the way now
Ralph.
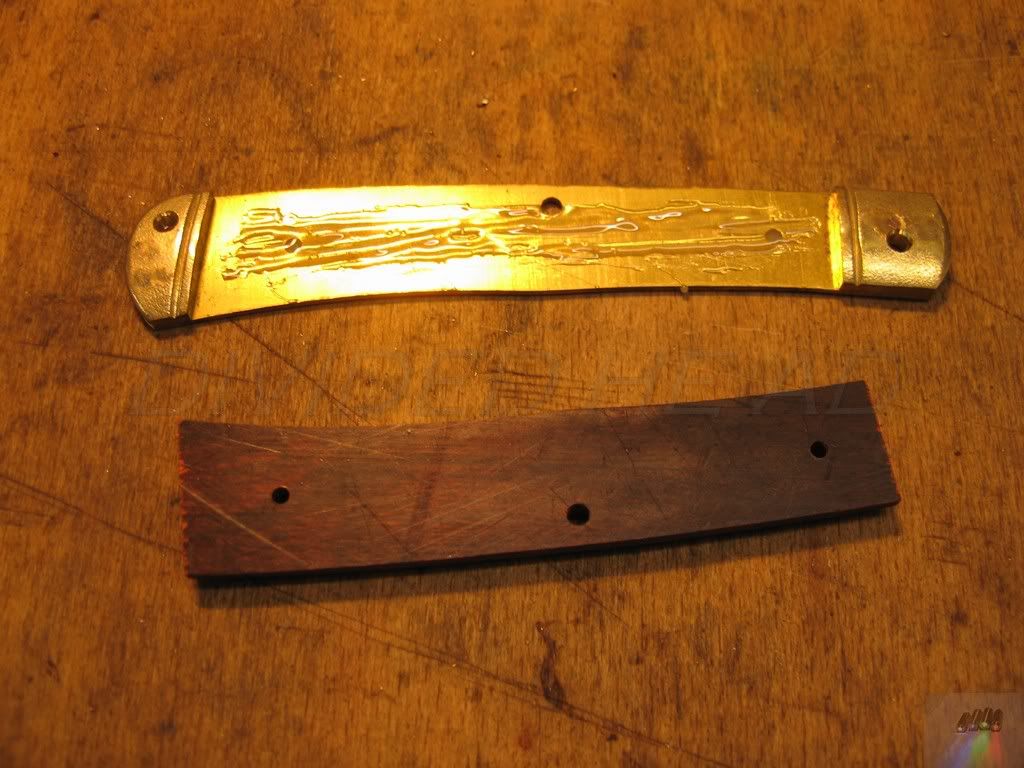
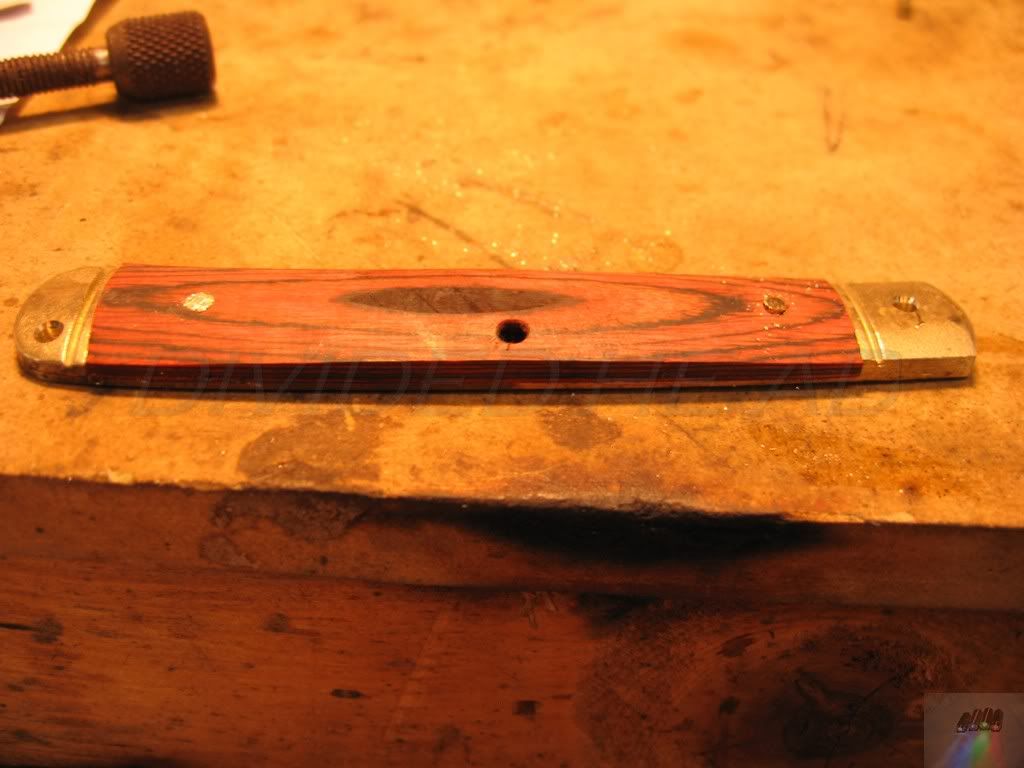
P.S. If you want to see the "Character" I installed in the scales. Look closely at the top pin in the wood....
 Rough Rider Knife kit build... and long video!
 Not really that bad


