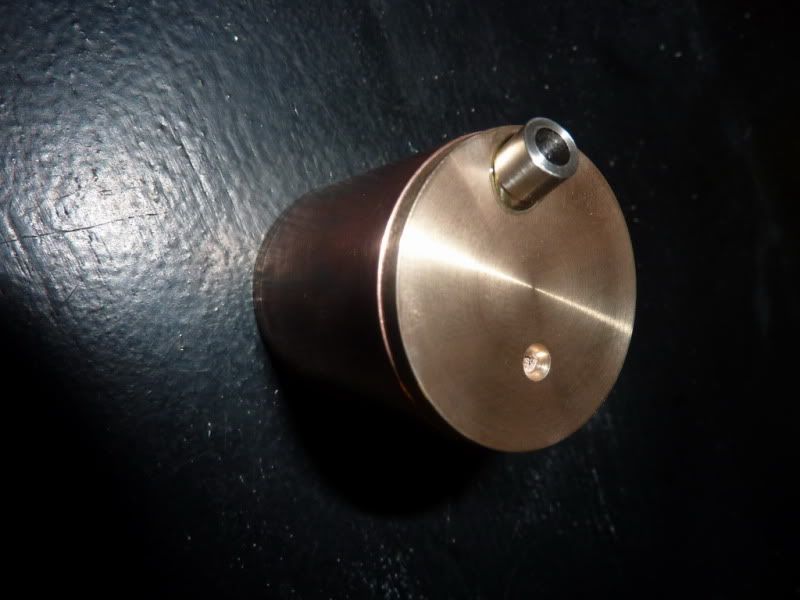
Made more progress last night and finished the burner for the engine, which completes the last piece of the engine but unfortunately not the last piece of the puzzle :o( More on that in a bit though!
Heres how I did the burner:
I had a bit of copper tube in mind, only slight annoyance is it had some sort of plating on it. Turned up a nylon bung to fit the tube as I quickly realised I was just going to crush it in the chuck.
Faced off to length:

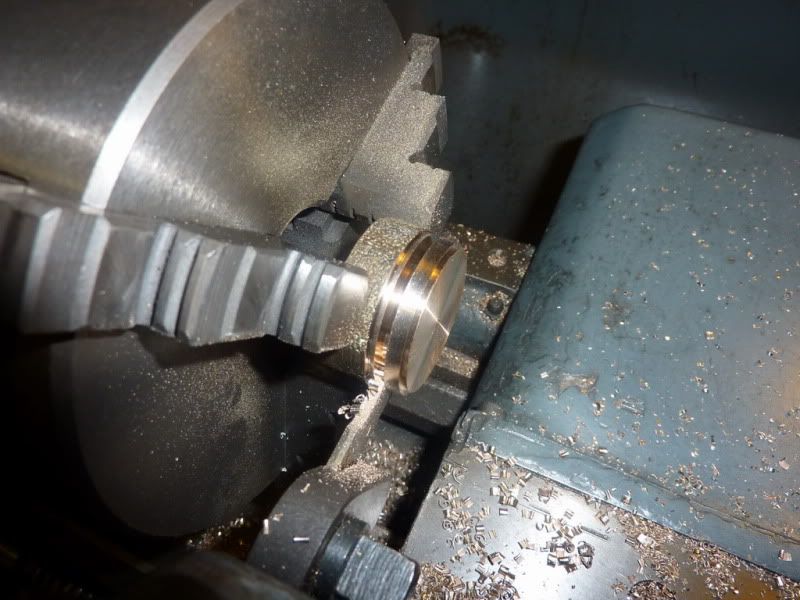
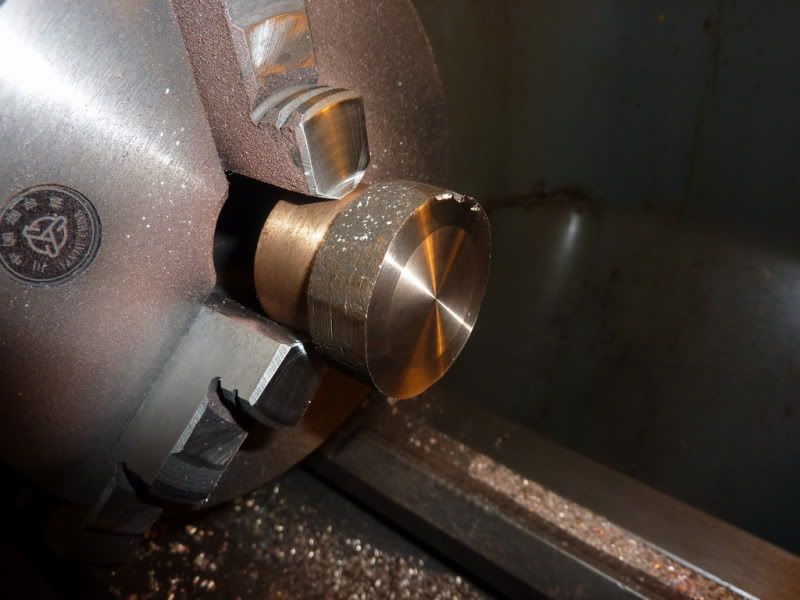
I have about a foot of 1 ¼ ish cast gunmetal, have no idea where it came from but I decided to use that for top and bottom:
Facing and putting register on:

Parting off:
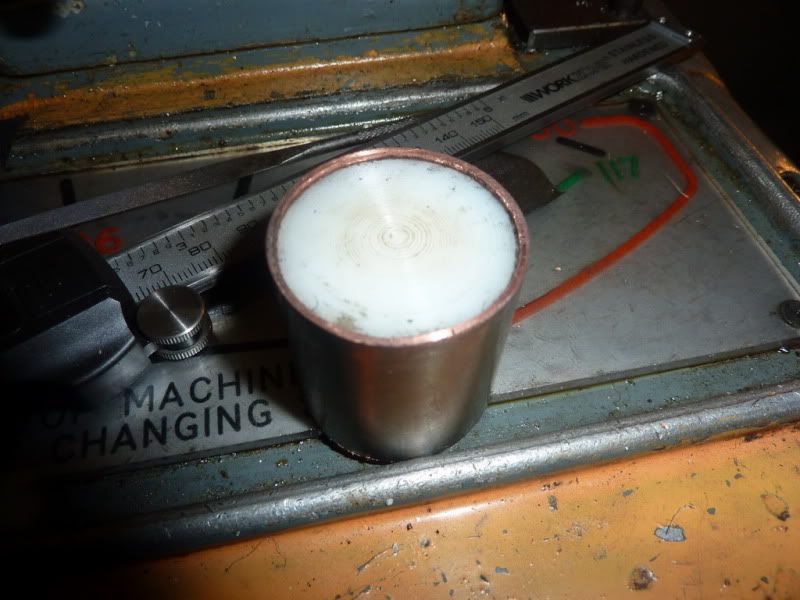
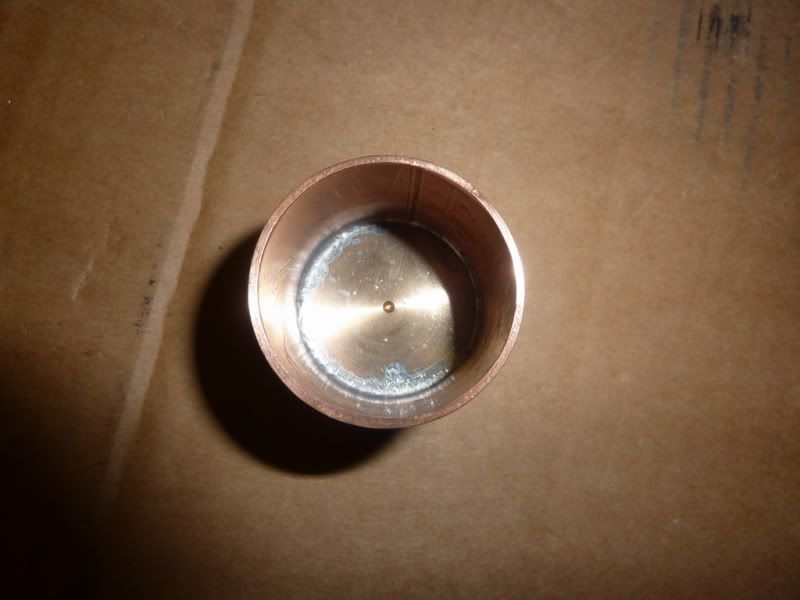
Good fit:
Ready for soft soldering, I just used some electrical solder and some of that soft solder paste stuff which acts as a good flux:
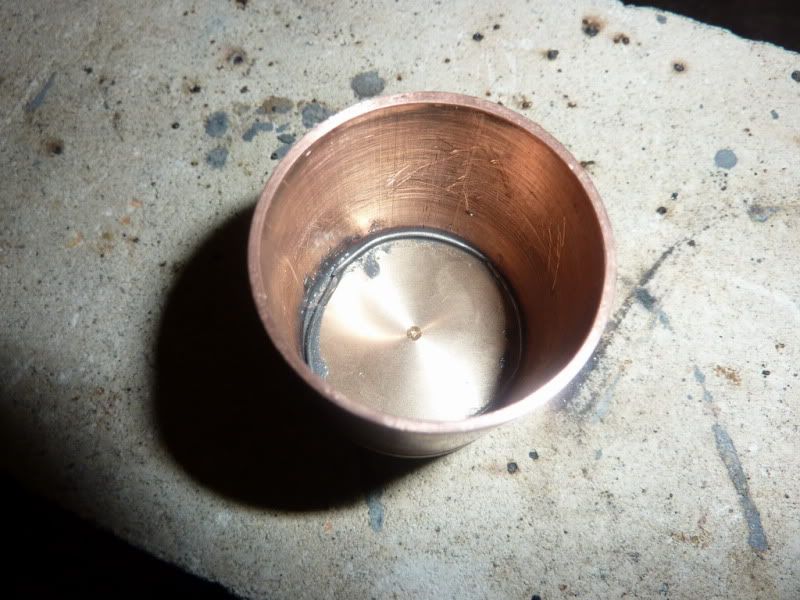
After a little cleaning up:
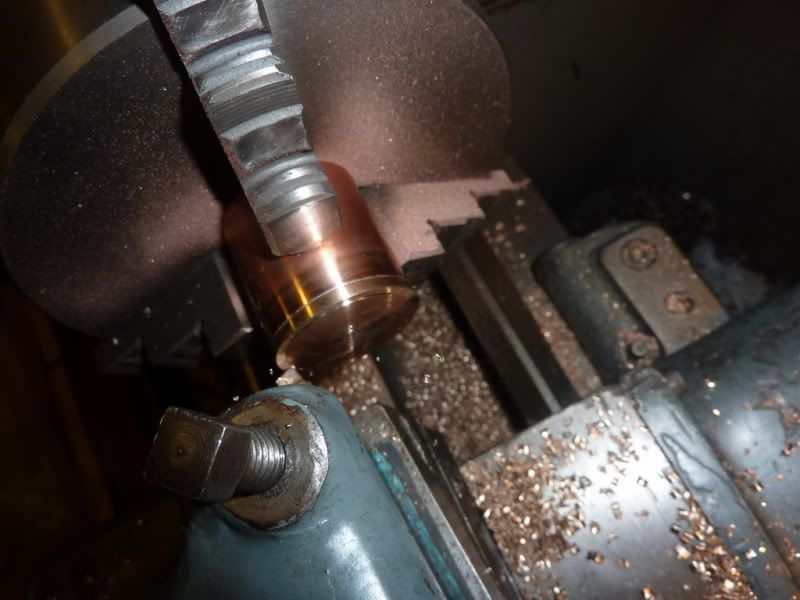
Facing off due to parting pip:
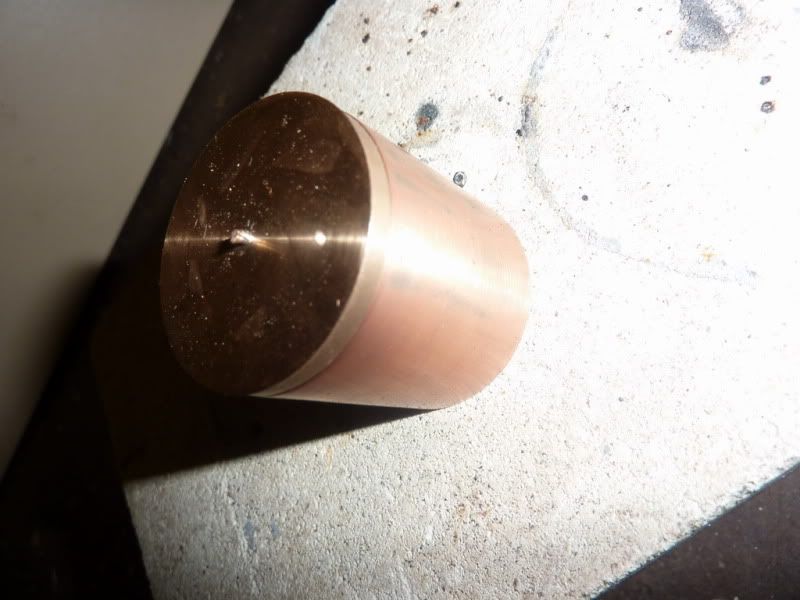
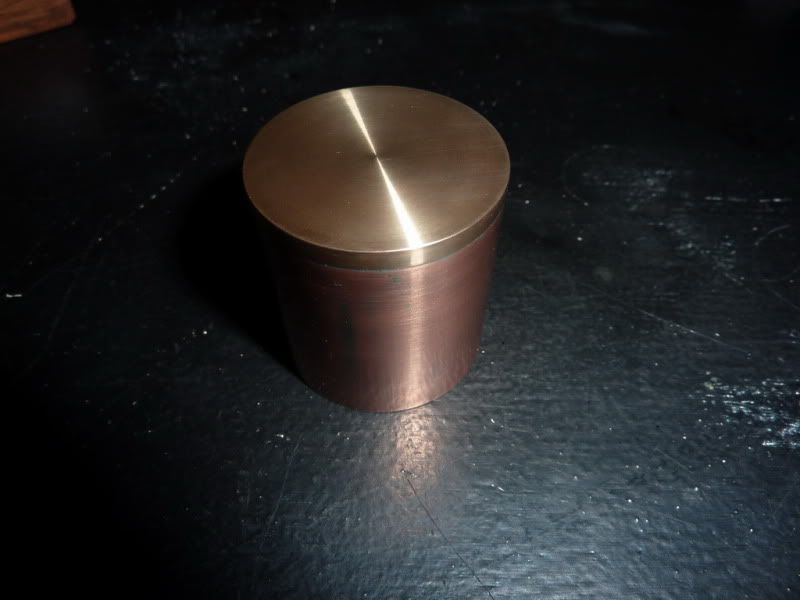
Here it is with the bottom soldered in place and a bit of polishing. I havent fully got the plating off but itll do!
Turning the top was pretty much the same as the bottom; just put this pic in to show the weird difference in surface finish part way across the cut. Must be something to do with the way its been cast.
I drilled an air hole then a hole angled at 22.5 degrees. I was worried I wouldnt get close enough to the cylinder with the wick if not. I then turned a stainless steel bush and loctited it in before a bit more polishing. The fit of the cap is a tiny bit tight really, well, its just theres not much to grip to get it off! A pain when its ½ full as you tend to spill meths! I was originally planning on putting a little knurled knob on it but couldnt be bothered!
Pic of it on engine base:
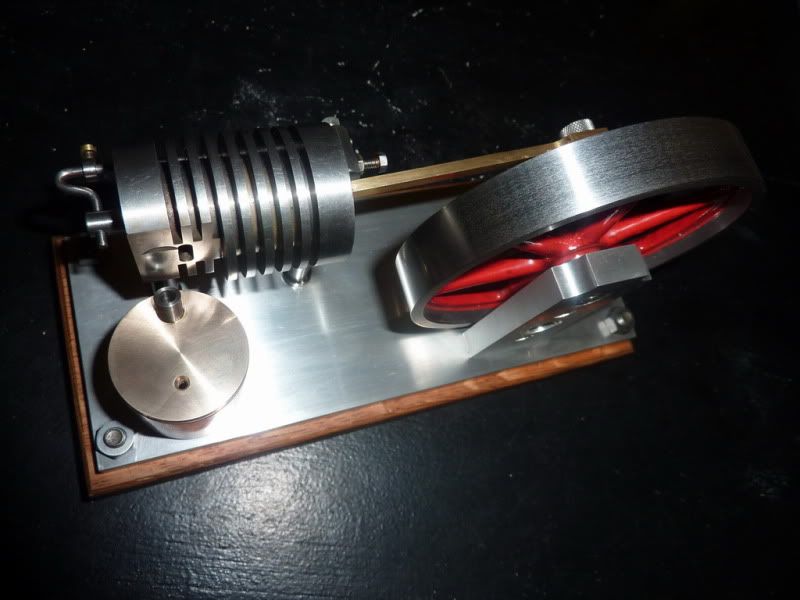
I tried to run it again tonight unsuccessfully. I did find out a few things though. On mine, it seems some sort of lubrication is going to be essential. Without it, the meths Im using puts a nasty deposit on it pretty quickly, jamming it up. But with oil present, it doesnt build up.
Im not sure why it wont run but have been in contact with Jan ridders who is going to do some experiments on valve timing and let me know the outcome. I just cant get much out of it at all. The most promising results were when I slackened the rear collar off this means that when the valve shuts, the suction pulls it further into the cylinder. I then almost get a sort of power stroke if the flywheel has enough momentum to carry it over however, at that point the valve gets a bit tight in the bore so I clearly have clearance issues. If I take a little off it to avoid it being tight, itll probably not be sufficiently air tight. I think I may need to ream the cylinder bore out and make new piston and valve.
Also, at the same time, because the valve got stuck, me spinning the flywheel loosened it on the crankshaft and because Ive stupidly put the grub screw somewhere I cant get at, Itll have to come to bits to tighten back on. In doing this though, I found another possible issue. When the flywheel was loose, I moved the conrod manually with the flame present and if I quickly put it past bdc, I felt a definite power stroke trying to pull it back. So Im thinking of trying an experimental aluminium flywheel as I fear my big dia. Cast iron jobbie might have too high moment of inertia.
Another thing I noticed whilst studying the pictures, tips etc on Jans site was that his wick is about 2 x the diameter of mine. So maybe the width of flame needs to be much bigger. Not sure if I have scope in my burner to go quite that big so would need to re-make the lid.
Sorry if all that is difficult to understand. I find myself rambling when things arent going to plan! When I looked at the design of the engine, I didnt think there were many variables as they were inherent in the design how wrong was I! Still, hopefully Ill get there one day.
Disappointing but lots of things to try. I just need to do them in a logical order.
Nick


