Hi all,
You're right Bogs, I need to calm down a bit. It doesn't really matter if it takes another week or another month, hence I've come in at 10:30 - pratted around on internet for an hour instead of writing this up and now I'm tired!

It just initially annoyed me when I got back in the shop after a while off as Im used to the alarming rate people churn things out on here!

Tonight I just made the inlet nozzle. I had to do a couple of modifications on the fly. The first was that I had run out of my 5/16" hex brass bar. I knew I had some quarter inch steel hex so looked for that. To be honest, 5/16" would have been too big in any case. The 2nd mod before I even started was to change the hole through it from 1/8" to 3/32". Looking at the drawing it was getting a bit too thin at the front of the nozzle with the 1/8" hole. I will update the drawings to reflect this if it works, then other people can have a go if it's any good.
I decided itd be best to do the nozzle end first, cant remember why, but this turned out to be a mistake! Will get on to that in a min!
Must apologise again for the quality of some of these photos, I just havent got the light right or something but dont really have time to mess around with that at the mo.
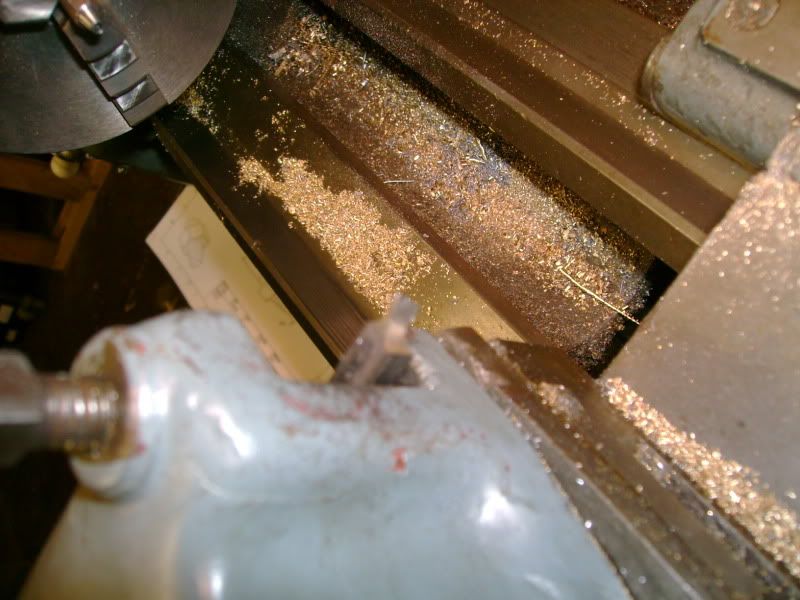
Plain diameter turned, note compound slide now set over for taper cut.

Taper cut, drilling hole through.

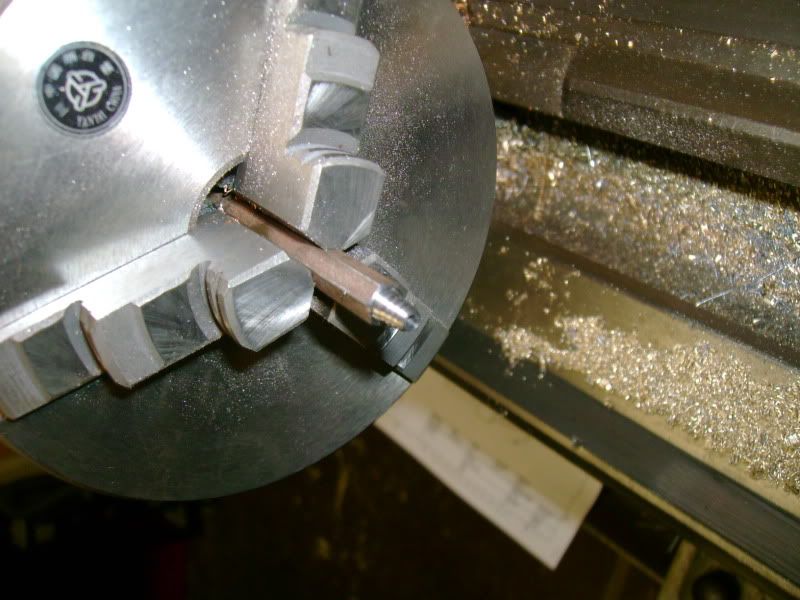
Not a very good shot but its supposed to be of the tool I ground to cut the grooves - Is this called a barb? I ground the tool to 50 thou thick with a 21 deg angle on the end this was guessed its not really critical. There are 5 grooves / flanks whatever you want to call them over the 1/4 nozzle.
The nozzle end finished.
Quite pleased with how that went I was admiring it when I suddenly thought, how the hell am I going to turn the plain dia and cut the thread on the other end now, since I only have 3/16 hex left to grip and I would be machining right up to the chuck at that.
If I had done it the other way around, I could have tapped a bit of rod and screwed it into that to cut the nozzle end, but this way I had no chance. Unless, I used the ER collet chuck from milling machine so this was the plan. I would grip the very small parallel section on the nozzle end and take light cuts to get the thread dia down to size then cut the thread with a die.
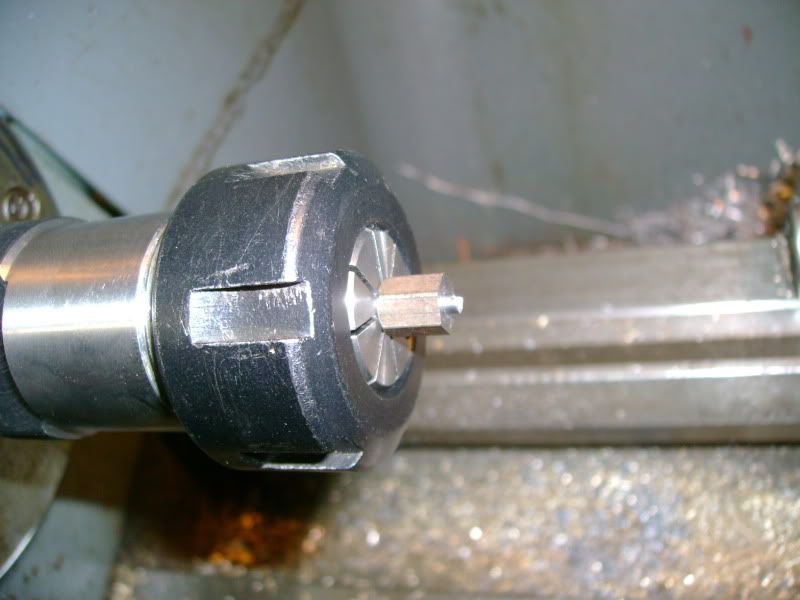
It fell out once, hadnt tightened the chuck enough, but luckily there was no damage and it lived to have another go. I put a drill down the middle so it wouldnt crush anything and nipped it up pretty tight. It worked. I used the small grooving tool to make a thread undercut.
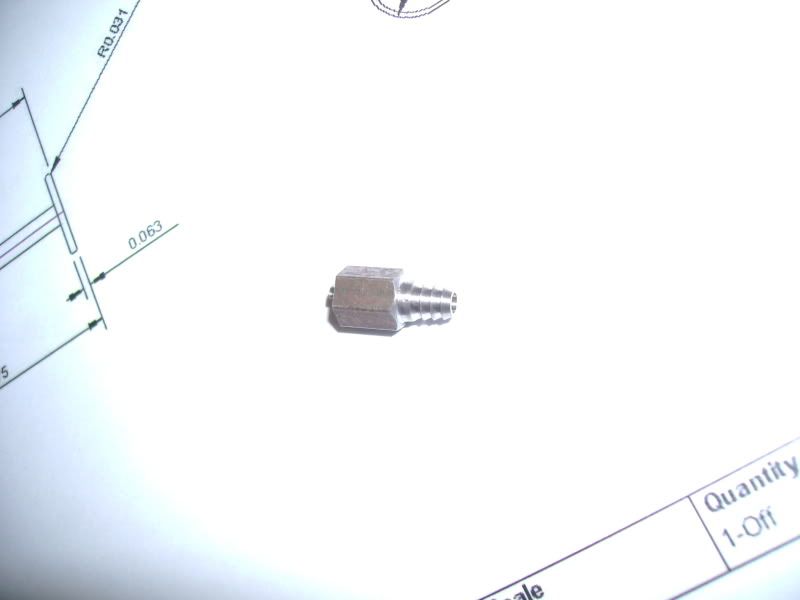
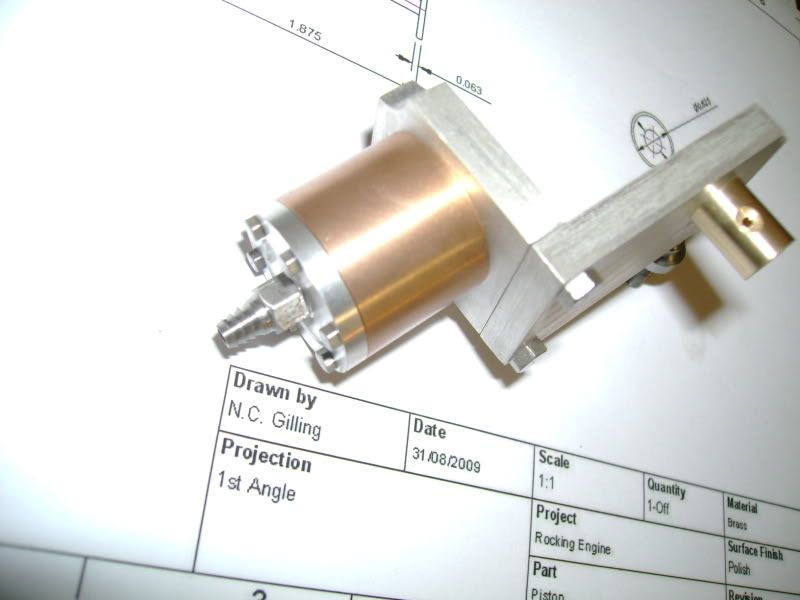
Inlet nozzle added to assembly.
At this point I thought Id cut my losses and just started to gather the materials together for the remaining components.

The wood is for the piston, brass hex for the flywheel and large dia steel bar to give it a nice sturdy base. Not really, just checking youre still awake!

Unfortunately I couldnt find any round brass for the piston, the only suitable brass I have is the 3/4 hex, so itll have to be made from that. Seems a shame but its not really wasting it is it.
Stew, you might recognise the steel for the flywheel, its an old proof shot nose! If I recall correctly Ive machined this before and its pretty tough but not that bad. Not looking forward to sawing it though!
I couldnt find any steel round bar big enough for the crankshaft either, until I looked in another box under the bench and remembered I had a large length of what I think is some sort of chromium steel? Just to prove I use a hacksaw:
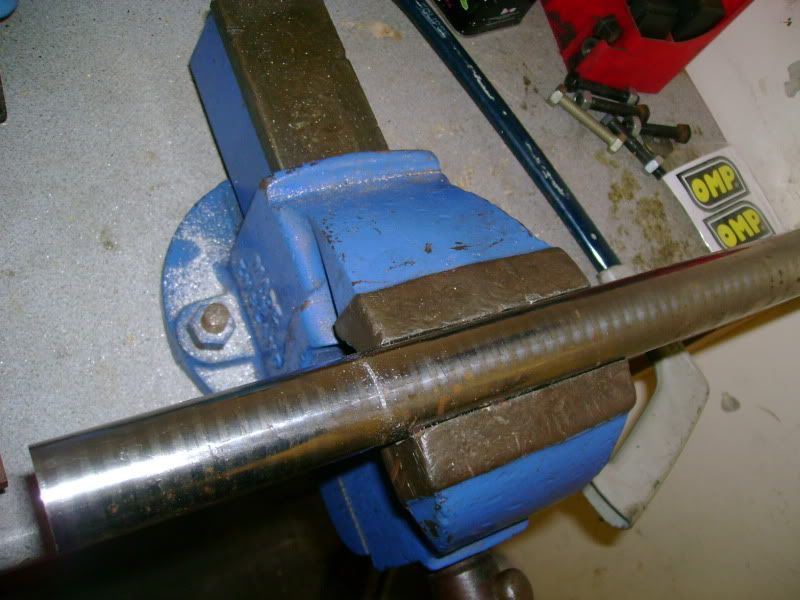
Not much fun but I timed it and it took exactly 5 mins to get through this 1 ¼ bar.
Stuck it in the lathe and did a quick machining test. Took a few facing cuts across. Left a good finish and didnt seem too hard. Then turned down a bit, this didnt give such a good finish but this was at about 300 rpm. Gave the tool a rub with water of air stone and it gave a much better finish, so I think Ill just need nice and sharp tooling for the finishing cuts. I think itll take a while to whittle this down to size though.
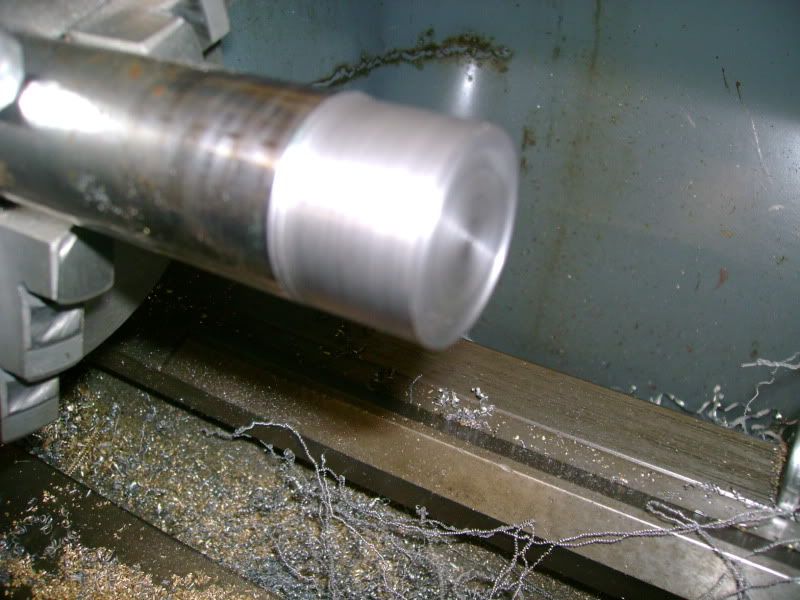
On the diameter it gave a bit of a weird finish, it was fine, but sort of a bit rough to touch. Like very very fine sand paper. Almost as if its left microscopic tears all over the surface. I wonder if my rake angle is too high and it would prefer a shallower one like brass? Never the less, all it would need from there was a very slight rub with emery cloth to make it nice and shiny.
Bit more pleased with my progress now, theres still a bit to do but at least I have a bit to show for it now.
There are a couple of straigh forward components and a couple of critical ones but they are straight forward really. Apart from the crank, I remember what a pain it was to set off centre in the 4 jaw last time. This time I might try to make a split collet and do it in the 3 jaw.
Still to do :-
2 Off pedestals
Wooden Base
Crankshaft
Flywheel
Piston / rod / big end combo
So, thats only 3 more bits to see if itll run 2 more if I rob a flyhweel off something else! No, thats cheating. I might even make the base and pedestals first so it stands up by itself!
Thanks very much for following and for all your comments / advice.
Nick
Ps. hope you are enjoying this as much as I am. If you have any suggestions about how I should write the thing up please let me know. I do tend to waffle a lot and Im not sure some of this is worth putting in, theres a lot of straight forward turing / milling.


