Hi all,
Started the rebuild of my aluminium furnace about 2 weeks ago. In its old form it had been running for about 5 years on a home made rectory of fire cement and perlite. I recon about 200 melts of a scrap to ingots and various pours for my Gingery lathe and Shaper.
As

here are a few to get going
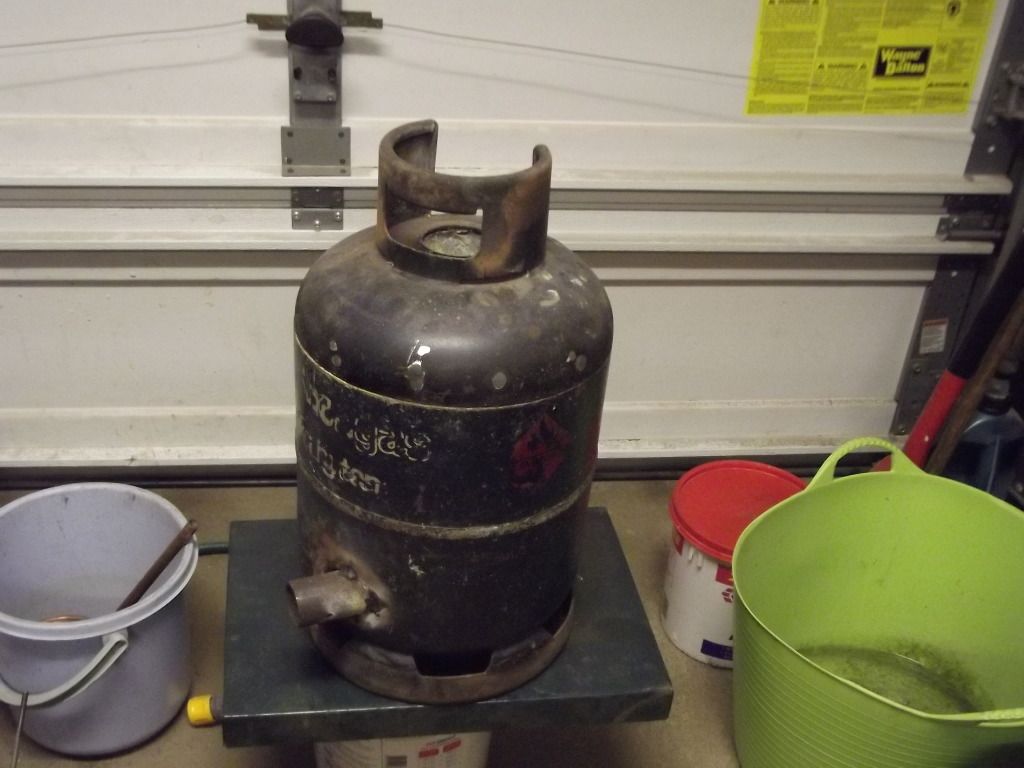 Furnace rebuild
original before strip
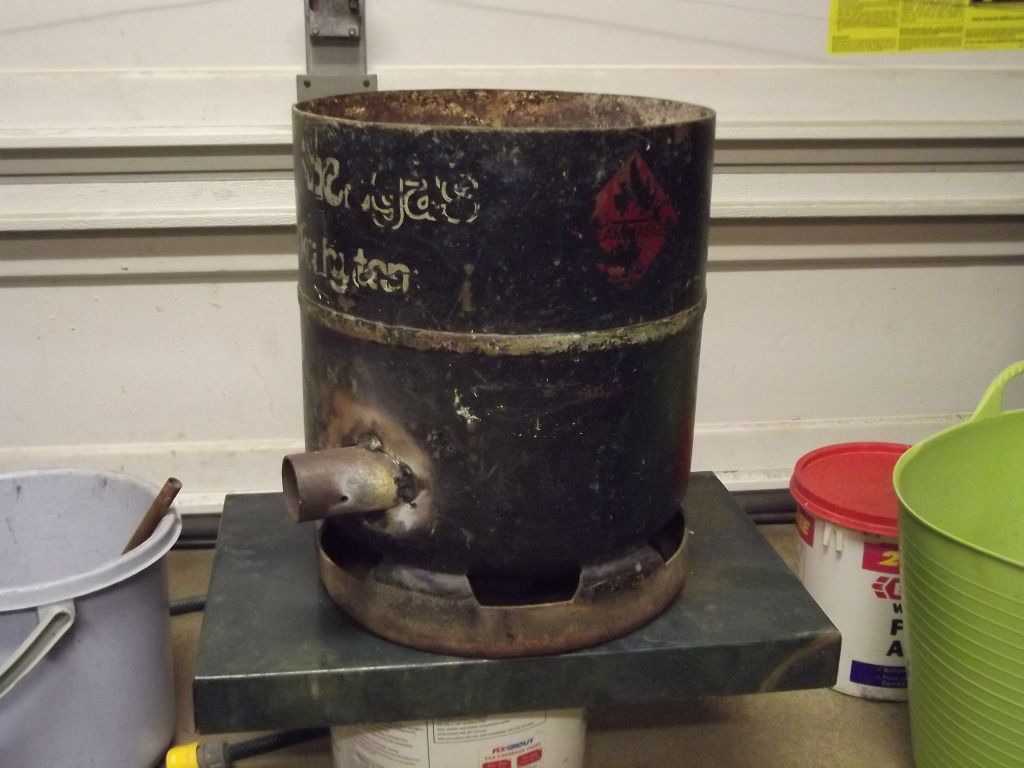 Furnace rebuild
side view
 Furnace rebuild
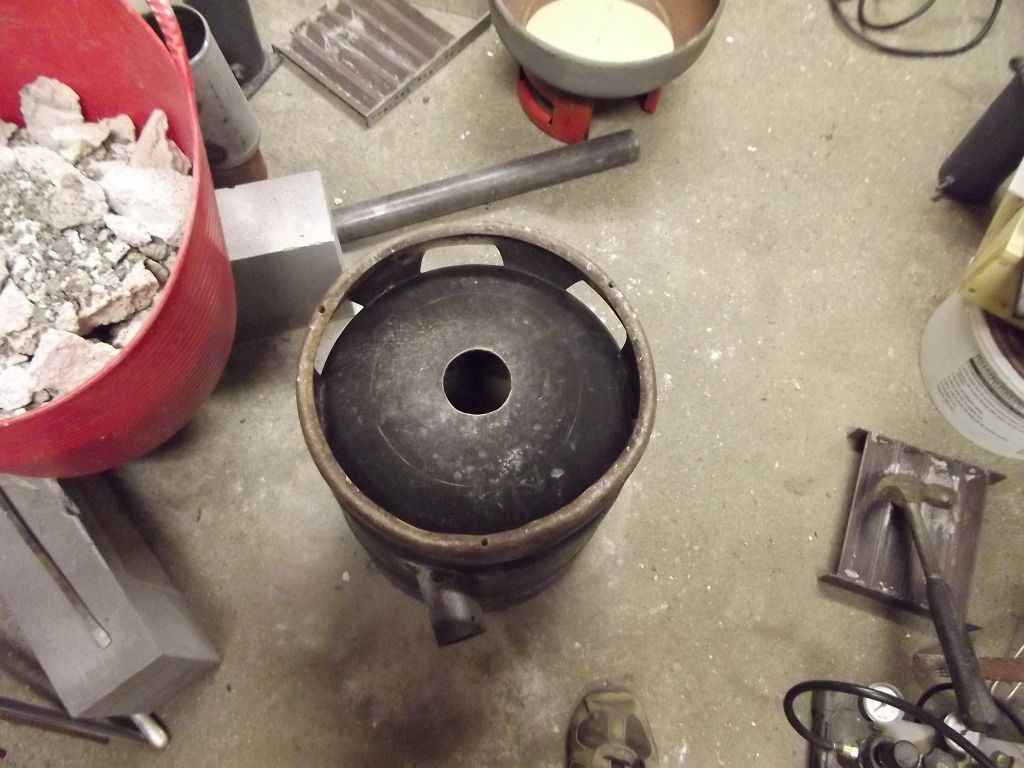
lining removed
 Furnace rebuild
lid which will retain the old home brew
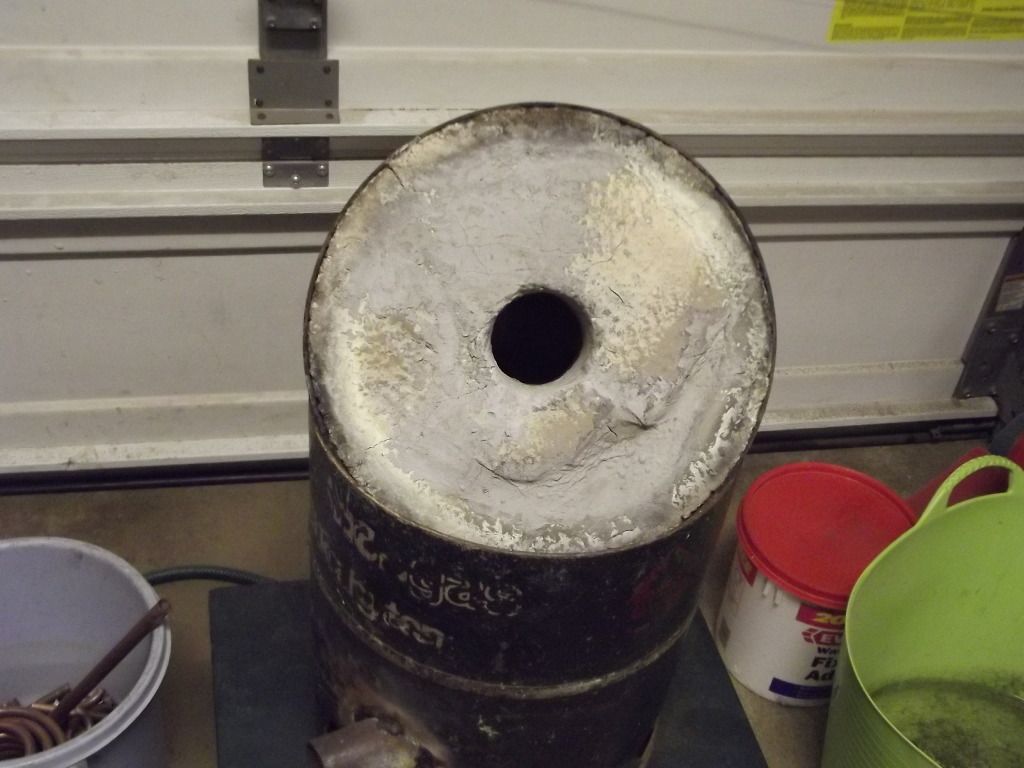
 Furnace rebuild
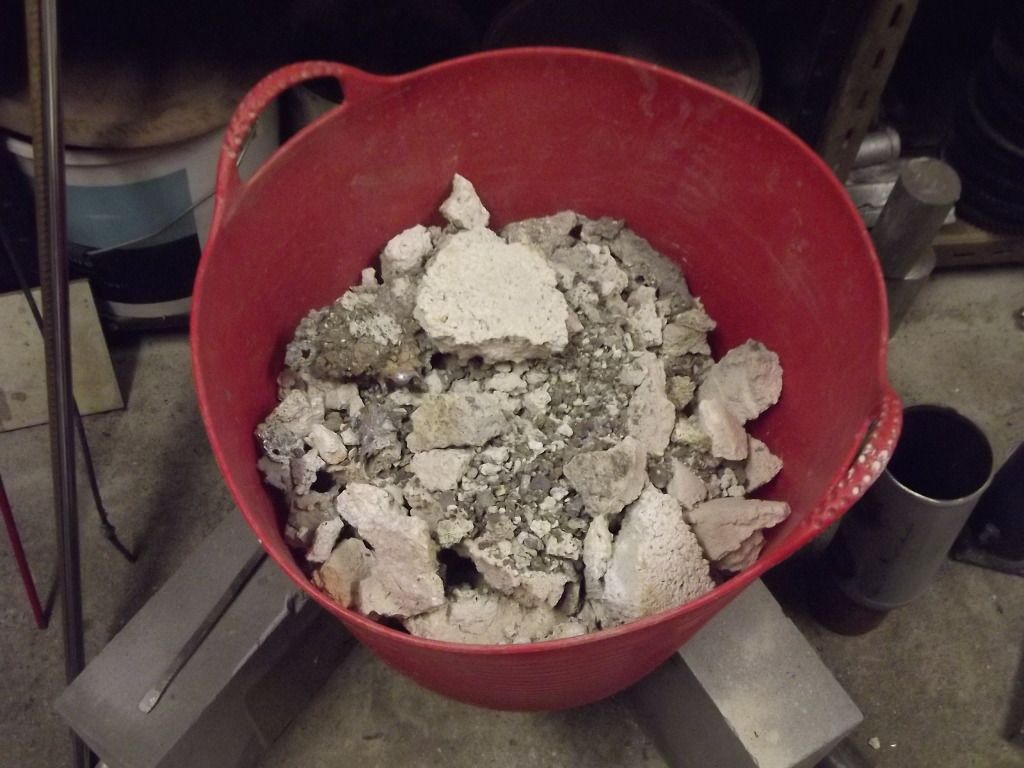
and the old lining which is remarkably solid, was just the hot face that was burning away
As can be seen the outside never got hot enough to burn the paint off. Just hope the commercial refractory (1700c) works as well.
More pics of the lining process to follow.
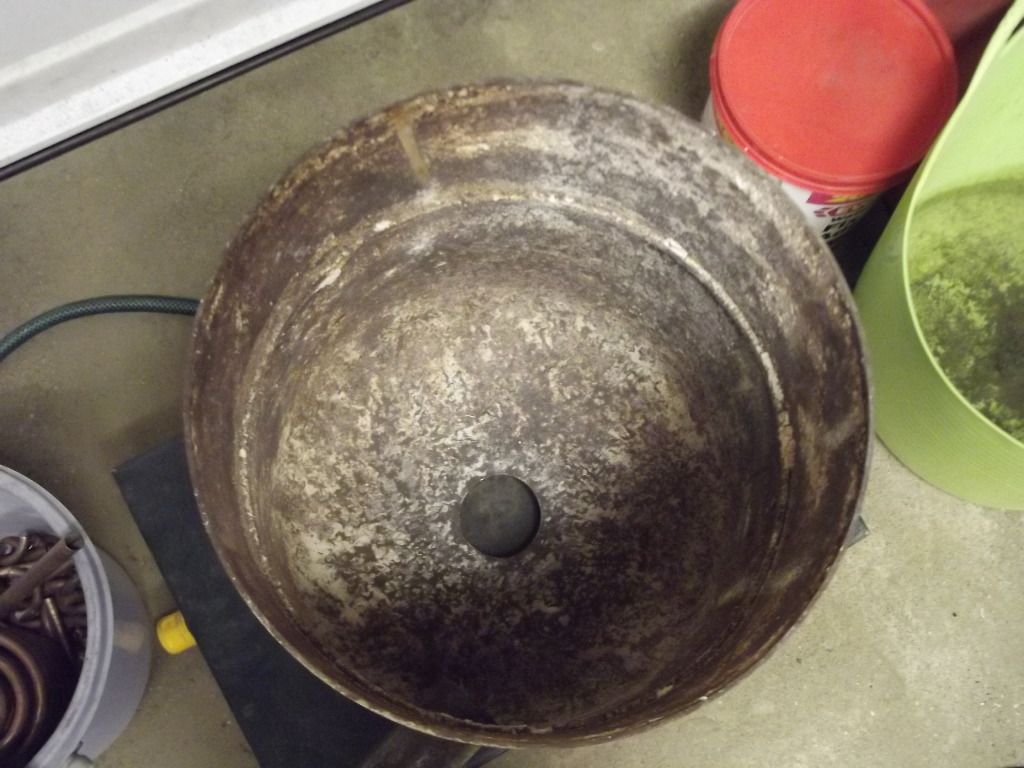
 Furnace rebuild
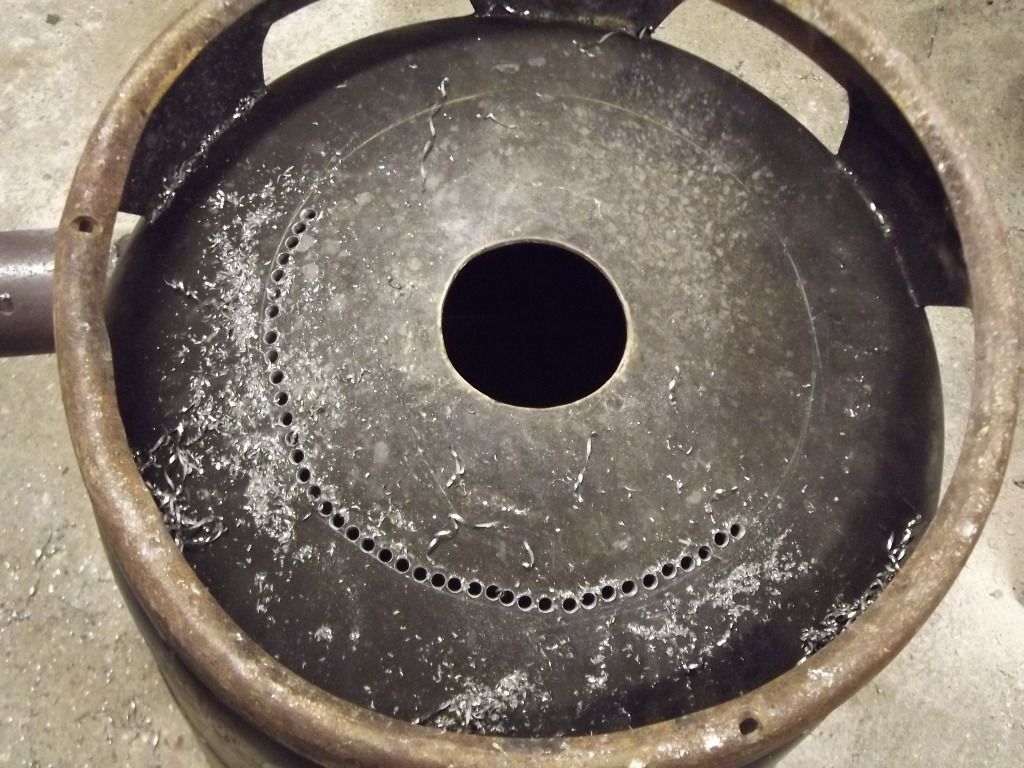
this is a shot of the original spill hole
 Furnace rebuild
chain drilling for the new base
 Furnace rebuild
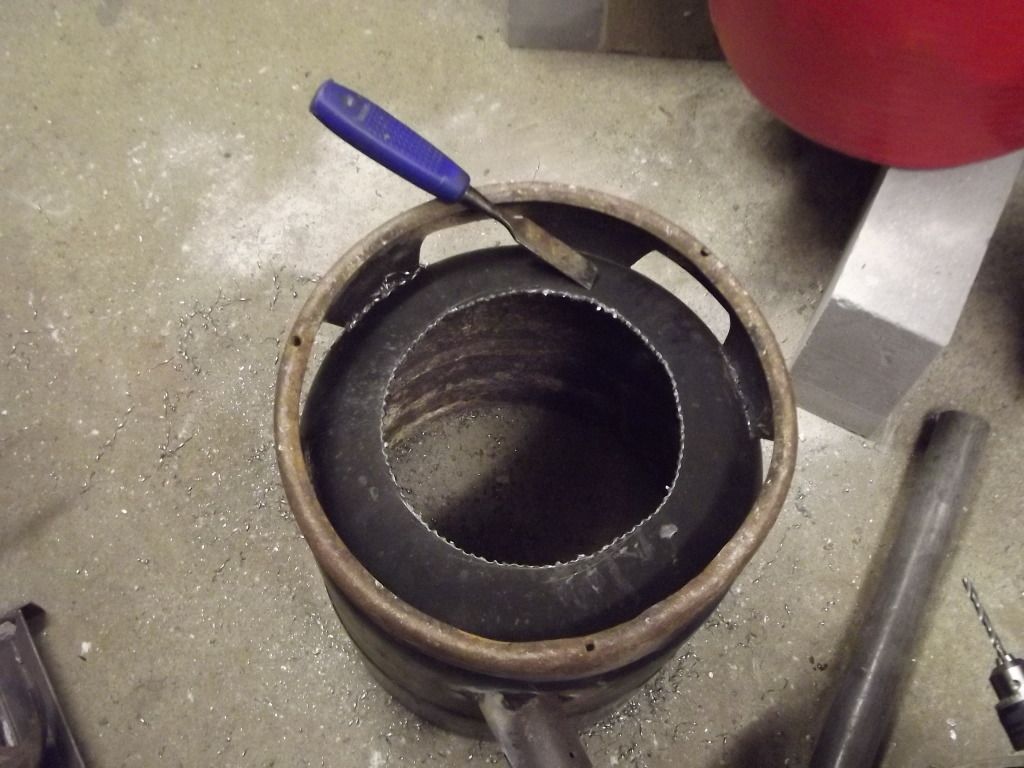 Furnace rebuild
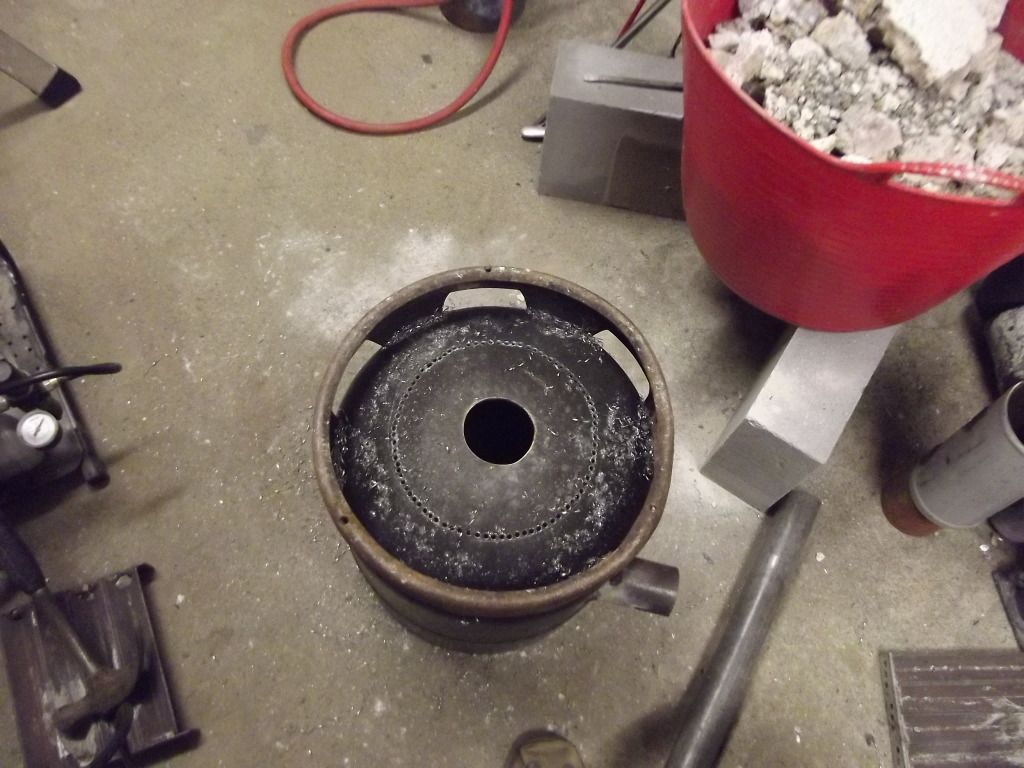
and chopped out with a chisel
 Furnace rebuild
support ring for new replaceable (cheap) base tacked in place


