I owed a friend some favours and since I have been working with some perspex rod thought this might be a good Thank You gift.
A simple design for the base, 3D printed of course.
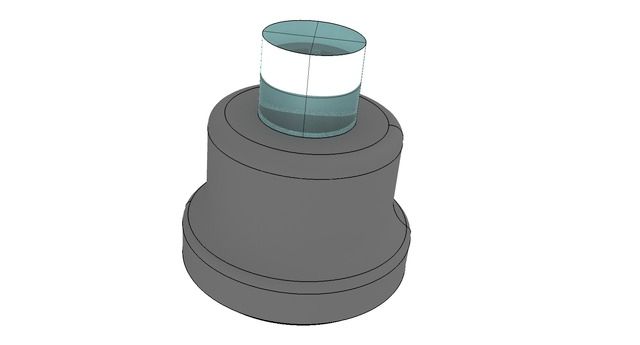 PRECISE OPTICAL LAYOUT FOR CENTER PRICKING
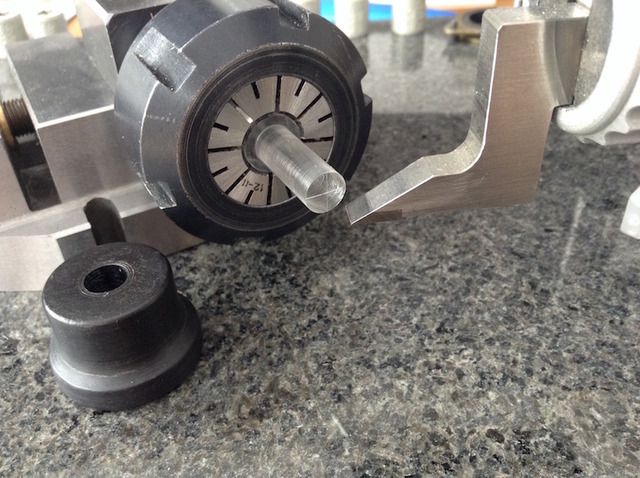
 As I have an 8mm reamer that pretty much set the size the bore was going to be. Next job was machining and polishing the Perspex rod and then setup for marking.
 PRECISE OPTICAL LAYOUT FOR CENTER PRICKING
 Since the rod at this position is nuts on 8mm, I just had to zero off the top and -4mm for my centre line. Rotate the Square block collet holder (re-zero as the collets are

)
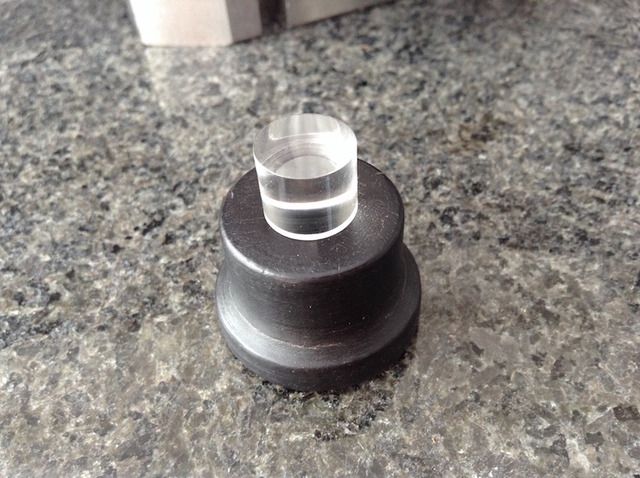
Put it together and test the optics.
 PRECISE OPTICAL LAYOUT FOR CENTER PRICKING
 Tight fit, but it will loosen up with use.
 PRECISE OPTICAL LAYOUT FOR CENTER PRICKING
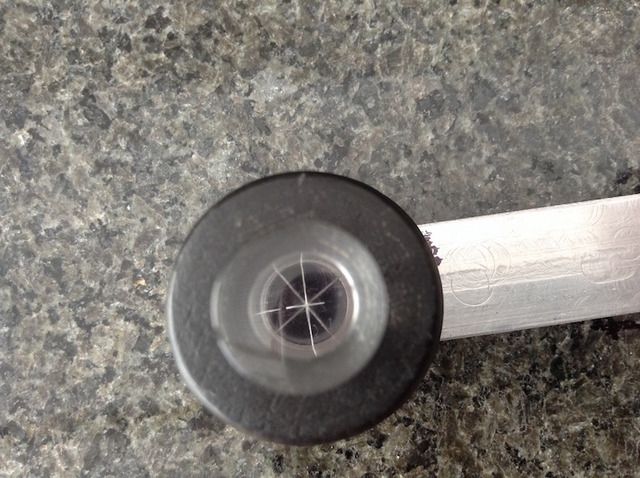
 My scribe lines are a bit thick, but a quick polish with Brasso of that end would sharpen them up a little. Next job, find my 8mm silver steel and make the punch.
All the optical surfaces are finished with fine emery paper and oil, cleaned then polished in the lathe with Brasso and paper towel. 5-10 mins work per surface. If you cock up the marking just polish it out and start again.


