Using Preview...
First get your pictures onto the desktop, then click on one, as default it should be Preview that opens it.
If you want to just select an area of the picture to use, click and drag the mouse to select an area. This will give you a highlighted box as below.
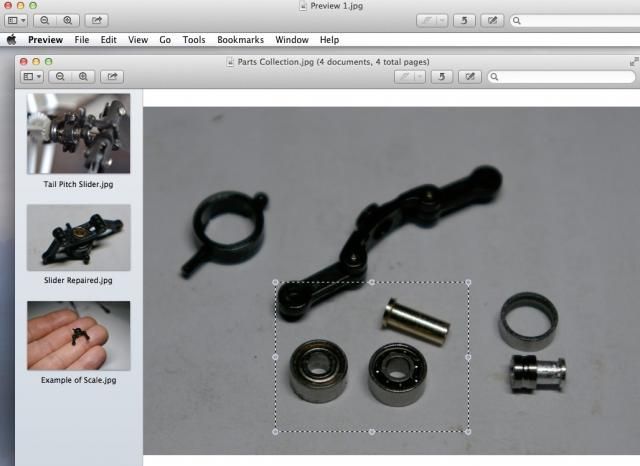
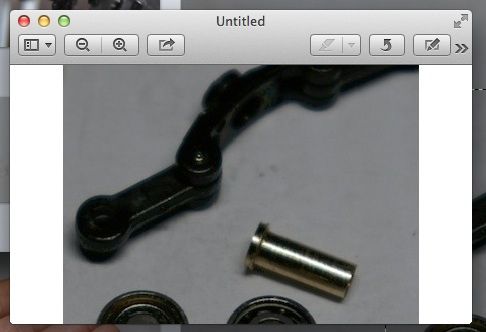
Go to edit menu, and select "Copy", then move to the file menu and select "New from Clipboard". This will make your picture look more professional by cropping out all the unnecessary detail.
Next go to the "Tools" menu and select "Adjust Size" here you can enter the size you wish the image to be. Once thats done it's back to "File" and select "Export", here you can specify if you wish to save as a jpeg (saving space) and where you want the image to go. For beginners its probably better to save it on the desktop so you can find it by minimising any windows on the desktop. From there you can have the fun of sending it to Photobucket rather than dumping it straight onto the forums. Photobucket has some good help tutorials to get you going. This is a very quick guide to using Preview, as standard on your Mac computer.
Joules


