Here we go guys, next instalment. I've copied the text off the other site and tried to match up the photos. I couldn't find a couple, but I hope you can get an idea from the context.
The top of the far post is showing some twist (or wind I think some people call it);
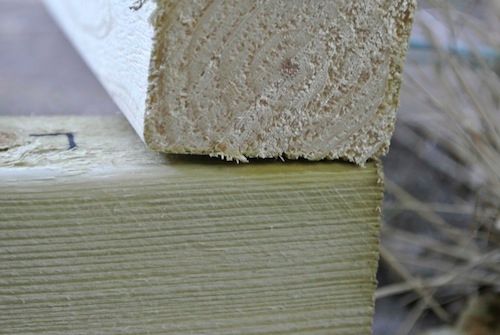
The others are laying much flatter so those timbers are probably straighter. This brings up the problem of how to cut the joint. If there was going to be a tenon on the top "beam" I could cut the mortice "square" to the face of the post. When joined the joint would force the post square, straightening it. (or it would if I was good at these things and didn't leave massive gaps ) However this puts tension into the thing which could be a problem. I could trim the face of the twisted post to be square to the beam, or cut the tenon "shoulders" to the angle of the post face. However, this is all too brain numbing so I'll just blunder in regardless and see what happens .
As it is, for this joint the tenon is going to be at the top of the post. As the beam doesn't extend beyond the top of the post It's going to be either like a square peg with all the sides trimmed off, or more likely to have three sides trimmed off, leaving enough room for the wooden peg which'll hold the joint together. I'll still have the problem of how to deal with the twist. I think I'll "scribe" the tenon up from the top face of the beam. Which means that I'll mark the end of the tenon on the top of the post, parallel to the beam rear face.
Confused, have I lost you? Well I'm now more clueless than I was when I started, we'll just see what happens shall we
I've started to mark out the joints, first I'd numbered them (well with letters actually) and written which bit were wot and which way up it goes to save confusion later;
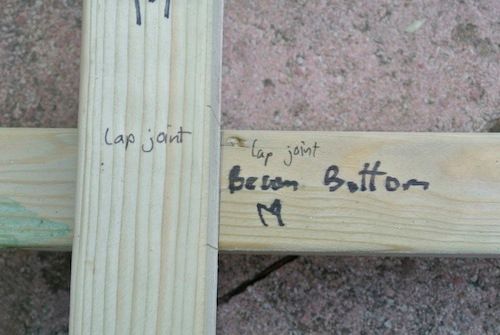
Then I started to mark out the tenons at the top;
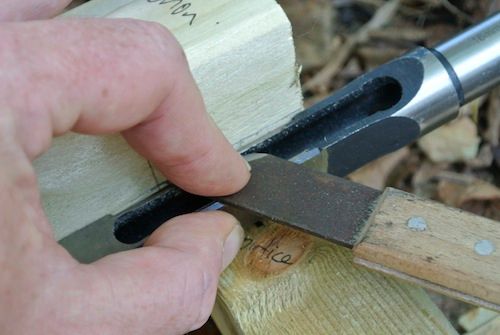
I'm resting the mortice chisel on the "beam" as this is pretty square and straight. The chisel is close to a third the thickness of the wood so is a good measure to get it to work. I marked with a knife first, then pencil so I can actually see the line On this joint, there is twist in the tenon piece so on one side the tenon will be closer to the edge than the other. It'll look "on the p***" but hopefully it'll be in line with the mortice (famous last words ). I can plane the twisted face later to make it look straight!!
The next piccie shows me using a square off the back face of the timber to mark the ends of mortices and shoulders of tenons. This also shows up any twist in the "beams" which are the lower timbers;
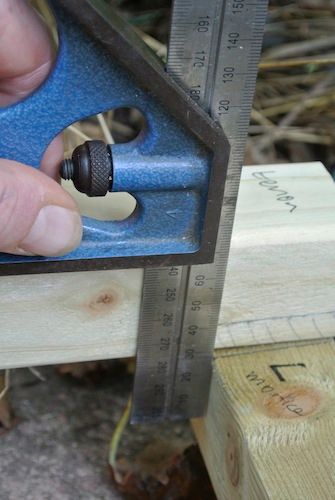
The good thing about using a knife to mark is that you can hold it flat on the edge of the chisel to get your mark dead on (that's my story anyway, and I'm sticking to it
Next I'm marking in the waste, so that I don't cut out the wrong bit of the wood ;
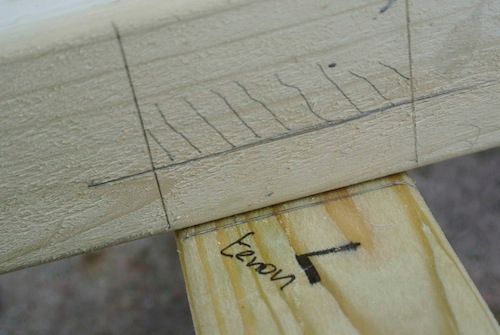
Step the next. Marking out on the bench.
As the tenons are going into a hole cut by a mortice chisel, you can mark the thickness of the tenon with the aforementioned chisel, just remember, this works for both traditional mallet powered ones and the new fangled hollow ones with a drill down the middle wot a motor turns. If using a proper mallet powered one don't lay the chisel on it's side as it's got a taper on it Additionally don't lay the chisel down on the edge of the bench or anywhere where it can fall on a flagstone floor hopefully you don't need to ask why, but I did this twice
Attachment:
_DSC2748.JPG [ 47.64 KiB | Viewed 48 times ]
Once you've marked out both sides (ends?) of the tenon you can join them together with the chisel.
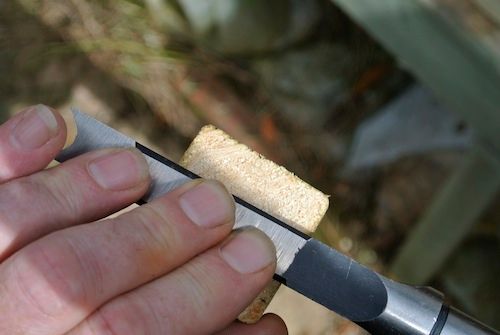
Once marked in, you can mark the waste, I use a soft pencil for this, but a marker pen or paint roller are just as good, make sure it's OBVIOUS which bit of wood you need to keep and which bit gets cut out This is the tenon, which is on the twisted end of the post, so it's actually supposed to be on the p*** (at an angle!) honest!
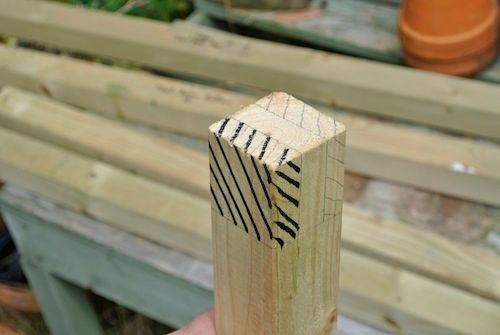
Now then, when you find you can't find your marking knife because you put it down somewhere safe, you may be lucky enough to have an American Carpenters Square and you can always use the scriber in the base.
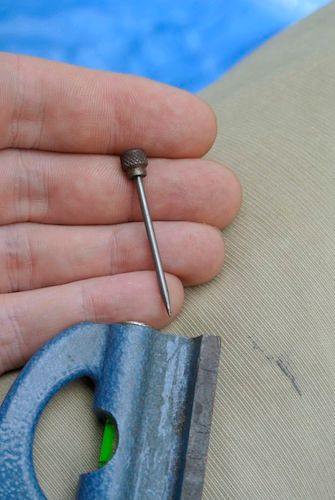
I'm not sure why the Americans have carpenters squares like this, as it is very very similar to an engineers combination square, the only difference being that you have to fettle it first to make it work
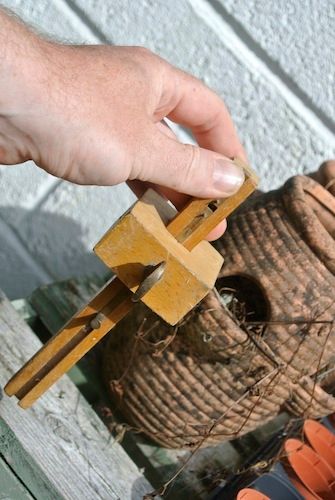
Next marking out the lap joint (I think that's what this is called, though I suppose it might be a halved joint or halving joint, I'm relatively sure it's not a housing joint). For this I'm joining two timbers cut to about midway. To get the middle line of the wood, I'm using a marking gauge. First off set it to about the middle of the timber and mark a dot in from each side;
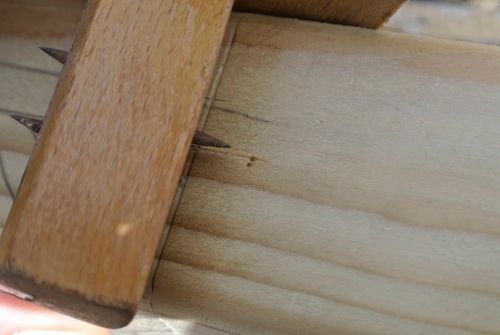
If lucky or skilled (or both) you'll either have two dots very close together or one dot. If you've one dot you're spot on. Look at the point on the gauge and if it is set wider than midpoint then narrow the gap, if shorter than midpoint open the gap. I was taught that you do the thumbscrew up till it just bites first and tap the thin bit of the gauge on the bench to adjust the gap. When right, tighten the thumbscrew a bit more.
"Tapping the gauge" (Dear me I could do with tapping a firkin right now!!);
Attachment:
Mark the midline in from what will be the front face of the post, then square the edges of the joint and mark the waste.
Next mark the joint in the beam. You don't need to reset the gauge and it's actually better if you don't. If the two timbers are different thicknesses, this'll cause problems. Just remember to mark in from the front face of this timber too.;
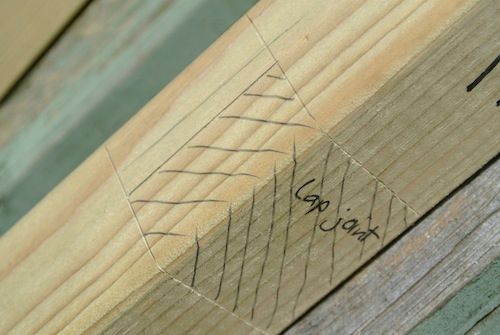
I don't see the need to mark the other side of the mortices as The lines marked are off the datum, plus with the morticer the chisel, cutty, drilly thing takes care of the other side.
I marked the mortices for the end of the beam, by resting them flat on the ends of the posts with the front face down, I then marked them up by using the mortice chisel. A lot of head scratching occurred trying to do this in the middle of the beam, cos I couldn't get it flush due to the wide shank. I then remembered how to use the "American Carpenter's Square" as a marking gauge, this means I can probably do away with the older beech gauge I was using.
What I did was place the chisel flush to the right angled handley bit (stock?) and slid the rule down till it was flush with the chisel;
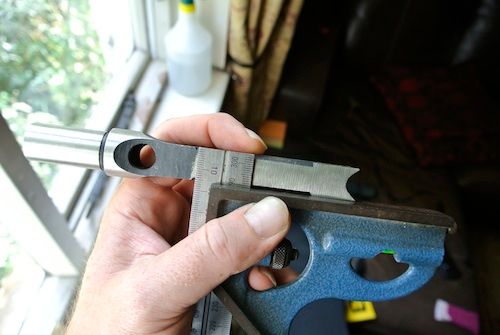
Then I could use this to mark in from the "front face", using the end of the rule to scribe along.
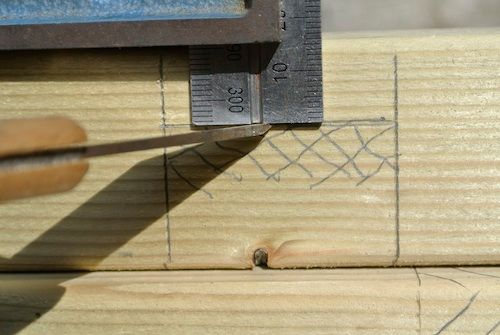
Then I dropped the chisel on the stone flags for a third time
Now all the joints are marked out, it's time to do a check. As AndyT said, he likes to do the parallel timbers together, which is to my mind the best way of knowing they're right. So what I did was put all the posts together and lined up the marks at one end;
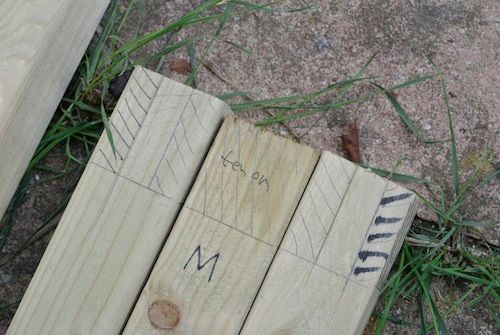
I'm not overly concerned about them being dead in line to a thou or two as this is a bit of rustic garden furniture, so tolerances are fairly loose. I then look at how the other ends line up;
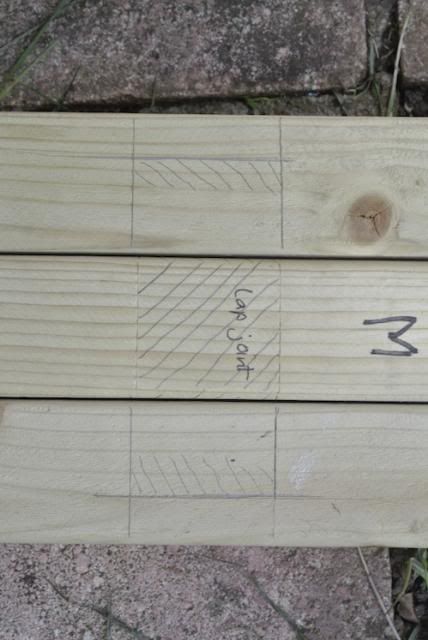
You can probably see that they don't line up perfectly, and this would probably not be acceptable for a piece of fine cabinet work, but I'm happy to leave these as they are till I've cut the tenons. The two main reasons for error/difference is my own cack handedness (I know, hard to believe, but possible!) or it could be down to some twist,wind,spring,bow, etc etc in the wood. The fact that the distances between the marks seem unequal makes me lean toward the former. If the marks, particularly for the middle post, were higher or lower it might be more likely to be the wood.
Now for the beams, line up the tenons at one end and, oops ;
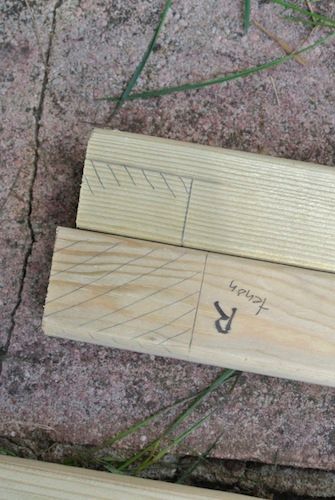
That's a bit outside tolerance, even for me! So, lay out all the bits again,
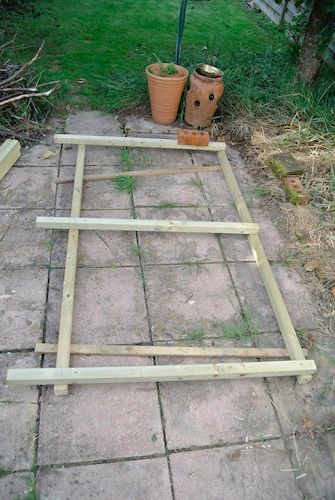
no need for levelling here, and only an "eyed in look' for square. Place the parts together lining up all the marks and then measure between the posts. It was fairly obvious the top of the right hand post was a good 1/2 - 3/4" out of where it should be. I think it got knocked a bit during yesterday's marking up/out. Obviously the bricks weren't up to holding everything together well enough. (in case you're wondering what the bricks were for, they were to pin the posts onto the beams to restrict movement. This was a "traditional method" wot I invented cos my handy clamps weren't big enough to hold the timbers together
Once I'd put it back where it should be I could re-mark the end of the mortice and job done! In my way of working I find it best to check everything a good few times before committing myself to hewing and sawing. It doesn't prevent all mistakes, but brings the number of them down to managable levels