In my online travels, I've seen lots of videos and web sites related to knife making. I've always thought one would have to have a heightened artistic sense plus some sort of "black magic" to turn out a decent knife, but oh how I was wrong.

I found it was surprisingly simple to make a functional and very handsome looking knife with about 2 evenings worth of work this past weekend.
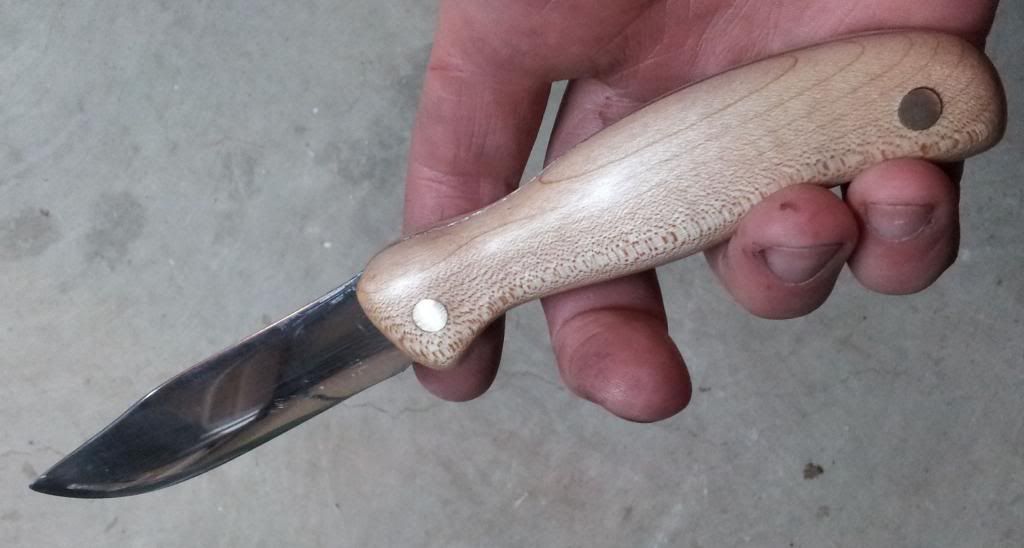
I'll switch things up from how I usually post things and go right for the glamour shot first:
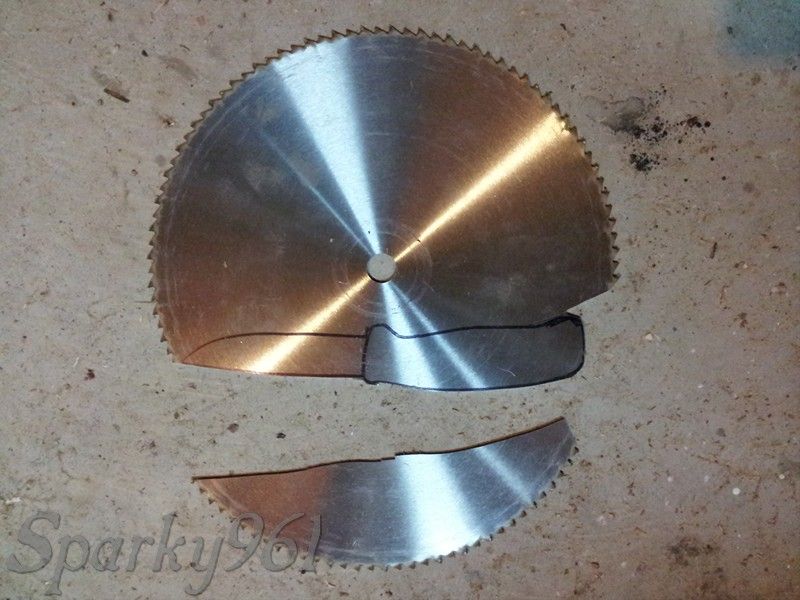
This is the knife in it's former life. I was going to laser cut the profile at work, but that would have been cheating. I decided on the good old fashioned sharpie and metal band saw. It cut surprisingly well (so well that I'm skeptical that this is the best steel to make a knife from, but making the BEST knife wasn't the point here).
Sorry for skipping a bunch of steps before this next picture. To sum it up, I ripped blanks for the scales/handle on my table saw. I had previously resawn this lumber from a nice piece of firewood (yes, firewood). I'm not 100% sure what kind of wood, but my best guesses would be either sugar maple or cherry of some sort. I had pieces with more striking grain but I was going for an elegantly simple look.
After making the blanks, I traced the profile of the knife tang onto the blanks and roughed them on my wood band saw (a new addition to my shop that's already getting a lot of use).
I turned some brass rod down to make two pieces 1/4" diameter by a bit more than an inch long. The idea was to have them a bit longer than the sandwich of both scales and the tang so I could shape them flush later on.
I also ground the primary bevel on the blade and spent WAY too long working my way through various grits of sandpaper to a near mirror finish. Though I'd probably do the bevel at this point again because the handle doesn't get in the way, I would wait to do any detailing on the blade until after the glueing and shaping was done. I ended up scratching it up during the cleanup of my epoxy disaster.
I decided (guessed) where to put the holes for the pins, then carefully lined things up, clamped them, and drilled - again carefully to avoid tear out and make a nice clean hole. I drilled through all three pieces at the same time to ensure proper alignment. After drilling the first hole, I stuck the pin in it to keep it lined up and then drilled the other one.
Next for the epoxy mess! I'm usually not quite so messy but for some reason I was having a hell of a time pushing one of the pins into the hole after I had added the glue to everything. The clock was ticking VERY loudly as I struggled with the pieces getting more and more coated with 5 MINUTE epoxy. I didn't think I was going to make it, but eventually I gave up all attempts at being neat and got the pins in the holes.
I clamped it together for an hour or so and when I came back I had this sorry looking thing:

Not very encouraging, but I proceeded to clean things up. First on the belt sander. Note: the glue was still a bit soft and I ended up gumming up a belt to the point it was garbage. I'll be looking for a better way to remove the bulk of the epoxy if I do this again.
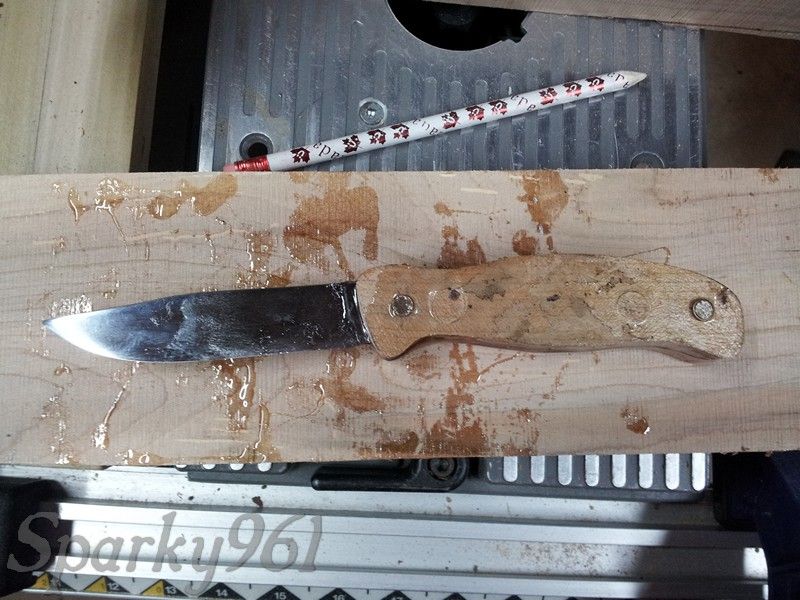
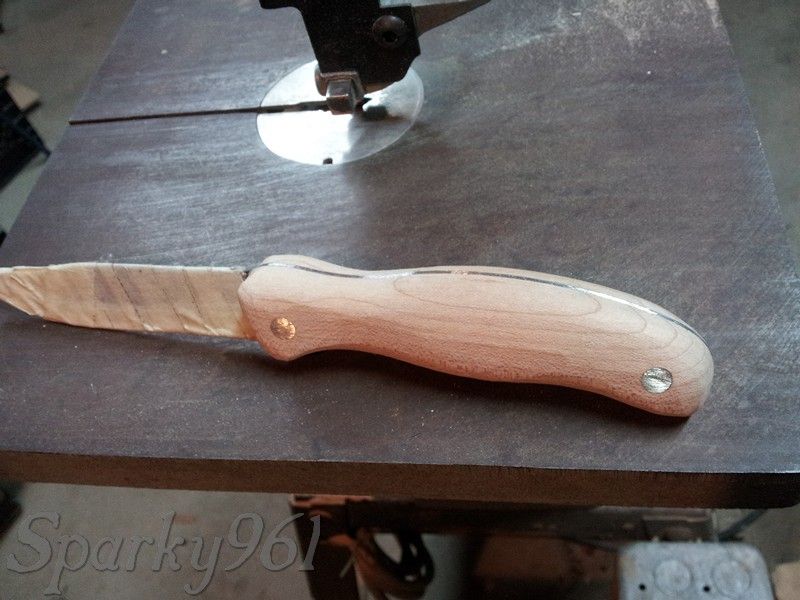
I managed to get it cleaned up to the point where it was starting to look promising:
You'll note the tape on the blade that I should have put on there before the epoxy. It is partly to protect the blade, but mostly to protect myself because it was already pretty sharp even though I had only done the rough grinding of the bevel.
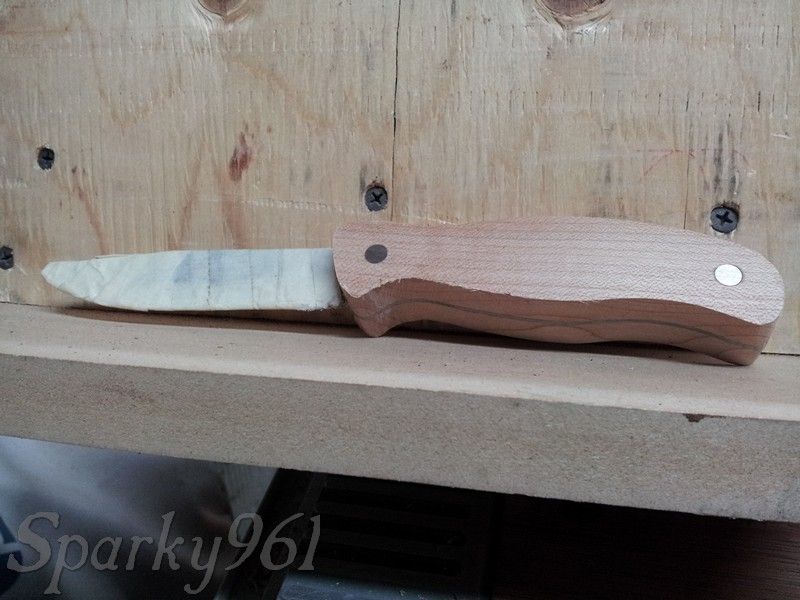
The next couple of pictures show it taking shape. Most of the work was done on the end of my belt sander, freehand. The places I couldn't reach with the belt sander were shaped with a few different files and rasps.
After I got it very close I moved to a coarse sandpaper and did a bunch of hand sanding through finer and finer grits.
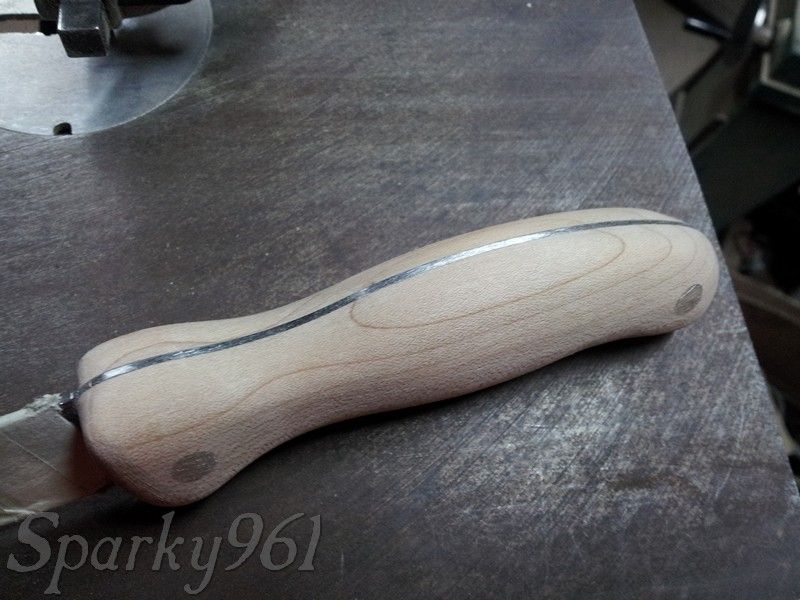
Keeping with the "simple" theme, and also because I wanted to keep things as non-toxic as possible in case of food use, I decided on a salad bowl & butcher block finish that would enhance the grain and add a slight sheen.
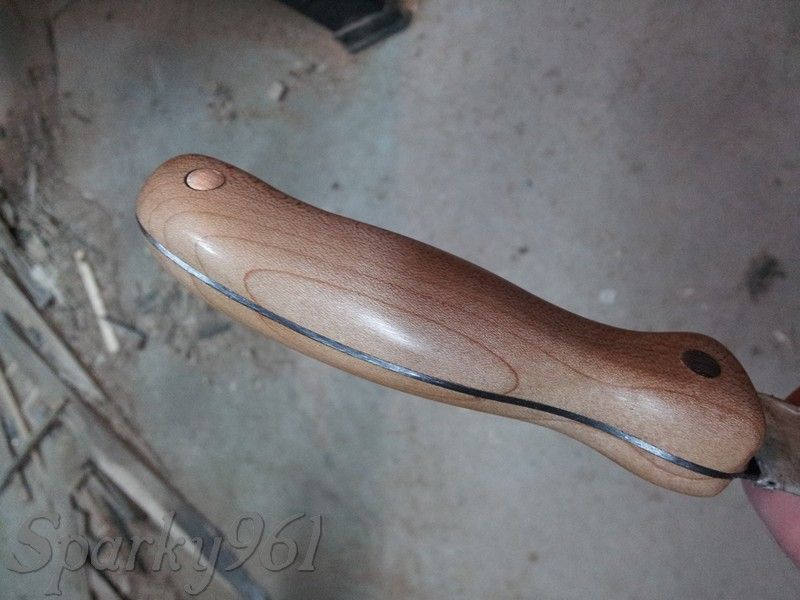
And there you have it. I was impressed and a bit surprised by the results.
I'd encourage anyone that's ever thought it would be neat to make their own knife to give it a try. It was a very satisfying project and didn't take much time or money to complete.
-Sparky


