Hello Gentlemen and thanks for nice feedback.
 Pistons, pistons road and cylinder glands.
Now its time to take care of the heart of the steam engine, the powertrain. Its about the pistons, the piston road and the cylinder glands.
Pistons:The pistons are casting in very good quality.
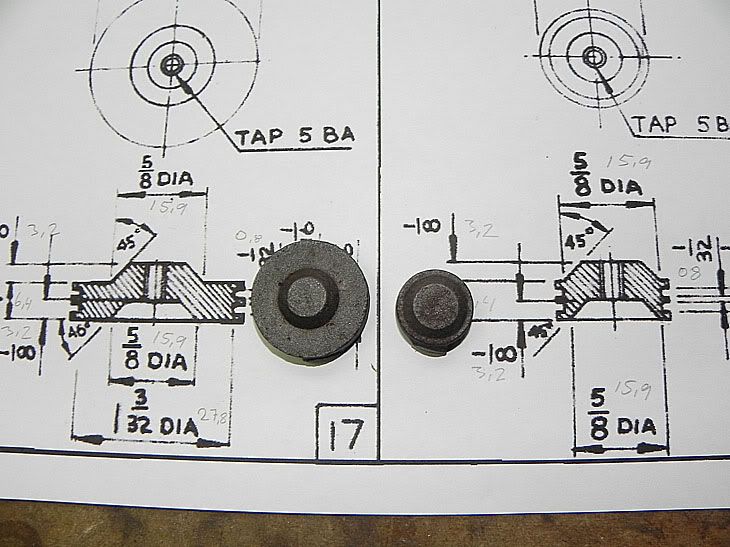
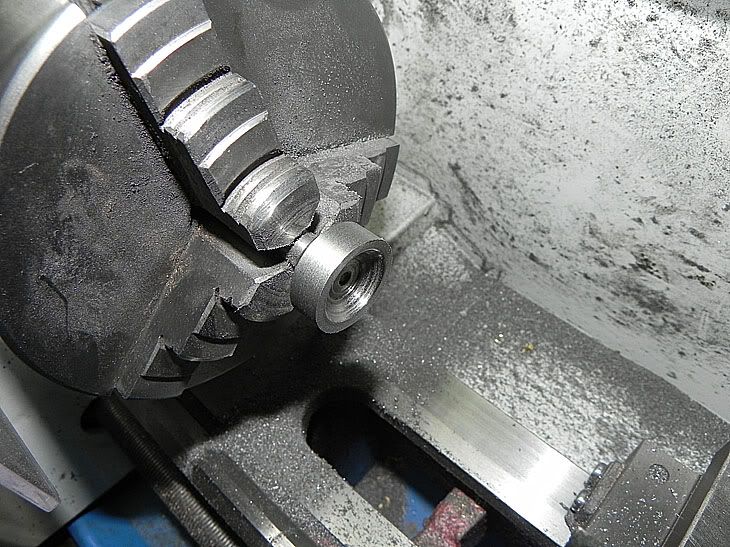
The first thing I did, was setting it up in the lathe and took some turn to flatten the top.
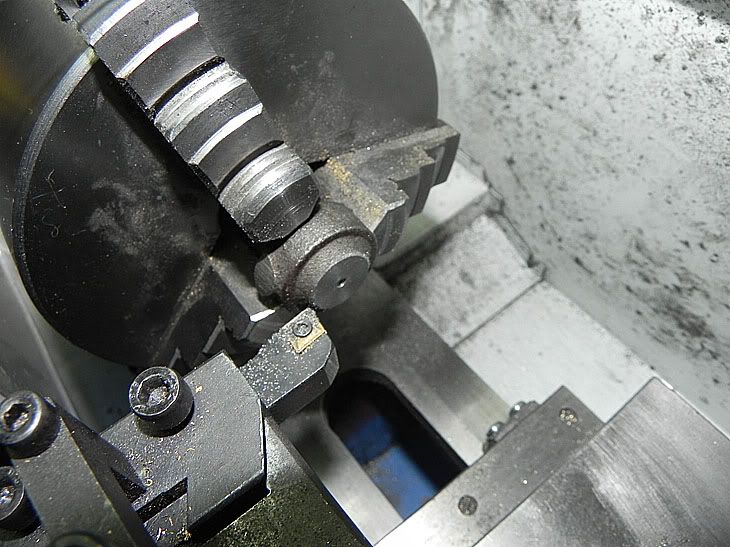
Then some more turns to make the 45 degree angle
And then I did the edge.
Next I drilled and threaded for the pistons road.

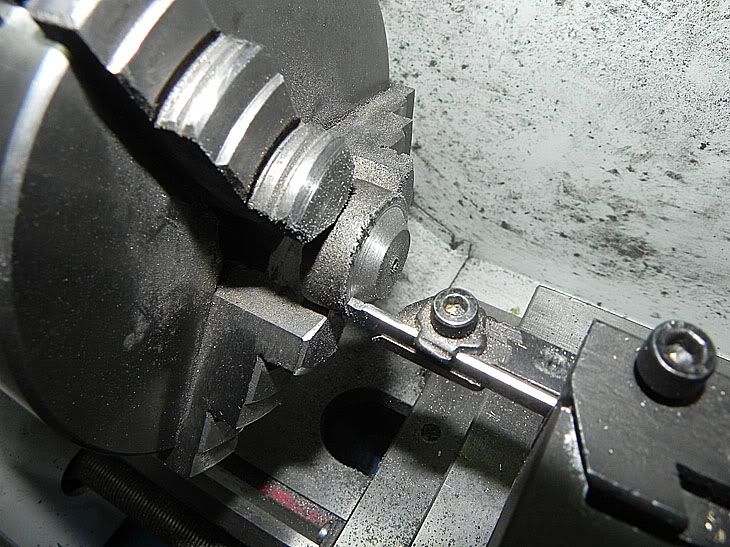
And then turn the casting round and turn the edge, bottom and inside of the pistons.
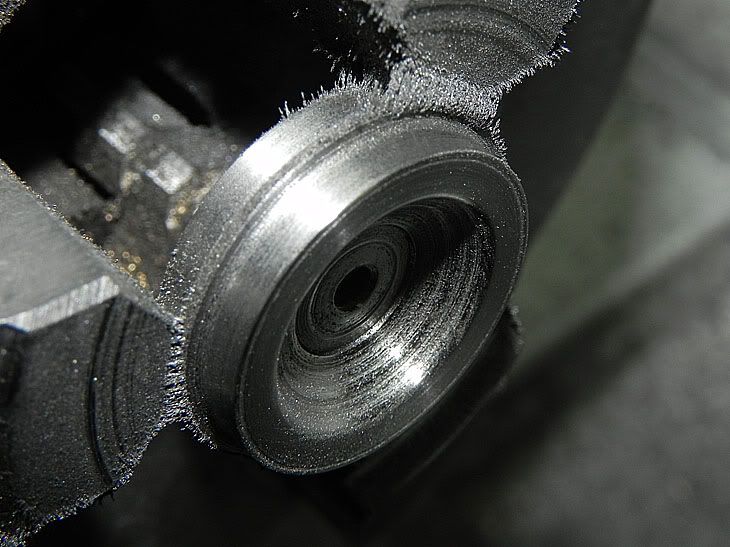
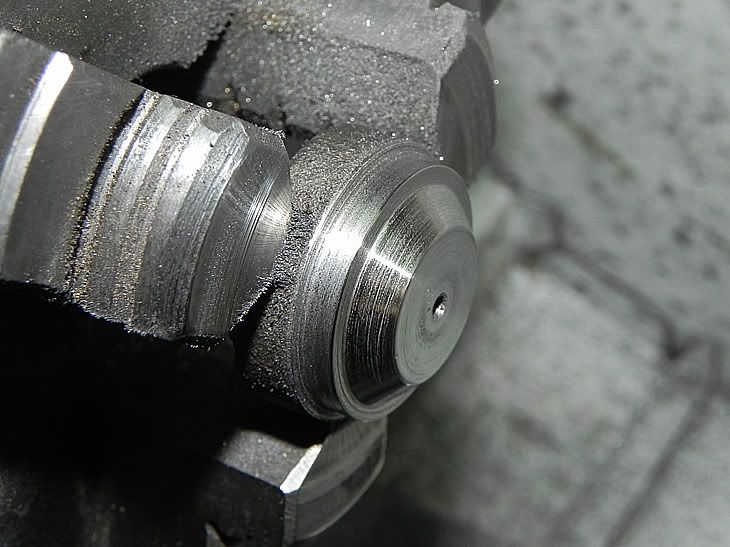
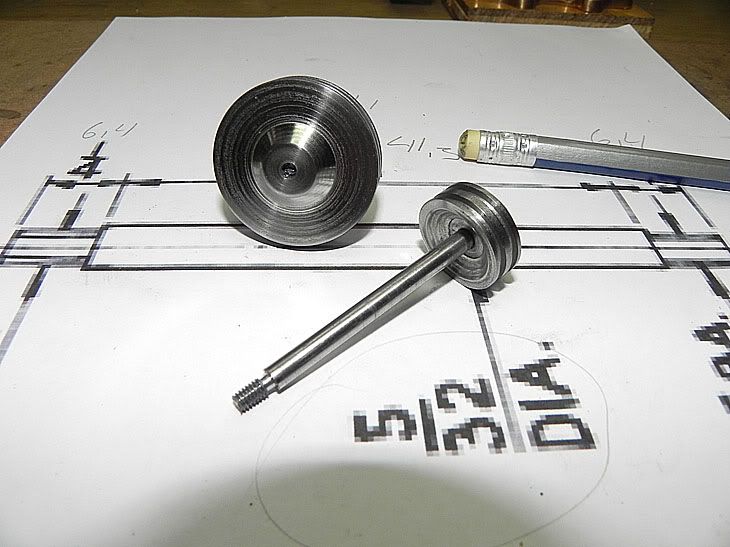
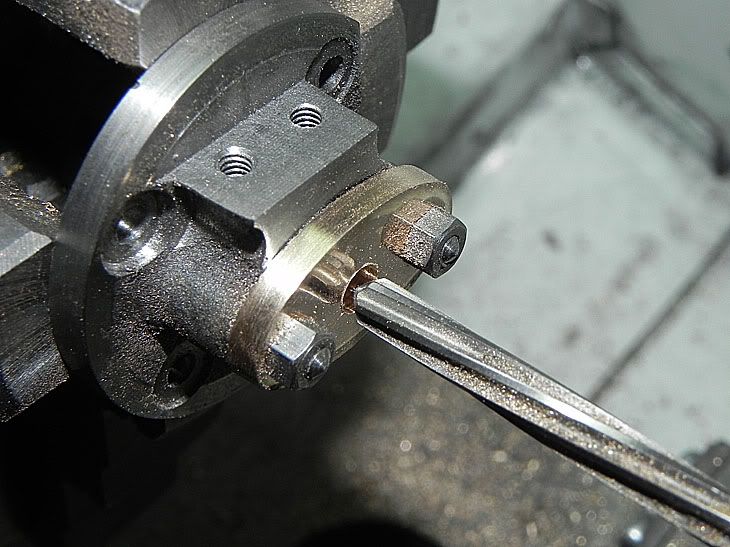
Then I made a little mandrill so I could mount the piston. Then turn the piston down to the correct dimension and then cut the track for the piston rings.
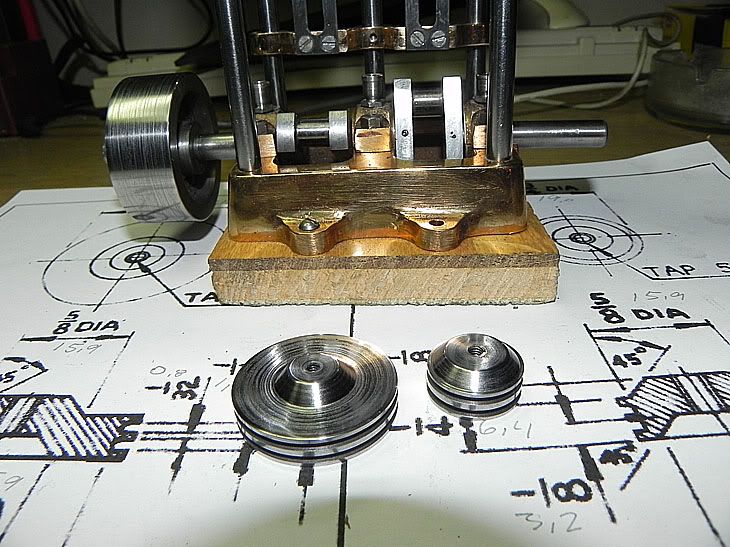
And here I have done the both pistons.
 Piston road
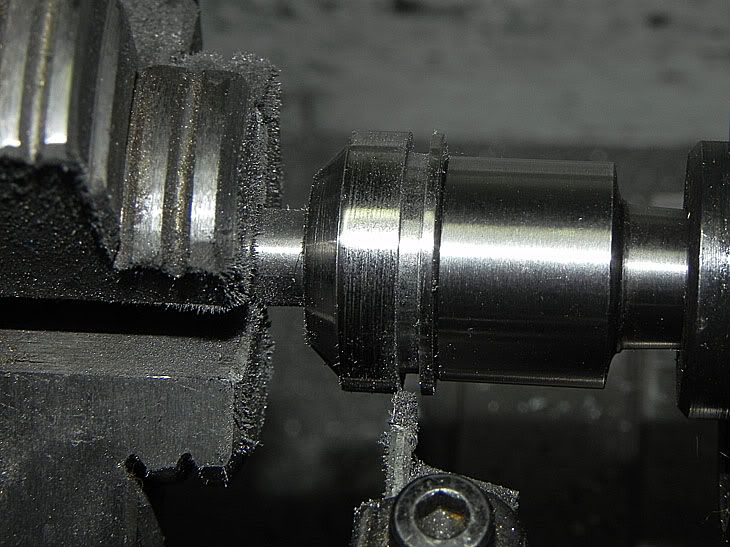
The piston roads are made from silver steel
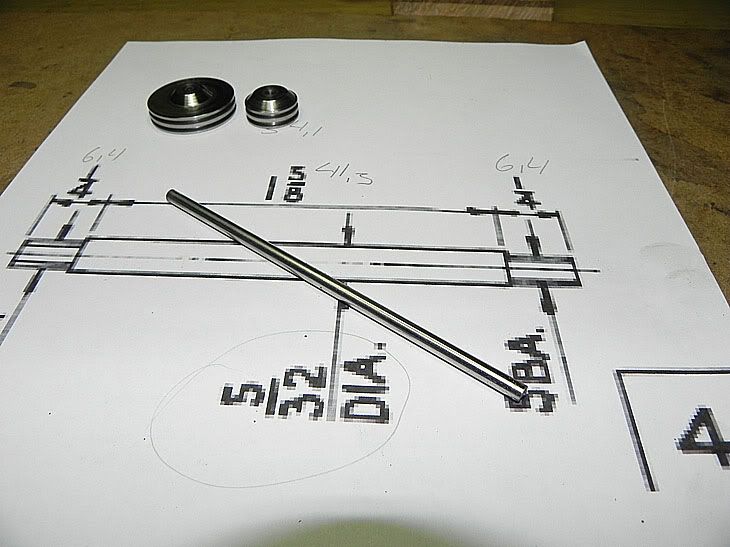
and have to cut off in a proper length and turn down in the both ends for threading.

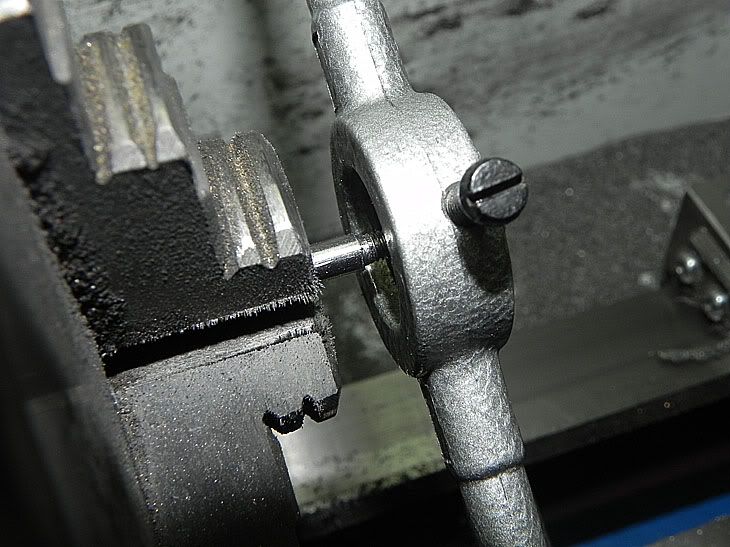
Then I have to cut down a little bit so that threading fits the piston.
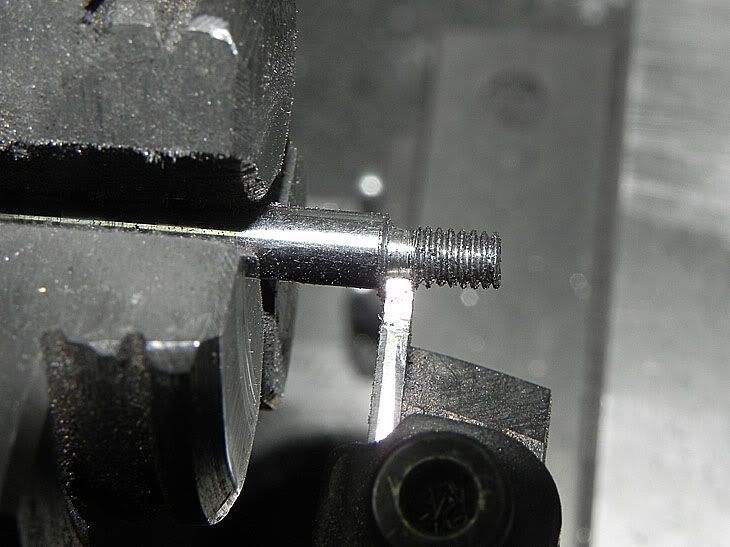
This was a very easy job and it also fits the piston well.
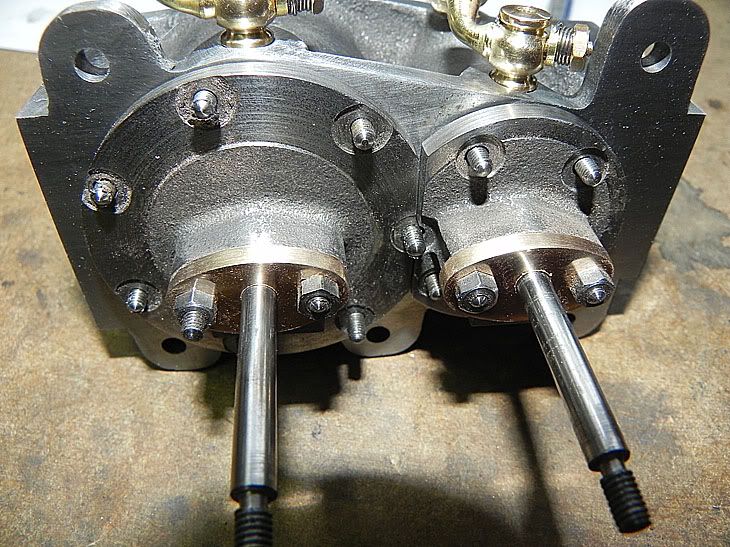
 Cylinder glands.
The cylinder glands are made of bronze
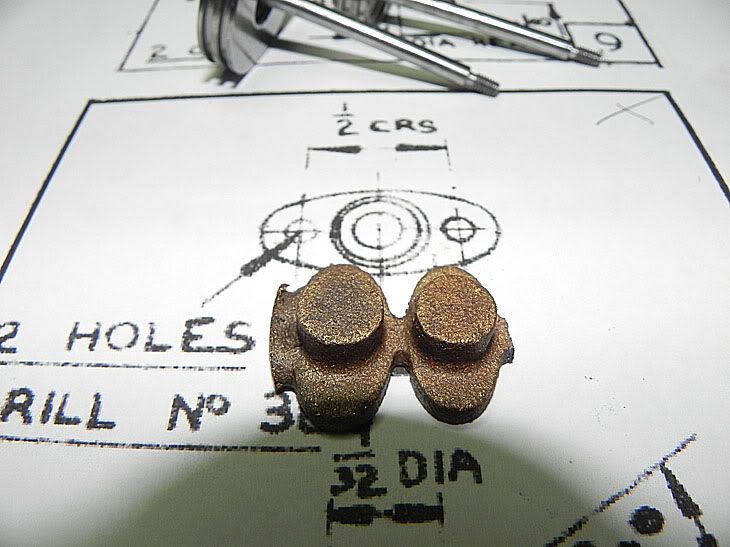
and first I have to use a hacksaw to cut it in two pieces.
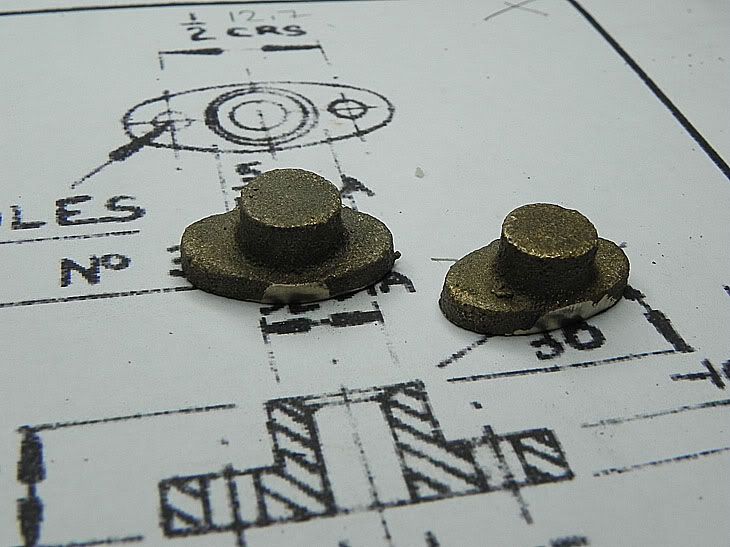
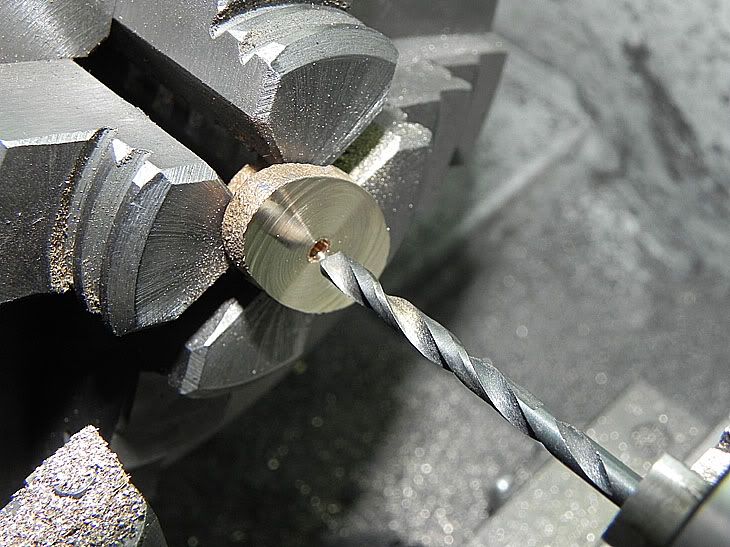
Then in the lathe some turns so I have a good surfers and then center drill, drilled and threaded so I can mount it on a mandrill and finish of the bottom side.
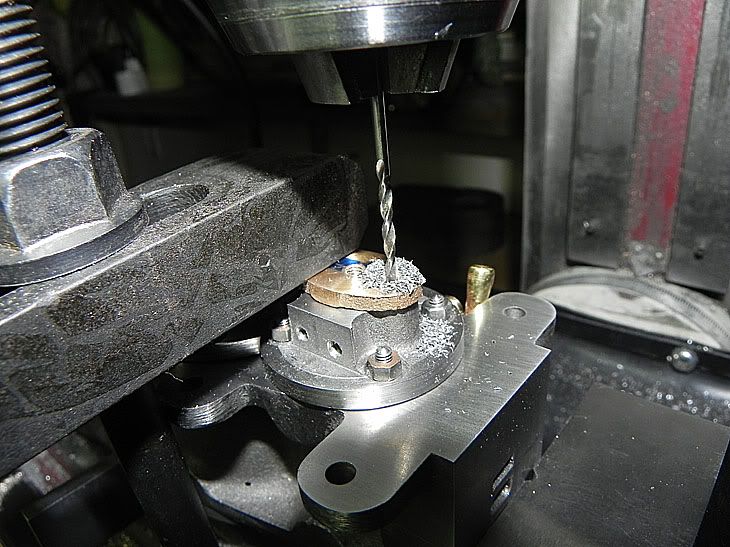
Next I have to mark and drill the holes for mounting the glands to the bottom cover.
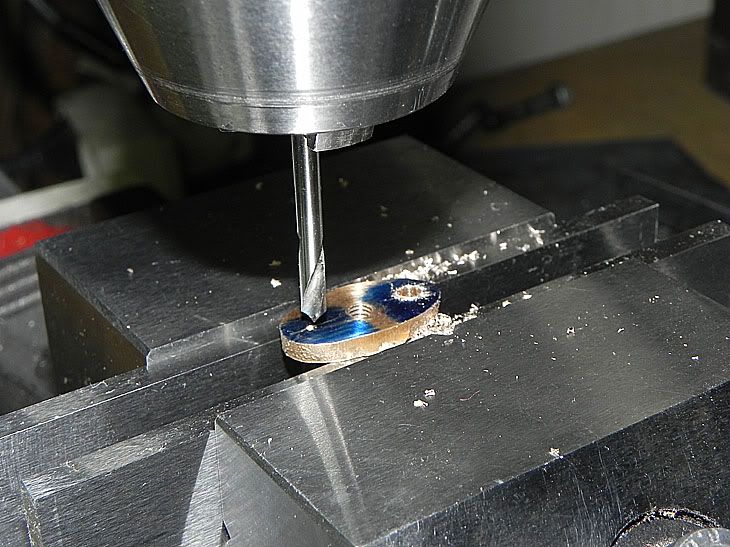
Then I set up the cylinder, bottom cover and gland on the mill for drilling and threading.
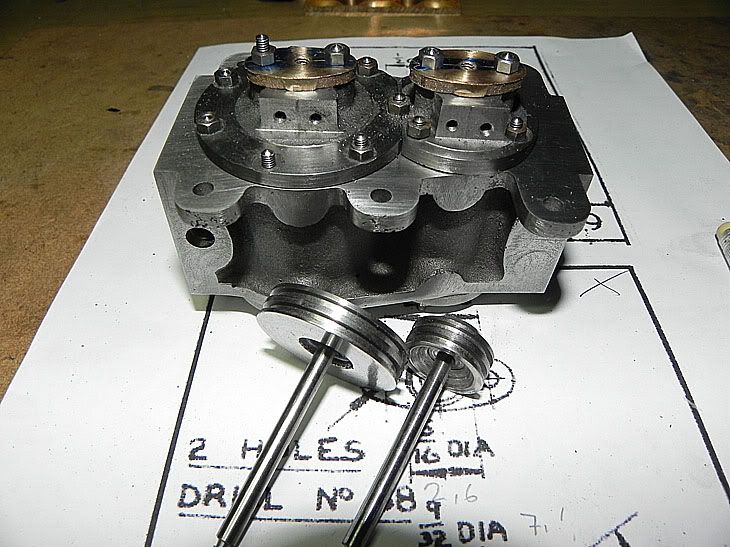
And then testing so the glands fits well.
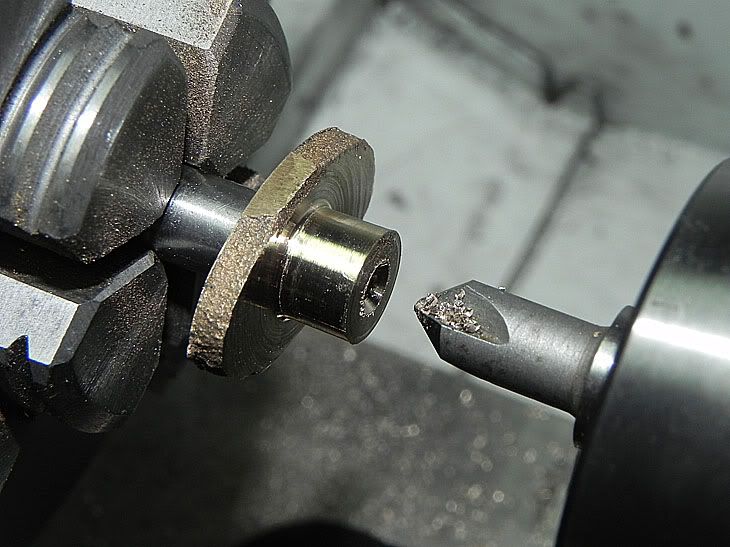
After a bit of filling and emery cloth, then back to the lathe for drilling and reaming.
And again check so it fits well.
And now another piece is finish on my compound.
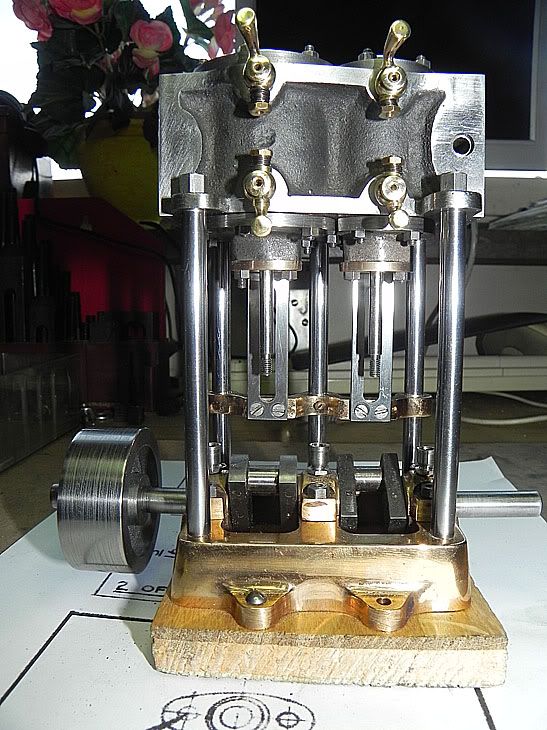
She is beginning to look radar pretty, isnt she?
 Ill be back


