This is a pretty simple one, though it took a turn from what I had originally planned.
I was trying to clean and square up some material I had, but it was about 6" long and the only accurate vice I own has about 2" wide jaws. A 4" or 5" vice is on my wish list, and I don't think a 6" would fit well on my machine.
I came up with this interesting setup. I think it was spurred on by a lot of the recent pictures I've seen of parts set up on shapers.
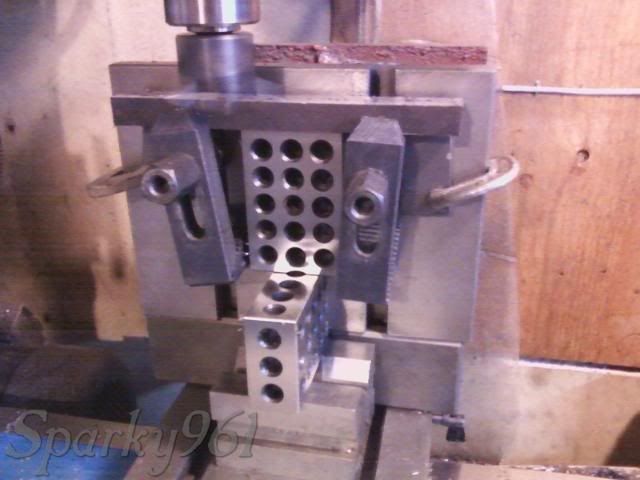
Granted, the 1-2-3 blocks look a bit precarious there.... but I couldn't think of a better way to get the stock to sit level with the table so I went with it.
Fly cutting progressed nicely top and bottom, but I wasn't happy with how parallel the machined stock ended up. I had about 0.010 difference in thickness between front and back (looking as in top picture) and about 0.005" from end to end. I would have been quite pleased with 0.001 to 0.002 difference either way for the original use. Although it still would have worked, I can do better.
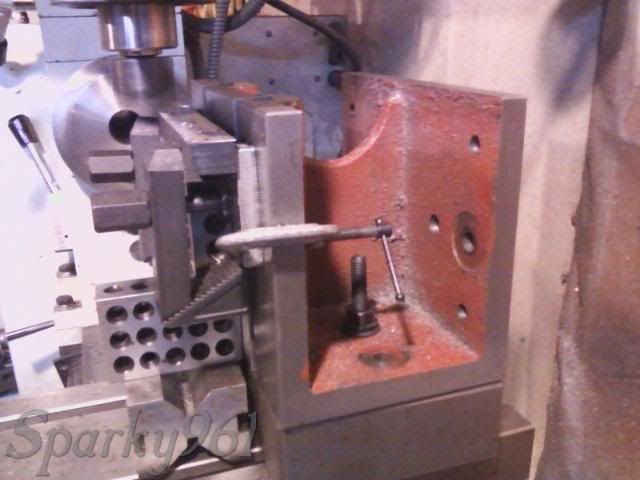
After thinking a bit, I decided to machine a third side and use that as a reference after turning 90 degrees. This yielded much better results but still not a perfectly square piece.
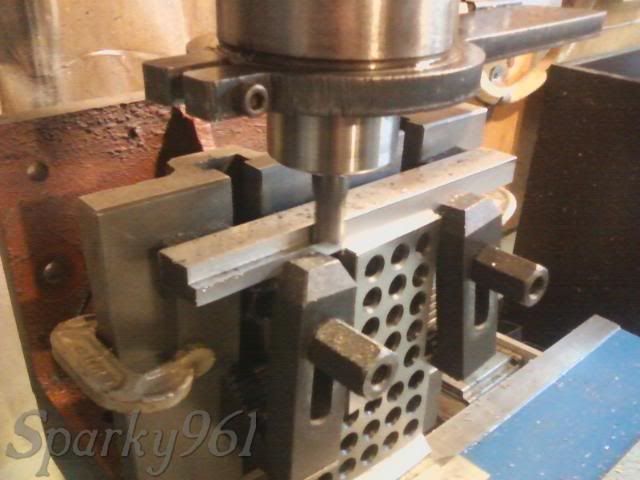
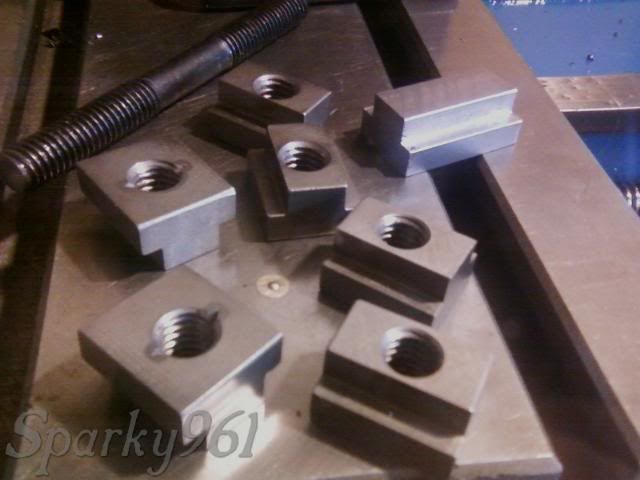
While I was handling the piece and considering that it might just go back into my bin 'o stock for the next project, I noticed that it was pretty close to the size stock I'd need to make some T-NUTS. Geez, I've had my machine for HOW many years, and countless times have needed a few more, and STILL hadn't made them.... it was WAY past due!
So using this same setup, I cranked up the spindle speed to 3k RPM and put my trusty 1/2" carbide end mill in there. A bit of figuring and some final squaring later and I set it off to power feed through the cut. It took about a minute or two at full depth of about 0.250" down and 0.125" in from the edge. What comes off when I do this looks more like coarse sand than large nasty chips but if I feed any faster, the nasty shaking starts up.
Flipped it over and did the same on the other side.... then over to the bandsaw to cut it into shorter pieces. I drilled and tapped each one separately 3/8-NC, followed by a slight countersink and staking of the bottom to keep the stud from screwing through and destroying my table.
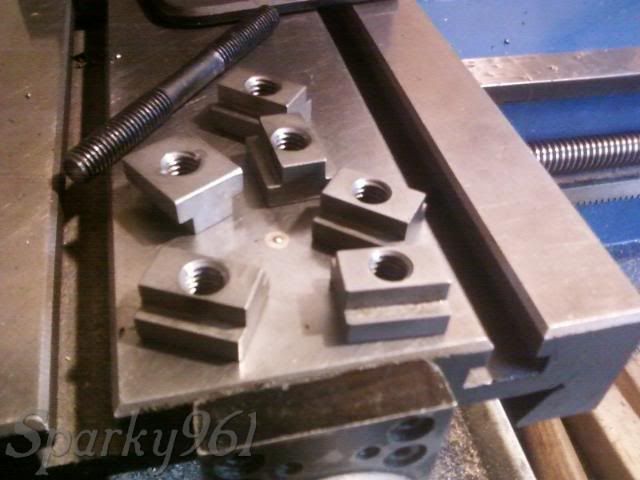
While I was trying to take some half-decent close-ups with my phone camera, , I found a big lens that came out of a bench magnifier lamp. I decided to try taking the pictures through this and the results were pretty nice.
There you go. Nothing fancy, but I'm sure they will serve me for years to come.
-Sparky


