Well, I could have tagged this on to either the torches or glowing keyrings posts but I decided to give it it's own....

Basically I've combined my little brass keyrings into one for an 18th birthday prezzie for my ex-apprentice (He's now pursuing a career in engineering)
Anyway. The torches you may be familiar with already? They're in the gallery somewhere...
And the GID keyrings are also in the gallery.
This is my first (possibly only? took too many hours!!) attempt at combining the pair...
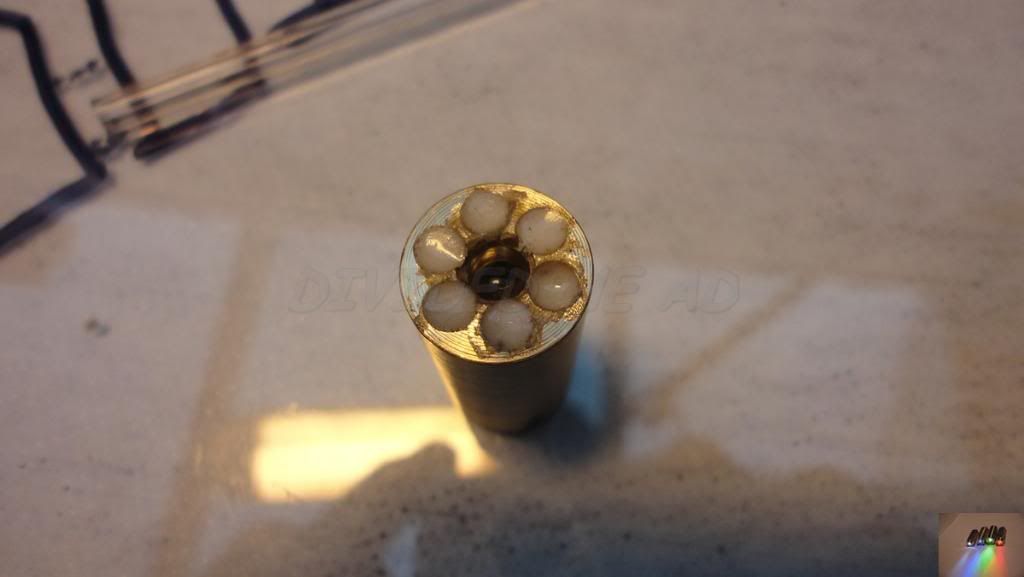
The torch body was made the same as usual except it was left longer by 10mm at the LED end so I could fill it with GID resin.
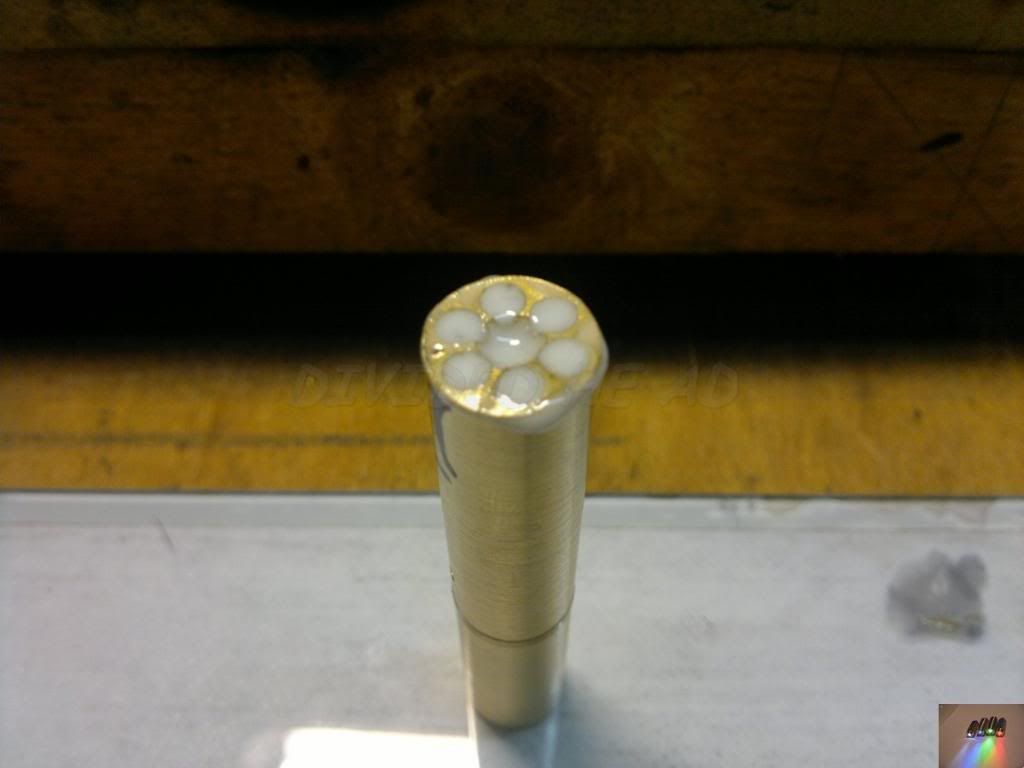
Made myself a special nozzle to deliver the resin to the bottom of the blind holes..
The LED was now 10mm from the tip of the torch. So after a little figuring out a plan was devised.
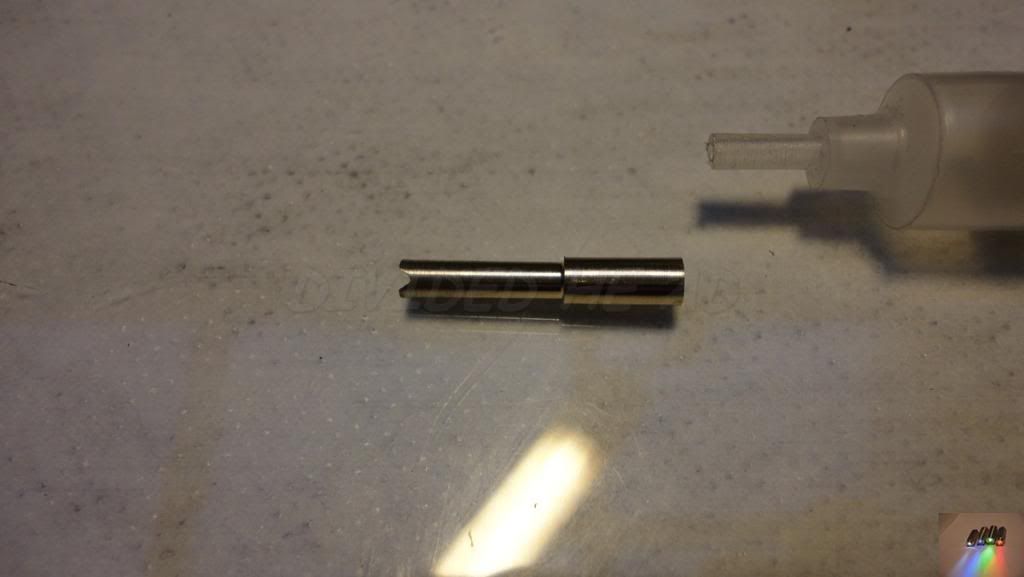
Remove the lip from the LED....
Make a spacer to allow it to drop down the hole, pushed by the insulator disc.
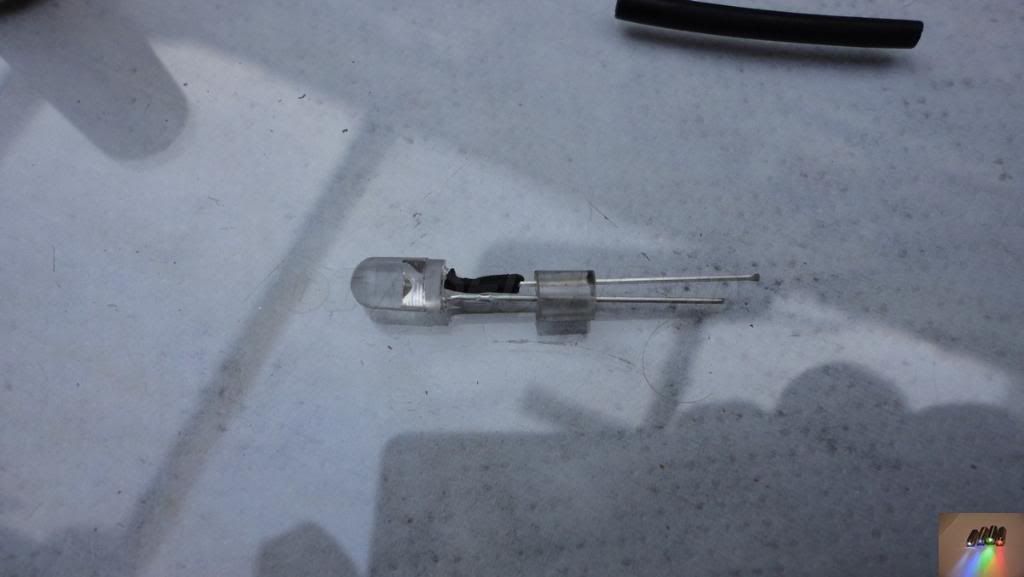
Assembled extended LED
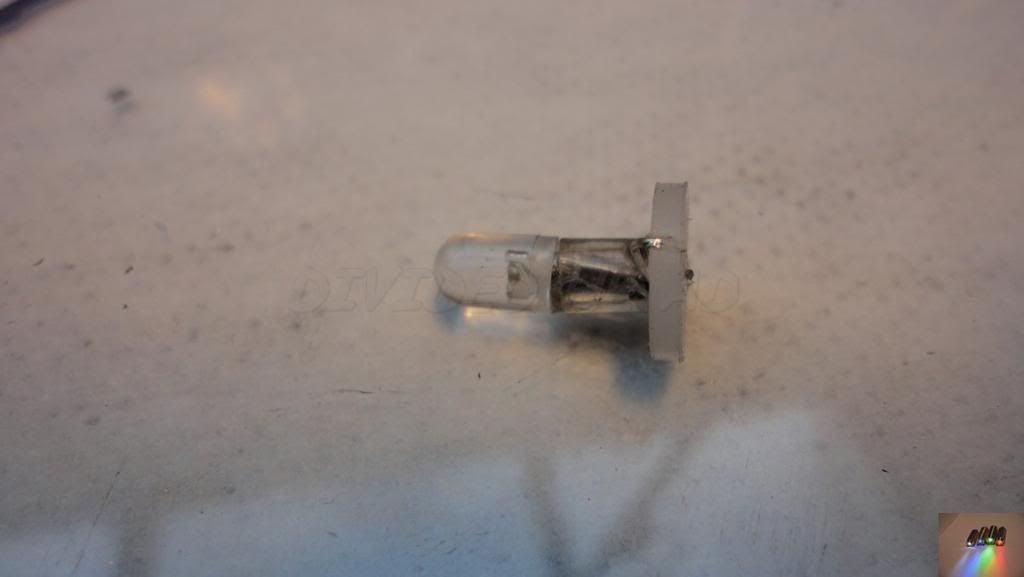
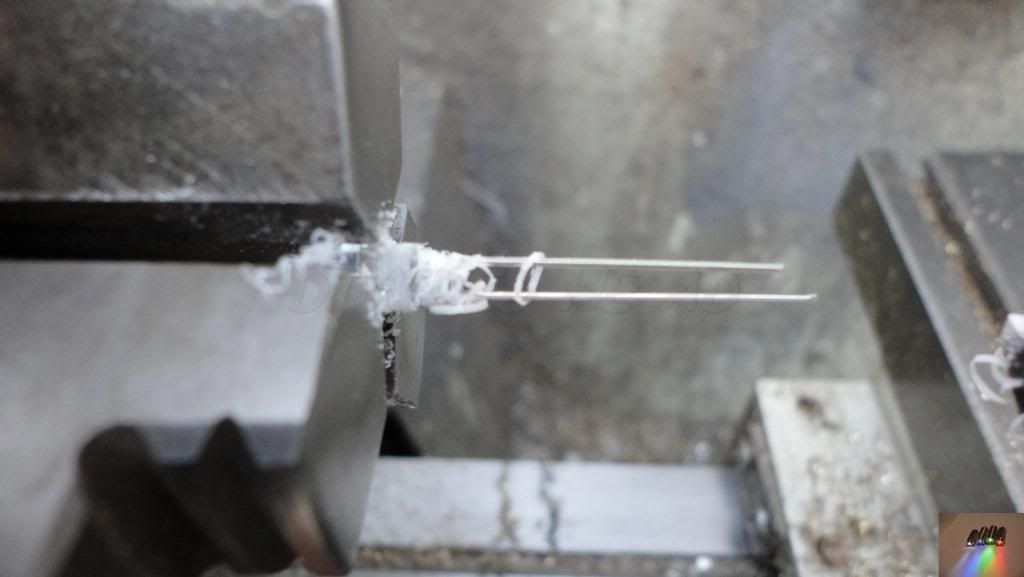
The LED still 4-5mm shy so that machining can be carried out.
Then a few other minor bits were carried out:
The tip was styled slightly... This didn't go quite as planned.... Emery tape, brass and epoxy resins do not mix at high speeds and increasing temperatures...! Still, I made it look acceptable (couldn't remove too much more material) and then gave the body a satin finish.
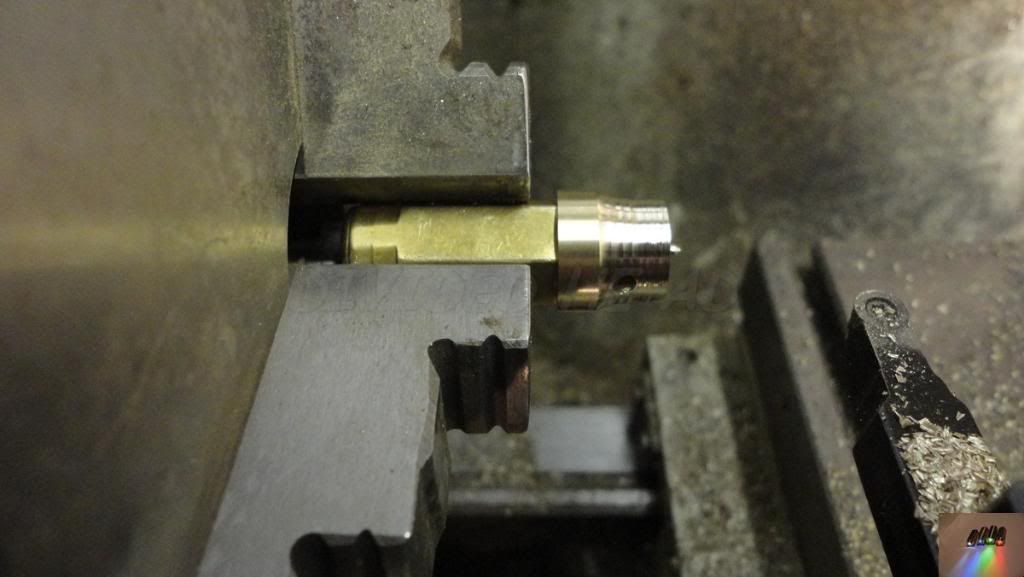
It was then transferred to the RT (because it was set up vertically from making GID keyrings) and the tip styling continued from there...
The endmill (13mm) was set up at the half height of the workpiece. The workpiece was advanced toward the endmill and the RT turned through 360' and then the workpiece was moved a further 0.30mm into the endmill etc, etc till I was happy with the depth of cut.
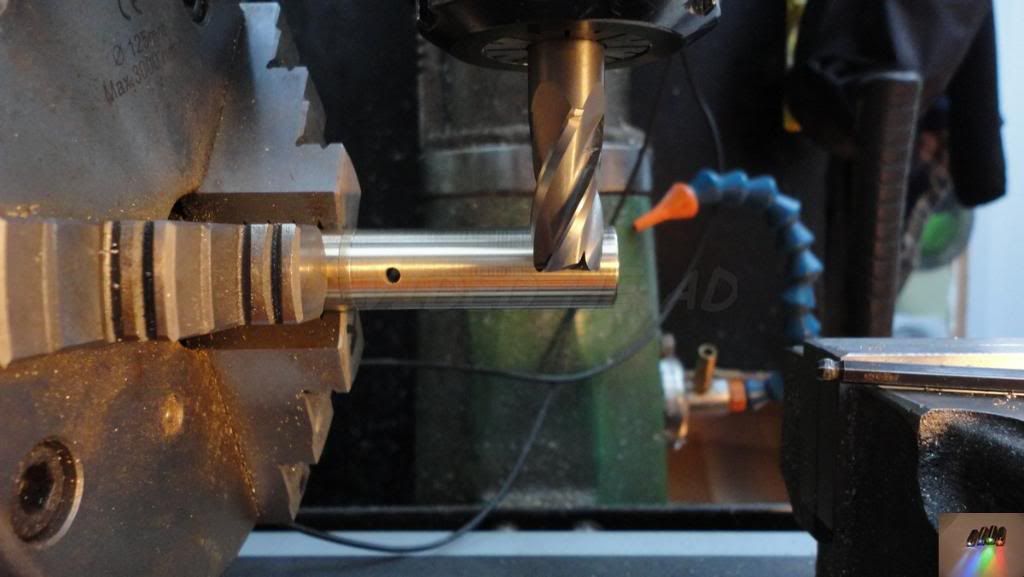
(Got a video of this process. If anyone's interested I can sort it out?)
All was going well till I found a bubble!

Bubble filled, wait 30min's and carry on the machining... (didn't waste the GID epoxy... Filled a 40mm bit of acrylic tube for keyring use later on

)
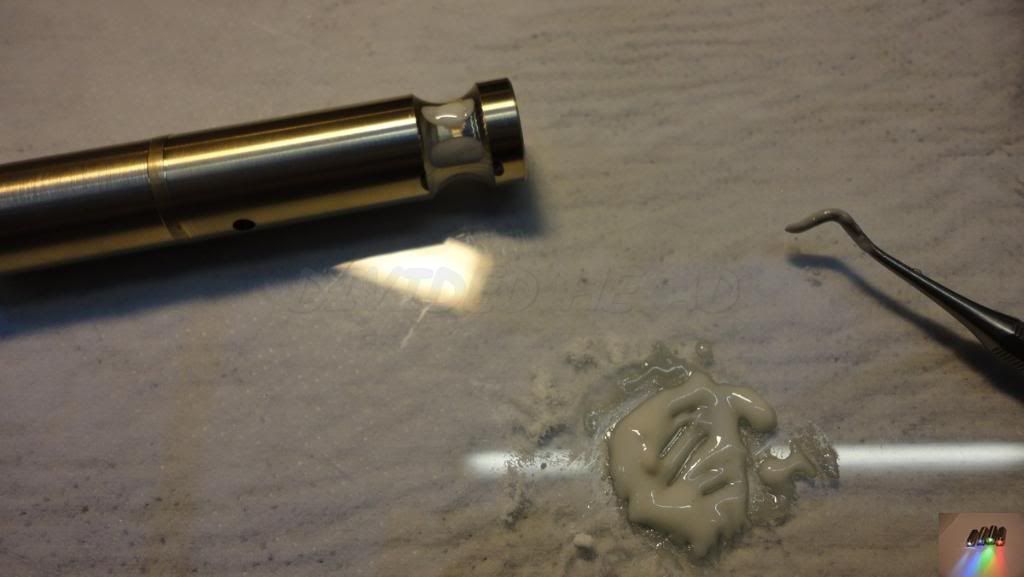
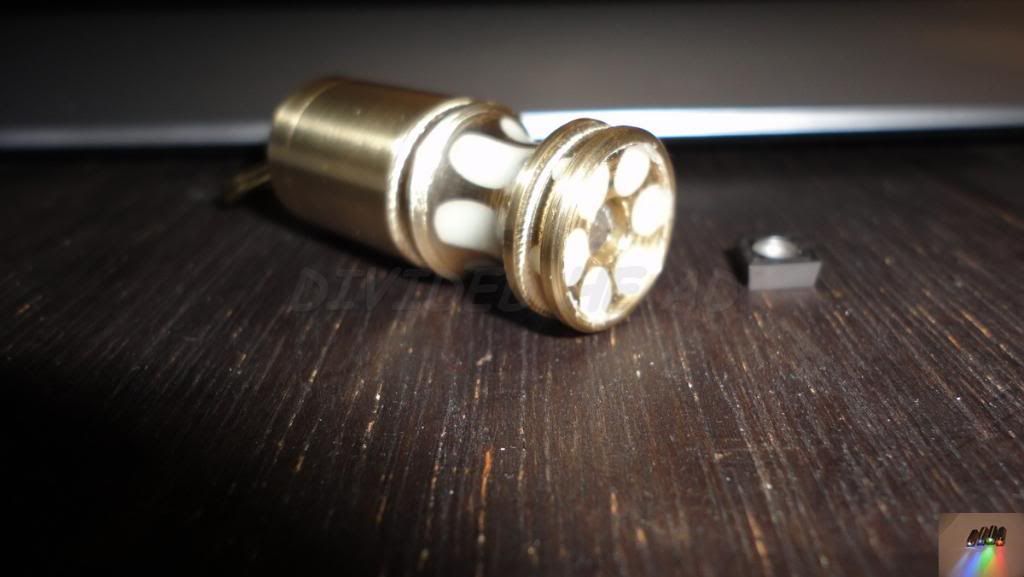
I added a further 2 smaller rings using a 2mm endmill (the top one was for symmetrical reasons, I ummed and arred for a good 5 min's before adding it.... I think it works.)
The tail cap was shaped using my own keyring torch body as an arbour... Decided it was too much hassle making a dedicated one tonight!
And finally (they all breathe a sigh of relief!

)
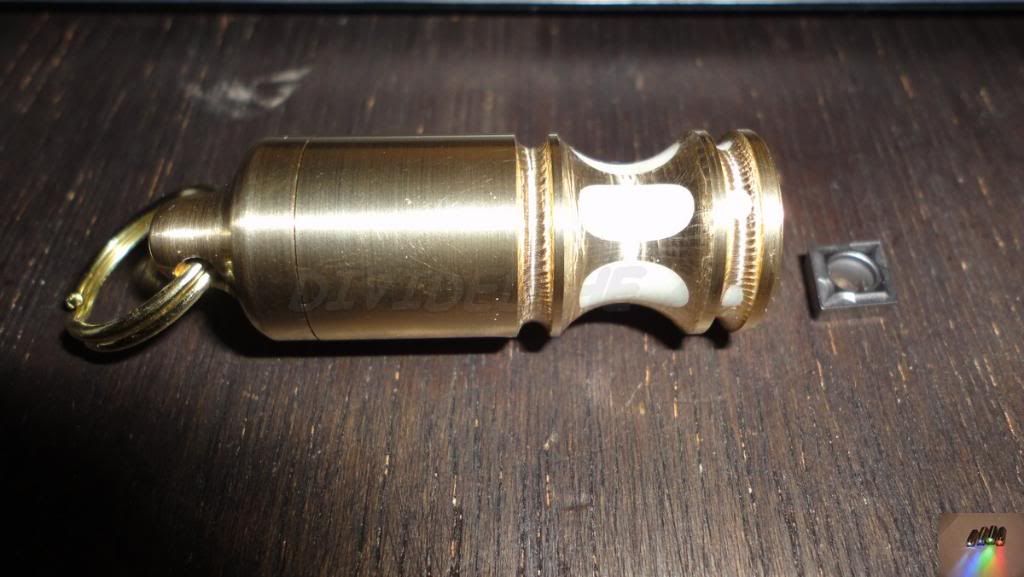
The finished product... Next to a CCMT 06 bit (6mm across the flats)
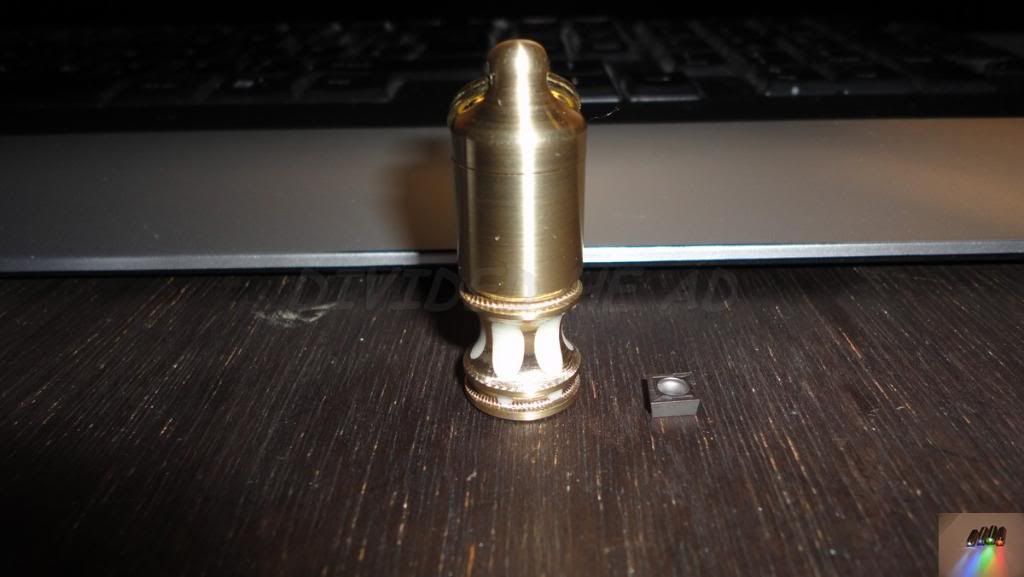
The residue seen around the lip in this pic is a bit of clear lacquer I used to seal the GID areas of the torch.... It was quite gritty in texture and picked up dirt like iron filings to a magnet!.... This'll give it a few months of abuse before it's too dirty I should think?
I quite like the machining marks so I left 'em there.
And the test....
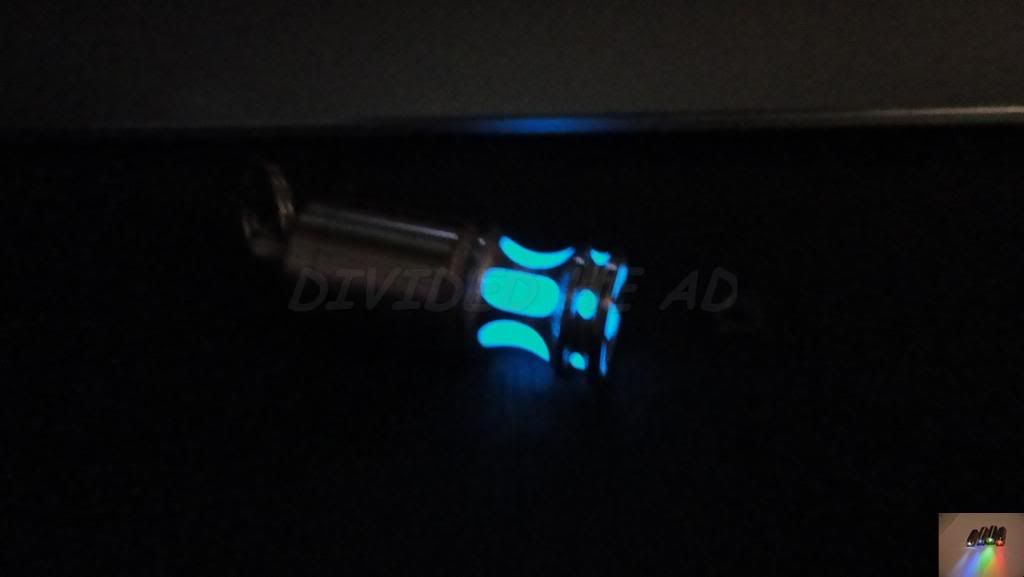
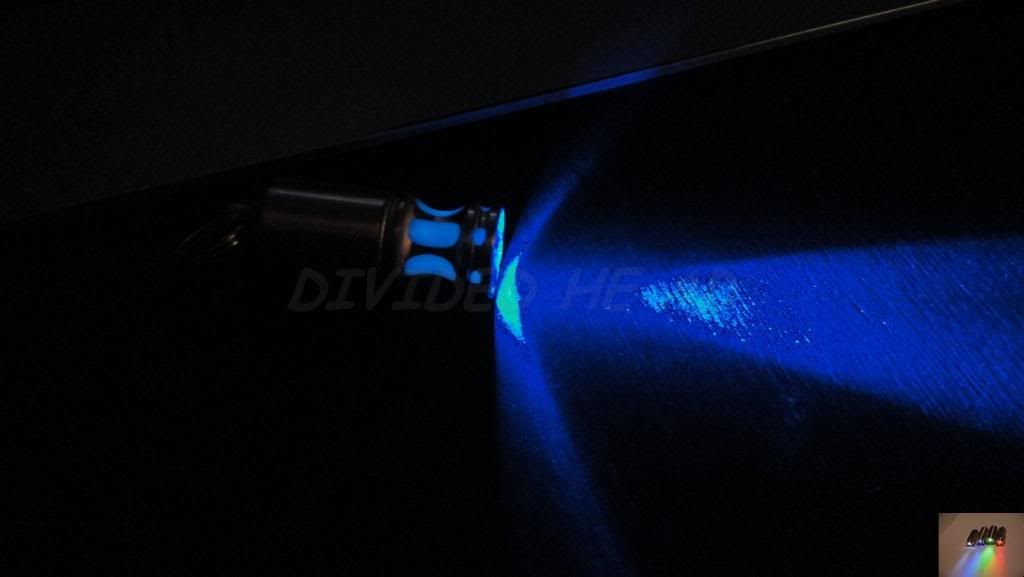
I'm quite pleased with it to be fair.... Lots of time in it though, with all the LED extension and the resin filled parts and it takes a while cutting the recesses like that too.... But I like the effect so I went with it! (same as my pipe bender)
Hope you like it?
Anywho... That's today sorted...Sorry for the huge post.
Ralph.


