Cheers Dave

- Must have had a Jeremy Clarkson moment with that hammer

. You got it wrong; I'm _pulling_ it with the tube
Had a bit 'o time in the shop today

First off: This is the start of construction of a boiler for the Cracker. Boiler making can and has been a very contentious matter.
I'm by no means an expert on boiler making; this is only my third boiler I'm building, but I have put a lot of effort into researching and trying to understand the subject and the acceptable methods of calculation, construction and testing that goes along with it.
My local government does not have any detailed regulations regarding model boilers, but what I have been able to find mimics the "Three Bar-Litre" rule as used in the UK. This boiler falls well below those limits, and will receive a complete hydraulic test when done; the results of which I'll show.
If any of the MadModder moderators would rather not have me post this, please do remove the posting.
On to the build then...
Some copper work; and at the risk of being classified as a complete lunatic, I actually enjoy machining copper. It has a personality of it's own, so takes a bit of care to work with - and therein lies the challenge and the fun for me. It does not want to be rushed - but dawdle at peril as it will work harden. If it comes off in little curls, things will come out just dandy.
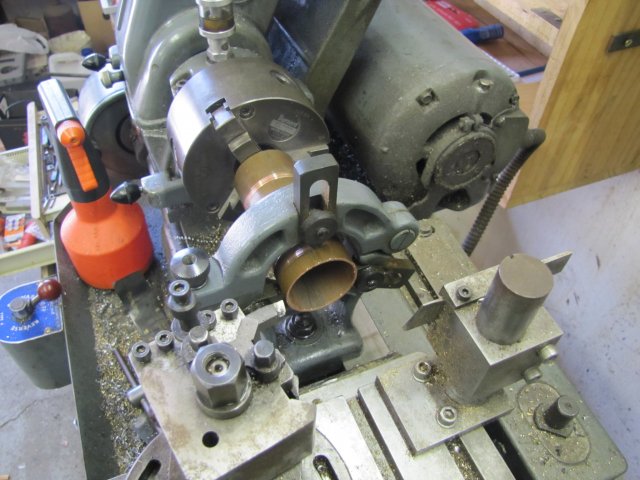
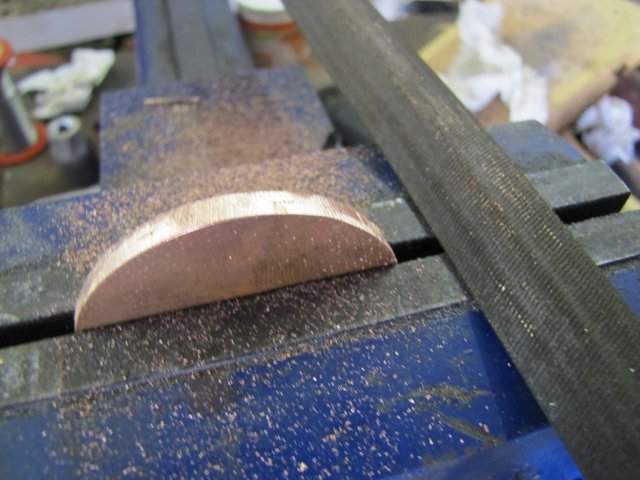
First off, the boiler shell from some 42mm OD/39mm ID copper tube; sawn to near-length, and set up to trim the ends in the lathe. I just lightly chucked the pipe on the outside of the 3-jaw chucks inner jaws, and set up the fixed steady close to the jaws to get it on centre; you can see the ring left on the copper tube from that. Then I moved the steady closer to the tailstock - leaving just enough room to get the carriage in there to clean up the pipe end:
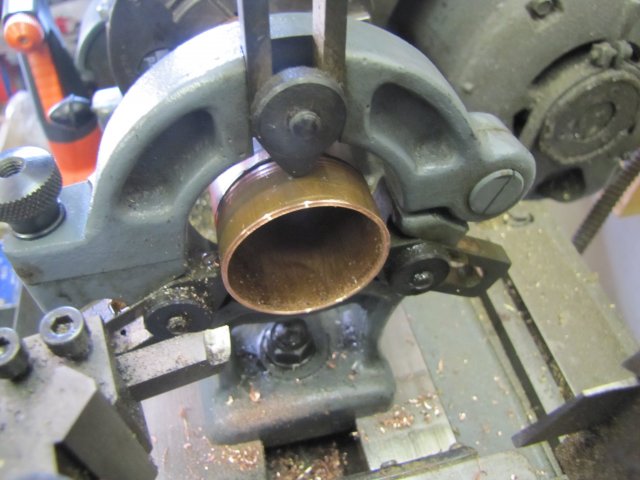
Light cuts with a sharp tool, and it was done - for both sides of the pipe:
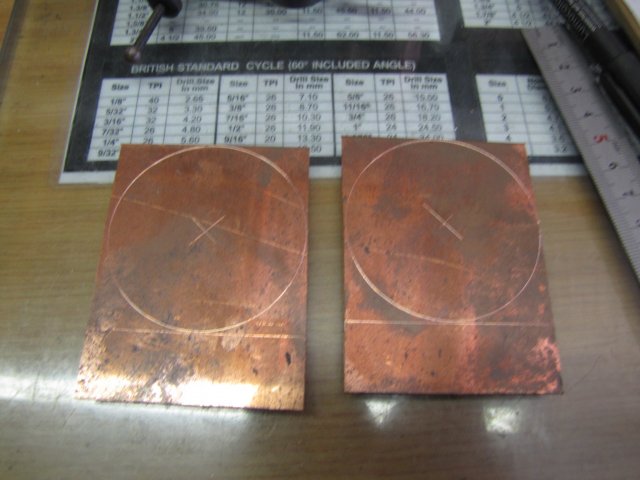
Next, the end plates. The ideal thickness for this boiler would have been 1.4mm - I have 1mm and 2mm thick copper plate, so the thicker one it is. Two bits of copper plate, marked out with circles 10mm in diameter larger than the ID of the copper tube:
Off to the band saw, and bits sawn off. When sawing plate, there is always the risk of the sawn-off bits dropping in between the slit on the table and the blade - a sure-fire way to have the excess bit land between blade and bearing or between blade and drive pulley, ending with a snapped blade.

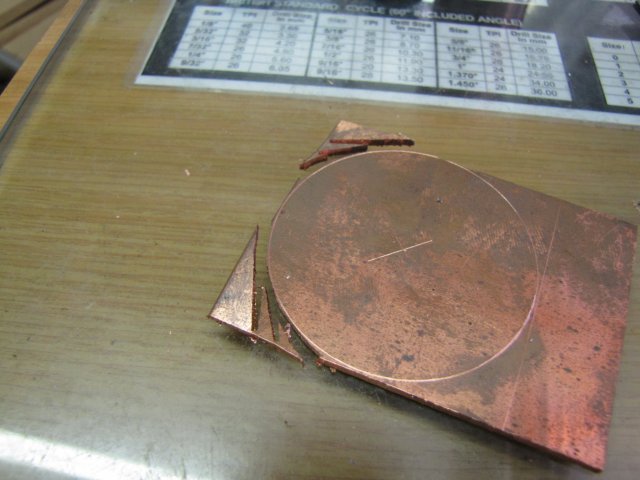
Guess how I figured that out sometime ago. So for sawing around roundy bits, I've adapted a method of sawing in at a couple of tangents, but stopping just before breaking through the end on each cut. The blade will push/bend the nearly-sawn off bit away, and the curve can be followed quite closely. With copper it's easy, as it's quite malleable. Before breaking through on the last cut, just stop, wiggle the excess around, and it will snap off, leaving a little tooth that's easy to file off. This shows the excess bits and how things come out:
Once completed for both "circles" I just filed off to the line; 5 minutes of well-spent exercise:
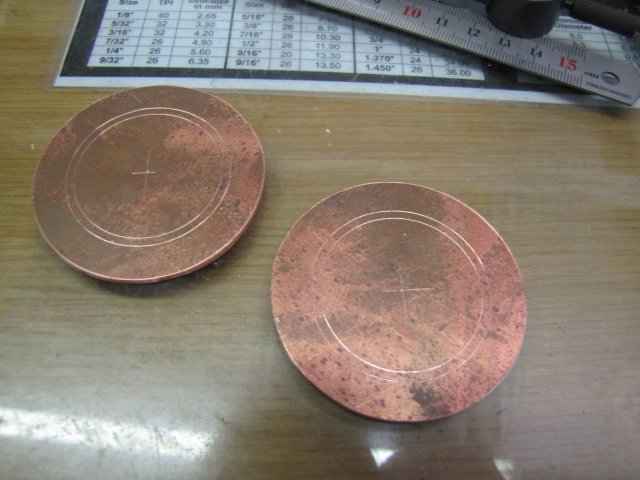
Completed end-cap discs and a relation to the boiler tube:
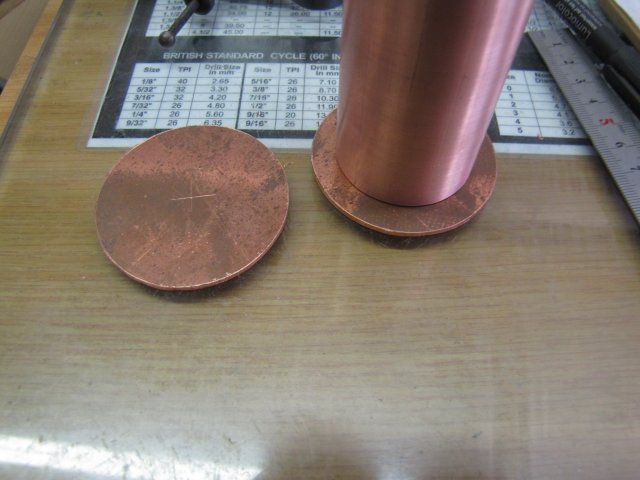
Some fairly deeply scored rings on the end plates - one on the ID of the boiler tube, the other smaller by the thickness of the plate itself. These are for reference only, but - they need to be well-scored, as the plates will go through several annealing steps:
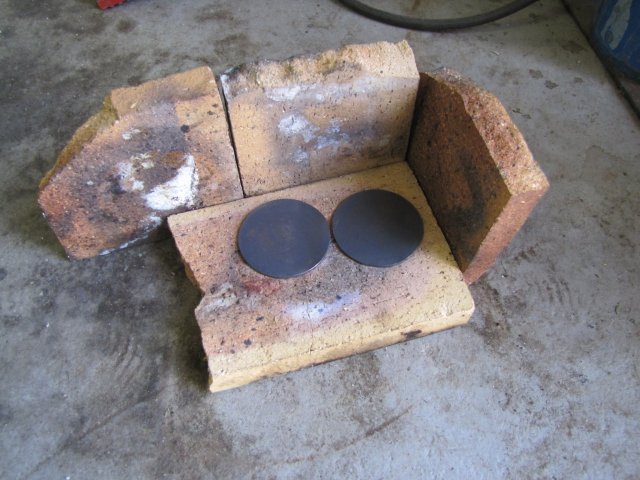
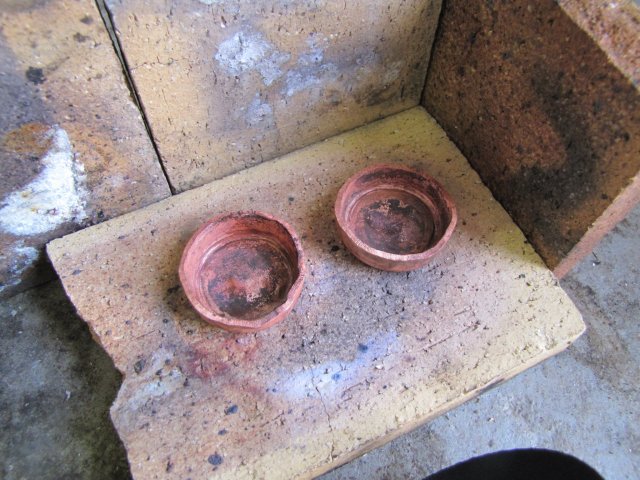
My fire bricks are in an appalling state - I wanted to nip off from work and get some new ones for a change during the week, but just didn't have a chance... Getting ready for the first annealing - with the scribed lines on the bottom, as they are less likely to "disappear" this way:
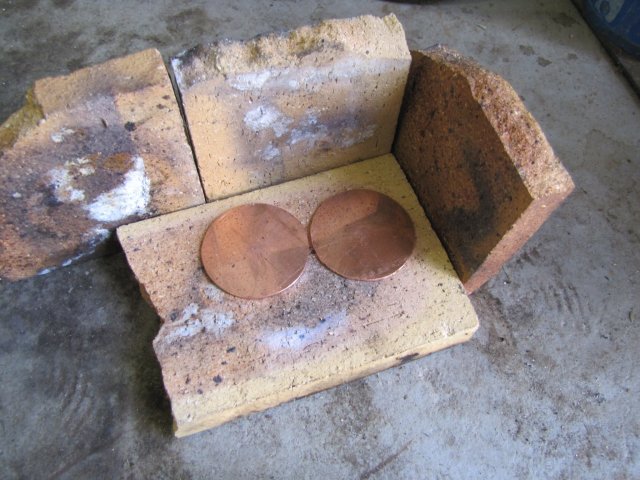
Showed them the Sievert torch with a 20mm nozzle - 20 seconds, and they glowed dull red - here cooling down and black from the heat:
A quick dip in water (copper does not need the quick cooling for softening- I was just in a hurry) and much to DaveH's chagrin, the hammer needed to come out again
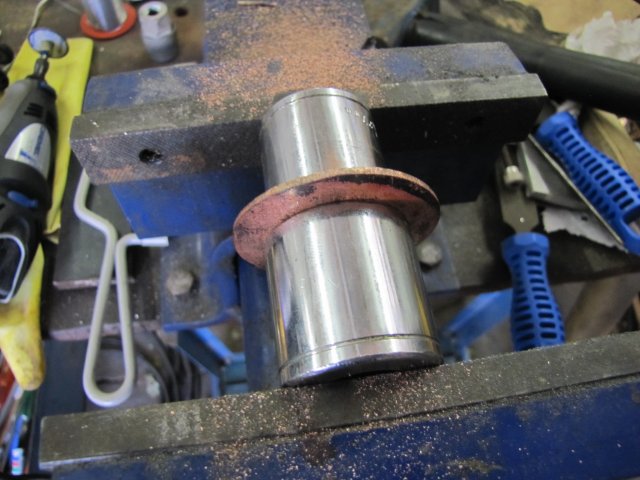
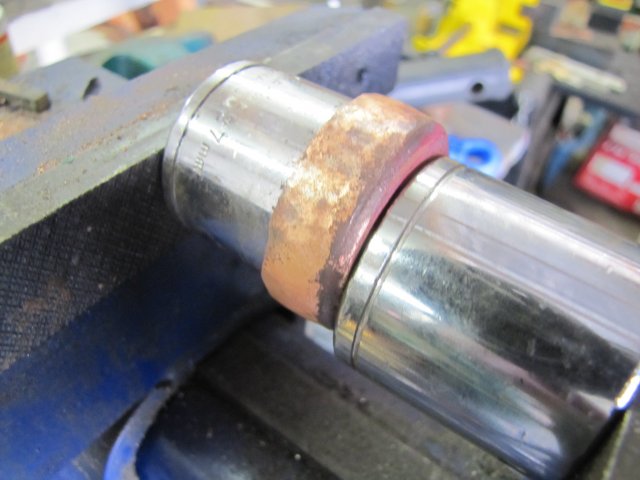
To form the end caps, one needs a former about 0.25mm to 0.5mm smaller than the "ID of the boiler tube less double the thickness of the end plate". I was loathe to turn a good piece of available stock down to size, and in no mind to faff around with turning wood to make a former, so I scratched around my bits 'n bobs and found a CCC (Cheap & Cheerful Chinese) socket that was just on size at 39mm OD. What was nice about it, was that it's corners were nicely rounded over.
I aligned the back of the plate along the earlier scribed rings as best as I could visually with the socket, and using another slightly bigger CCC socket clamped the lot in the vise:
Then started hammering the lot down with an ~1kg hammer:
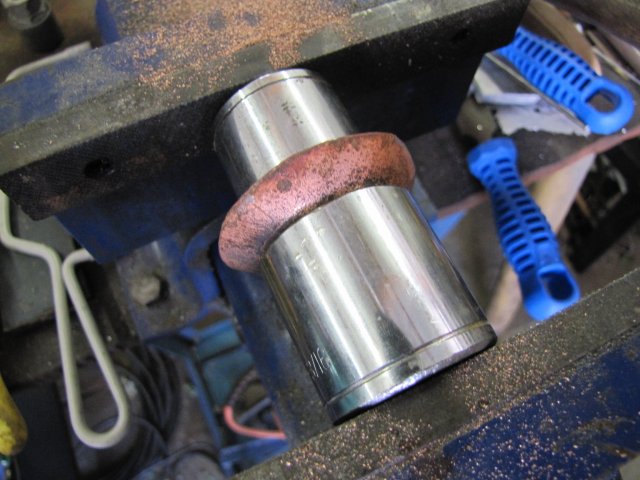
Just a couple of whacks at 45 degrees along the circle, turn, more whacks and repeat. No force needed - just a small bend to start off with. This is was actually the hardest part - with each turn here, the alignment has to be checked on the scribed lines after each turn. Super precision is not needed - close will do. With each whack, the copper work hardens, so trying to go all out and just flattening the sides is not even an option.
Once around, the plates are work hardened, so anneal again and repeat - next three photos shows the progress before annealing and repeating each time (Well, You DO like pictures don't you

):

(there was one hammer blow completely out of order on the left-hand plate)
With the final round of hammering, I offset the front socket downward so that I could get close to the edges to really get things tight:
Turn everything a bit, more hammering and repeat. Takes a while, but it's a great stress relief!
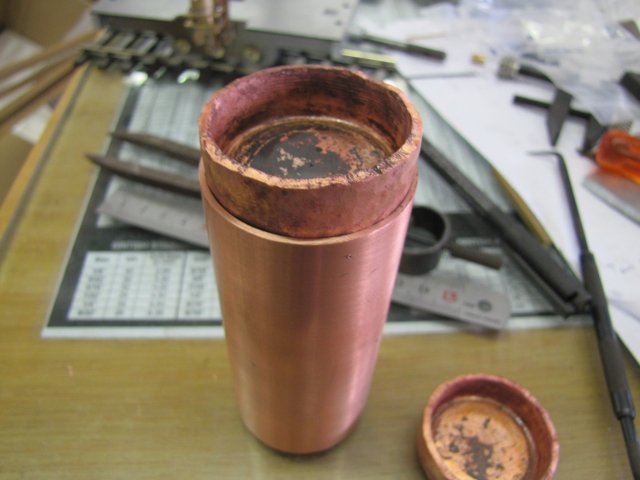
The end cap on the barrel; it's nearly a fit, and if I could be bothered earlier to turn a proper former to size, it would have just slipped in. In fact, a good whack with a hammer would make it stick in the boiler barrel, but that's not good enough - it needs to be a bit under size to allow for proper silver solder penetration later on:
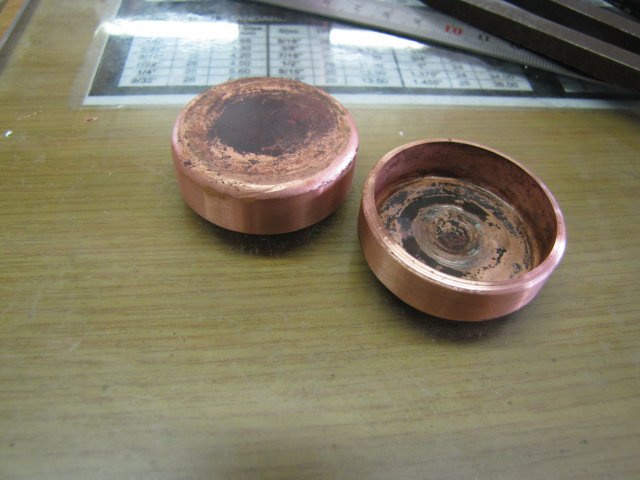
After minimal work on the lathe - just a skim over the edge and turning the ragged end down to size, I ended up with the completed end caps:
Back to the boiler tube, and some near
Arnoldidiot proof layout and marking:

A while ago I bought a step drill, as other boiler builders were singing and dancing it's virtues for making nice round holes in copper. Well, I'm now singing and dancing along
- none of the "rounded triangular" holes from normal drills here; just a nice and round hole

:
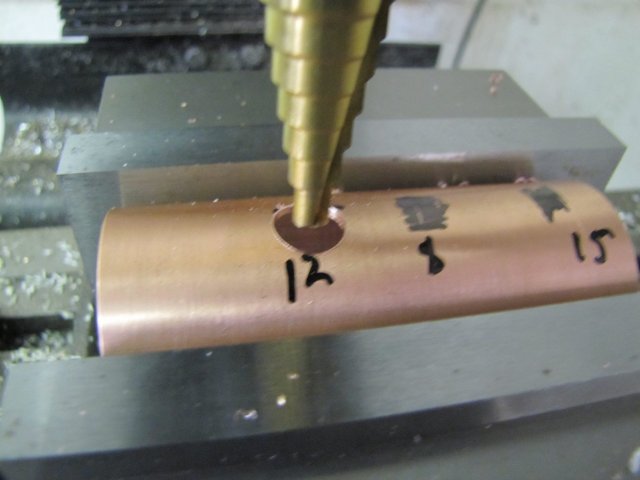
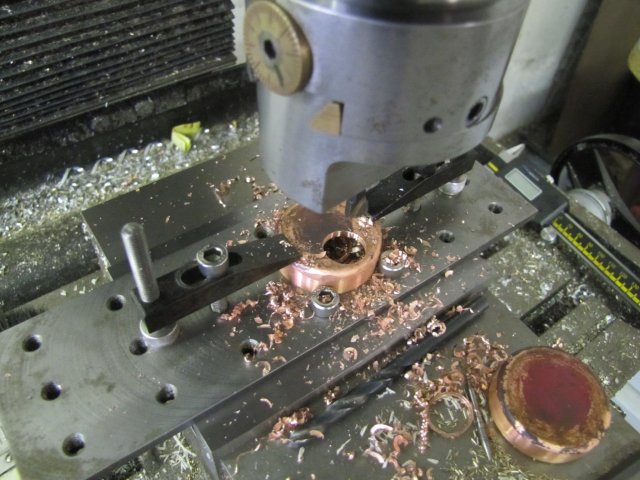
The step drill goes up in 2mm increments, but I needed a 15mm hole in the barrel, so I used the step drill to go to 14mm, and then the boring head to open up the hole to 15mm:
The end caps needed some holes poked in them; one of them just a 15mm hole for the flue tube, and the other another 8mm hole for the steam take-off/regulator mounting.
I used the tooling plate in the mill for drilling the holes, but that precluded the use of the step drill as it could not drill deep enough (well, at least not without poking a hole into the tooling plate
)
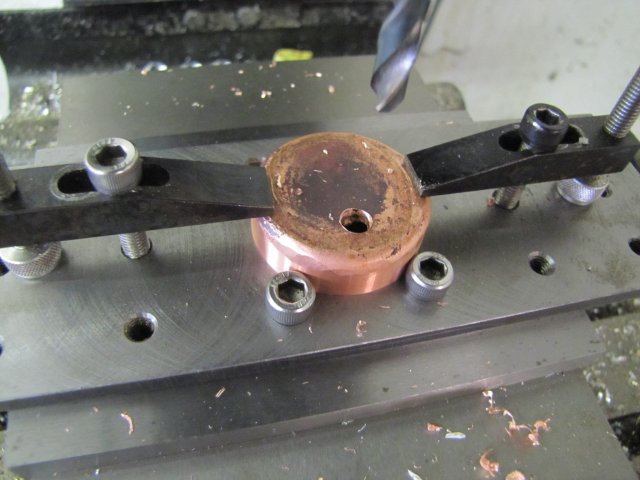
Seeing as I had two end caps to machine, I used two cap screws as locators, clamped the first end cap down and drilled it 6mm:
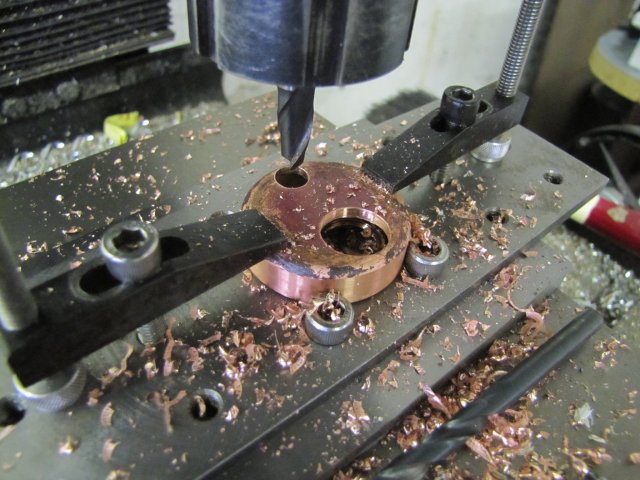
Then opened the hole successively to 10mm and 14mm with end mills:
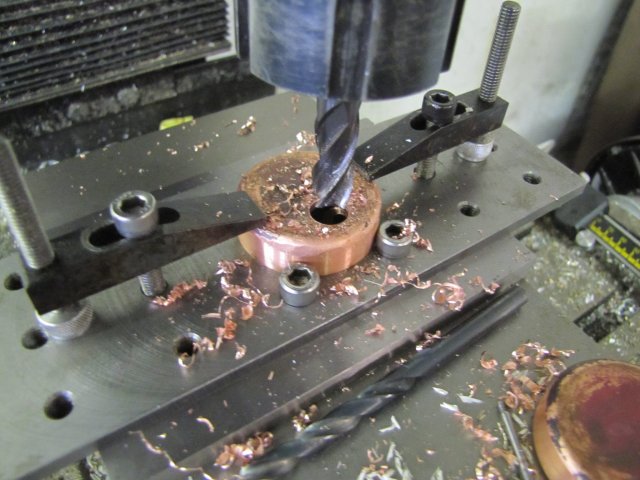
And bored it out to 15mm with the boring head. A completely boring post by now...:
The second end cap received the exact same treatment, except that it had an additional 8mm hole poked in it:
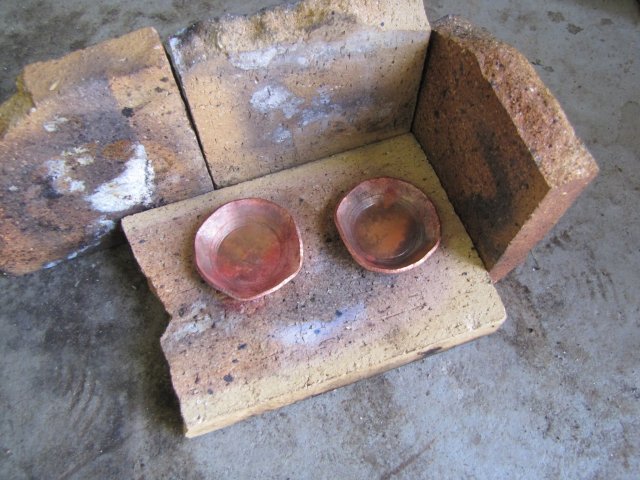
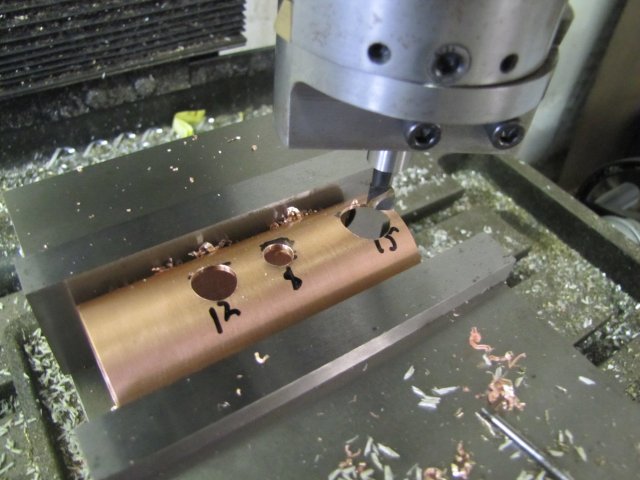
After cutting some 15mm pipe to length,I ended up with a few coppery bits for today:
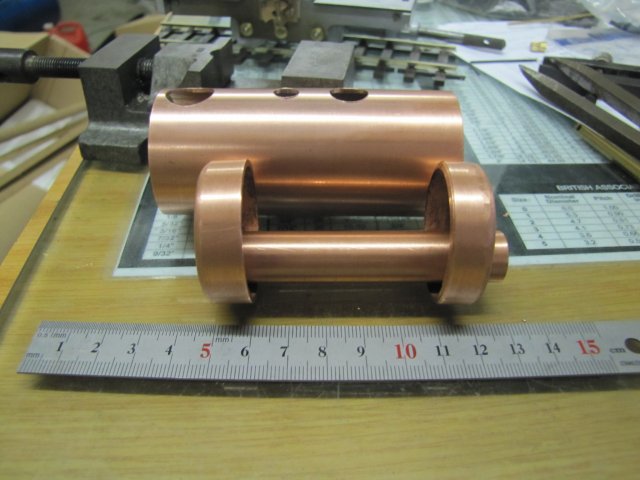
Some Scotch Brite cleaned the bits up nicely, so I decided against pickling over night. I still need to make the needed bushes anyway.

, Arnold


