
- Thanks Dave. Can you believe it; we're still getting rain here at this time of the year! Getting a wee bit cooler now as well.
Thanks Stew!

Today's little bitty bits...
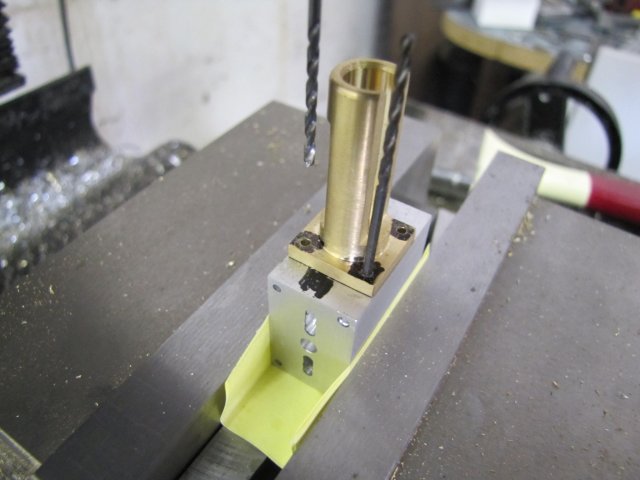
Drilling the mounting holes for the cross-head was a bit of a challenge. The index on the back of it fits the cylinder bore tightly, so there's no room for movement and later "fudging" to adjust things. And to make matters even worse, there was no way for me to center drill the holes first - I don't have spotting drills, and my center drills are all of the short variety...
In addition, the 1.6mm tap drill is barely long enough. I ended up marking out the hole locations on the cross-head, and using my scriber pressing a deep indentation in each location. As the cross-head is a tight fit to the block, it would most likely stay put while drilling; I couldn't clamp it to the block. I carefully drilled the holes by lightly pressing the drill bit into the indentations before starting up the mill motor. After the first hole, I stuck another 1.6mm drill in the hole just to make sure things couldn't move:
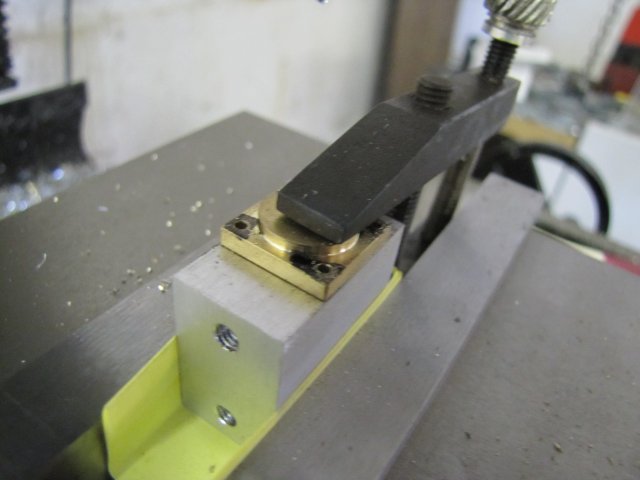
The cylinder head was a lot easier, as I could clamp it down:
Turning up the piston was a really quick job. Here it is half-way done and still 0.05mm over size, with the back side parted off partly, and a good chamfer added on either end. Also, being the normal lazy rotter that I am, I couldn't be bothered to set up a tool to turn the oil grooves; I used a triangular needle file to add them - and got my dimensions slightly out; old eyeball MK1 didn't quite do it:
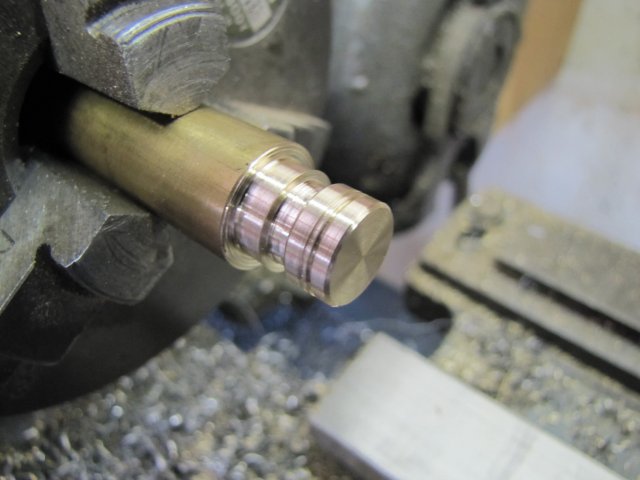
After adding the chamfers and oil grooves, I turned it down to size - 11.98mm to fit the 12mm bore. Then I center drilled it, drilled it 2.5mm for M3 tapping, added a section drilled out to 3.2mm (I'll be using 3.2mm brazing rod as the piston rod) and tapped it M3 before parting it off fully.
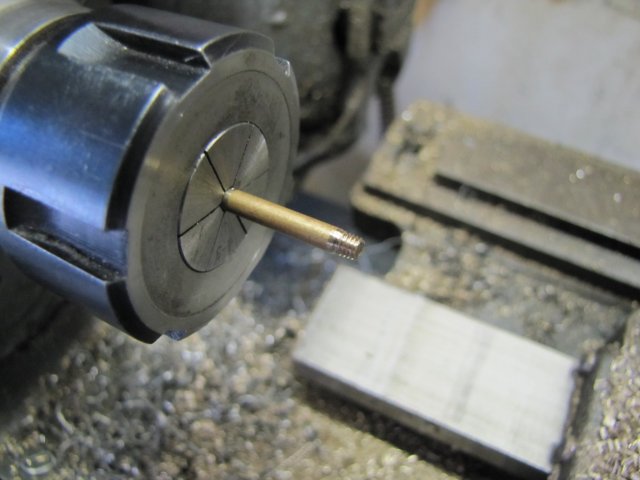
On to the piston rod - which was a bit of a challenge to make. First, some 3.2mm brazing rod in the collet chuck, turned down to 3mm for 1/8" and threaded M3 with the tailstock die holder:
Then I turned a bit of brass down to a still-tight fit in the cross-head, and drilled it out 3.2mm with a generous chamfer in the start of the hole before parting it off. I left the parted off side a bit rough around the center hole - which made the bit a tight slide along the brazing rod. Seems a lot of boo-hah over a simple bit, but there's some method to my madness. As I wanted to silver solder the brass bit to the rod, it would need cleaning up later, and if I made it a good fit in the cross-head, it would be too small after cleaning it up after the soldering process. The chamfer was needed for a place for the solder to dam into and thoroughly join both parts, as the clearance between the hole and the rod was too small for the solder to properly wick in. In retrospect, it would have been a better idea to file slight flats on the rod to leave more space for the solder to wick in; too late now though; the job's done.
Here it's fluxed up and ready for soldering:
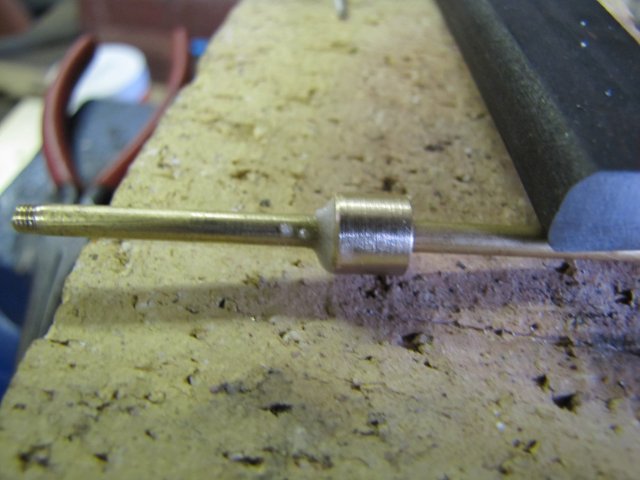
I heated the lot from the right-hand side till it glowed dull red, and just touched the solder stick to it - job done:
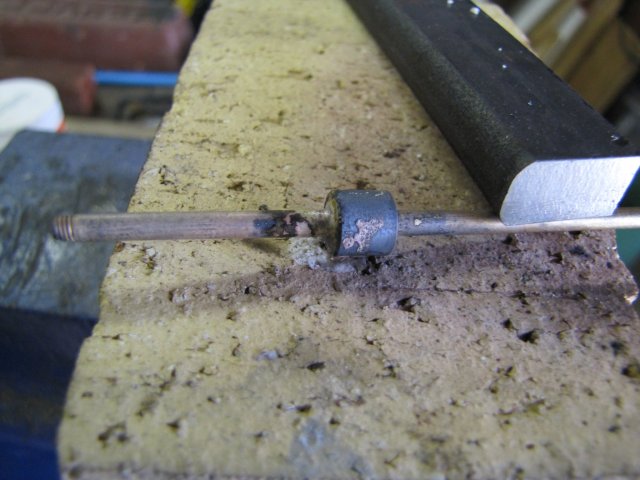
It looks horrible doesn't it ?

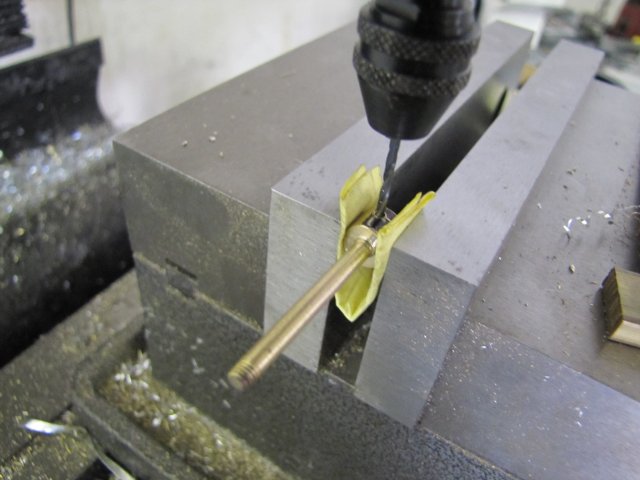
Oh well, after a bit of cleanup, it looked OK, and I could carry on - drilling the cross-pin hole:
Cut slots and flats with a slitting saw - very carefully, as this is not a very stable set-up:
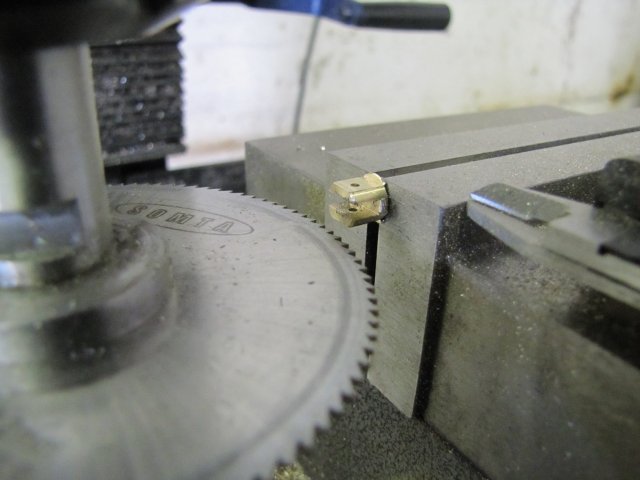
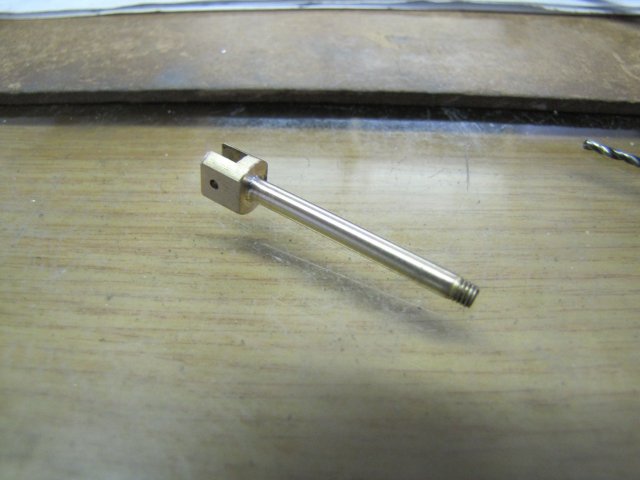
Piston rod done:
Some 4.8mm brass bar, and a couple of holes poked in it:
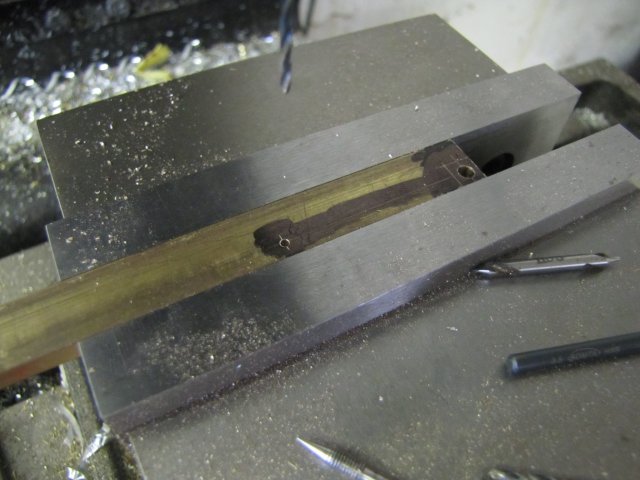
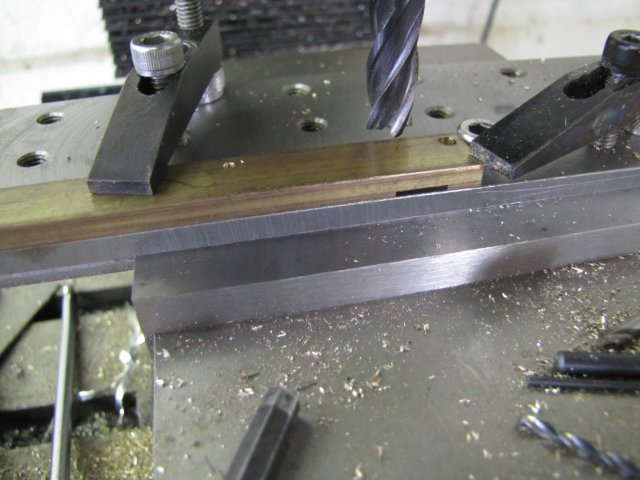
With the tooling plate installed in the vise, I clamped the lot down. The cap screw screwed down on the right of the workpiece is acting as a stop, as the part needs to be flipped around for some up-coming machining. I've mentioned before that I'm a lazy so-and-so, and this is more laziness

:
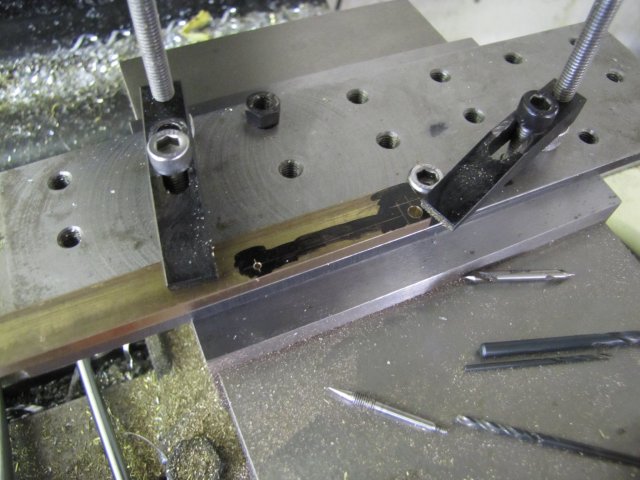
Oh, and have I mentioned how much I love this tooling plate ? - It's some of the most useful tool-making time I've spent

A bit of milling:
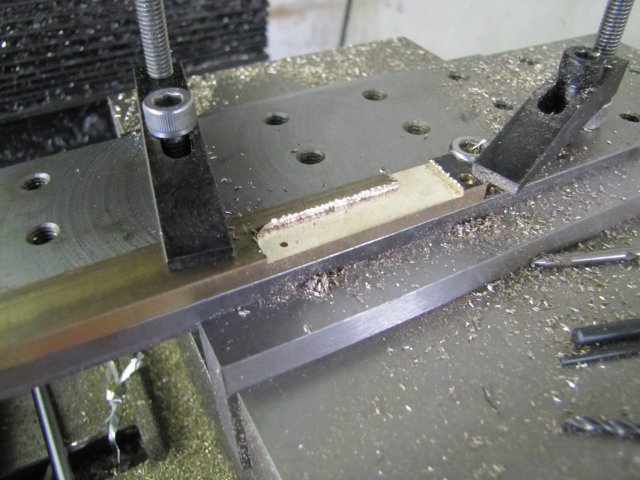
Flipped over after de-burring, and ready for some more:
And even more milling - here I've already removed the clamp on the right; that was in place while milling:
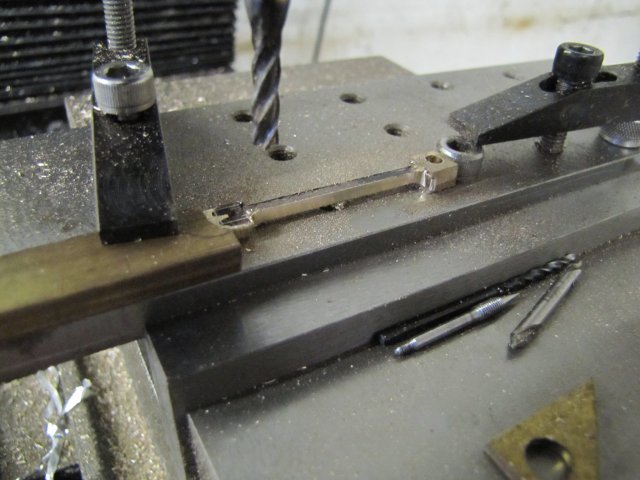
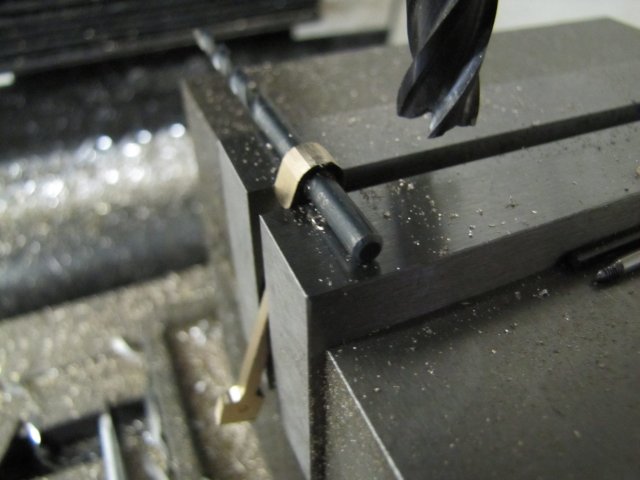
A couple of facets milled off around the edges:
And a short while later after some filing and emery, I ended up with the connecting rod done:
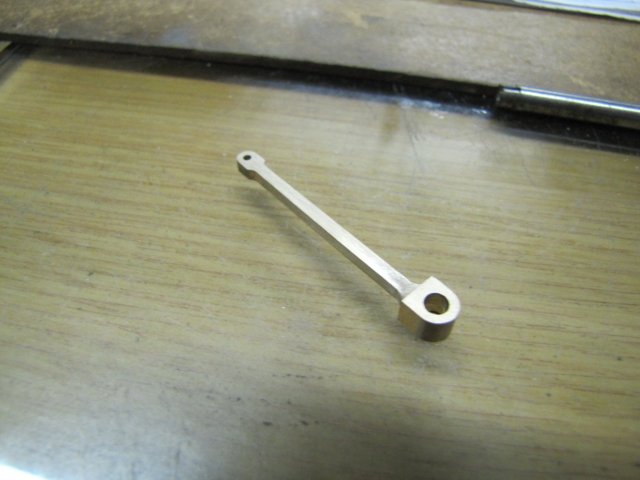
This was a quick job; took me just three hours to make, including a couple of smoke breaks, a visit to the kitchen for coffee, scratching Zorro's the mutt's head, time spent pondering the machining steps to take, and about 30 minutes actually machining it and 30 more with the files and emery

The bits are coming together now - and they even seem to fit


, Arnold