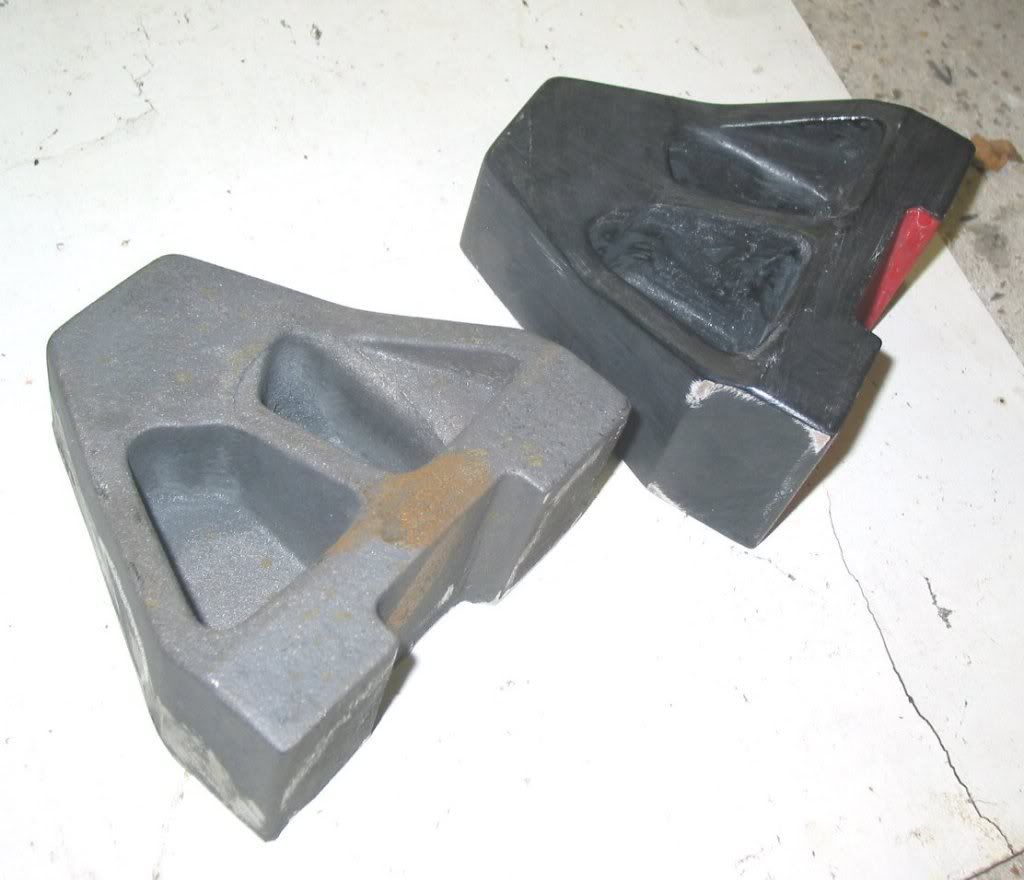
When I got my milling machine it was missing the overarm bearing for the outboard end of a horizontal arbor. Mostly I use the machine as a vertical, but it has always irritated me that I haven't got 'the full set' with the machine and as a two year-long scan of fleaBay failed to dig one up I decided to bite the bullet and make one. I made a pattern by laminating some 1" plywood to get a block thick enough. This was a mistake as changes in temperature and humidity, even after painting it, made the laminations move about and show up. Again and again and again..... sand it smooth, (re)paint it wait two days and the laminations are sticking out like a sore thumb. It eventually got less mobile, by which time it probably had 10 or 12 coats of paint and sanding. It was less than ideal, but adequate so I took it in and had it cast at a local foundry. Not exactly cheap, but about what I would have paid had one turned up for sale so not cripling either. But obviously I need to machine it. Here's the pattern and casting side by side.
 Making tools to mend tools to work on tools
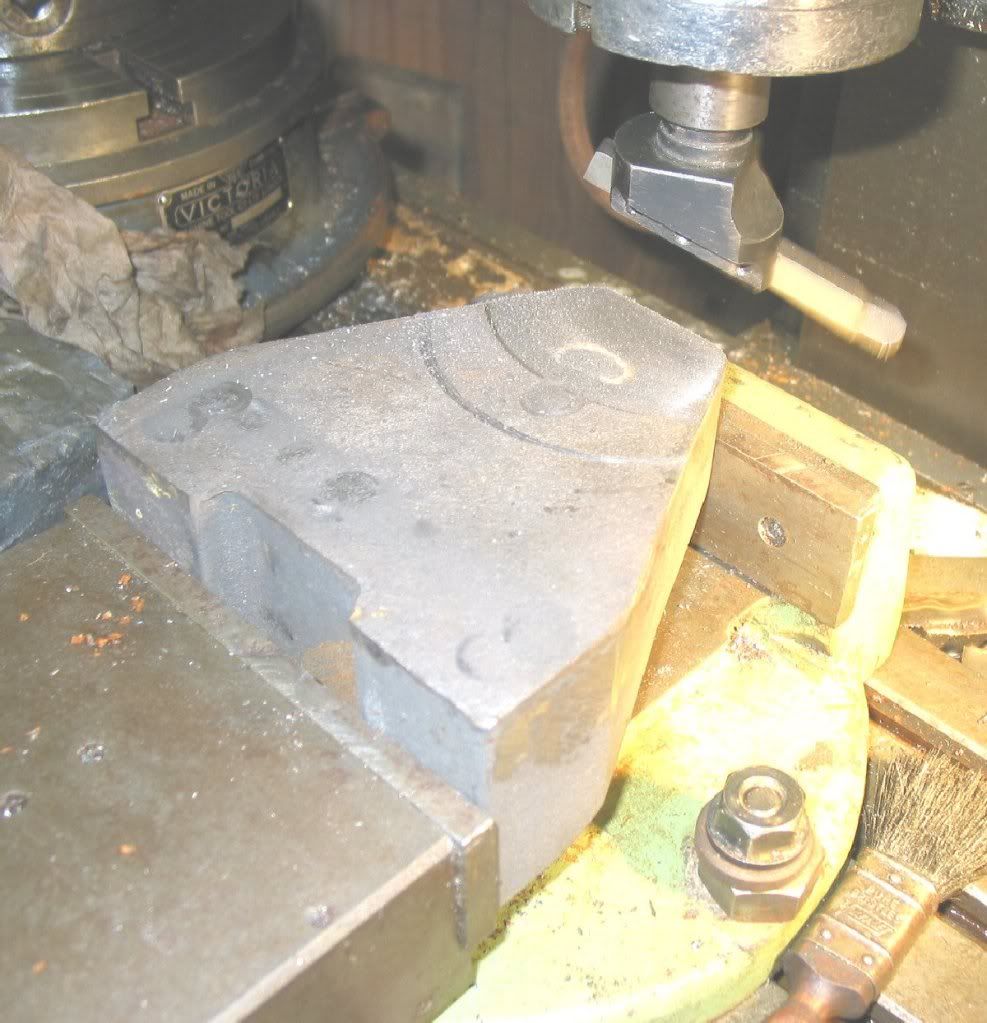
The first thing to do is get a reference so I took a swipe across the front face with a fly cutter. It's not a hugely important surface, but it's an easy one to give me a reasonable surface to mount it and measure from for.
 Making tools to mend tools to work on tools
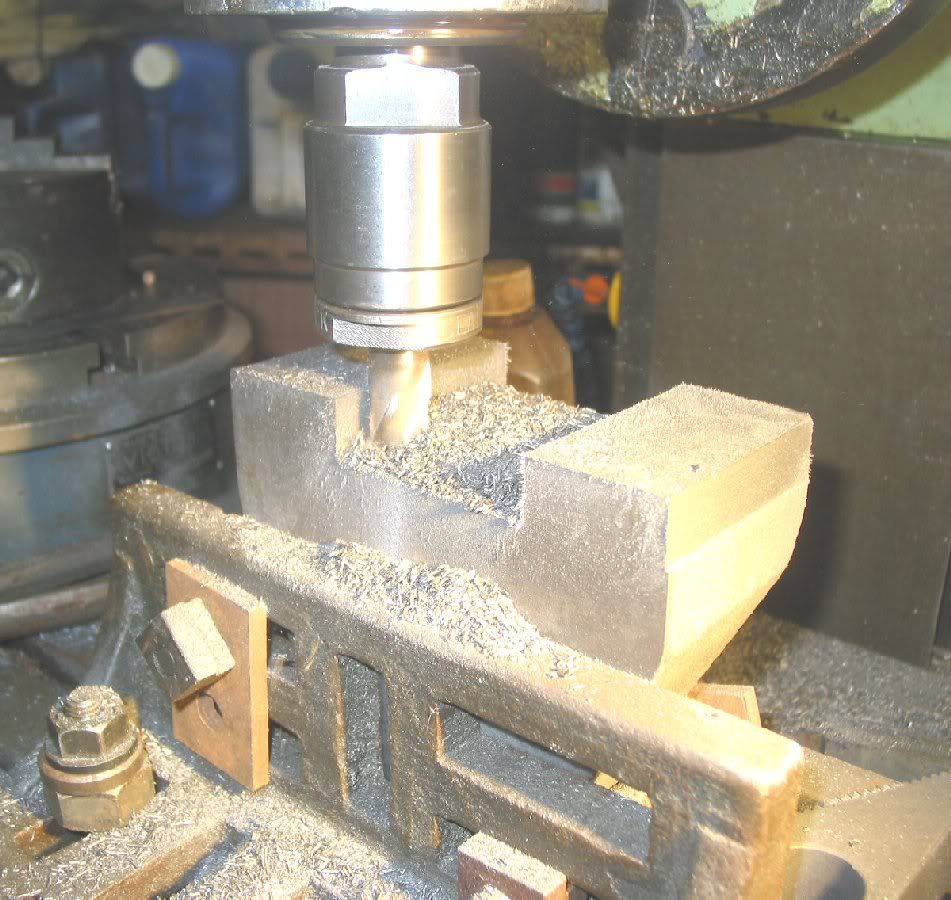
I also took a cut along what will be the top face as a starting point for setting the casting up on an angle plate. Then hogged out the bulk of where the dovetail will be.
 Making tools to mend tools to work on tools
as well as taking a cleaning cut down the side of the block for alignment and setting up later.
 Making tools to mend tools to work on tools
The dovetails will be hand scraped to match the slides on the machine, but unfortunately I had assumed they were 60deg which would have been easy to use a dovetail cutter to get close, but in fact on measuring them, they are 55deg, strange but true. So I decided to cut them on the shaper.
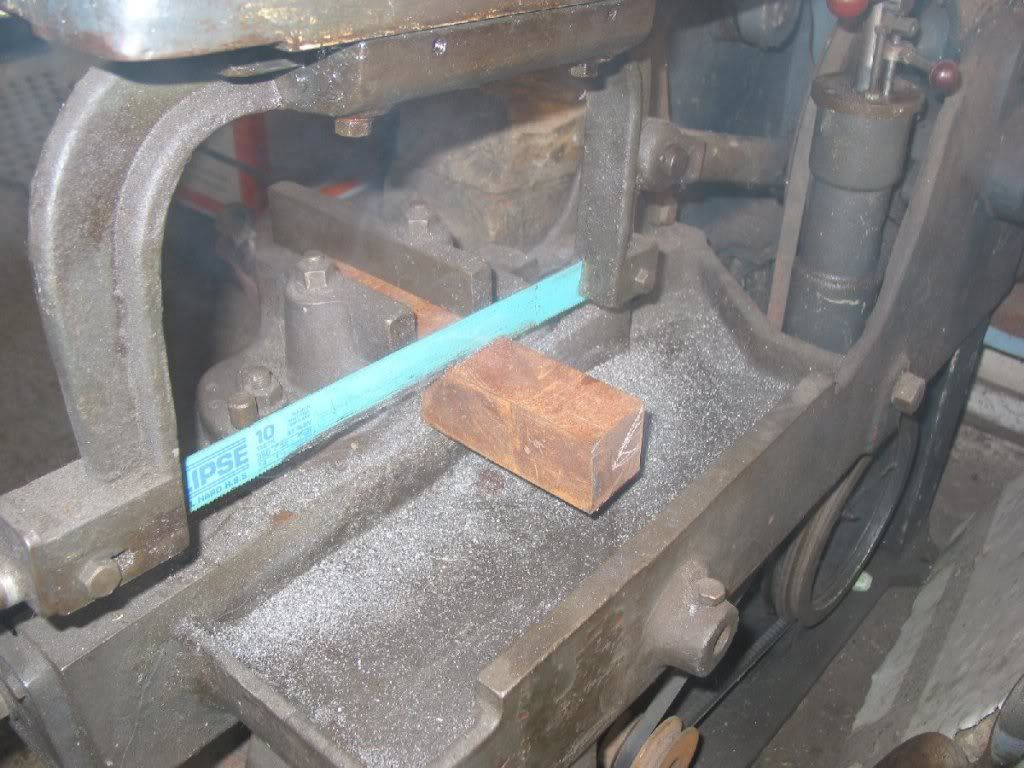
Start by making a gauge to check the bearing block as once it is big enough to fit on the machine it's already too big and adjusting the fit will only make it more too biggerer. I grabbed a bit of 2x2 sq steel and set the donkey saw to work on that while I ground up a tool for the shaper.
 Making tools to mend tools to work on tools
It needs to be less than 55deg between the flanks so that I can cut the dovetail and still have some side clearance. No particular angle was set, I just eye-balled it up to be less than the dovetail by probably 8~10 deg.
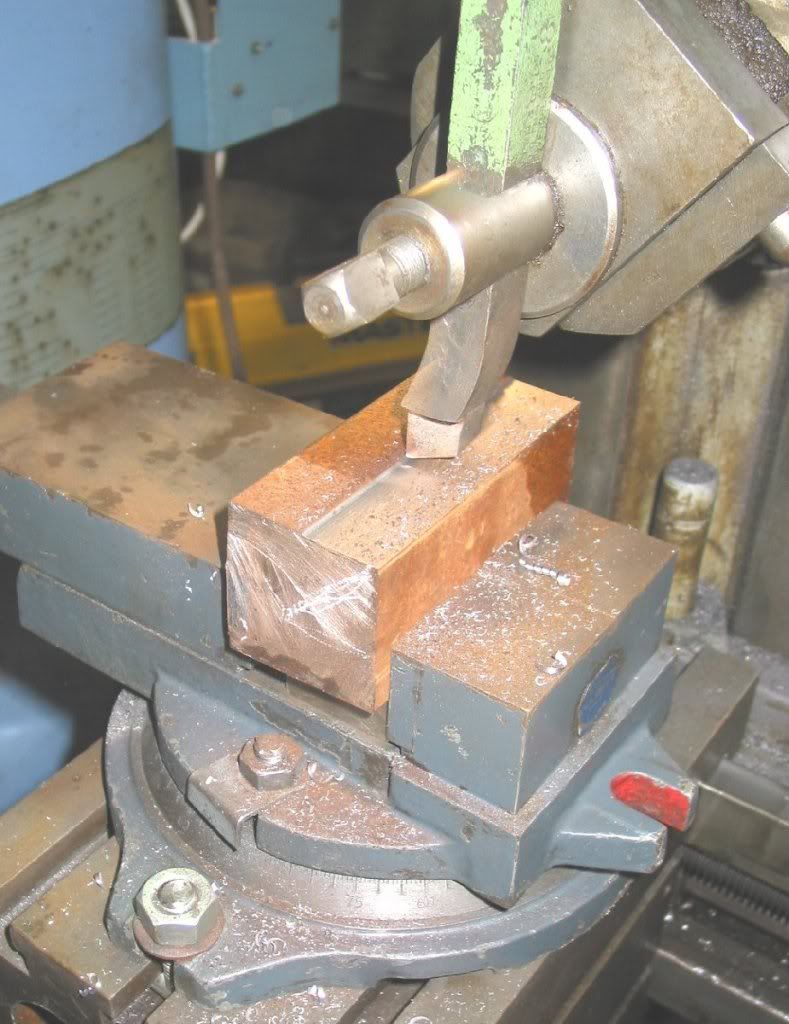
The saw's done its job and now I set the vice straight on the shaper and put the blank up to take a lick off the top to clean it up and give me a reference.
 Making tools to mend tools to work on tools
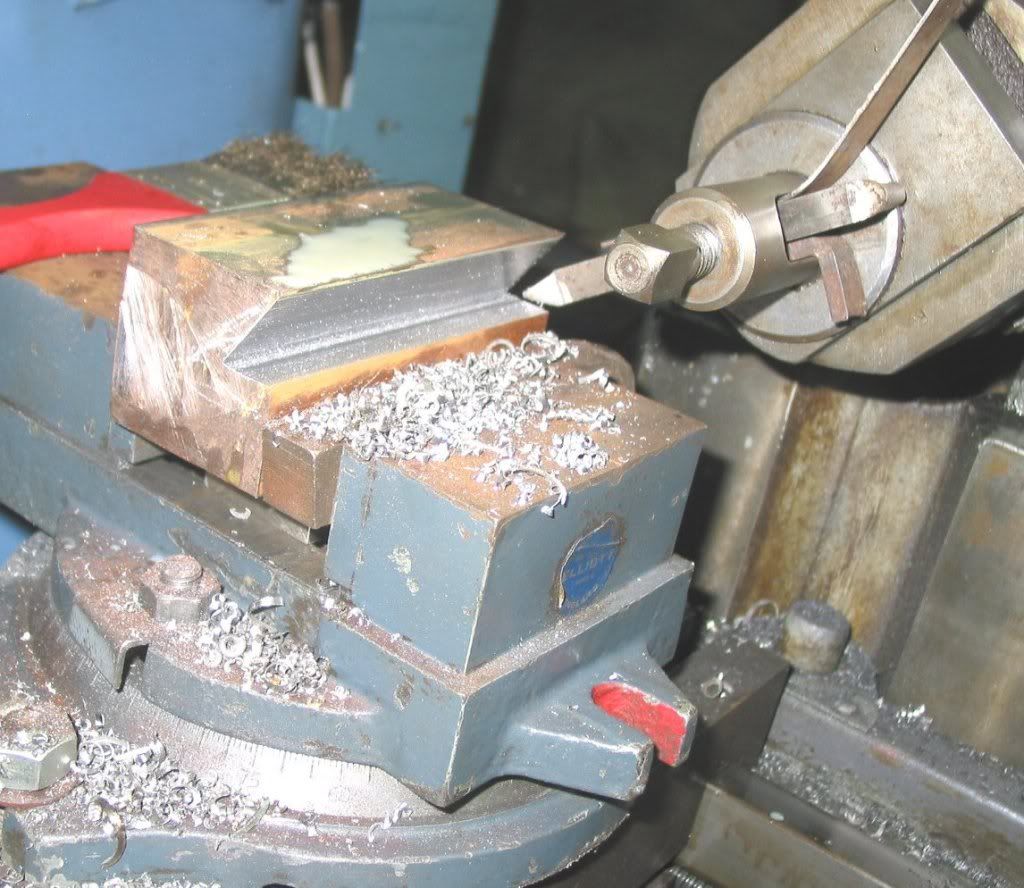
and then set up the fine tipped tool for the cutting the vee. As is usual it took far longer to set it all up than to actually do the job. The shaper is a bit small for the job, not in terms of stroke, but the necessary side movement to get the tool to the side of the block. I did not want to put the vee in the top of the block as I'm essentially lazy and the machine has no powered vertical feed, but does have a powered horizontal. This makes it much easier to get a nice finish on at least one side of the vee. I roughed out the groove using the table vertical slide and advanced the tool slide down and in. The great thing with shapers is they eat metal quickly and yet still give a good finish. Once the bulk of the groove was clear, I re-set the table support leg and took a finer cut across the flat of the groove. Then backed the tool slide up and took a finishing cut down the angled face with the hand feed on the tool slide, set at an angle (ie 90-55 = 35deg).
 Making tools to mend tools to work on tools
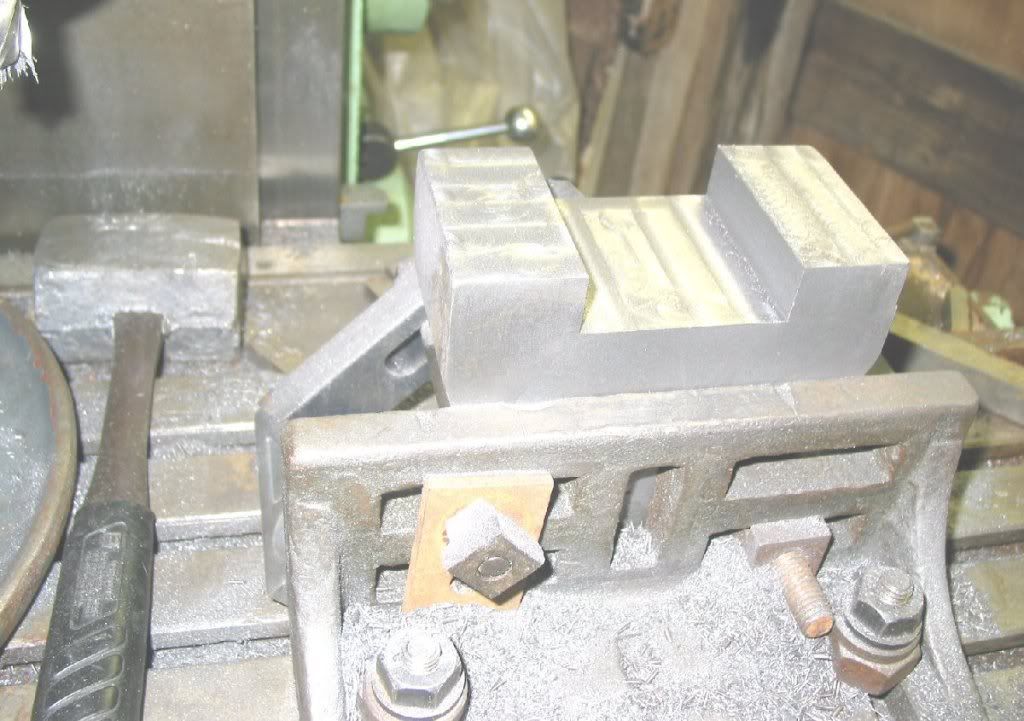
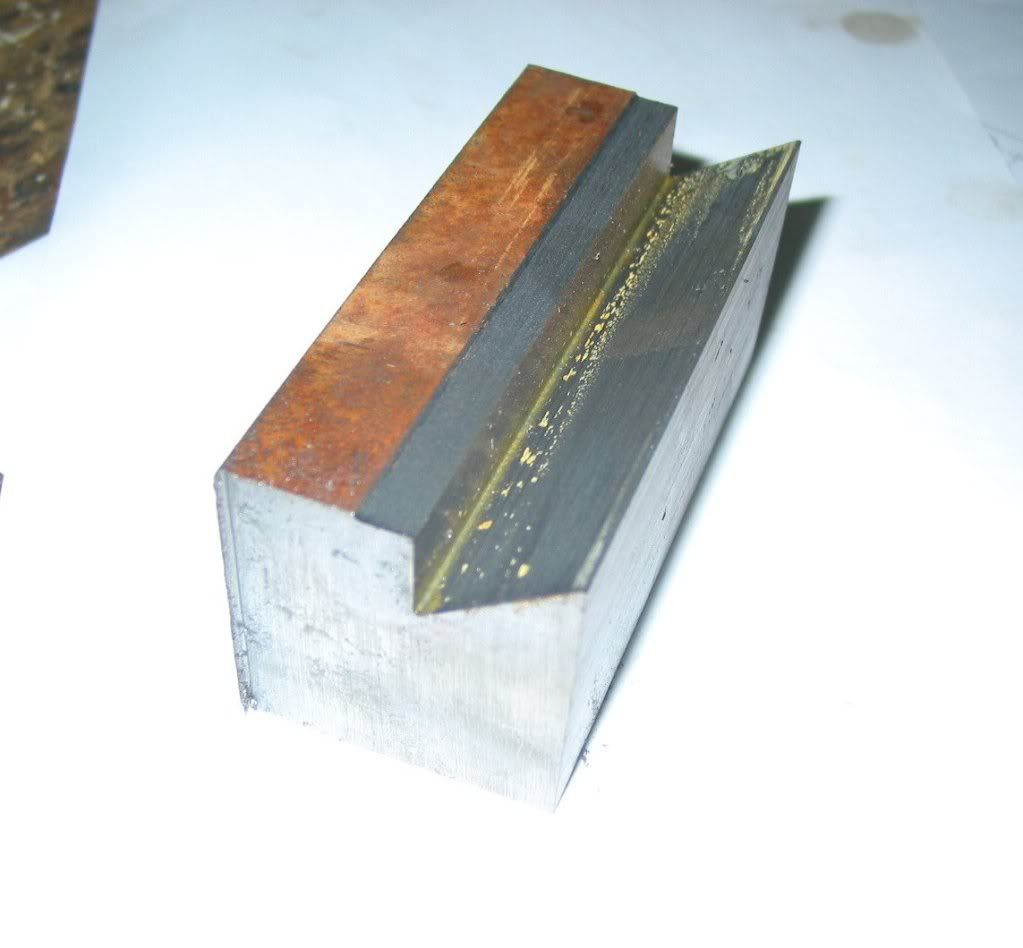
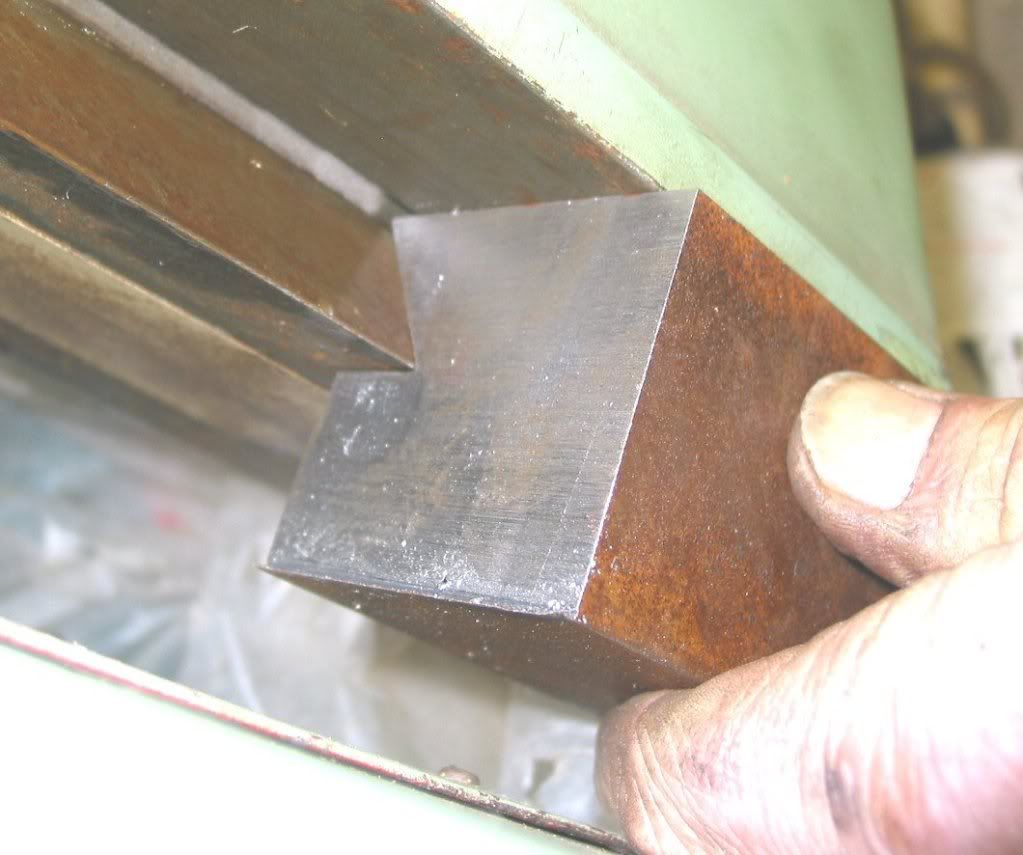
And here's the finished gauge blank.
 Making tools to mend tools to work on tools
A quick trial fit onto the dovetail and it is close. No the dovetail is not rusty, just an oil stain, the camera is not very flattering.
 Making tools to mend tools to work on tools
I've not blued it yet, but I don't think it will be too far off. Once it is right, I will take a swipe off the 'back' to true the face to the vee and then cut it in half. I can then use the two parts inside the dovetail as yet to be made on the top of the bearing block and measure between them to get a indication of the width of the dovetail. Yes, I could do that by measureing between rollers, but I need an angle gauge to get the flanks right anyway, so I might as well use the same gauge for both jobs.
It's a bit of a background project this, so don't hold you breath for the next bit, but I will get round to it..... sometime.
Richard


