As requested by John I will try to show you how I made the front panel
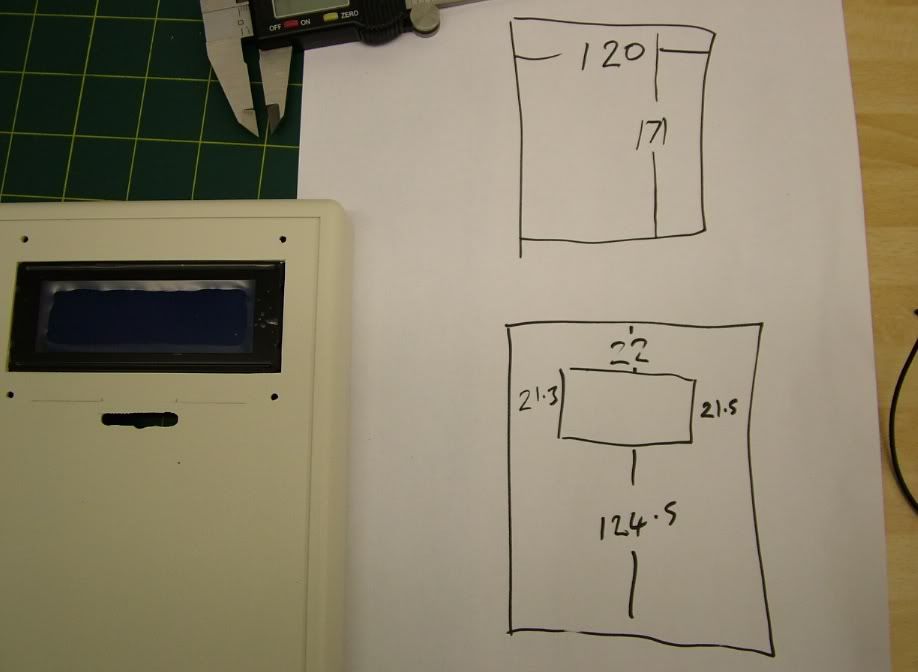
First you will need to measure your panel hight and width
Then measure in from the sides to the edge of the lcd window Just the bit that lights up
This is how I did it and there are probably better ways to get to the same result I'm also cr*p at showing people what to do

Inkscape is a free Open Source vector graphics editor, with capabilities similar to Illustrator, CorelDraw, or Xara X
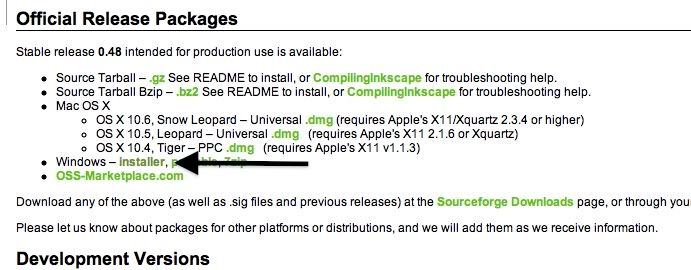
To download inkscape find the download link on the top left of this page
http://inkscape.org/and look for this bit arrowed if you run windows or above if you use a mac
Now we can move on to making the panel
(before you go to far I suggest you make a small rectangle using the tools shown below and size it to a known and easy to measure size eg: 1" square
then print it and measure it I have had trouble with some printers getting an accurate sized print

)
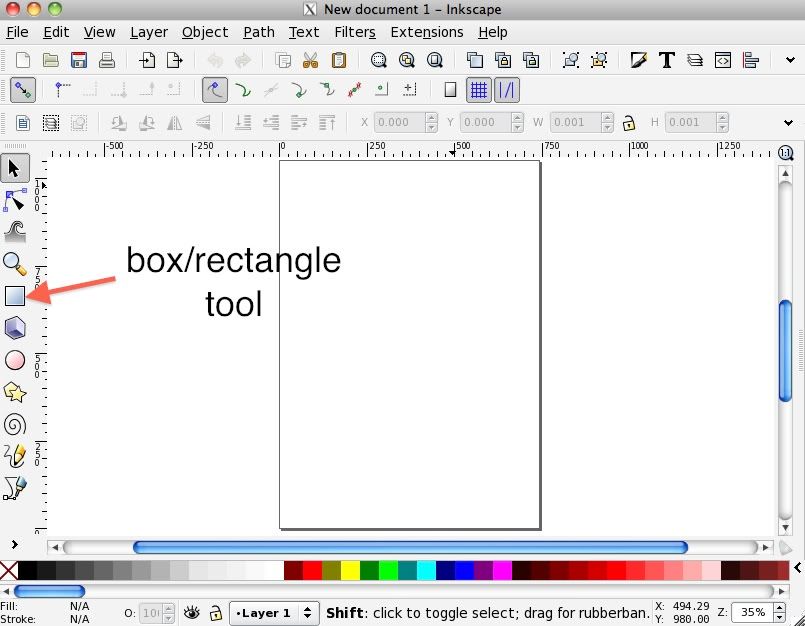
Once you have it installed and open it will look like this
To make sure we have the right settings click on file in the top left
then hover your mouse over "new" and select A4 from the list then close the old window underneath.
The tool arrowed is the one we shall use the most today
Click the "box / rectangle tool" and in the white rectangle which represents your sheet of A4 paper
Click and drag to draw a rectangle
Size is unimportant but be aware that anything outside of the A4 area will not be printed
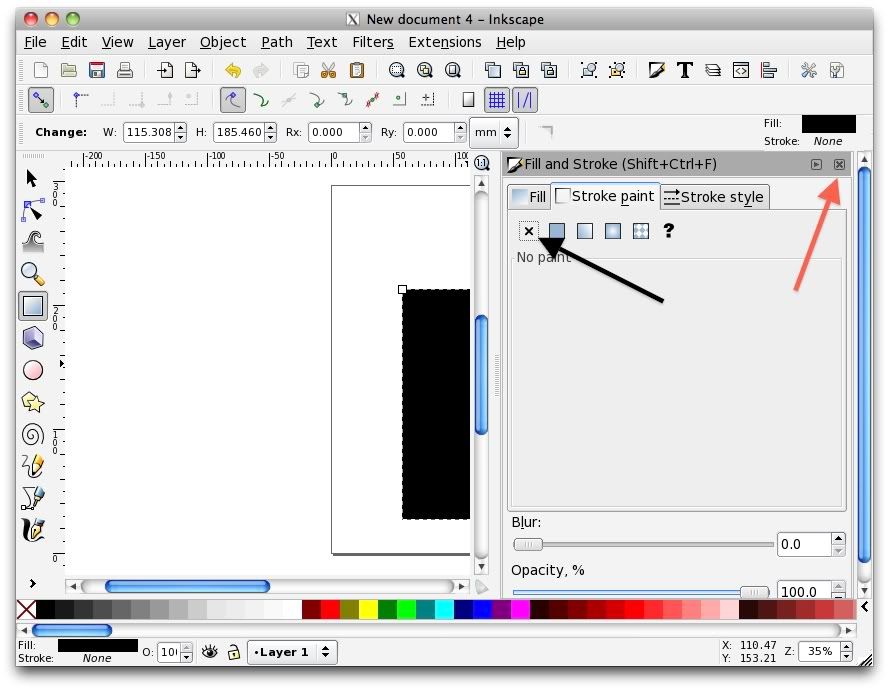
You should now have something like this before you go any further right click on the box you just drew and select "fill and stroke"
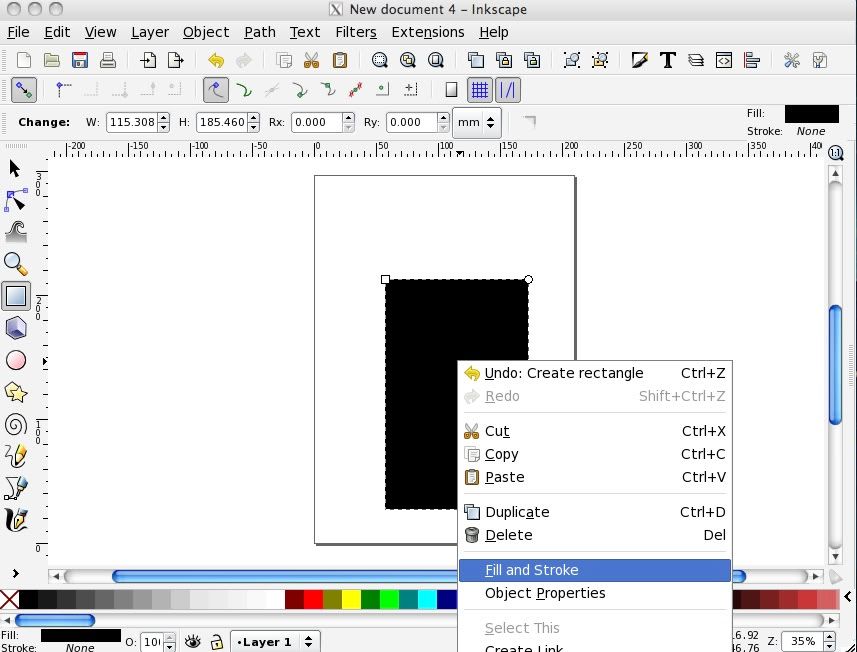
This will open up a box on the right of the window like this
Click on the stroke paint tab and make sure the box no paint is clicked(black arrow)
Then close it with the red arrow
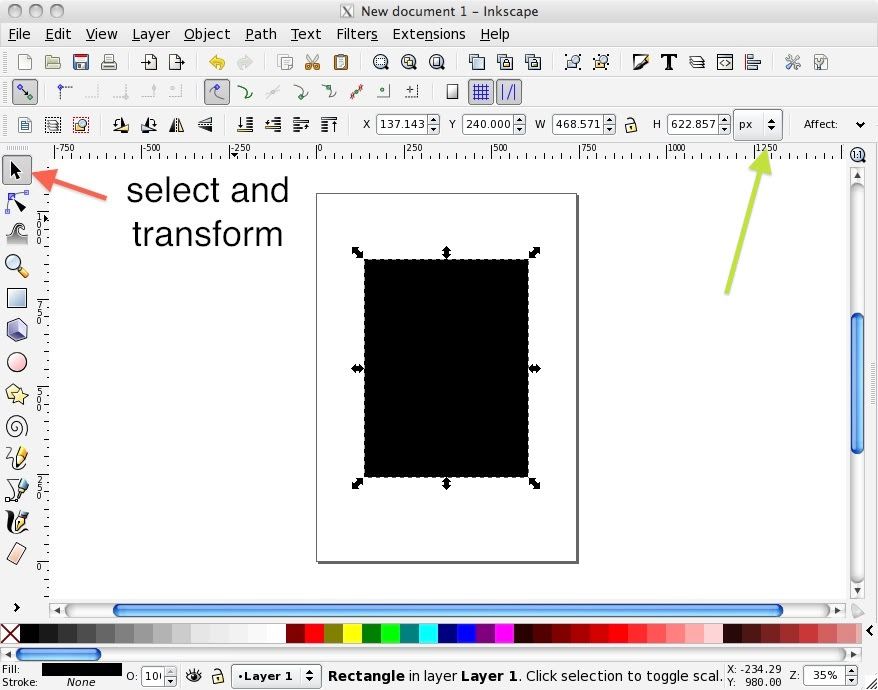
Now we can size the box If your box is not selected use the select and transform tool and then click on your box
Now we need to change the measurements from pixels to mm or inches what ever you are using
click the green arrow
And select the mm option
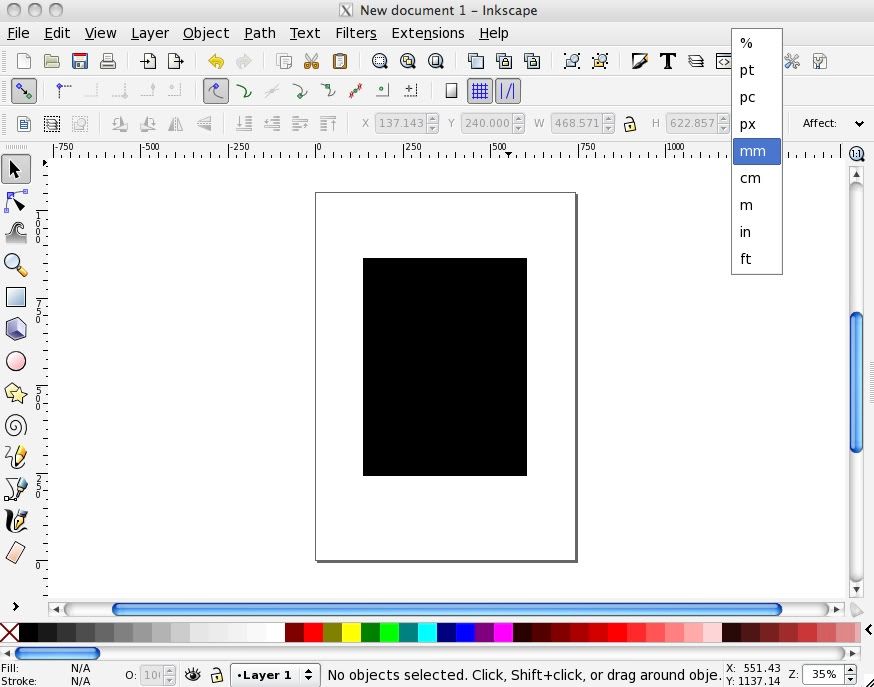
You wil now probably have to select your box again then you can change the size by typing in your own dimensions in the arrowed boxes
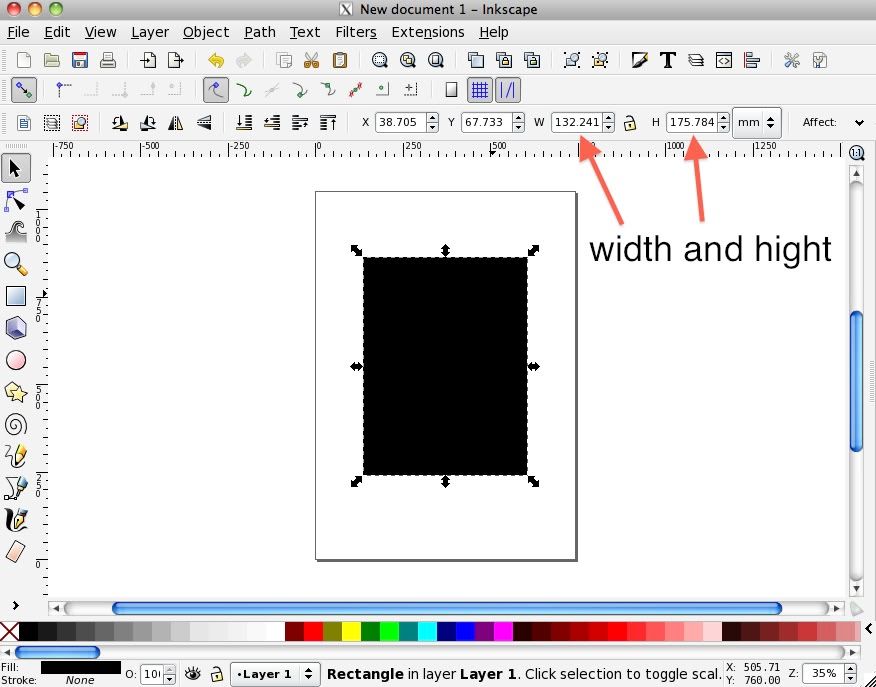
This black box will be our guide so if it is the correct size save your work and continue
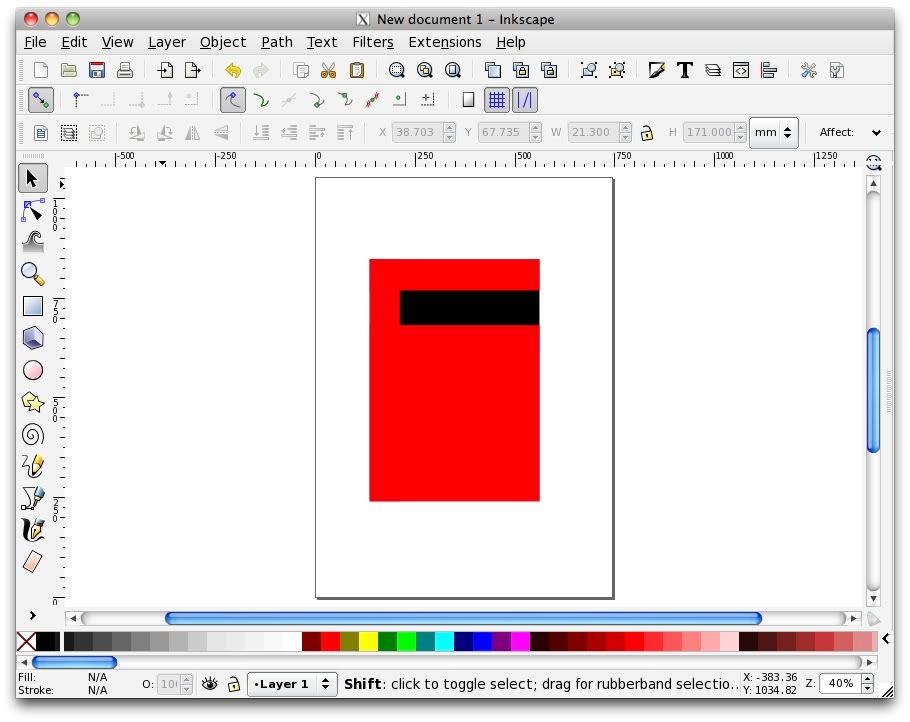
Next draw a rectangle using the box/rectangle tool roughly to the shape shown below
While it is still selected pick a colour from the bar at the bottom pick a colour you can find again
as we need to make four boxes the same colour
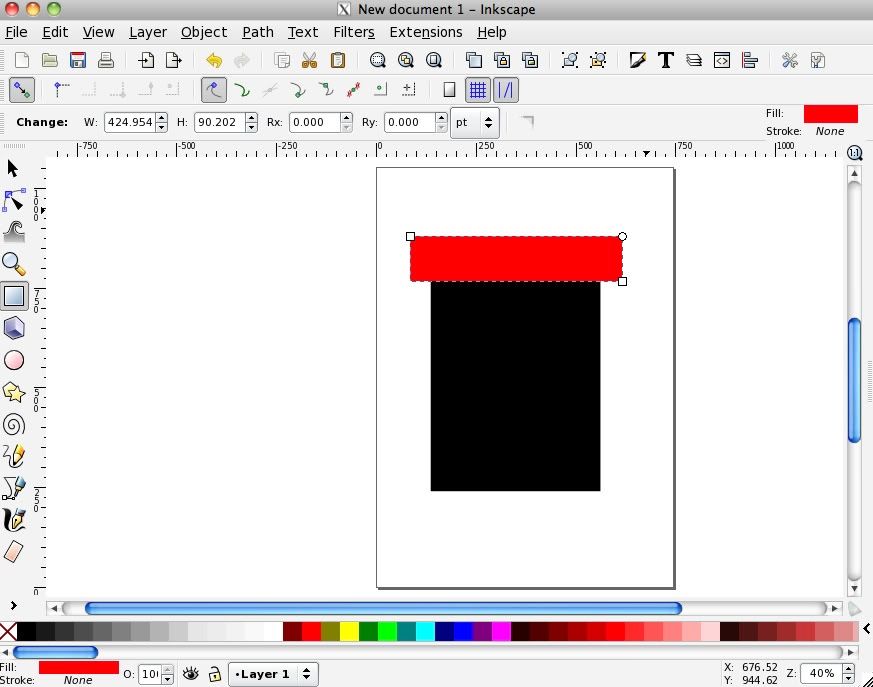
Then to size your new box click the select and transform tool and select your boxyou can now change the width to match the black one (your panel) and use the hight taken from your measurement
from the top of the panel to the lcd window
You will probably need to change the pixels to mm again
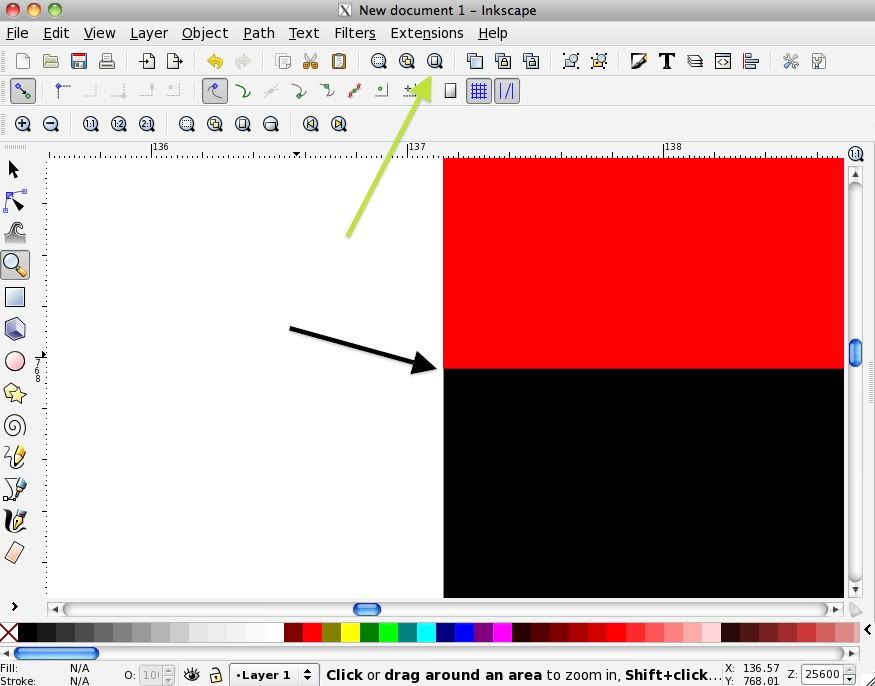
Then using the arrowed magnifying tool drag a small box around one corner of the two boxes
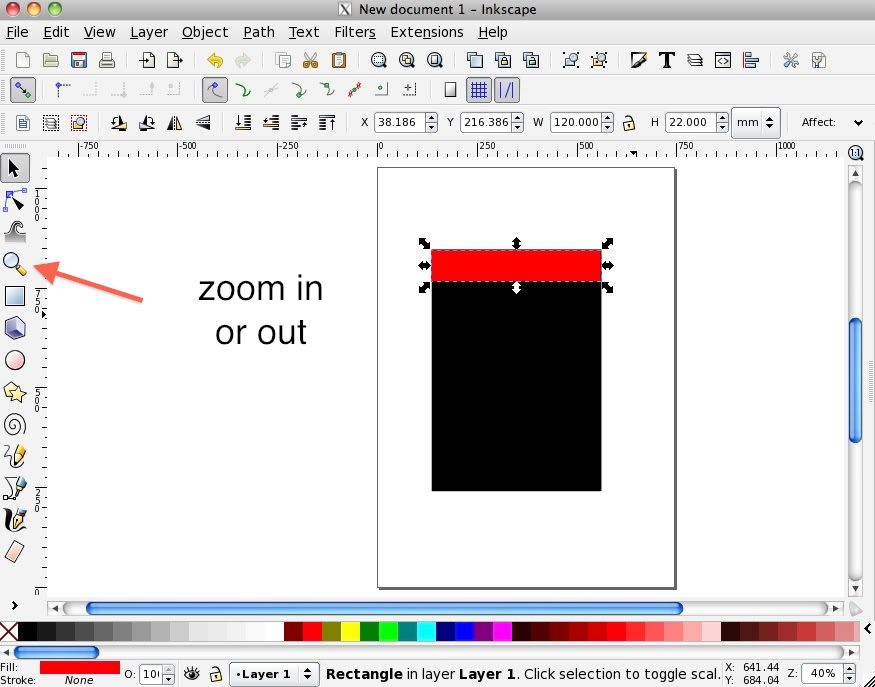
Zoom in a few times until you can line up the edges you may have to select the red box using the select and transform tool to move it
Once you think you have it correctly aligned use the scroll bars to check the other corners all line up
Then exit back to page view by clicking the button arrowed in green
If your happy with that save your work
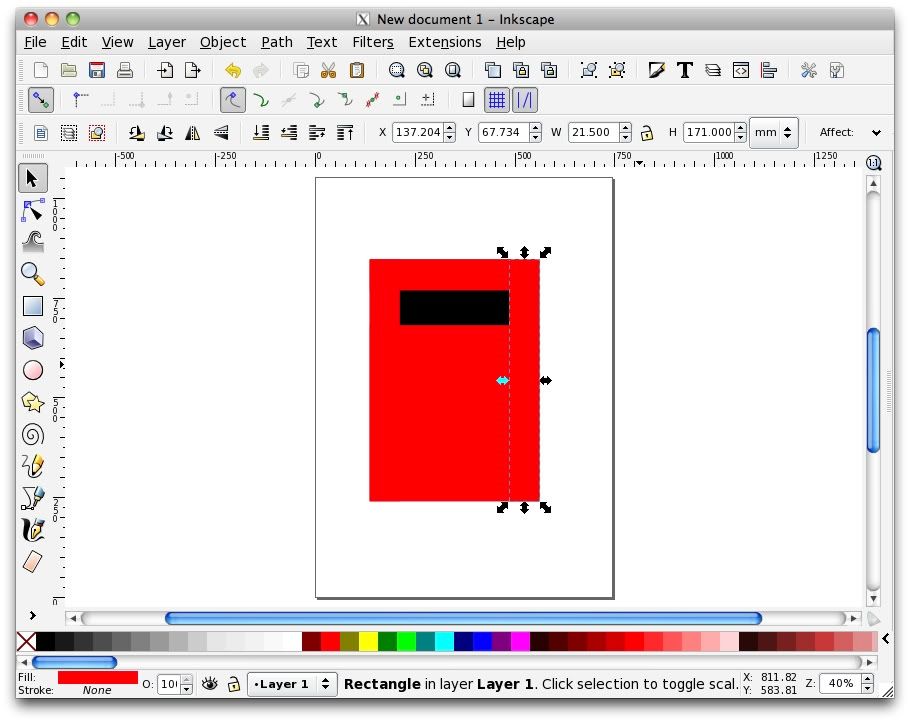
Now using the same method as above draw a box over the bottom half and size it with your width and hight to lcd window measurements
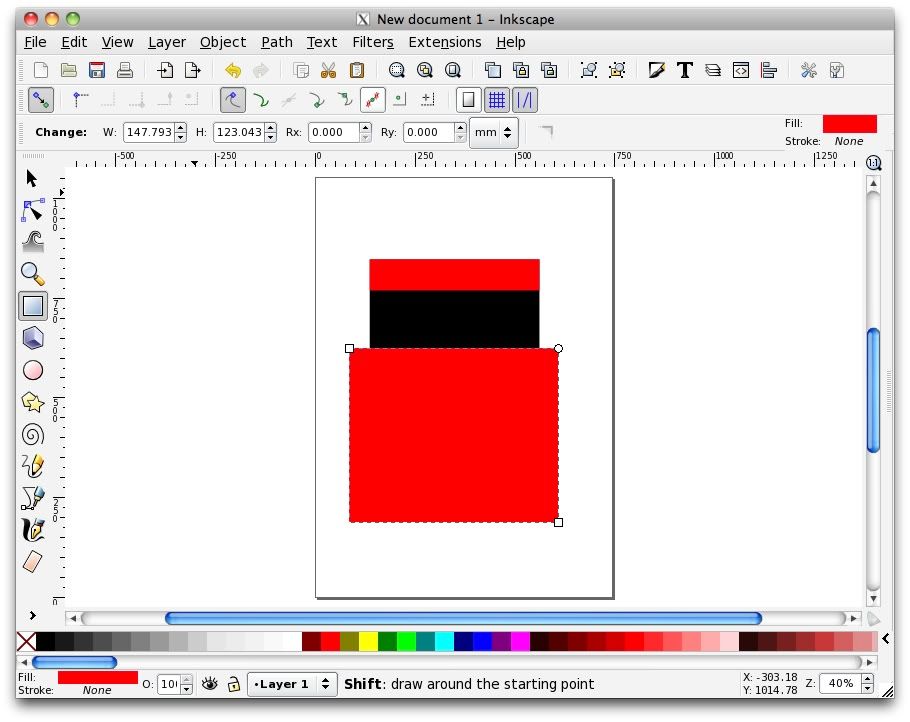
Then zoom in as far as you can and align the new box with the bottom corners as you did with the top one
Once your happy save again and on to the sides
As before use the box/rectangle tool to drag out a tall rectangle you might find it useful to use another colour
until the box is aligned to help you see it
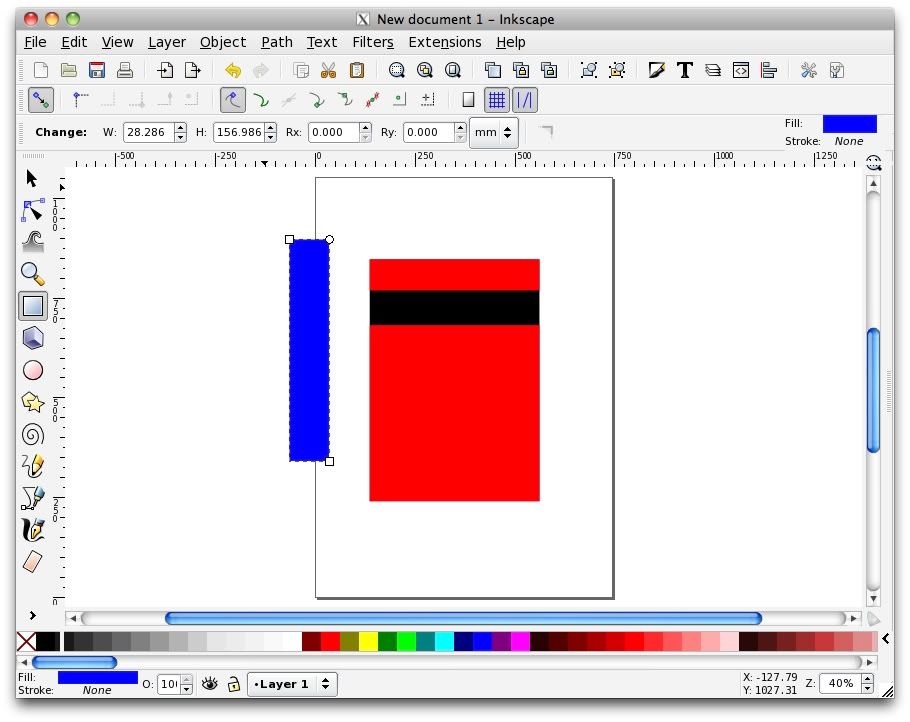
And size it as before to your panel hight and side to lcd measurement
Align the box as before and when your happy change the colour to match the others
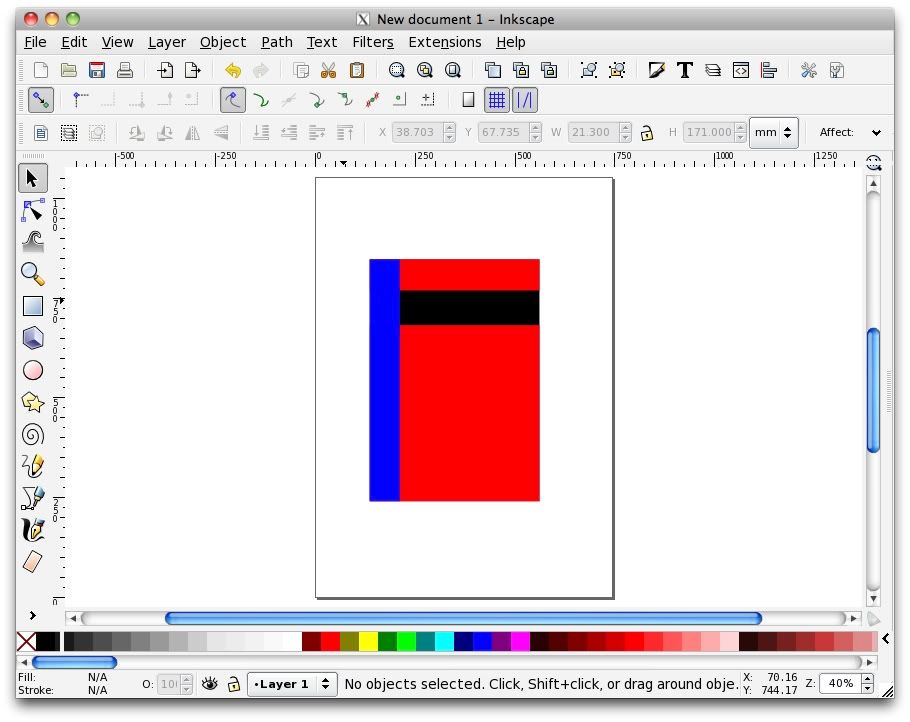
Repeat for the other side and when happy save your work
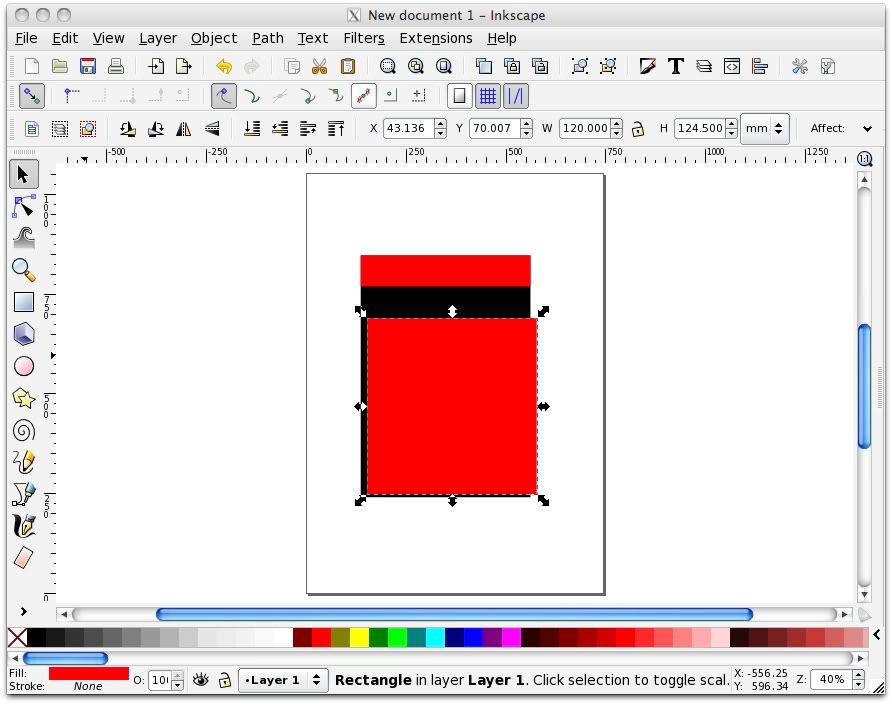
Now we shall join all four boxes together
Click the select and transform button(black arrow)
Now while holding down the SHIFT key on your keyboard click all four red boxes but not the black one
If you have done it right you should see what the blue arrow is pointing at
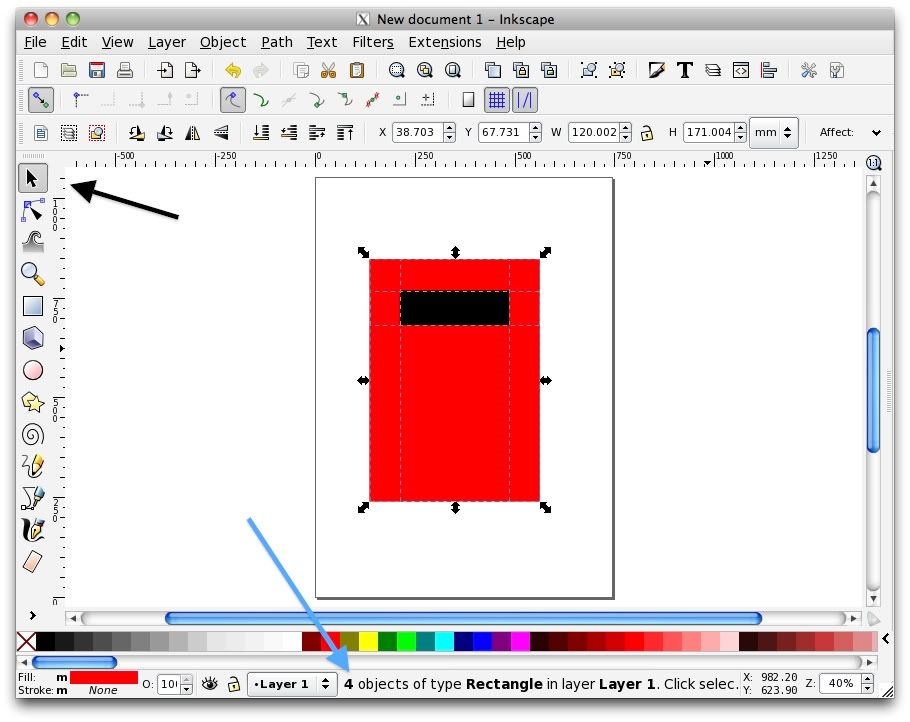
Then without deselecting anything press the path button at the top and hover your mouse over UNION and click

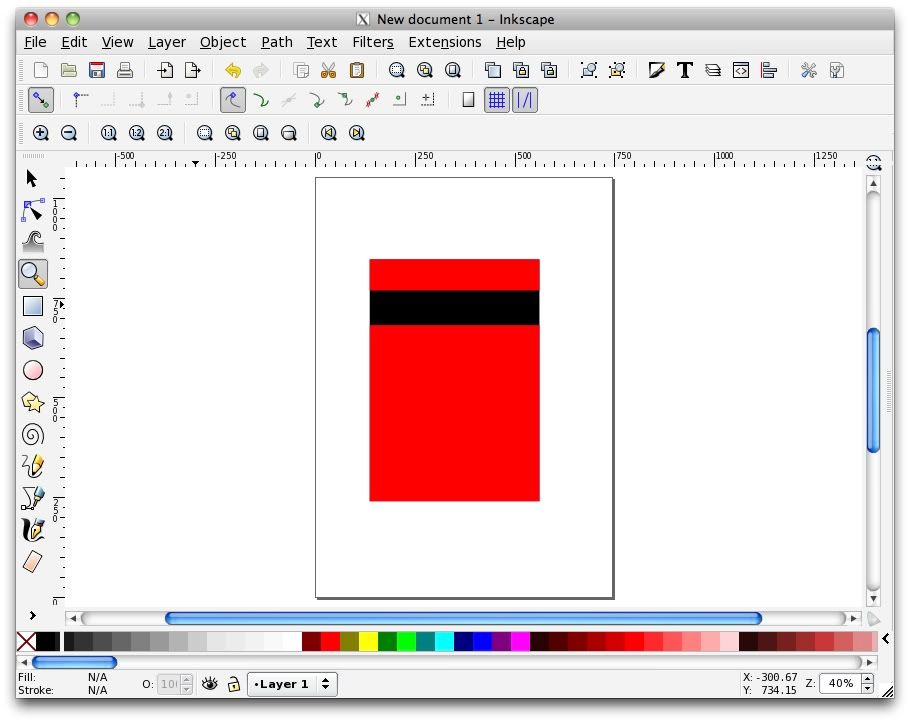
You should now have one red panel

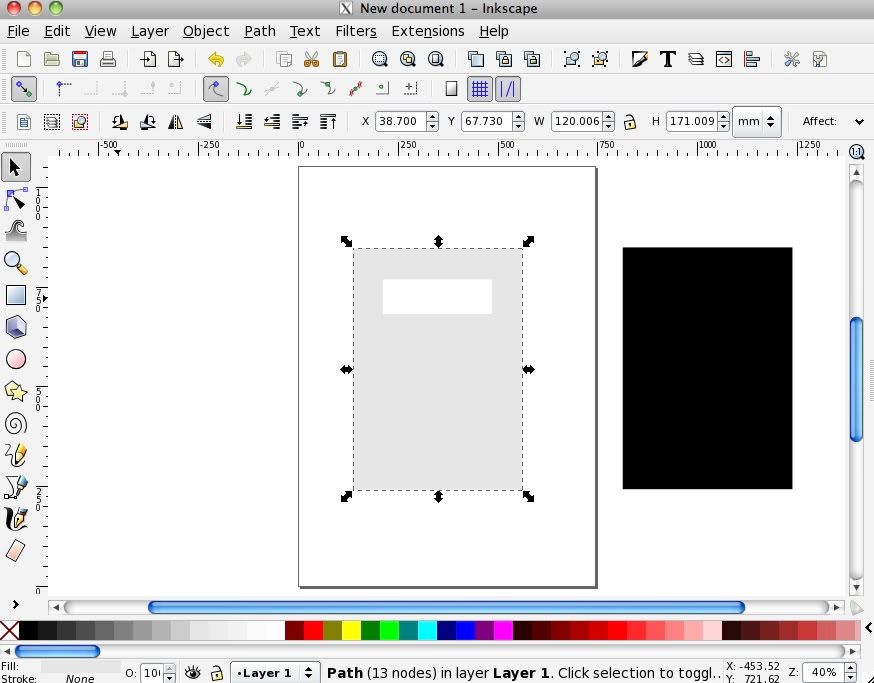
Deselect by clicking in blank space away from the panel and then click the black bit through the hole in the red bit
you can now move that to one side off of the page (remember if it's not on the page it wont get printed so you can save all sorts of bits off page and not delete them)
Now would be a good time to change to panel colour to a printer friendly grey(to save on ink) and print it out chop it up and see if it fits

I don't think I have missed anything
so I hope it makes sense and is easy to follow
The next bit of the (if needed ) tutorial will cover adding text to your panel and laminating


