I was sitting admiring my efforts the other night, had just finished cleaning down the machinery and was enjoying a beer.... (does it get any better than that?)...
I looked at the mill head and it struck me that I was looking at several tools that I dont see often (if at all) in other postings.... I wondered why, these things are all second nature to me. Then it occurred to me that some may not know about them.... so Im putting finger to keyboard...... If you do know, then ignore me if you dont, then enjoy...
First a pic....
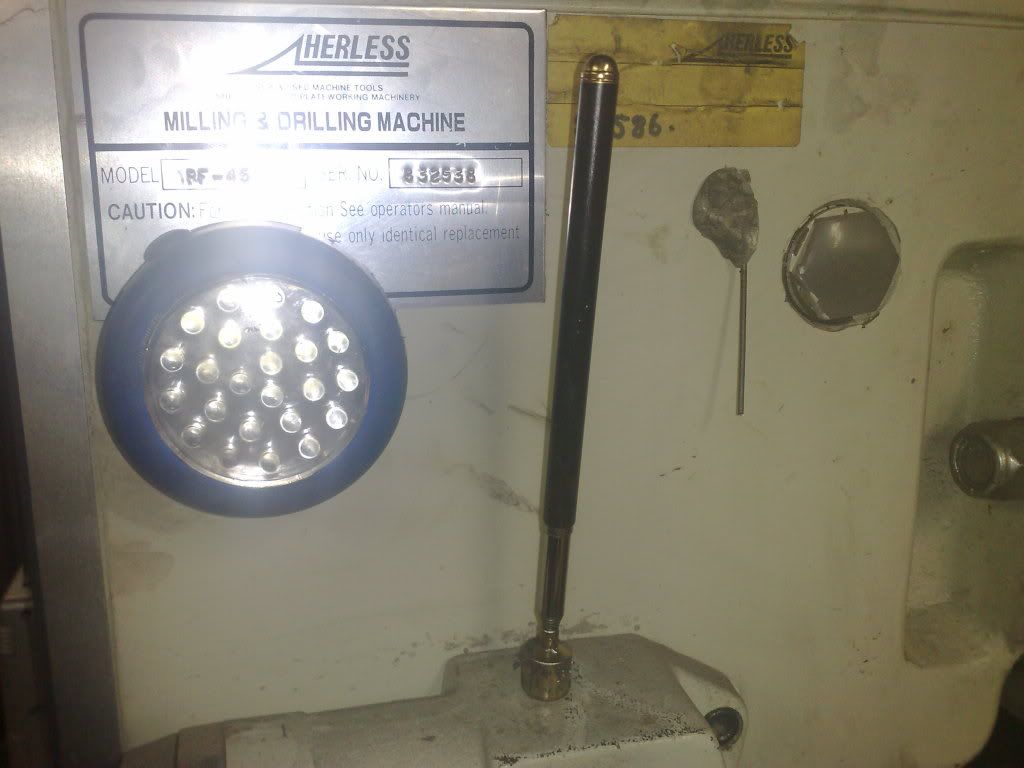
The light is a magnetic LED and these is actually 2 of them one each side of the head. These are extremely usefull and find themselves attached to very strange parts of the machine from time ot time..... nothing startling here though....
The next is a telescopic magnet, this thing is brilliant for when you drop that steel part somewhere... sadly doesnt work so great on ali or brass stuff.... bugger.... I recentlky dropped the shaft I used to hold the felible drive parts down into my 4 jaw mounted on the RT... I couldnt reach it so this saved the day. Would have been really annoyed to have to unbolt it to retrieve the shaft..... also for picking small stuff up off the floor...hows YOUR back? Mines been better....
And the Sticky Pin, I posted these on HMEM last night and was surprised at the response... Im assuming membership here is similar and Ill let you know what this amazing thing does......
Ill take pics if needed....
A small piece of welding rod or similar is stuck in a dob of plasticene, you could use Bluetack I guess... and attached to the cutter. Spinning slowly touch it until it spins perfectly true, this is easily done and you can now touch this into your centre punch mark and it accurately represents the centre of your cutter or drill bit. No more guesswork! Great stuff... but theres more...
I attatch it to the side of the collet nut and after roughly centering the cutter over the job lower it down until the pin tip touchs one edge (say the right hand side). Rotate the quill 180 degrees and see what the gap is to the other edge, move the table until this gap is approx halved (your eyes are very accurate with this measurement) and move the pin until it touches this edge (the left hand side), rotate the quil another 180 deg and if the pin now touches the right hand ege you have a very close centre. if not do it again. For centre of round parts now do it looking from the side....dont forget to lock your gibbs....
This works very well if you do not have a DRO and an edge finder, and even if you do its faster than setting up the edge finder/wiggler and then setting up your cutter again...
Some jobs need better accuracy... thats the role of the DRO and edge finder...
Rob t
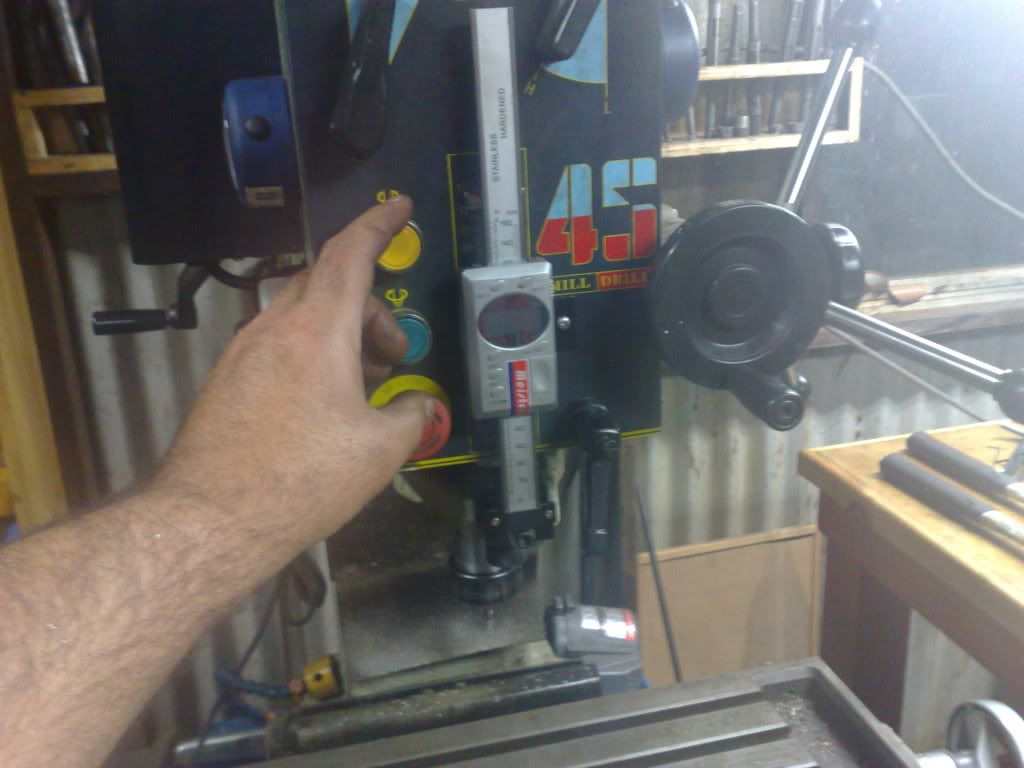
I forgot to add the DRO stuff..... I have a z axis DRo and I have decided to add the others as well. Im using indivual units as I was worried that if one part failed I will have wasted $700 for a 3 axis unit. The z axis is a combined measure read out unit pic below and teh x and y are remote readouts, sadly these have smaller led numerals that the combined units, thats the compromise I had to make..... Ill take pics when these have arrived and are mounted.....
Incidentally, if you want to drill a set of holes on a PCD this calculator makes a RT redundant... brilliant little thing... have a play at changing the hole numbers etc....
http://www.doov.com/cgi-bin/bolthole.cgi?d=6&num=8&xoffset=0&yoffset=0&angleoffset=0&bolthole=CalculateLater..RT


