Ok..... So I finally got my rear into gear and finished this little puppy..... Yes that was 'finished'!!

I'll let the pic's do most of the talking ;D
Sorry about the slight blur!!!
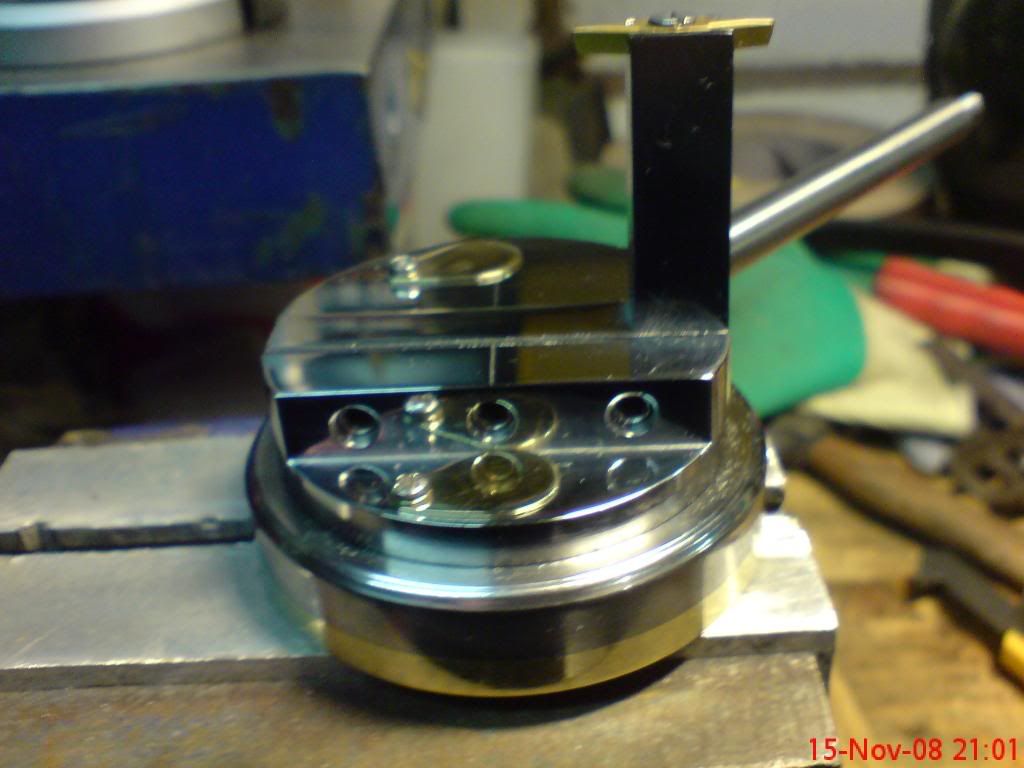
The reason for the not as pleasing look of two holes and covers in the places they are... Well I didn't want swarf falling down into the rotating area as it probably would if the holes were under the tool post (one would often get exposed when cutting a larger convex or mid size concave patterns.) of course that could be remidied in a few different ways.... This was mine.
Just to note what tonight entailed....
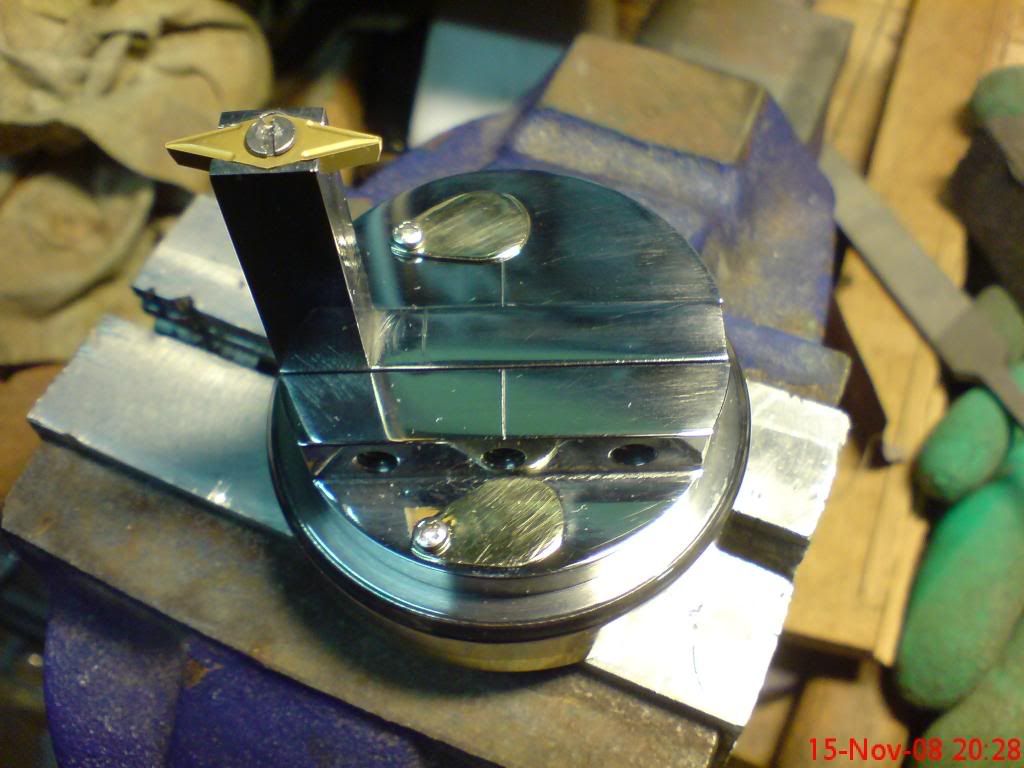
I finished the tool post to the level of the turret.
Took a file and removed most of the tool marks, and used emery wrapped around the file for a fine finish.
I then marked the tool tip edge onto the tool post (scribed line visible just in front of the tip in the downward shot) I used a square to find the piont directly inline with the tip and then used the square to scribe a line across the tool post.
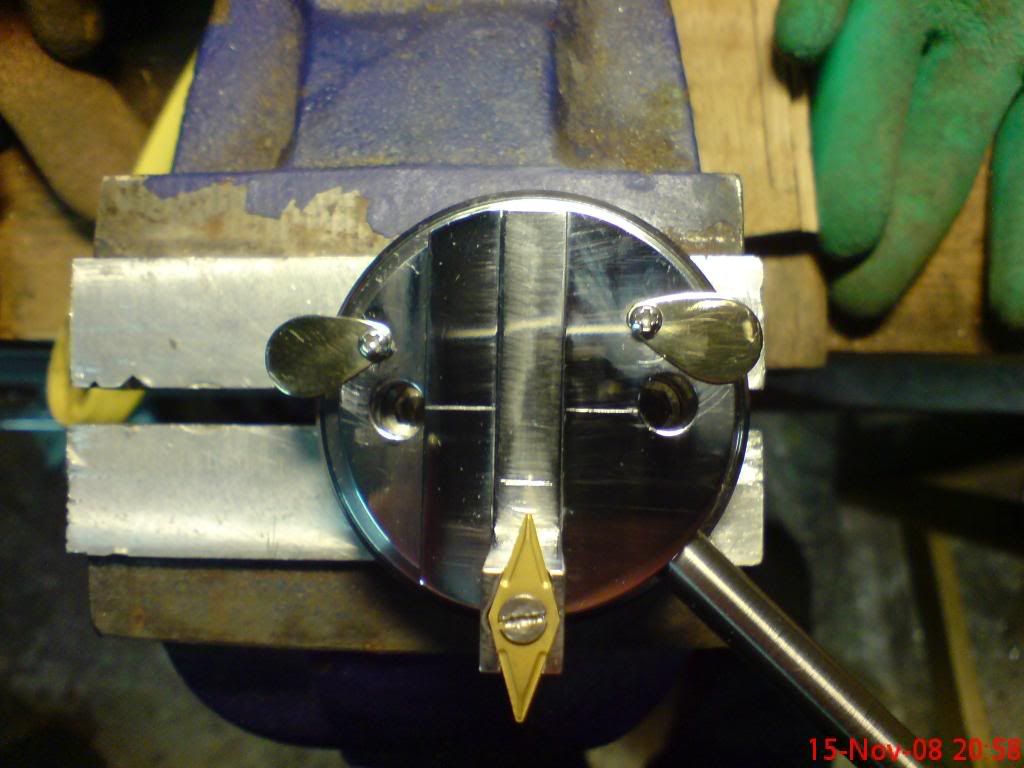
The turret was next for marking. The centre was found and marked and then using the square against the grubscrew relief shelf I scribed a line on both sides of centre.
The lines on the tool post and turret are used for the set up of the radius of the ball that is to be turned.
Measure the dia' of the bar being used as a blank, halve it and make the distance between the lines that result. The tool is then set for the radius it is to turn.... Giving a ball of the dia' double that of the tool setting.
Then I thought I'd make it shine a little 8)
Now just to contact the new owner for the address etc and the job is all over!!!
Oh, And obviously I'm going to throw in a tapped slug of brass bar.... Everyone has to make the first ball to be the handle
Next.... I can get some serious me/fun time in .... Wind ball here I come!!!

Ralph.


