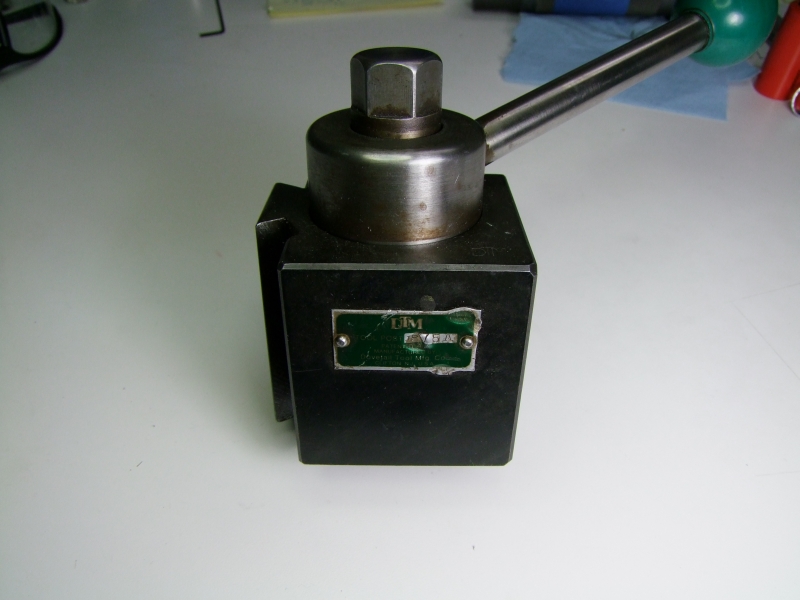
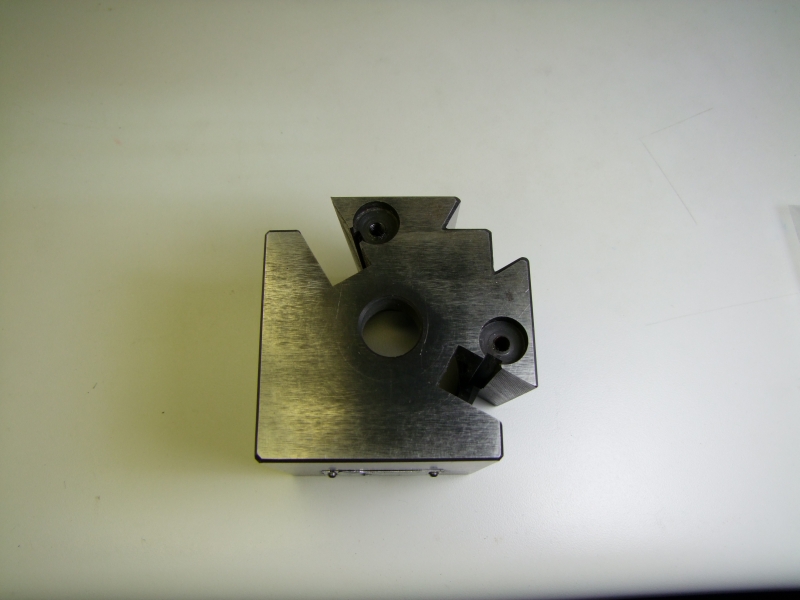
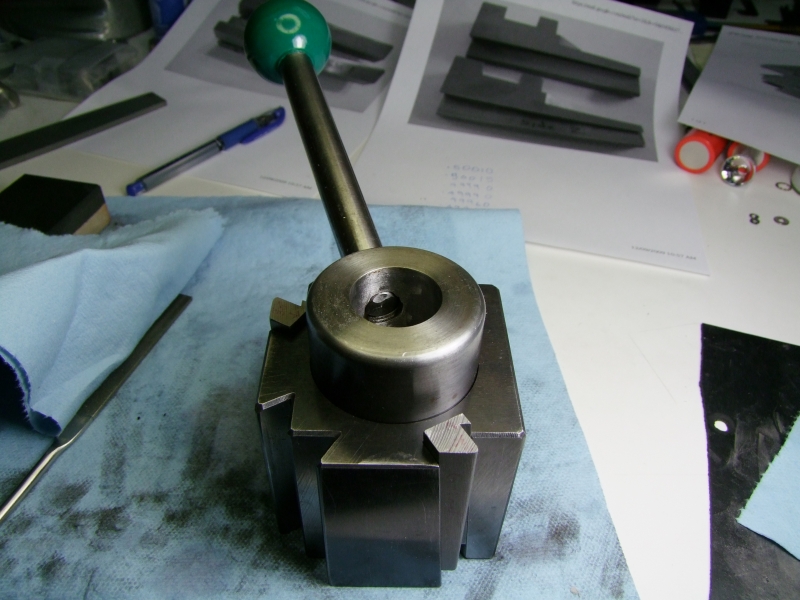
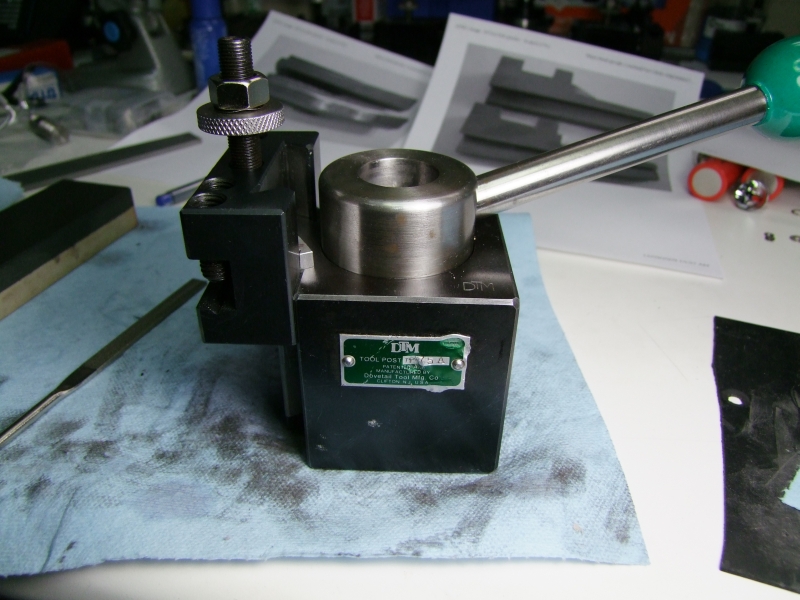
I recently bought this used/damaged DTM 75A (BXA size) wedge style tool post on Ebay with missing parts and wedges:
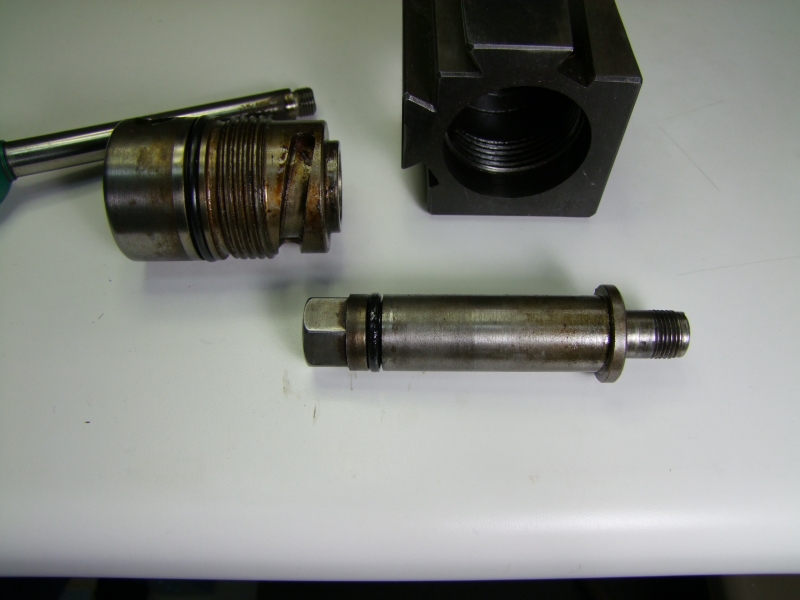
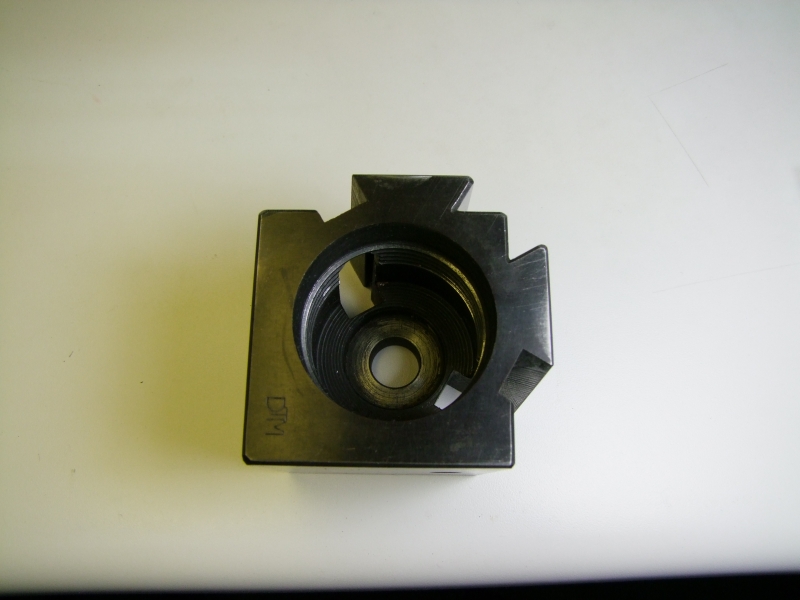
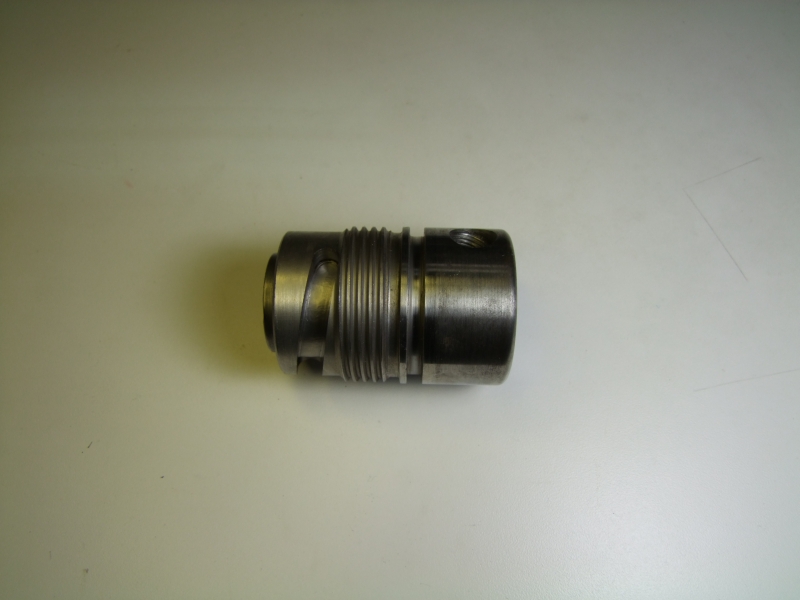
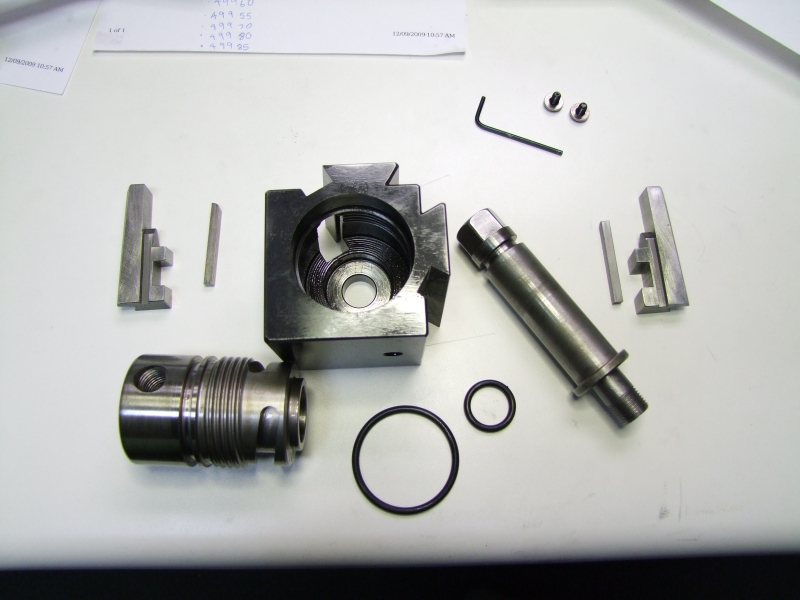
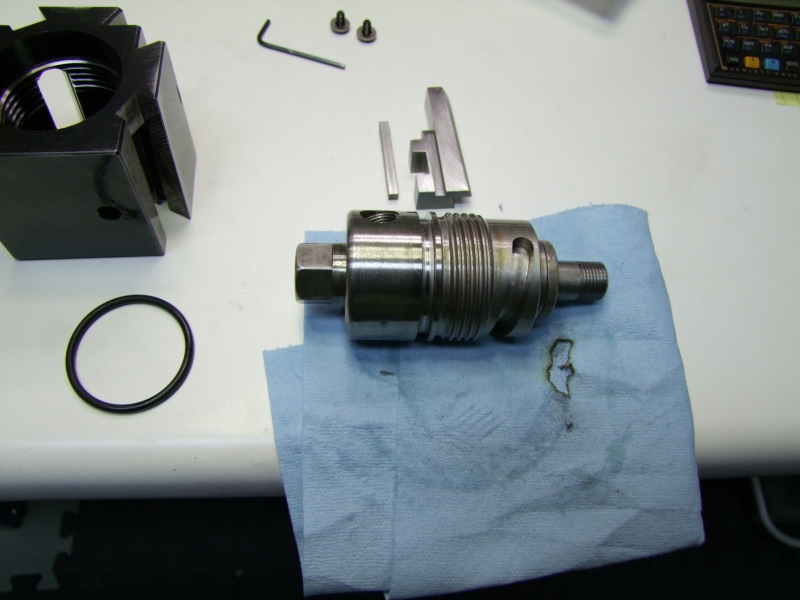
Once you unscrew the main piece you get to see more of how it looks on the inside:
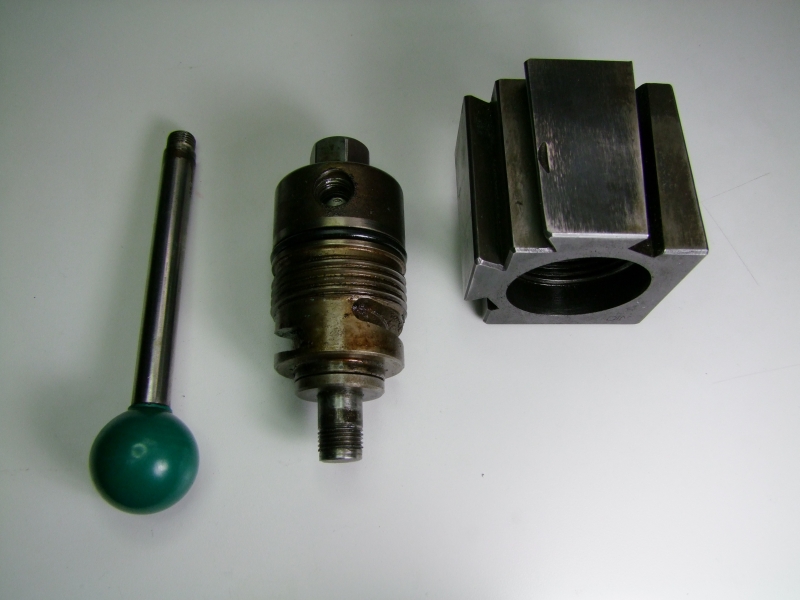
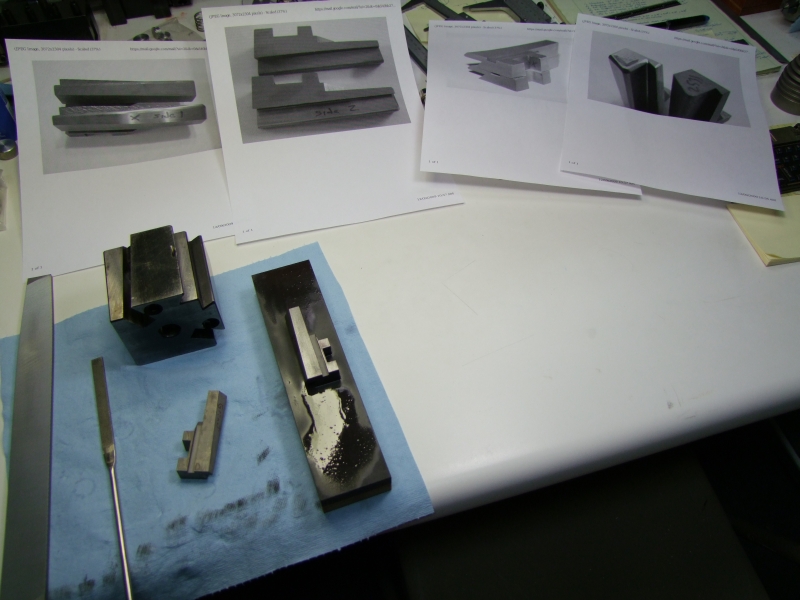
Here I am about to clean the parts:
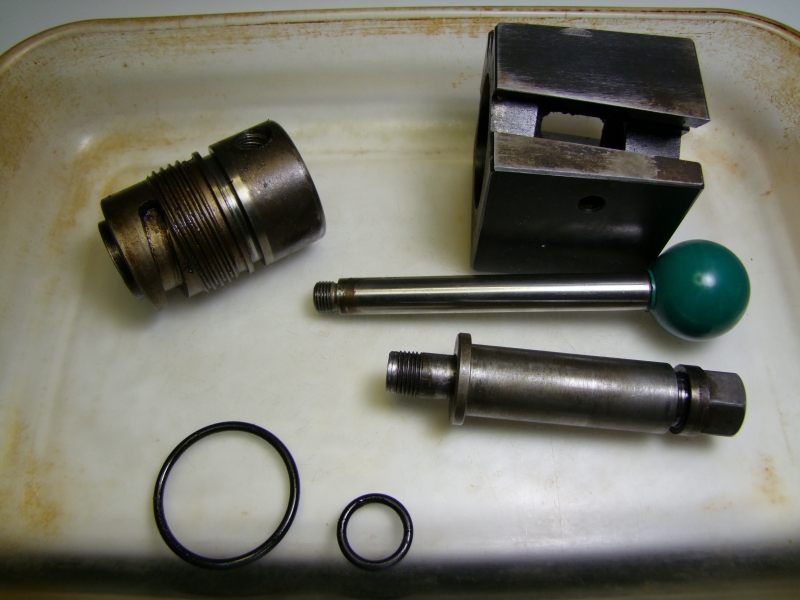
and after cleaning them:

The reason I purchased this poor looking tool post is because Michael at Preciosionpsin had all of the parts available to repair it at a very reasonable cost:
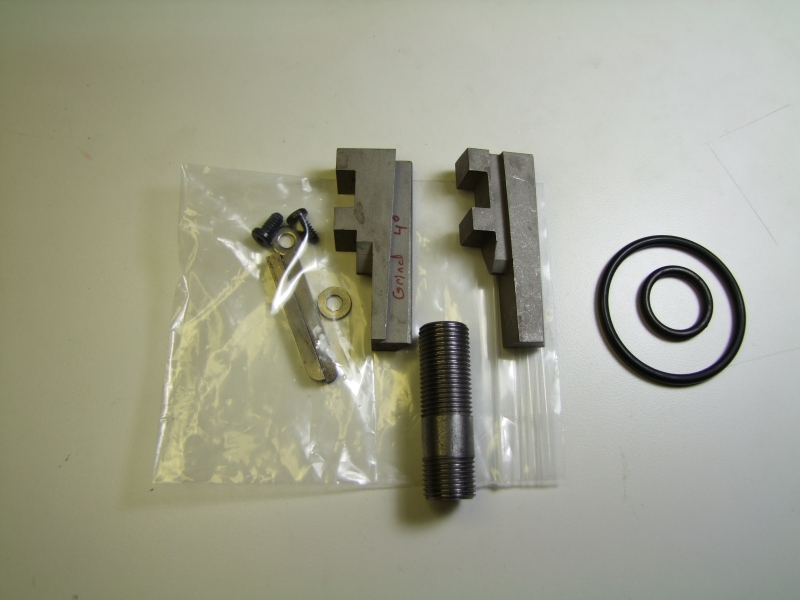
Assembling the tool post is very easy, except for one thing: the wedges were oversized and hardened. Not only Michael provided me with parts, but he also took photos of his fitted wedges (he also has one 75A) against the new ones, which allowed me to know before hand what needed to be cut/fitted.
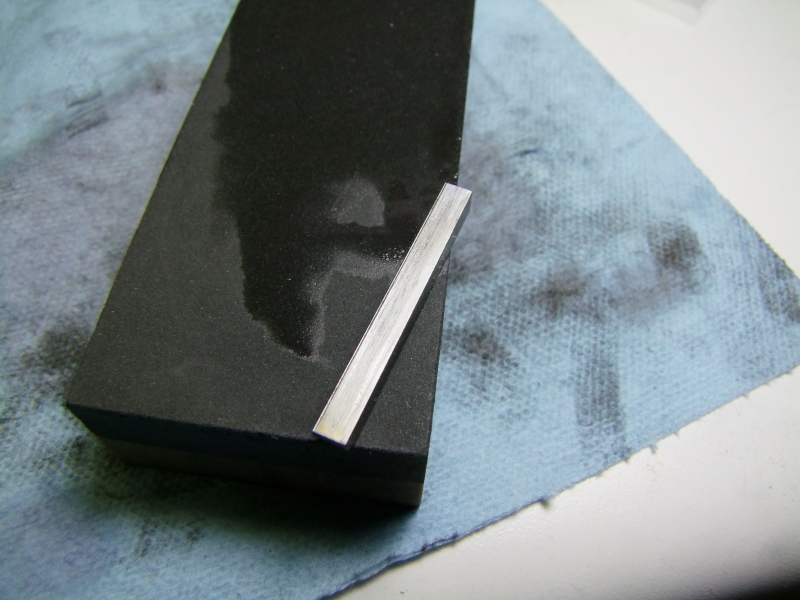
Michael did warn me that I needed a surface grinder, but I decided to do it by hand anyway, which unfortunately meant using mostly a hand diamond file (my good files would not even bite on the wedges). I also used a sharpening stone to polish some edges:
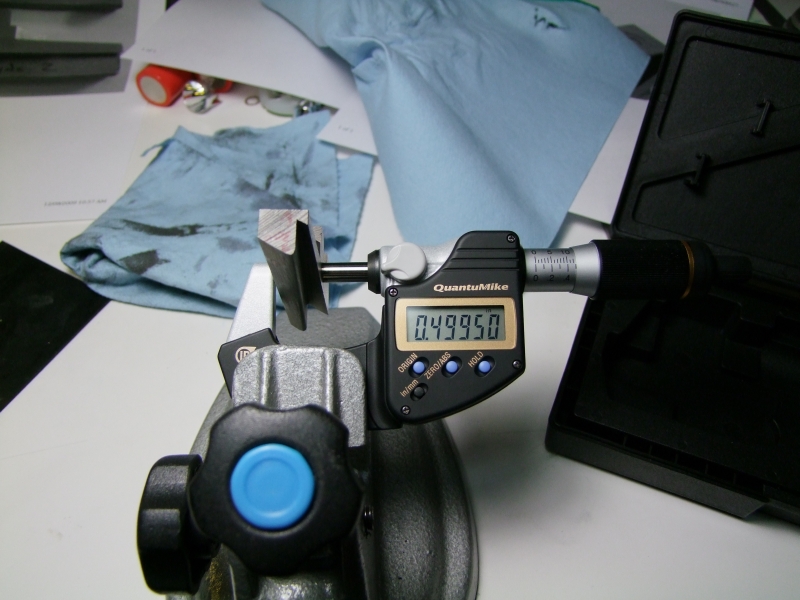
The other reason to using a surface grinder is that I could had made the wedges perfectly flat - they were not:
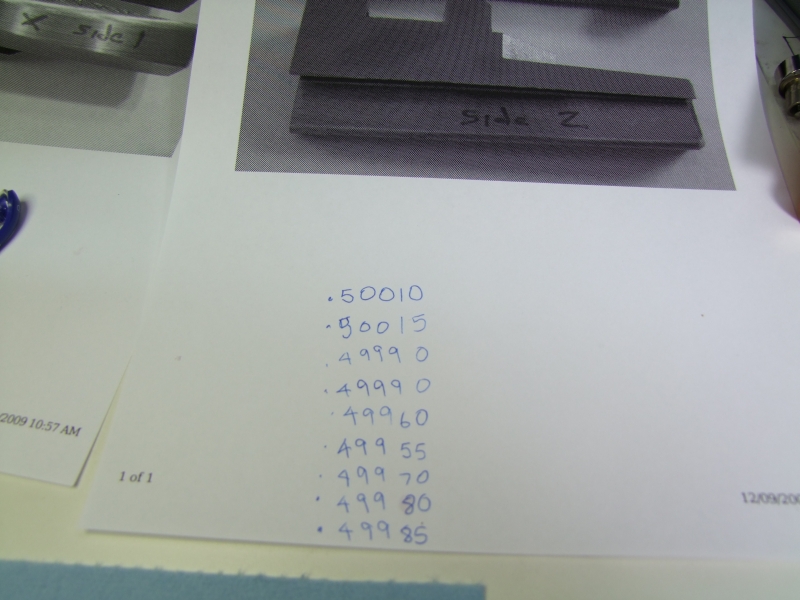
As you can imagine with a hardened wedge against a hardened body, it was a slow process. The slot was not perfectly uniform either as I could not slide the same portion of the wedge top to bottom:

So I took this advantage to also smooth out the machining marks inside of the sliding surfaces for the wedges:
After many hours, I got both wedges to slide in, but with no lateral play:
I also rounded all corners, and made sure the the keys that hold the wedge in place did not bind anywhere:
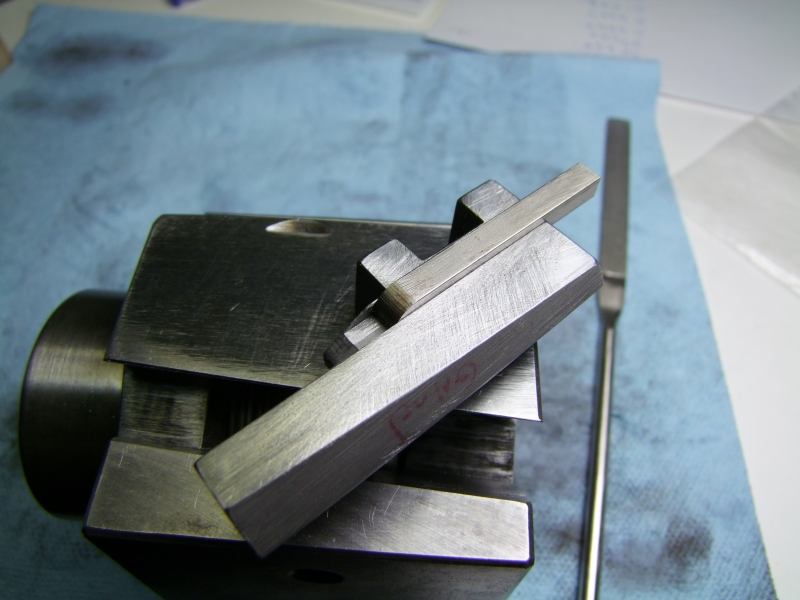
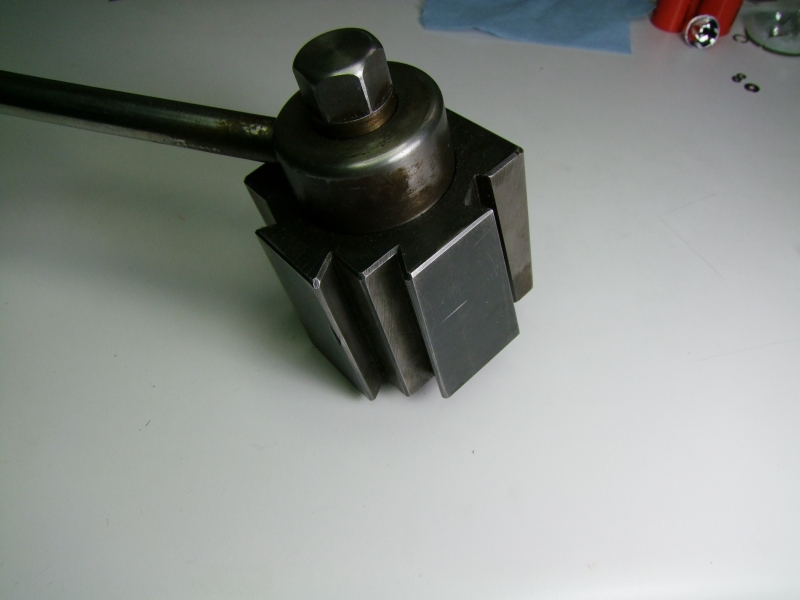
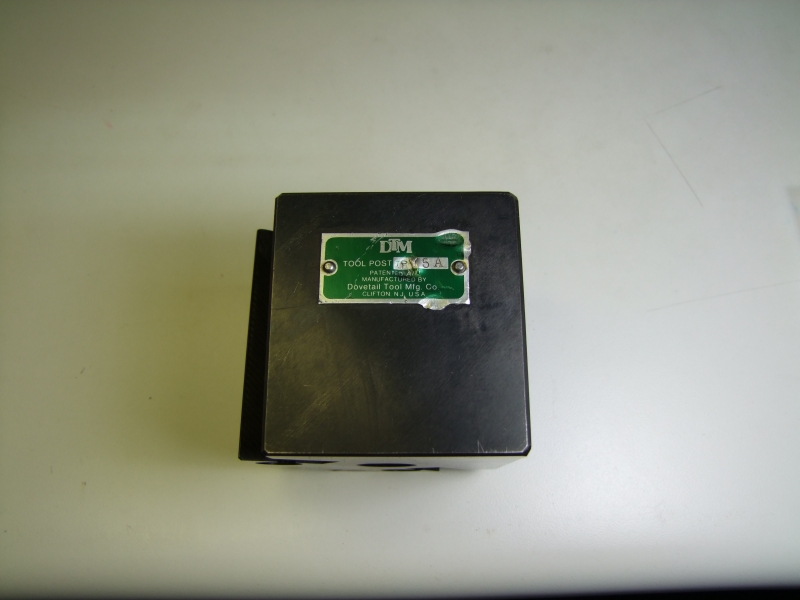
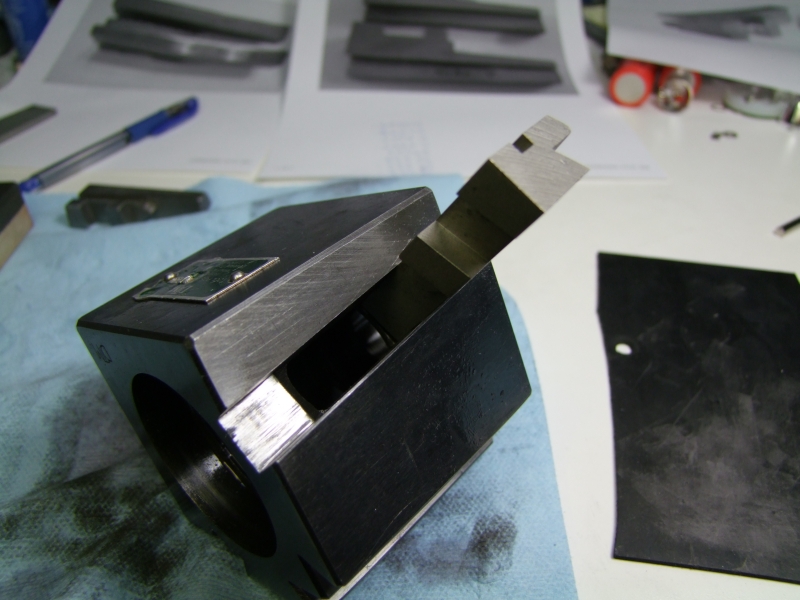
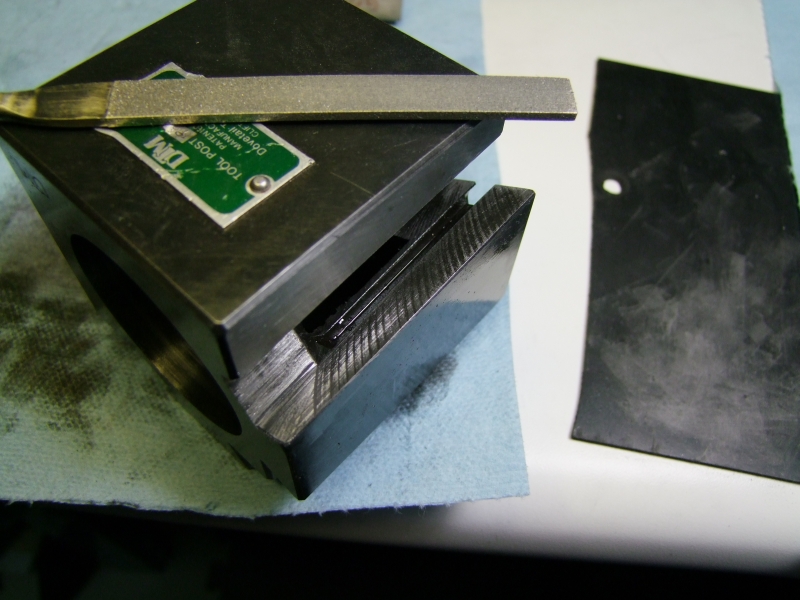
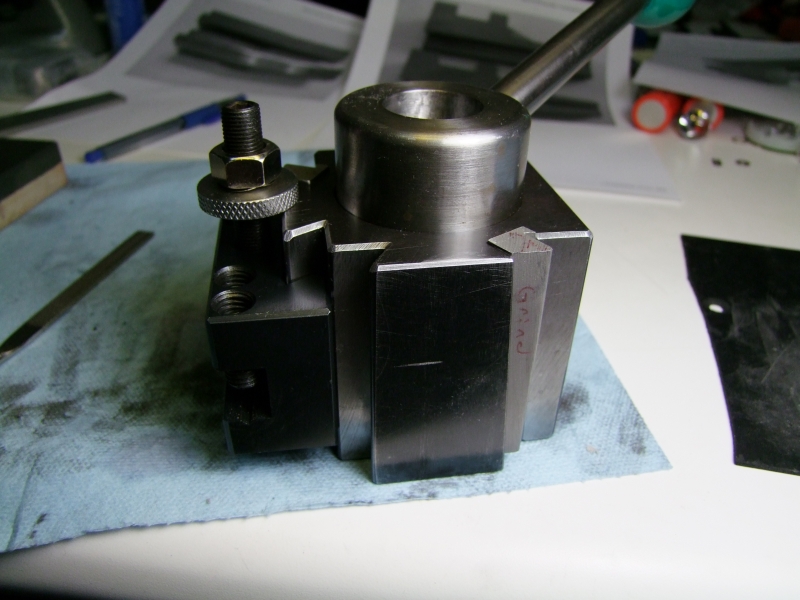
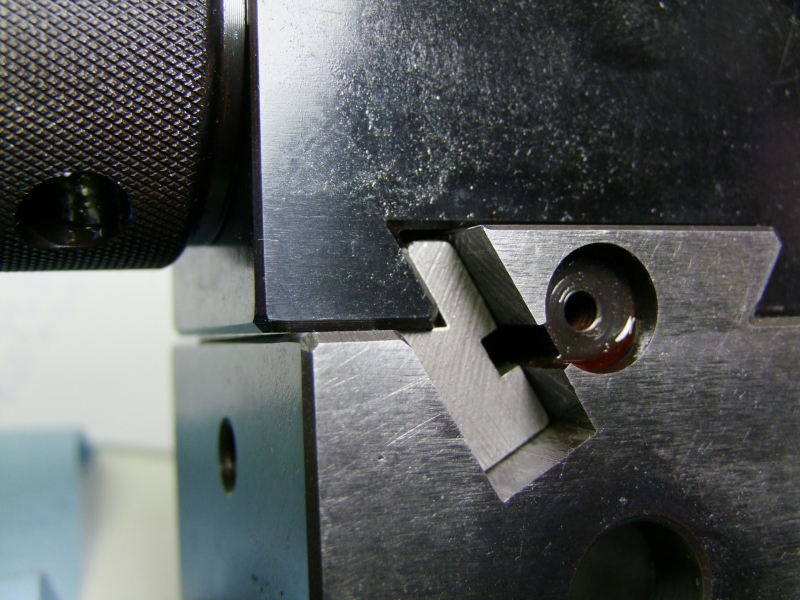
This is how the wedge looks in place:
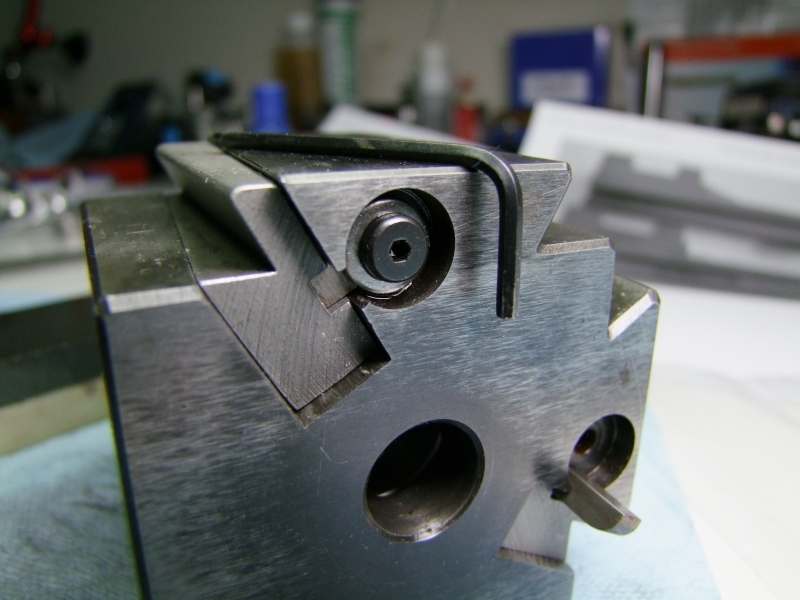
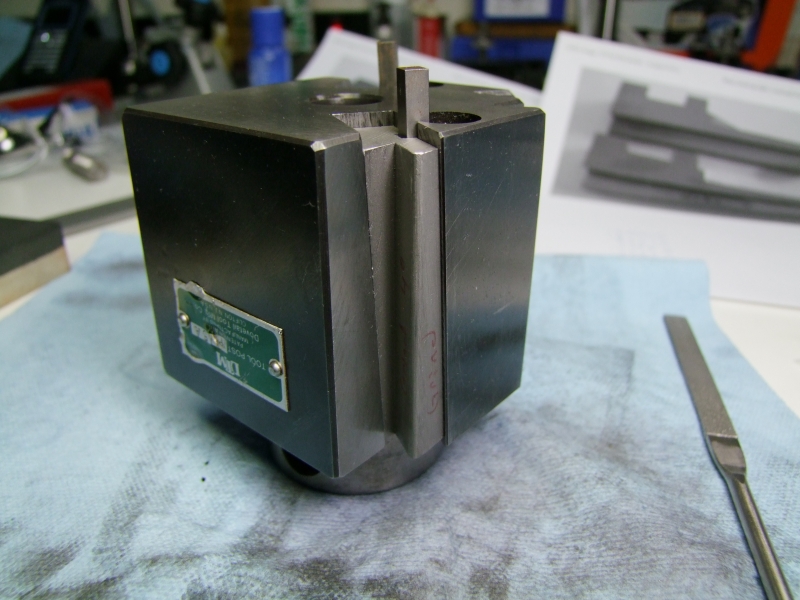
Here are the wedges at the top-most position:
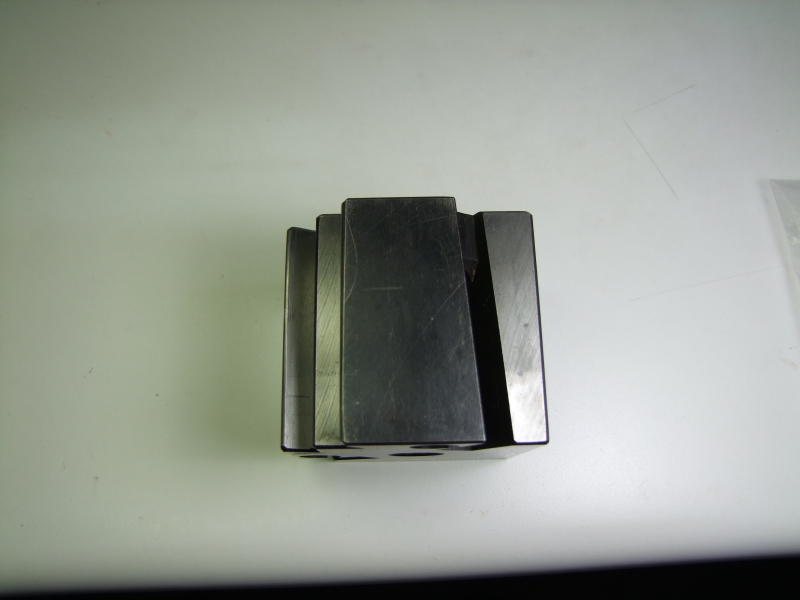
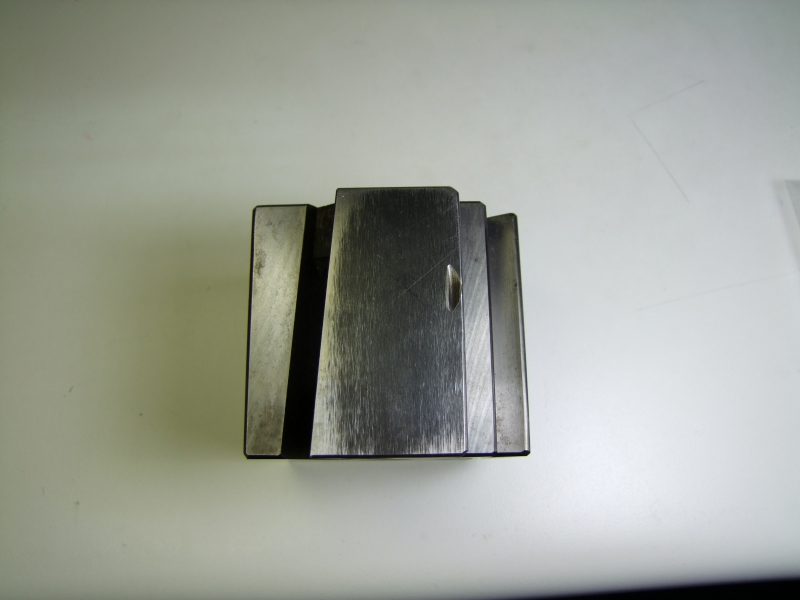
and at the down position:
Now came the tough problem which Michael warned me about - the wedges had to be trimmed to adjust for the tool holder (remember they are over-sized). At first try, the tool holder would not go all of the way down:
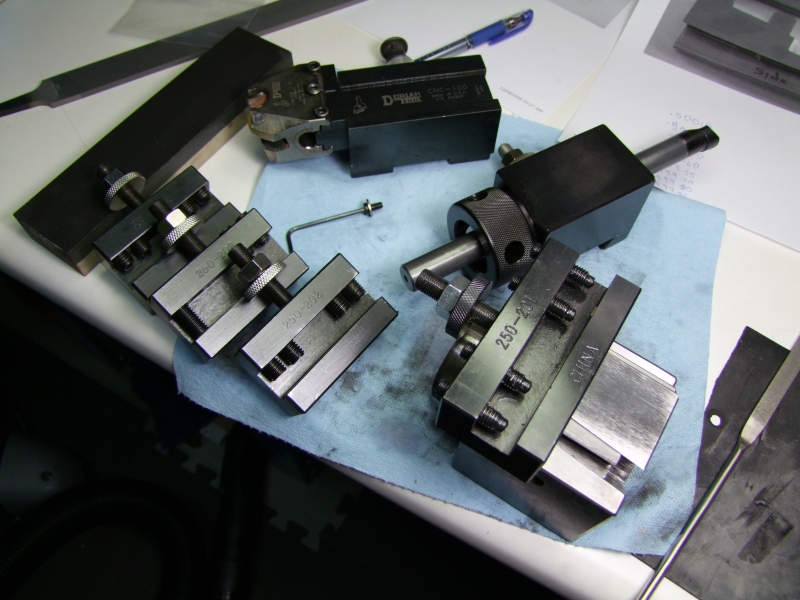
From my various BXA tool holders, I found 3 to use for reference:
- loose fitting: cheap Asian tool holder:
- good fitting: Aloris 5C collet holder
- tight fitting: my own designed/built 1" BXA tool holder
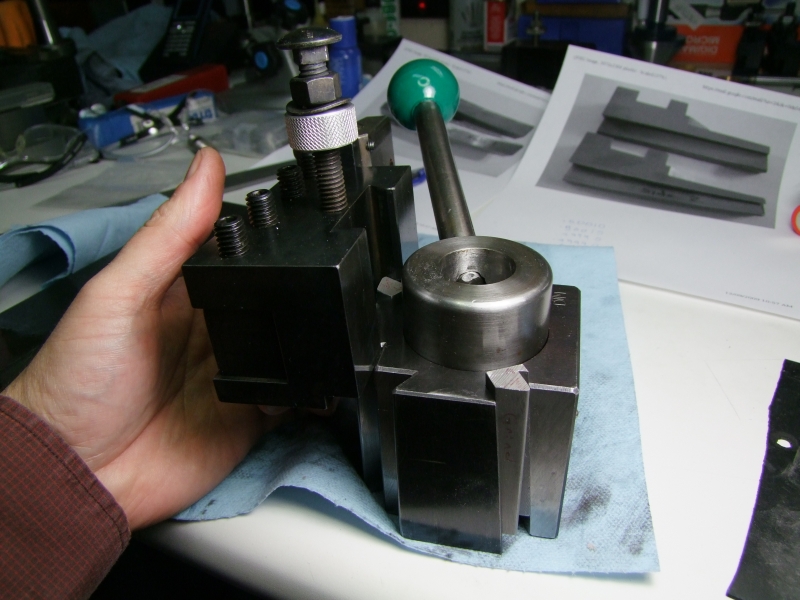
Here is a group photo:
One of the two wedges needed some trimming, but the other one needed a LOT :mad: -> bad wedge, bad wedge :whoopin:
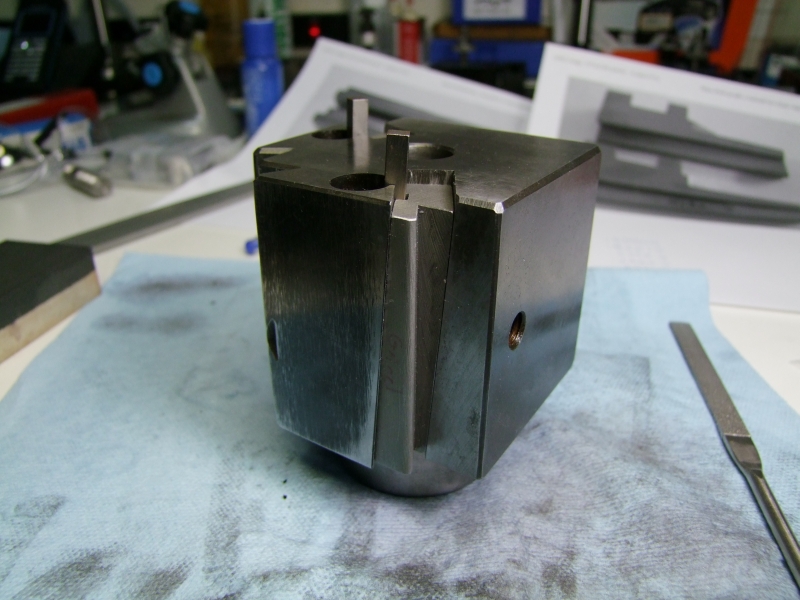
One of the areas that was not quite obvious was this inner surface:
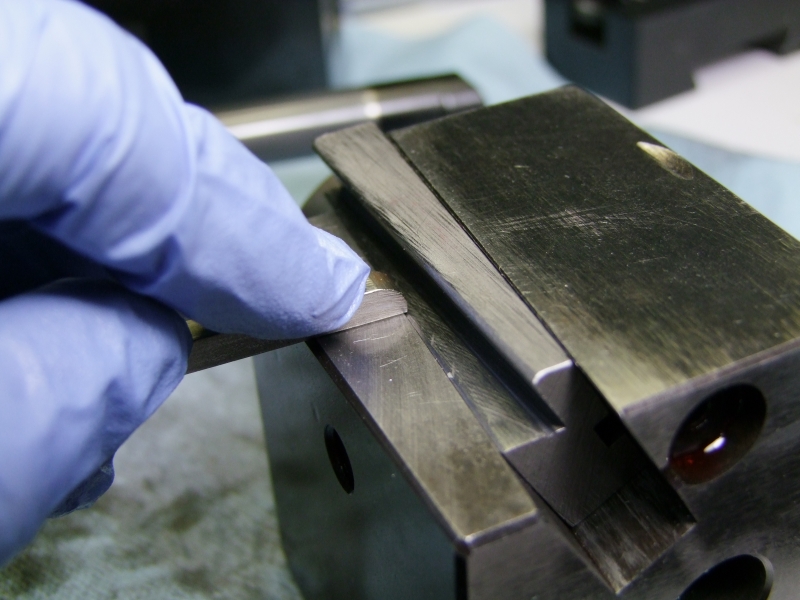
If this was not lower than the ground surface, the tool holder would not be even. I tested by pushing this guide and grinding until it would more freely:
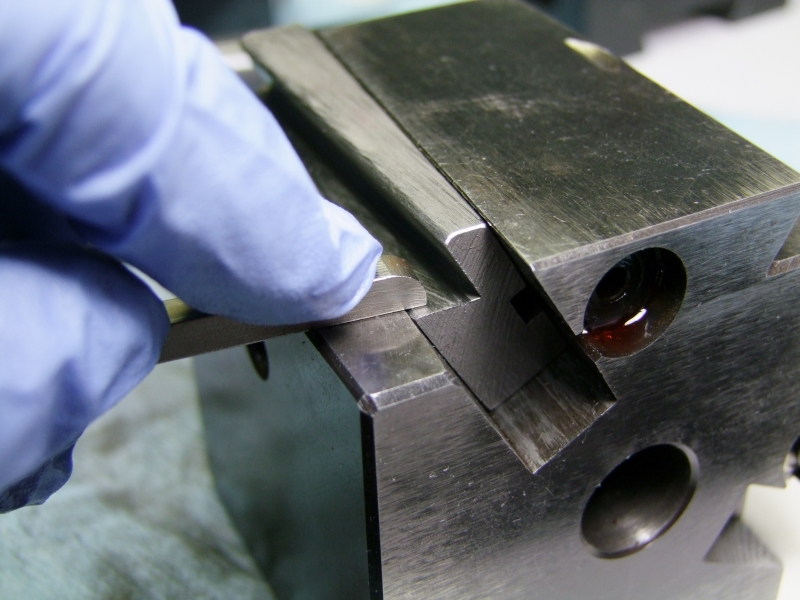
If it was not quite enough, when you install the tool holder, you can see a little bit of light between the tool holder and the block - this is what I am trying to eliminate. Very slow and tedious process due to the hardness of the wedges:
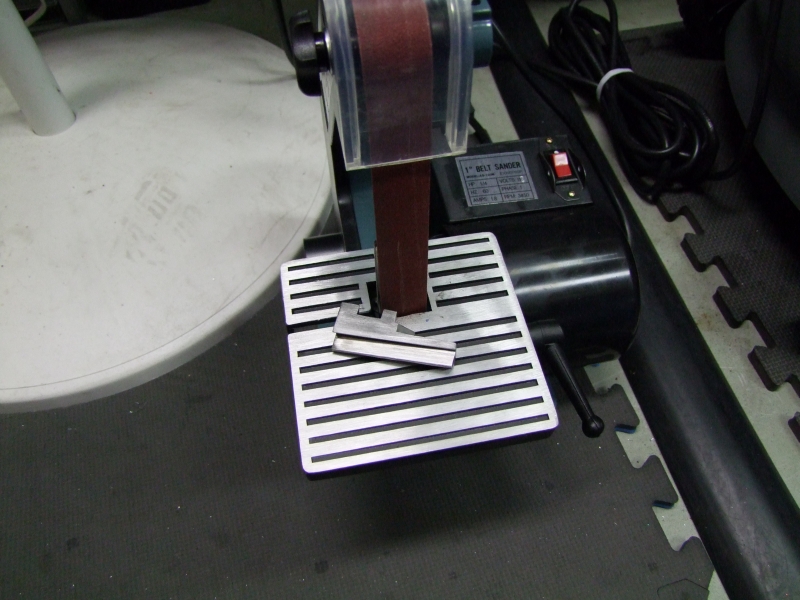
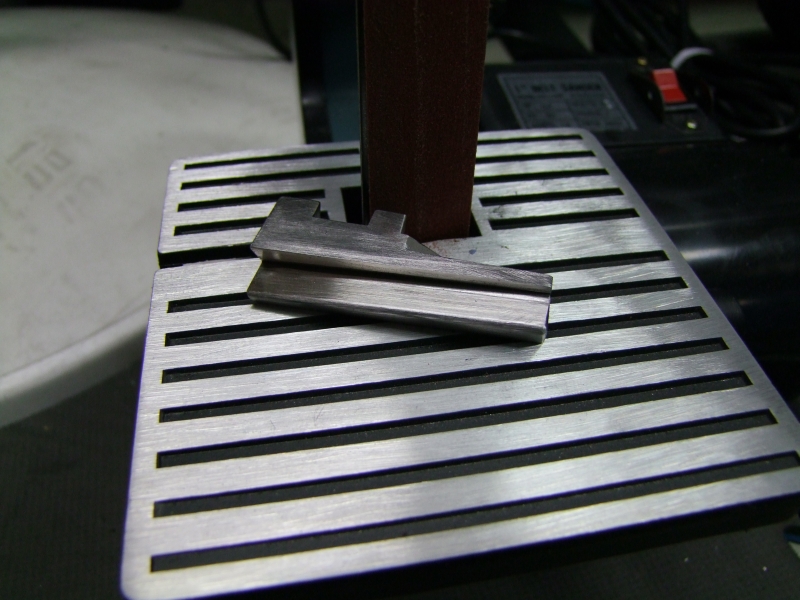
For the wedge that needed a lot of metal removed, I "cheated" and used a small 1" sander to get the majority of the metal, but then had to still smooth and align by using the diamond file:
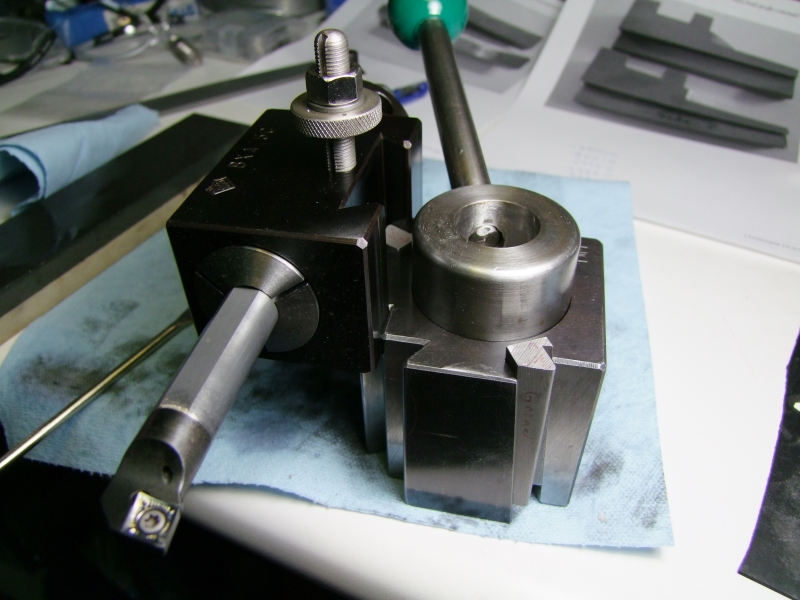
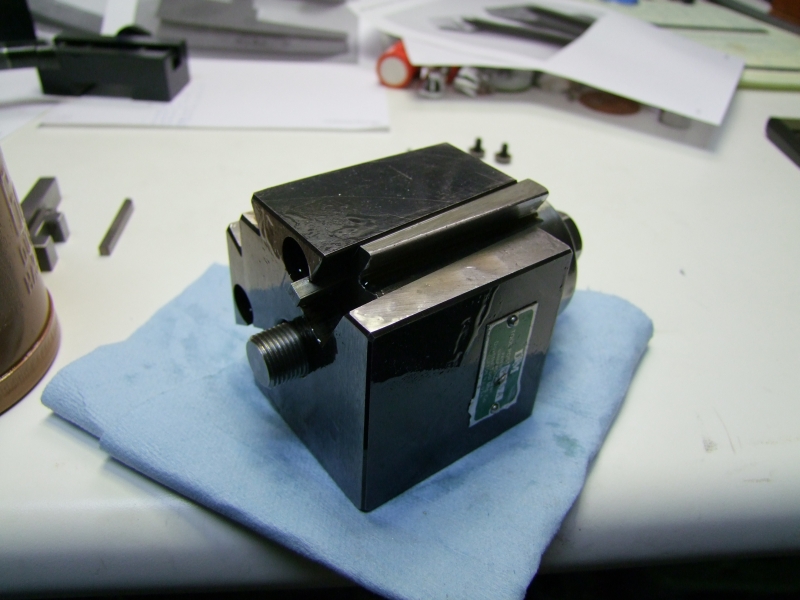
It was great when I finally was able to get the tool holders to fit properly on both sides of the tool post:
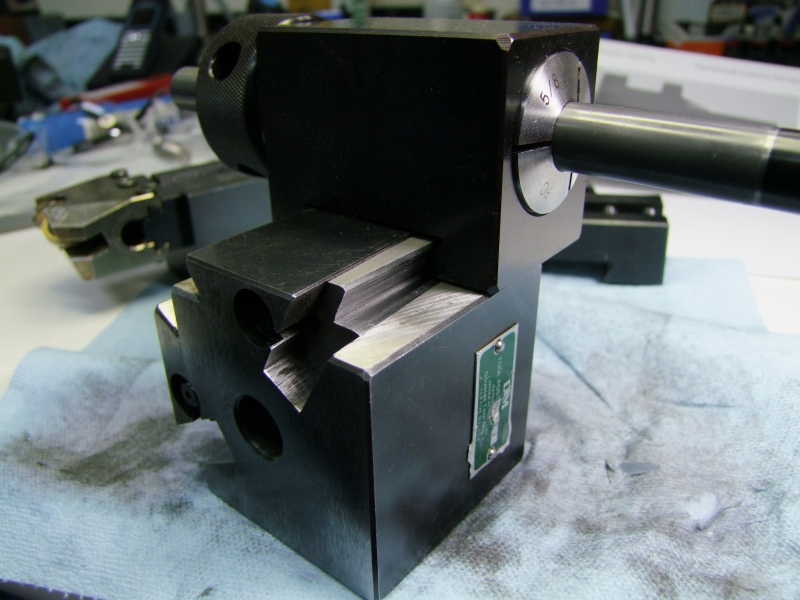
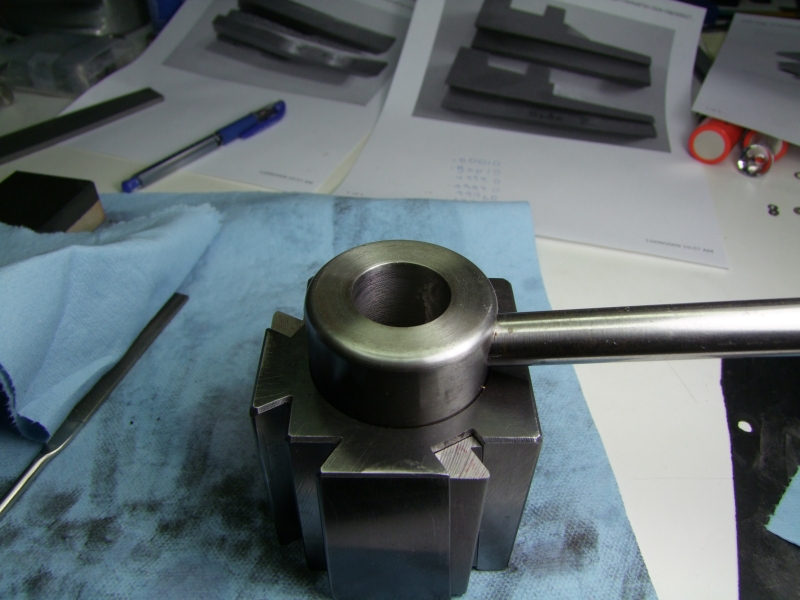
I then took apart, cleaned, lubed with way oil, and re-assembled:
The wedges have no side to side movement, but due to the design of the wedge, it does more slightly up and down some, and in/out some (the guides are not fitted parts). I think this is part of the design to allow some movement/adjustment of the wedge to lock in place. The only small negative that I see to fitting the wedges by hand is that the edge of the wedge that meets the tool holder is not "perfectly" matting with the tool holder top to bottom, although the lock-up is "very" solid as it stands right now - much more nicer than my year-old Phase II wedge tool post - not even in the same league. I have to admit that Michael was right - this job was too tedious to do by hand without a surface grinder, but even with one, the inner fitting on some surfaces needed to be done by hand anyway, so this job took far longer than I anticipated.
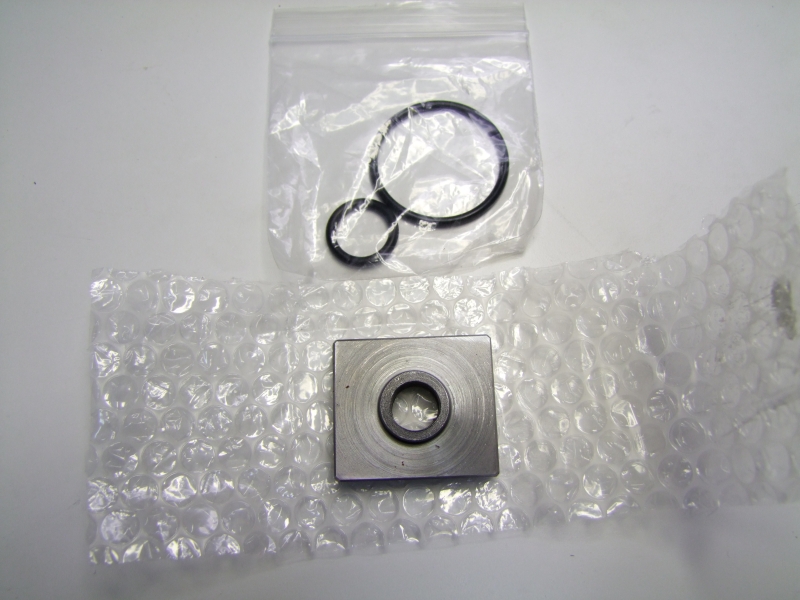
I got the "T" to fit for my lathe, and the two new o-rings from Michael:
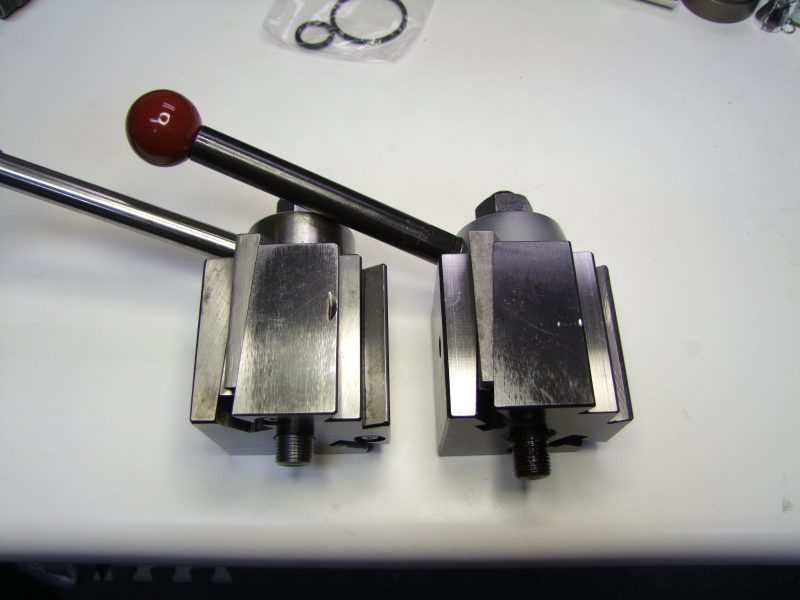
On top the new T for the DTM tool post (not yet fitted) and the fitted piece from the Phase II tool post:
Comparing DTM (Left) and Phase II (Right):
The new T piece is just a little tall:
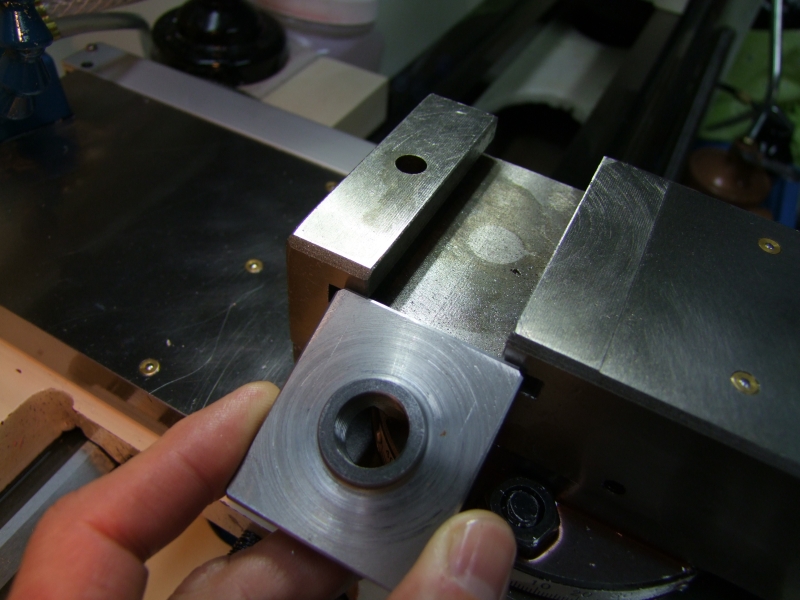
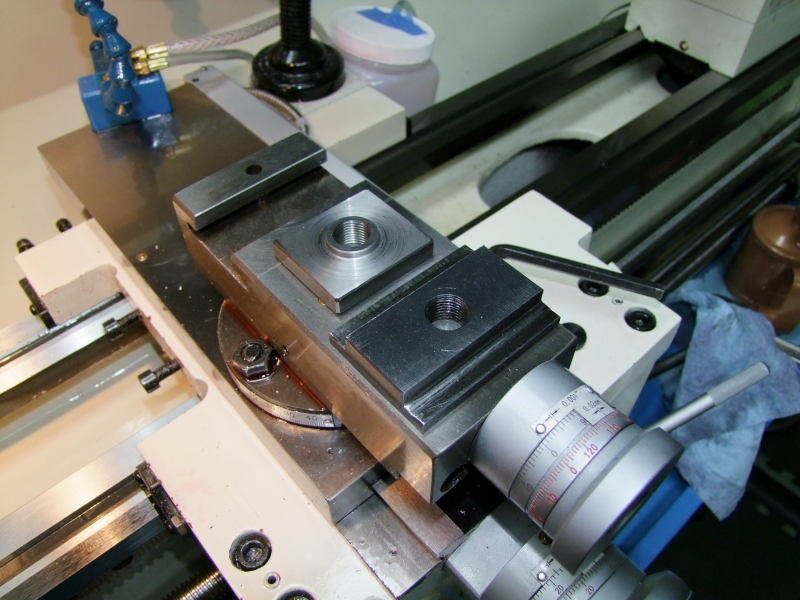
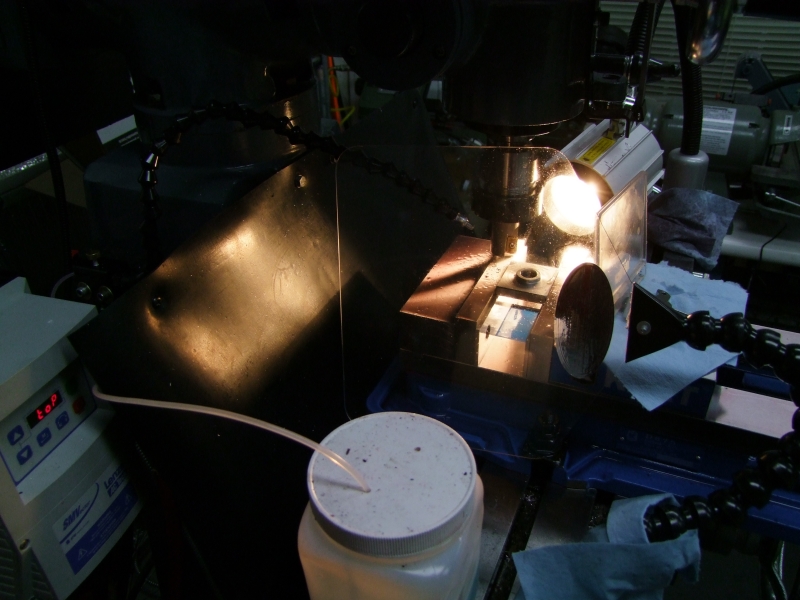
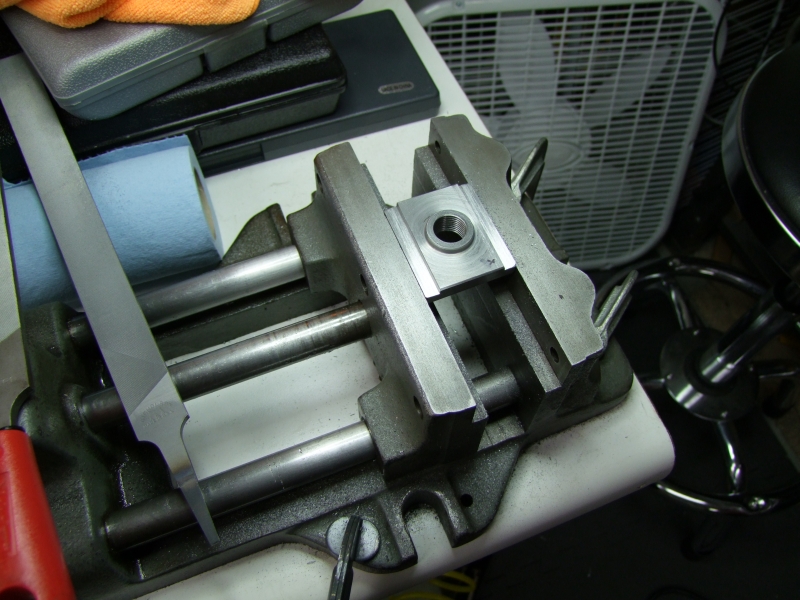
Getting ready to cut:
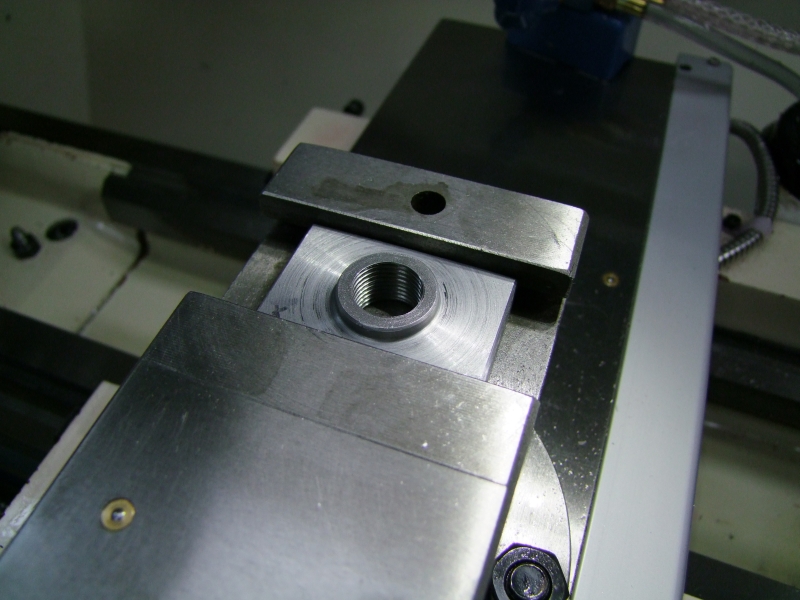
done with the mill part (at least per my measurements):
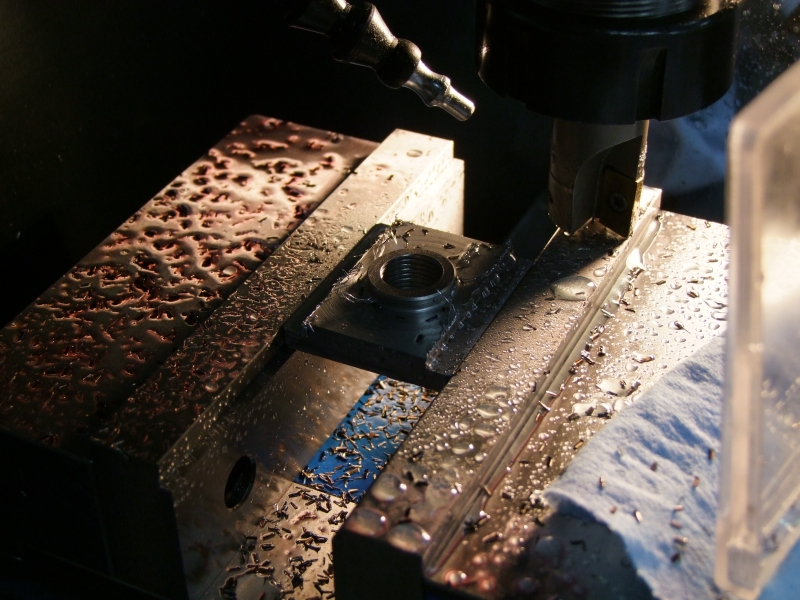
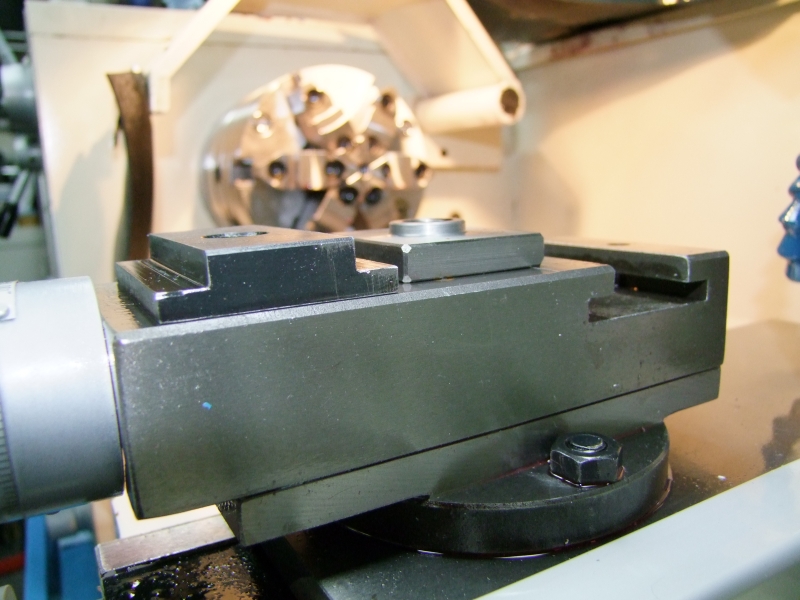
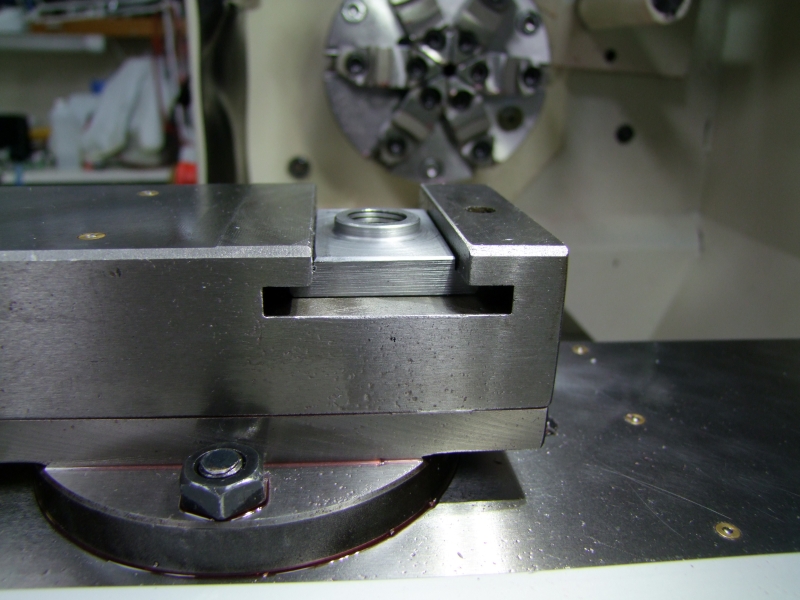
Not quite, but very close:
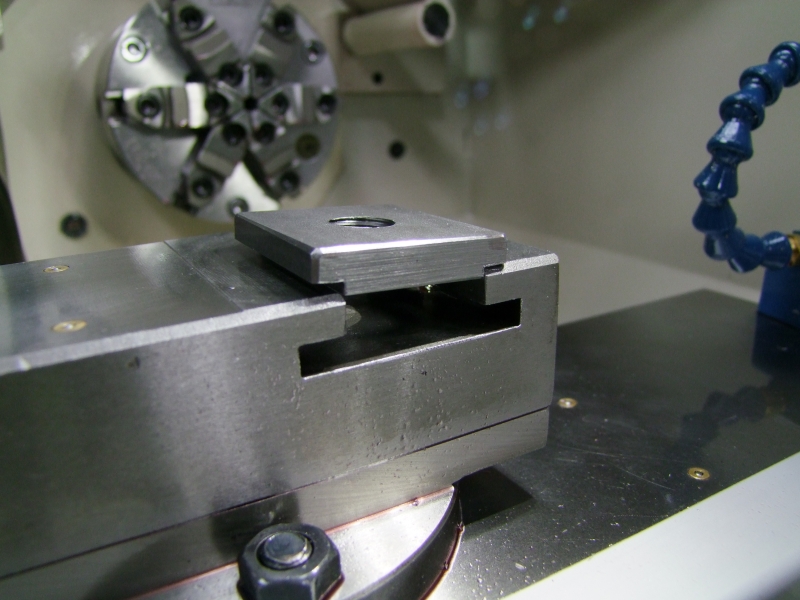
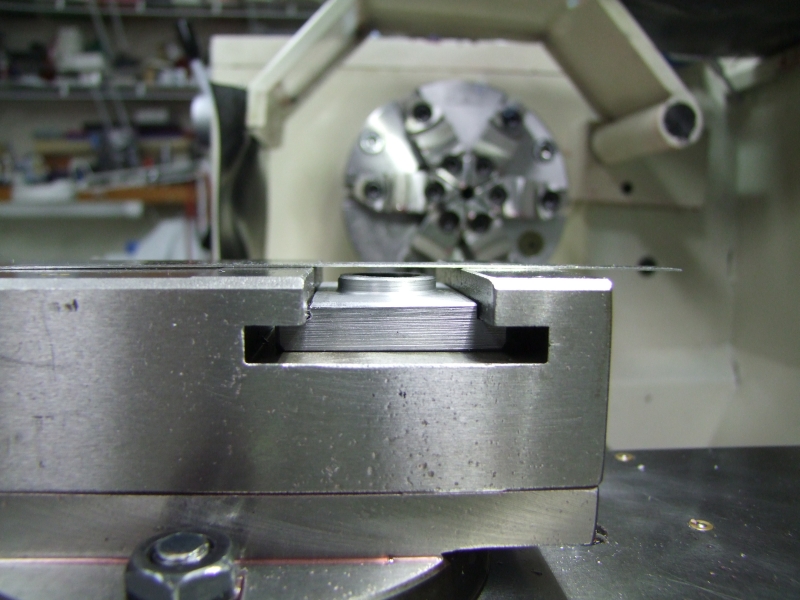
since this part is not hardened, it was very easy to file it to fit:
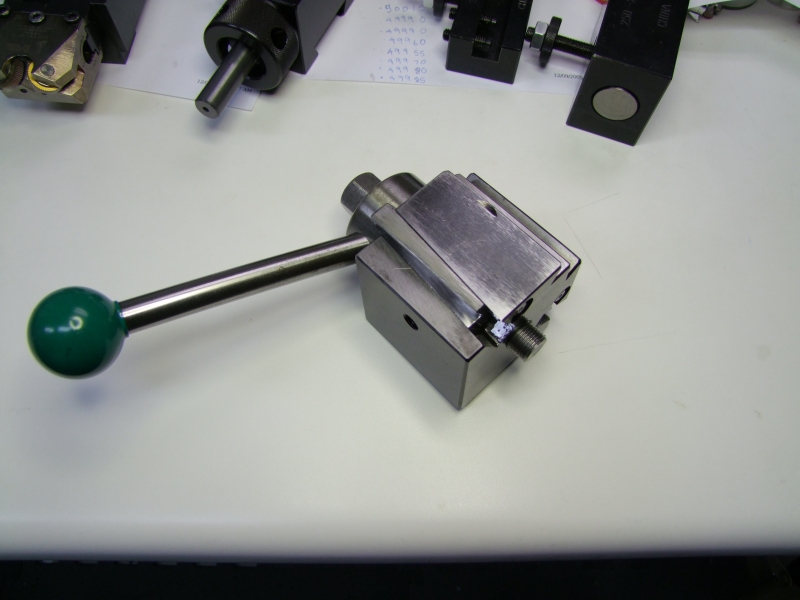
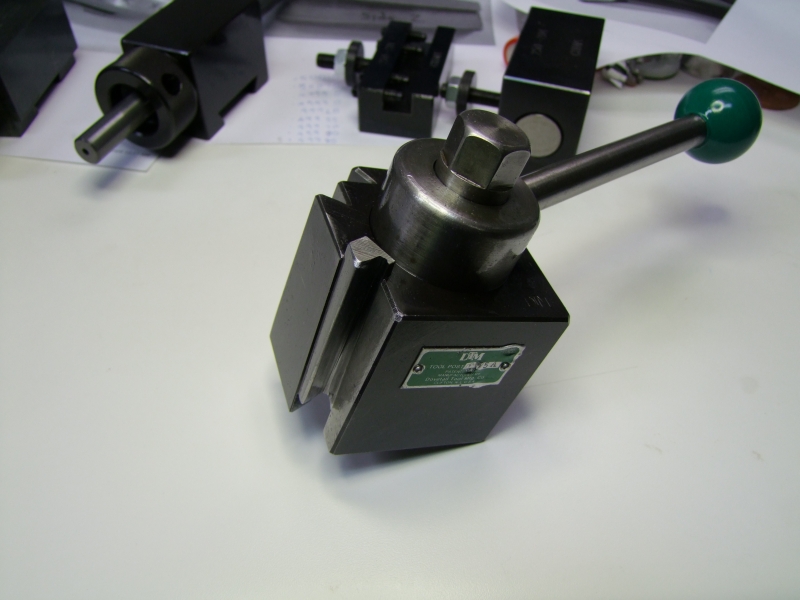
I then used a straight carbide bar to align the tool post to the spindle of the lathe:
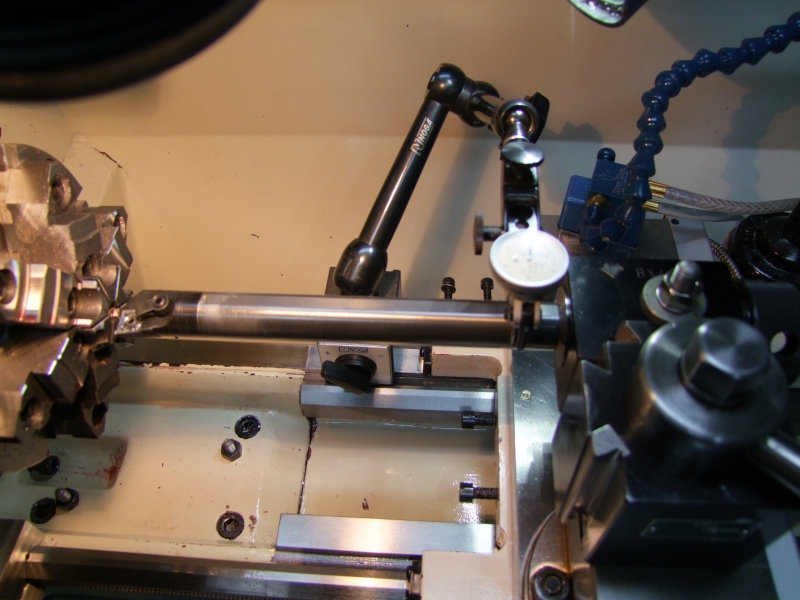
Now I have to double check/adjust the tools to make sure they are still on center, but at least I can start using it for good ;)
Will


