Yeah point taken Stew! I actually think this could be dad trying to keep himself busy as he's just retired! The wife and I said we were quite happy to leave it for now but as soon as my dad got a whiff of what I was planning he wanted to be involved! Then he said it'd be better to do the work before we got the new bed arrives - otherwise it would never get done, which was exactly my intention!

Never mind, I'm back out there after I've written this little bit up. I can't even do my write up after the workshop session since we're sleeping in the spare room where the computer is and the wife complains the typing noise keeps her up!

can't win!
Anyway, yesterday I decided to make a start on the cylinder since this is probably one of the more complex parts on this engine.
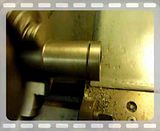
I started by skimming 1 end of the lump of cast iron to give me somewhere true to grip:
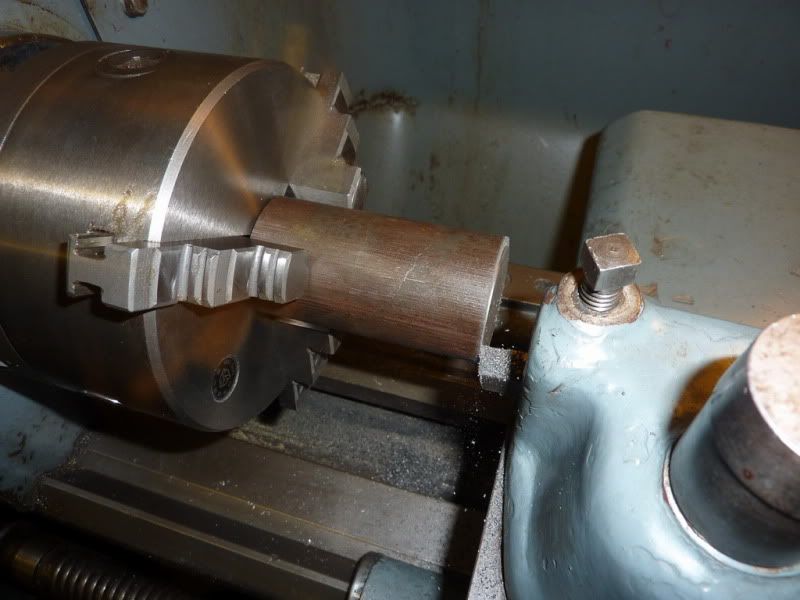
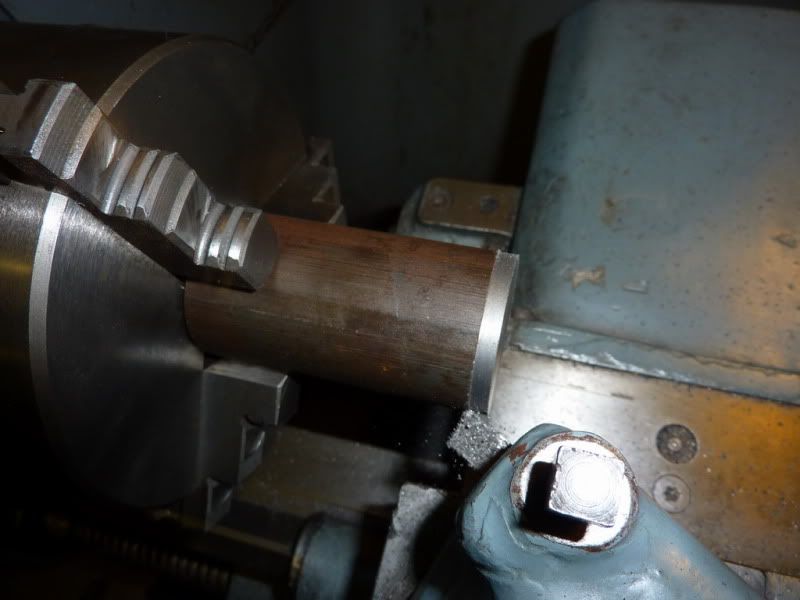
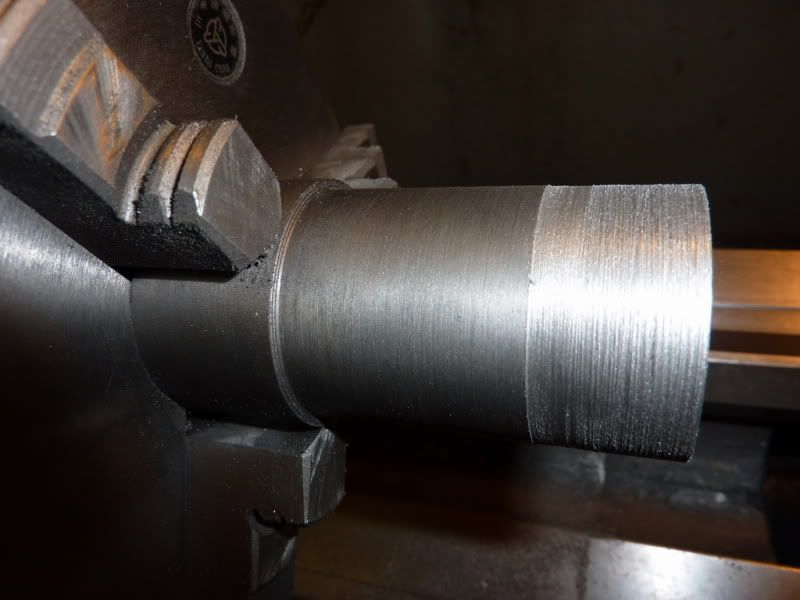
Turned around in chuck and the OD rough machined down to 0.5mm oversize. All the dimensions for this are metric so am having to do a bit of conversion with the dials. I actually think I prefer metric sizes now, its just most of my stuff is imperial. Might adopt the new system! Also centre drilled and drilled straight in with ½ drill (biggest I have) to a bit longer than the required 50mm depth.
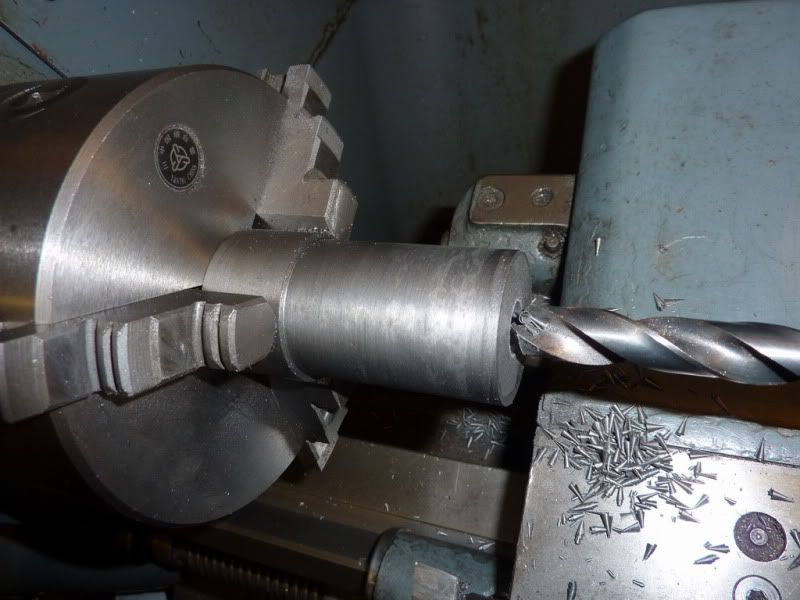
Bored the hole out to size. This took a while as I only have a crappy TC tipped boring tool which isnt very ridid. I have a big boring bar too but I don t think it fits in the tool post and is too big for this bore in any case. Finish wasnt amazing as the tipped tool has a chip out of it but not bad considering.
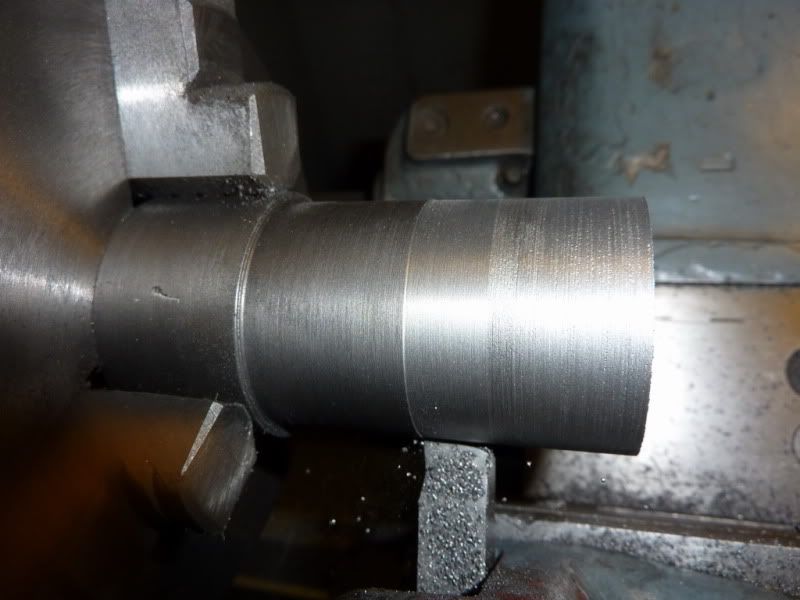
Decided I would finish turn the OD at this stage, back to a nice slow feed. So why am I getting such a crappy finish now when it was OK before?
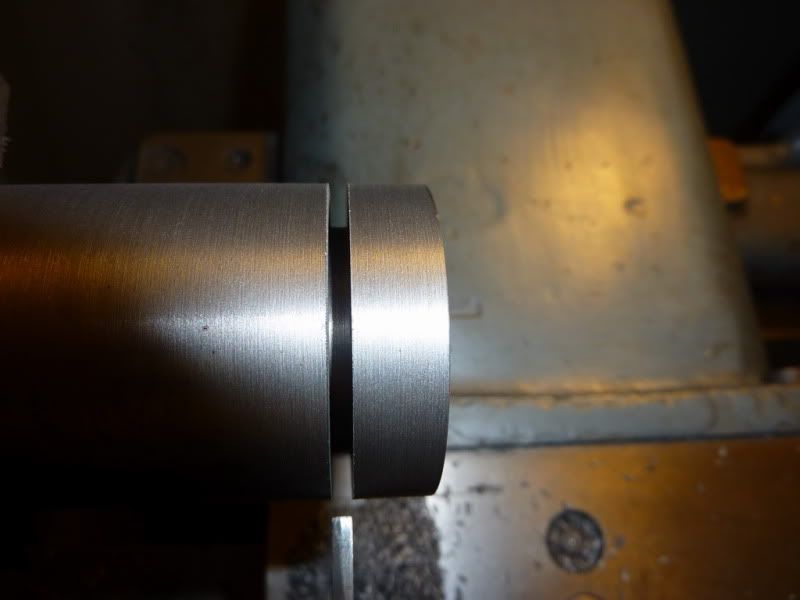
Was just about to start pulling my hair out when I thought Id re-check centre height:
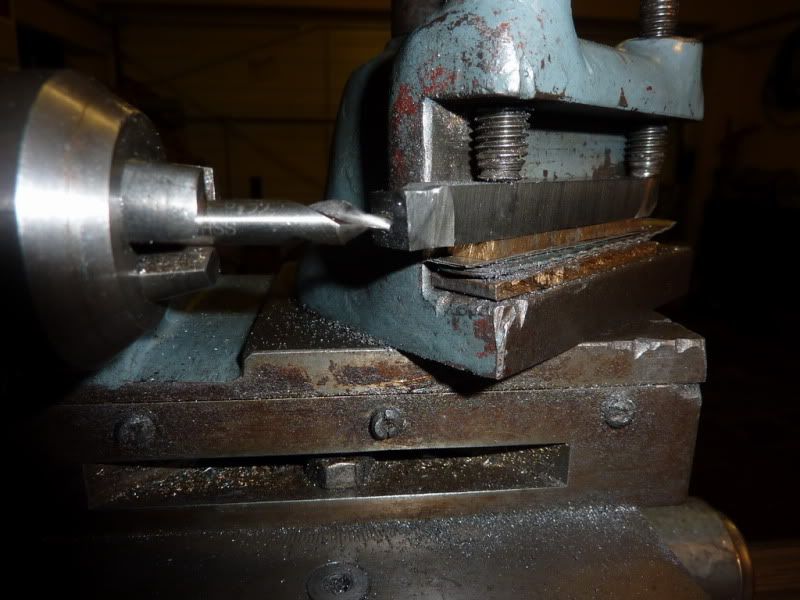
Only about 3/16 too high! Id used the same setup plus the bit I used for the boring bar! That could be why! Finish much better now thats corrected:
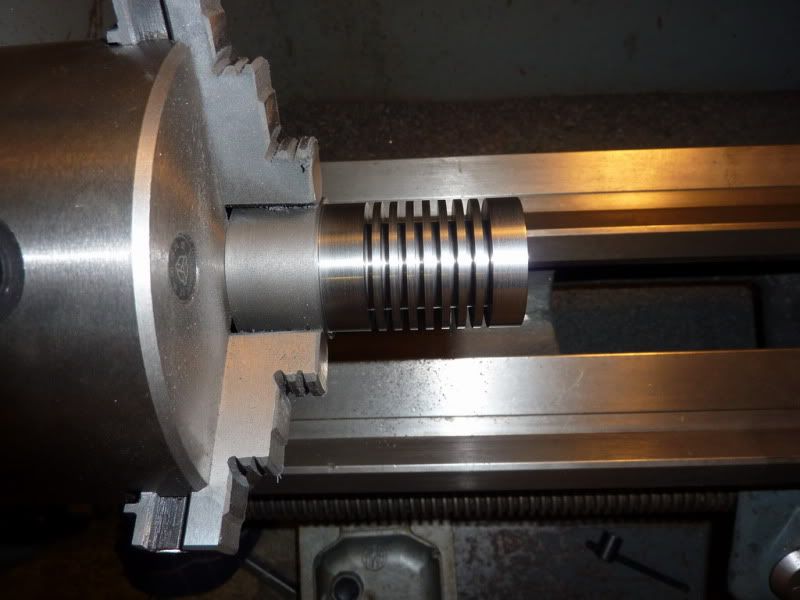
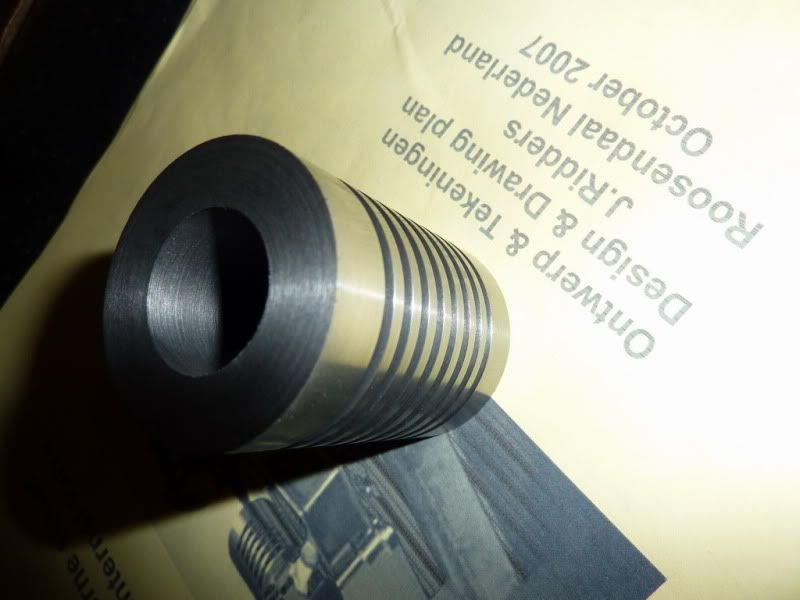
Next comes the scary bit putting the grooves in, only its not actually scary anymore on this lathe at least not on cast iron, brass and aluminium. I am deviating from the drawing here in 2 ways. 1. I just made the grooves the width of my parting tool (happens to be 2.15mm) and calculated how many would fit, and 2. I made them 6mm deep instead of 7mm as I went oversize on the bore by 1mm.
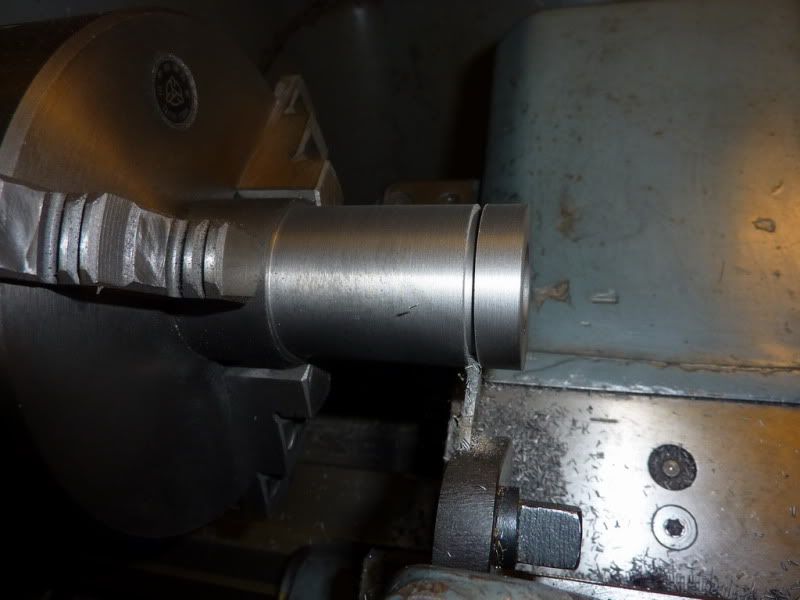
Parting off at about 200rpm under power.
Finished groove, worked really well.
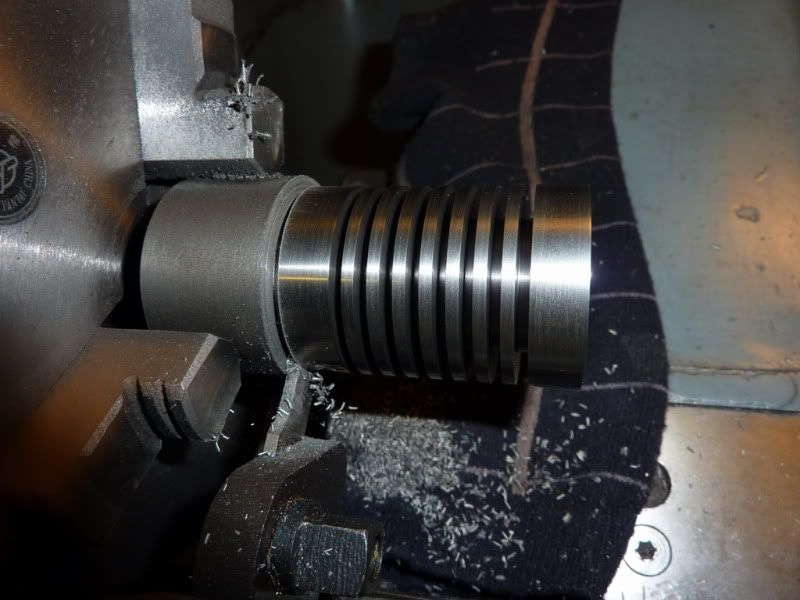
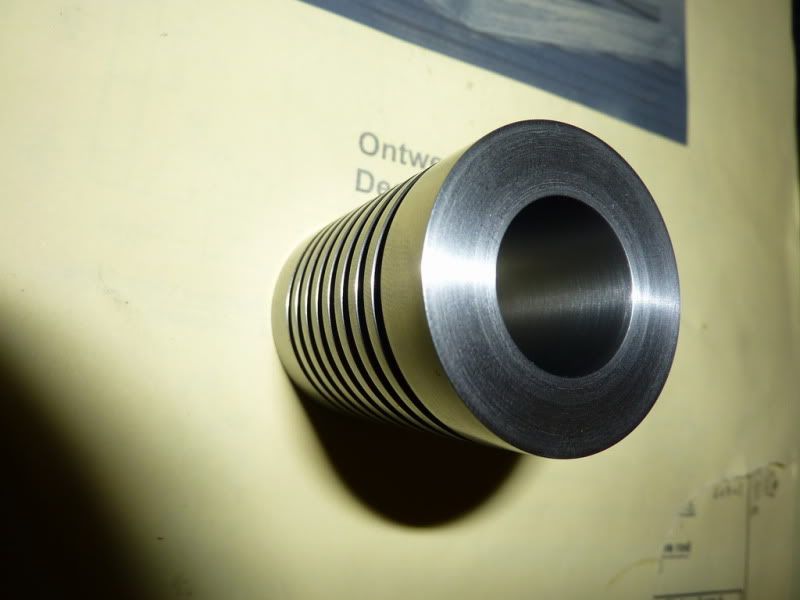
I was going to stop for a break ½ way through as I thought the tool would be getting red hot, but it wasnt even warm. The cylinder was luke warm so I just continued. Here it is with all grooves cut and a bit of a de-burr and polish.
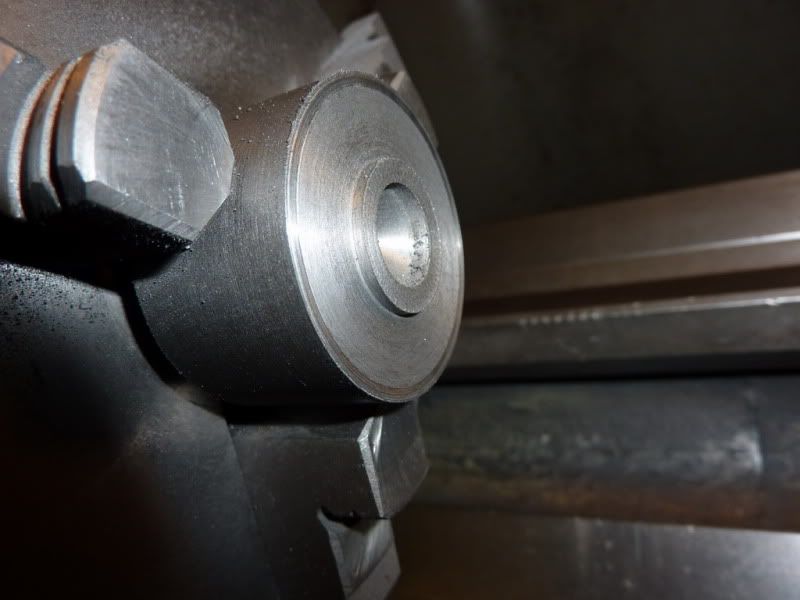
Parting off leaving 0.25mm to skim off other end:
Why is it I mess about with all these tools to get a good finish and the best bloody one is the parting tool?!
This picture shows that I only JUST drilled and bored the hole deep enough! Lucky there.
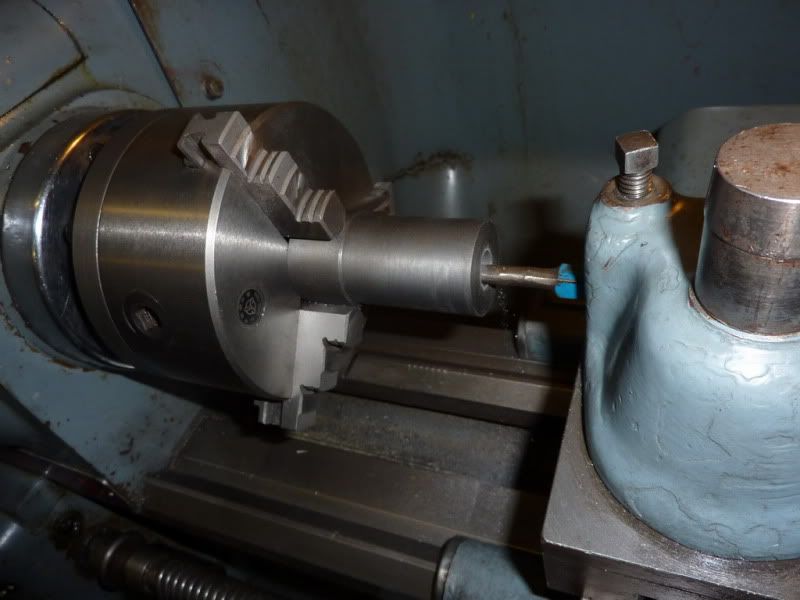
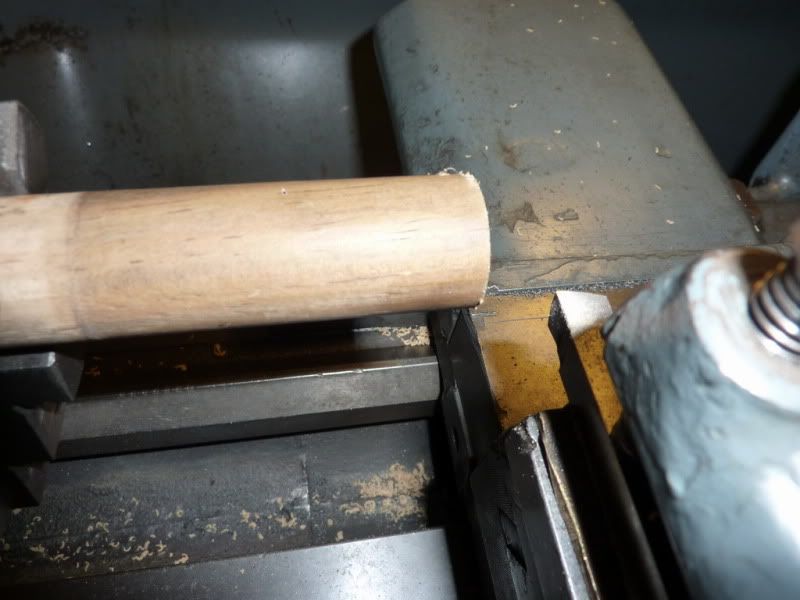
I dont normally bother lapping the bores on my little steam engine and didnt on my hot air engine, although I tried to ream that one I didnt lap or polish the piston. But on this one, I thought Id better pay more attention to the finish of the bore and pistons if I want it to work. So I chopped a bit off the brush handle and turned it down to a bit under the bore.
Then put a saw cut down the middle and wrapped some wet & dry around it. Medium then fine then fine with oil.
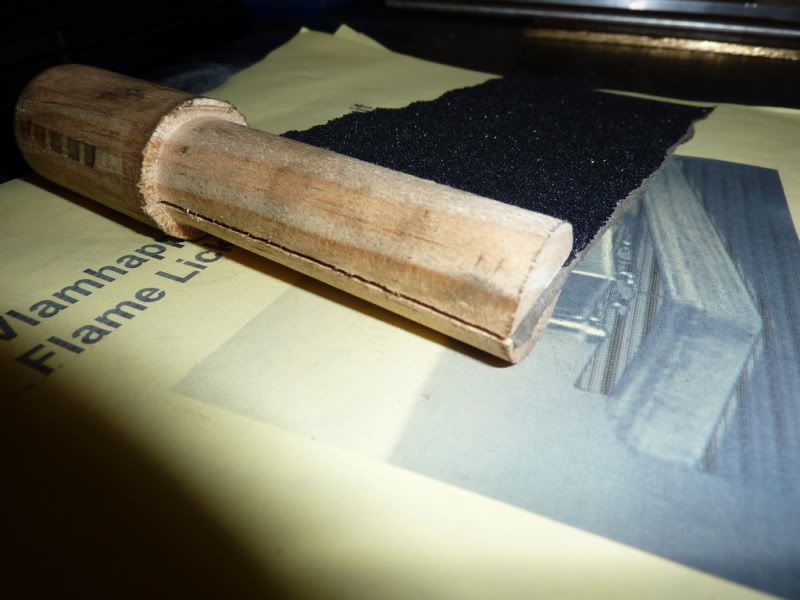
Seemed to work a treat, well happy with the result. Back off into garage now to hopefully finish the cylinder. Didnt get my morning session in due to stupid bedroom!
So far I am trying to pay more attention to detail on this project, and I am using known materials. Hopefully, if I can keep this up it will turn out to be my best one yet. I just hope it will work, fingers crossed!
Nick


