Hi all,
Finally got in the garage and did something, although nothing exciting like the start of building a new model, essential work nevertheless!
When I bought my Harrison lathe about a year ago, the only thing I could fault was the 3 jaw chuck. It was old and worn, hence didn't run true any more. This was frustrating as I had just sold a couple of good chucks on ebay


always the way isn't it! I put up with it for a while but recently decided to get a new one from Axminster (I had bought an Axminster one for my previous lathe and found it to be good).
So a few weeks back I decided to try and fit it, at which point I couldn't get the chuck undone ... it had obviously been on there for years and tightened itself on over that period of time. Some of you might have seen my post when I was trying to get it off, having broken gears etc!

Anyway, it came off in the end, that's the main thing.
Before I start I should say that this is not intended to be a 'how to guide' but is simply the way I tackled the job and it worked for me.
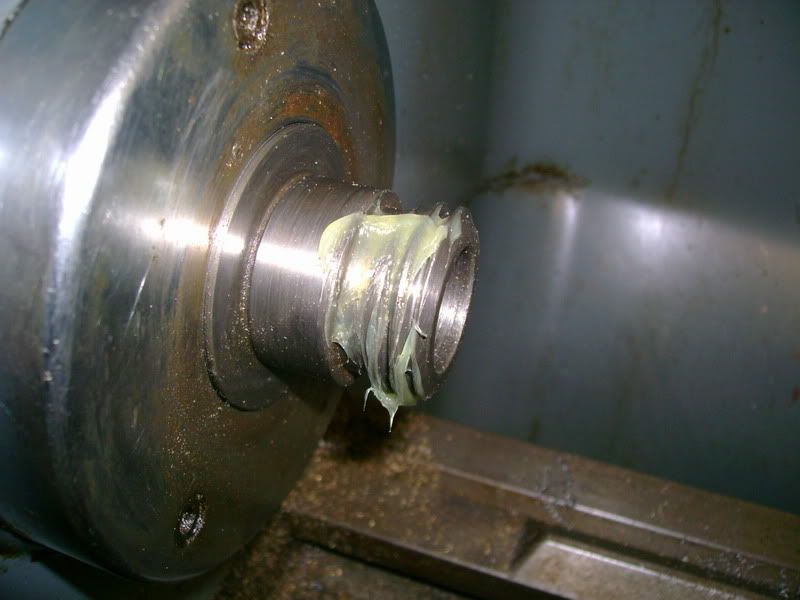
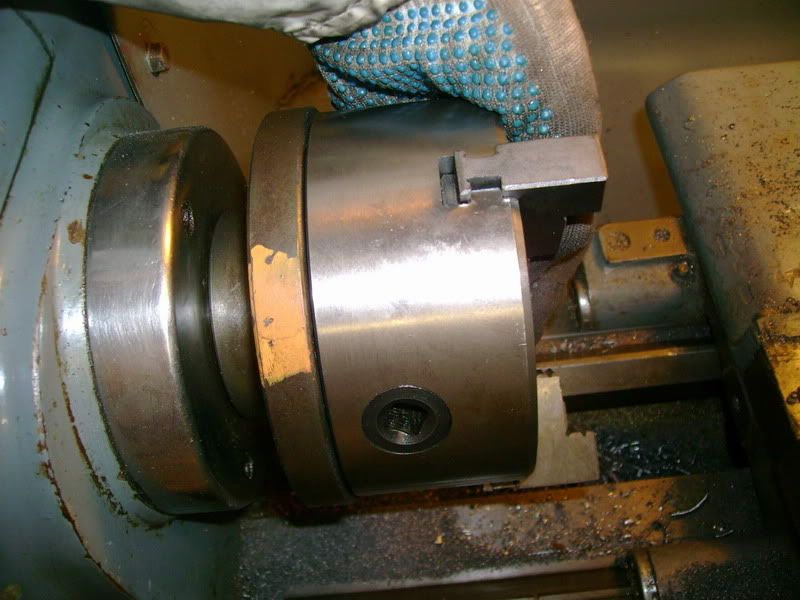
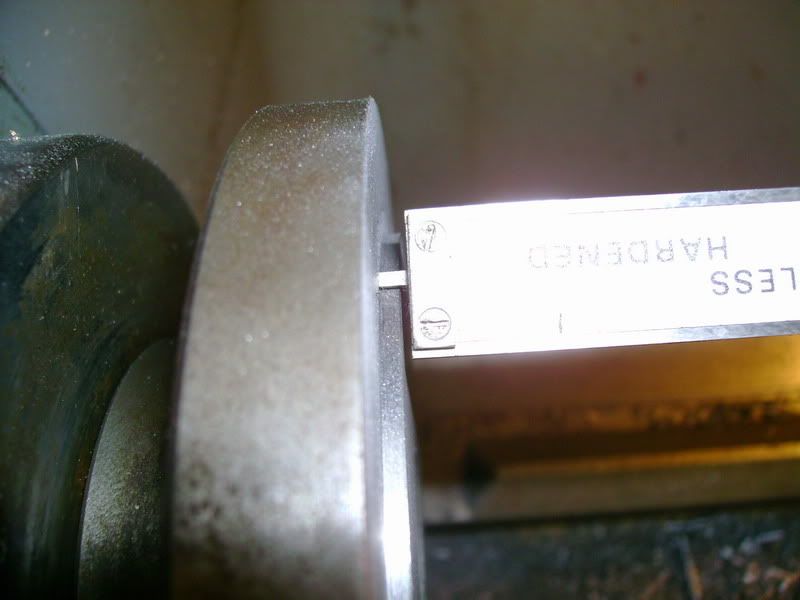
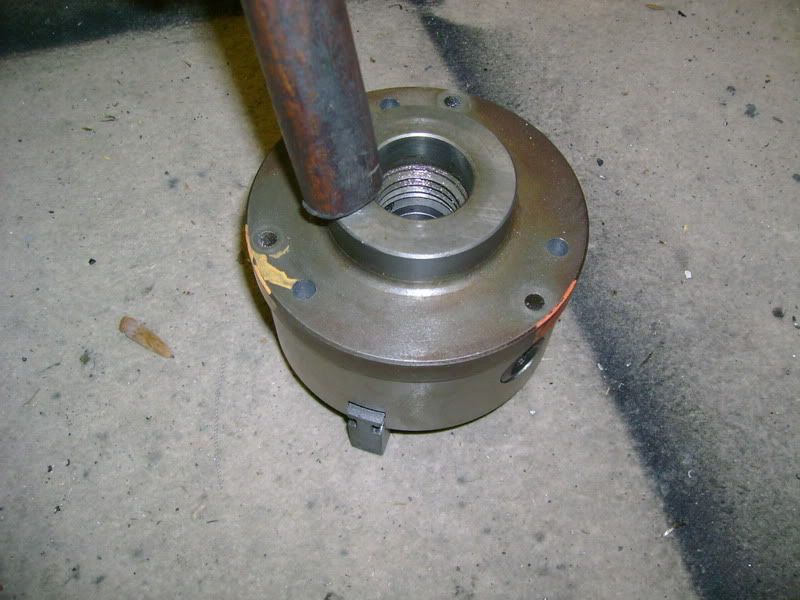
Spindle with chuck removed:

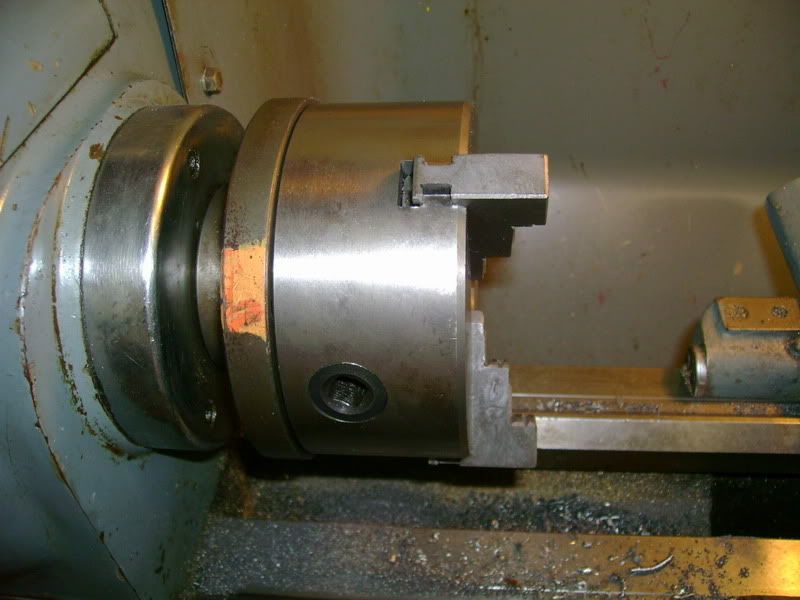
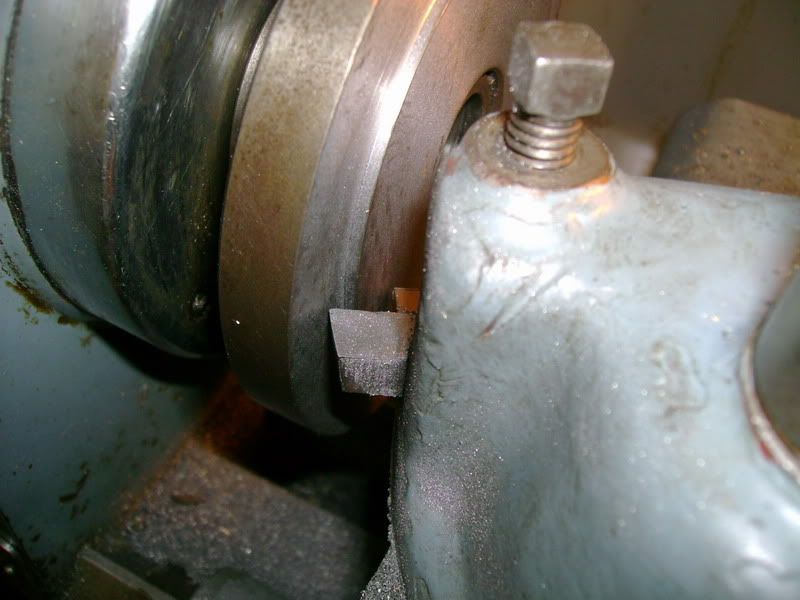
Gave it a clean and applied some grease:
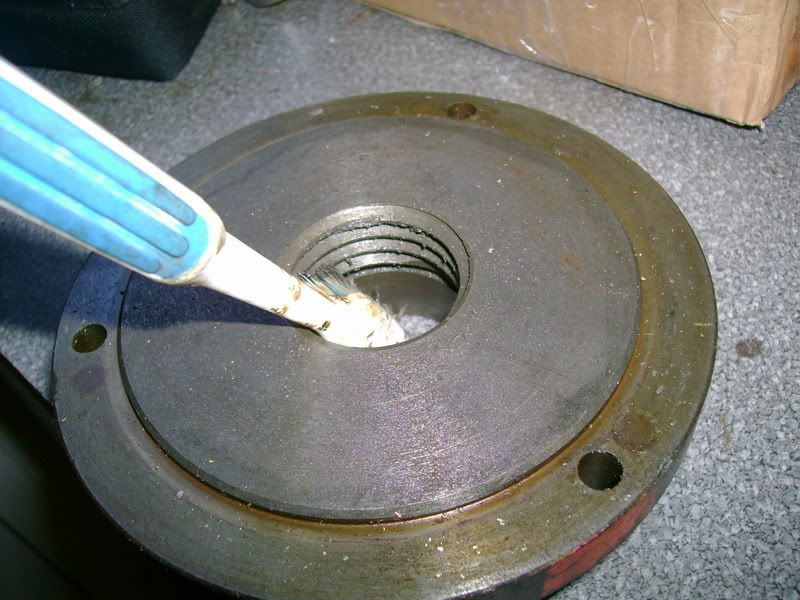
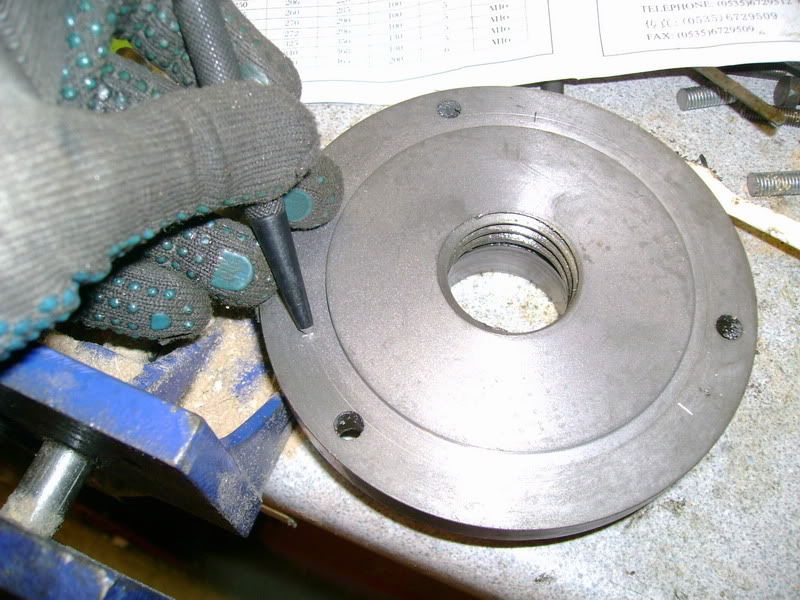
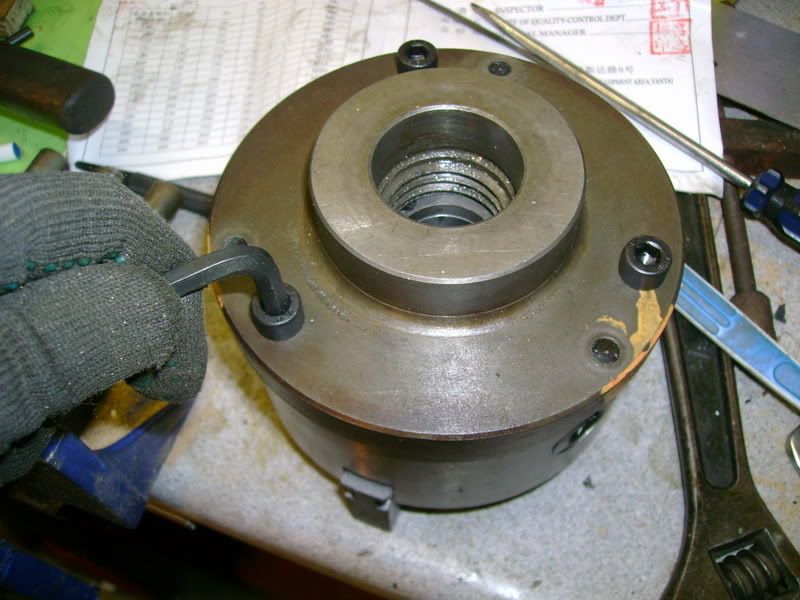
Cleaning thread on chuck backplate:
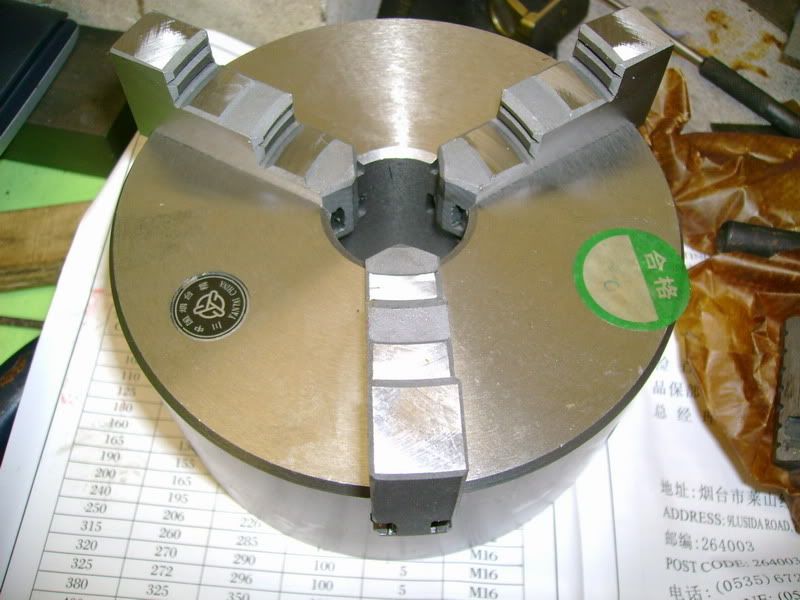
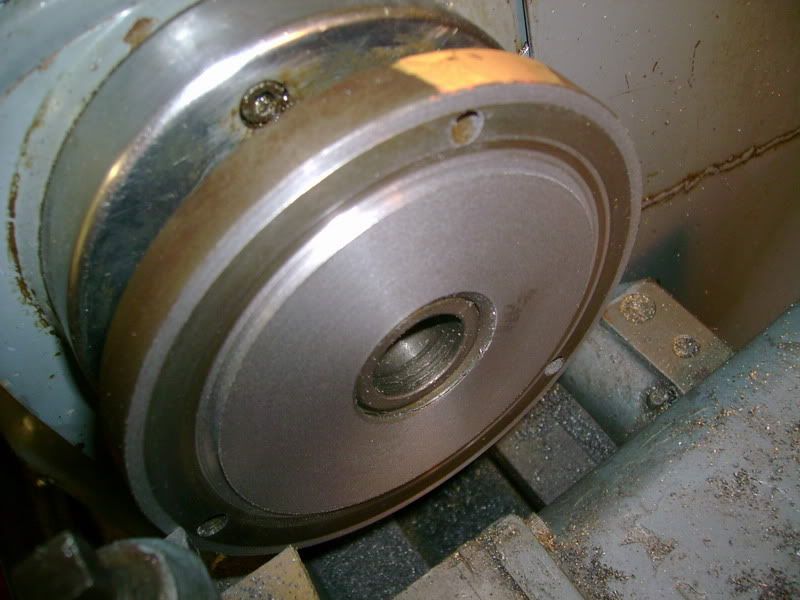
New chuck:
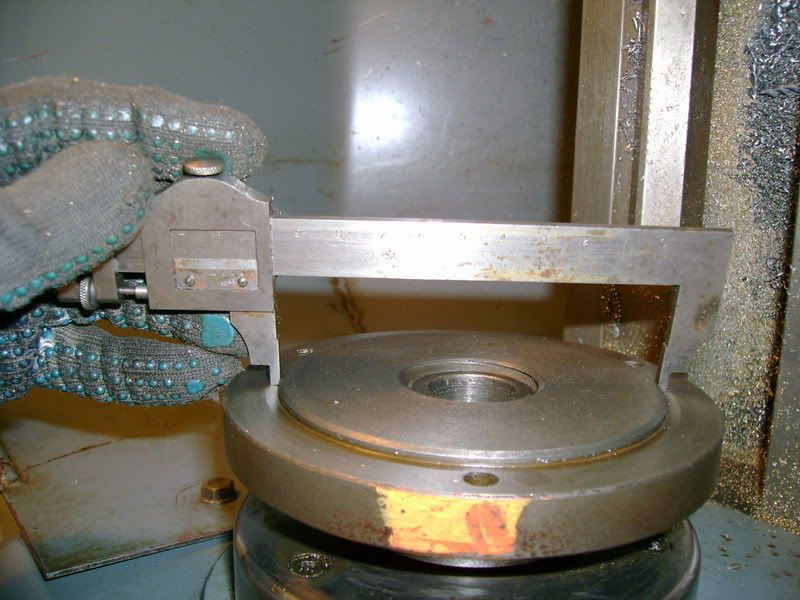
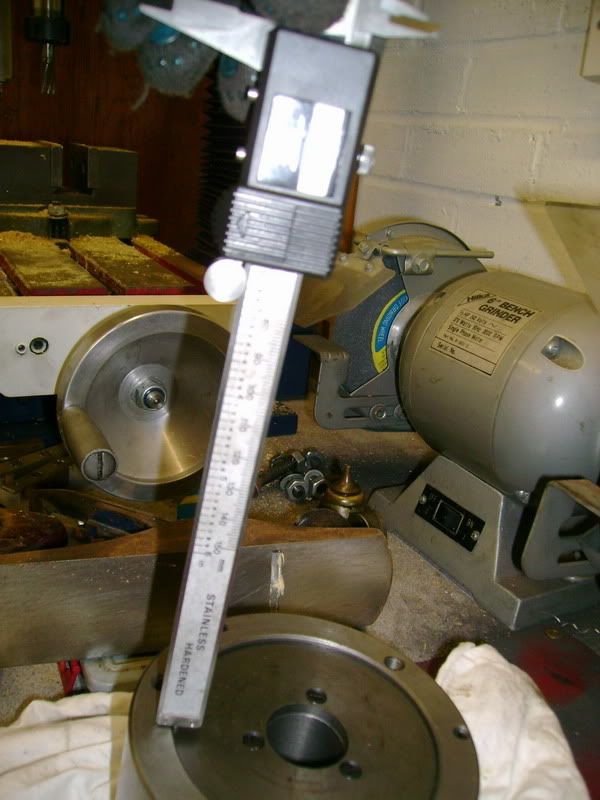
Checking size of register on new chuck, the sizes are in metric and the hole is 95mm diameter!

Thought I better measure that for real, not that I don't trust them or anything you understand

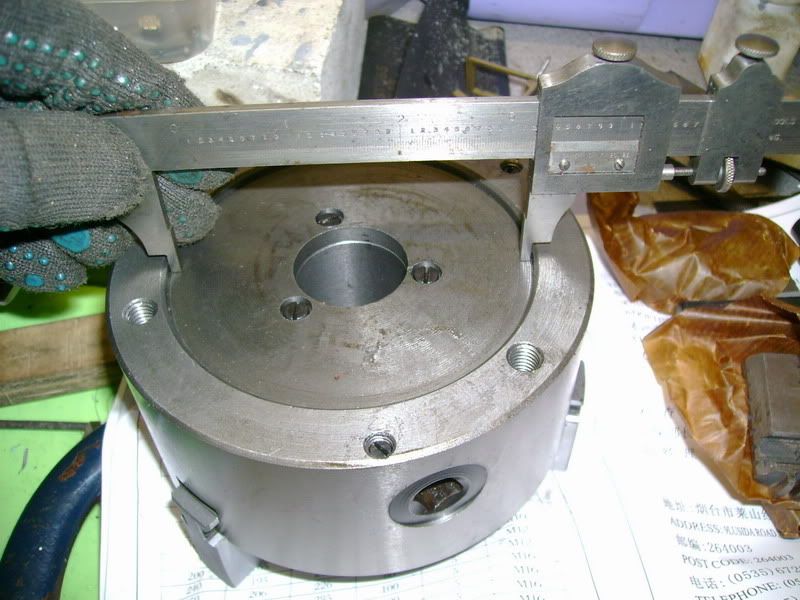
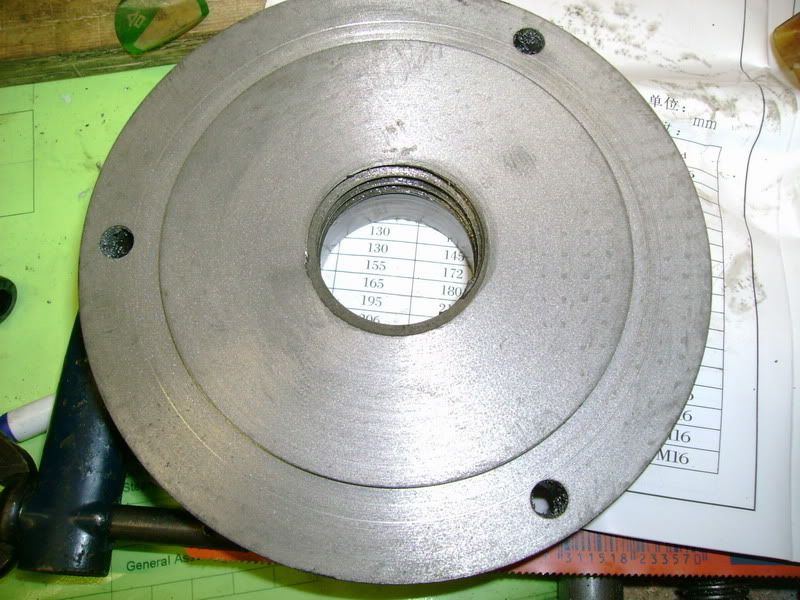
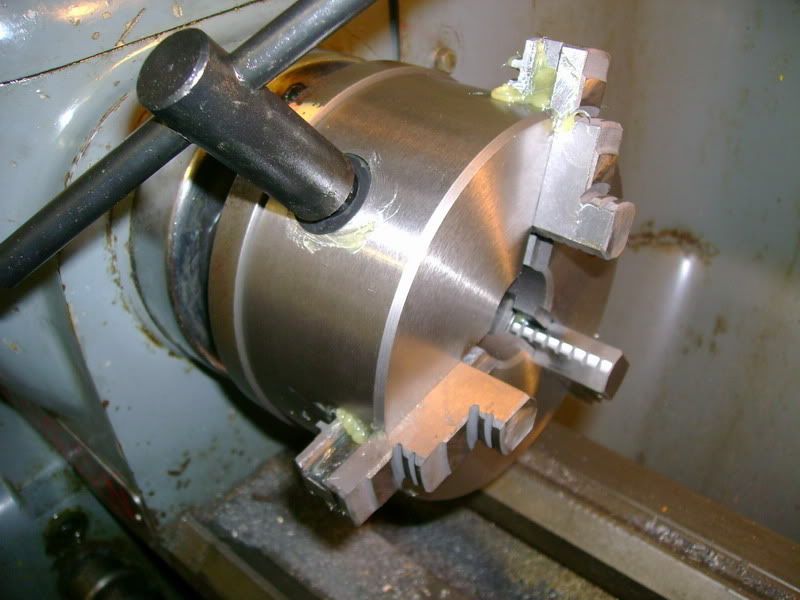
Checking the size of the existing backplate shoulder to see how much I need to remove:
Taking a skim off the shoulder to ensure everything is running true:
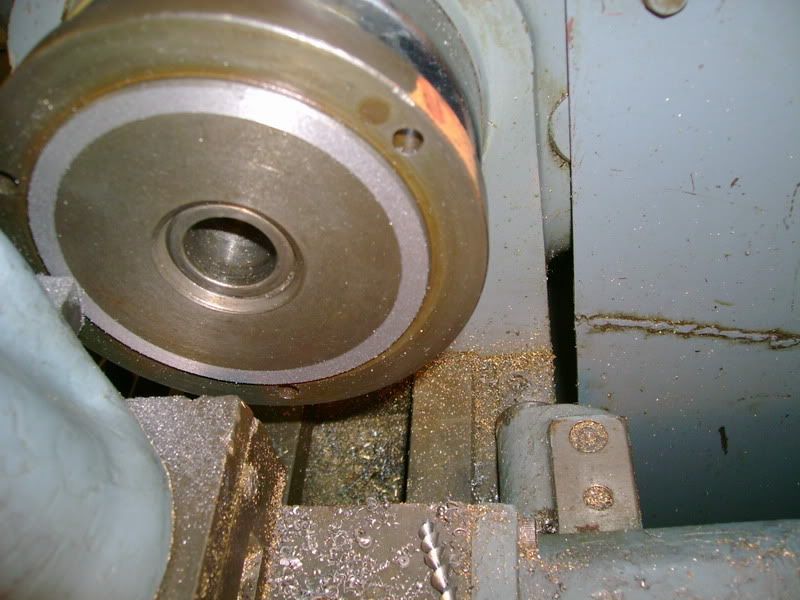
Wasn't too happy with this finish .. I knew I was using a tool with the wrong rake angle really though
So I ground up a new tool and increased the speed slightly, this is better (I can't engage the power feed since I crunched my change wheel!)
Next I worked out what I needed to take off the shoulder, luckily it was bigger than the register in the new chuck so I didn't have to start from scratch, just had to make it smaller diameter. I converted the amount needed to take off into imperial

so I could use the handwheels on the lathe.
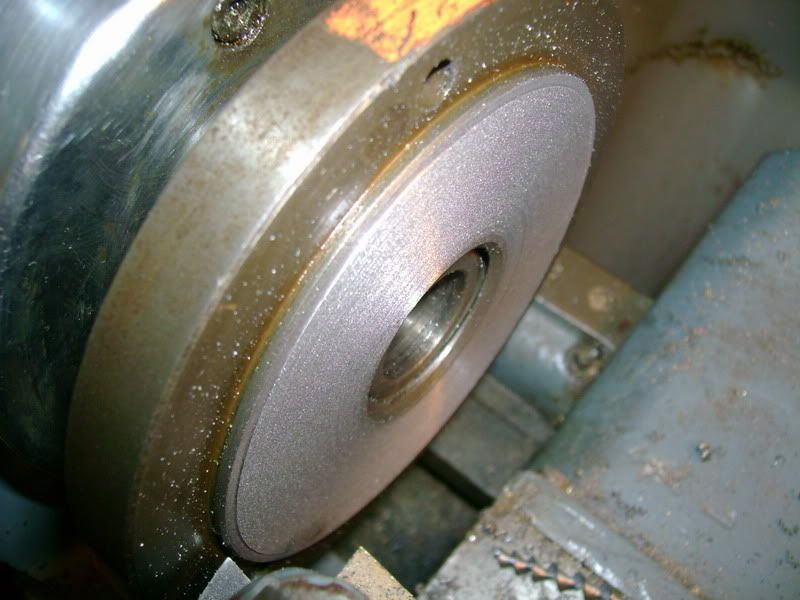
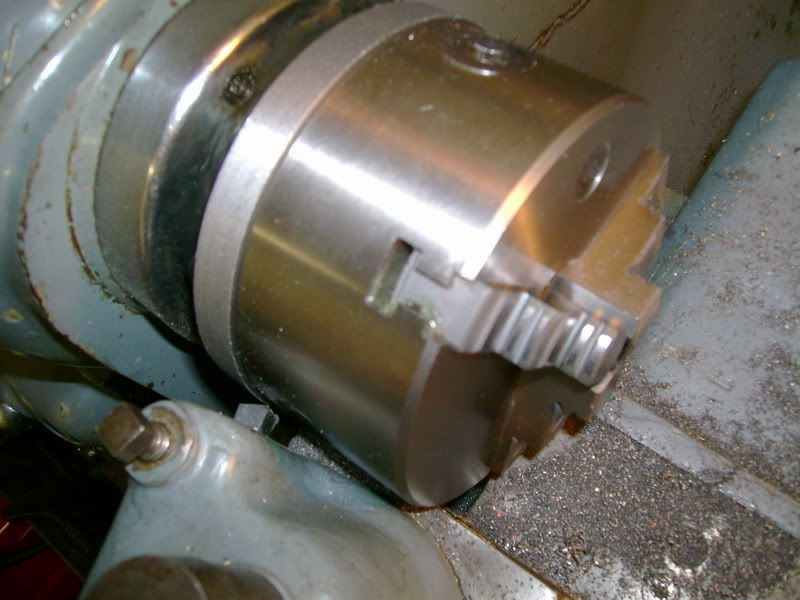
I initially went 0.10mm oversize then kept trying the chuck taking cuts of 1/2 a thou off:
Bingo, a the chuck is a good snug fit on the shoulder as can be seen by the fact it's staying there by itself! I shouldn't have taken that pic, it could have fallen onto the lathe bed ... knowing my luck the camera would have taken the pic at the point of impact!!

Luckily it didn't fall!
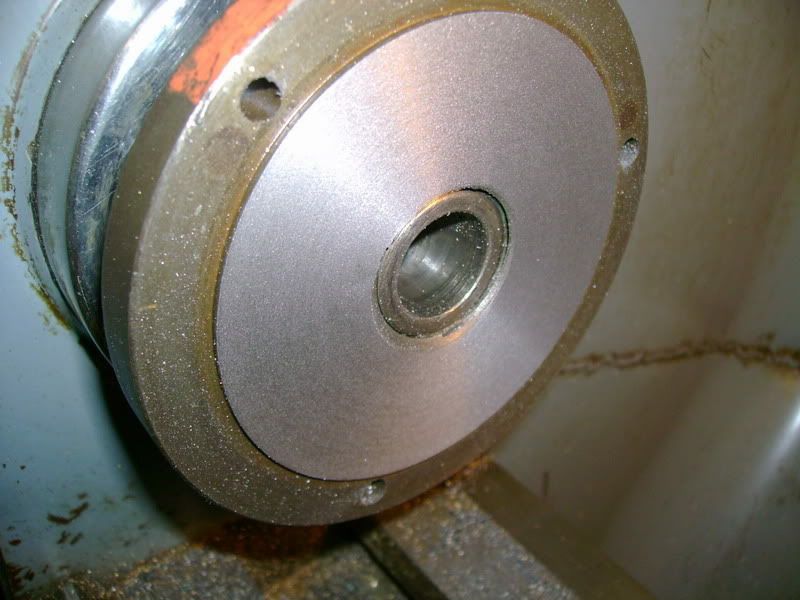
Now I had to skim the face on the back plate where the back face of the chuck fits to ensure that was running true, I was careful not to take too much off, otherwise the shoulder could become too deep:
Checking the depth of the register in the new chuck, the leaflet said 3mm, think it was 3.3 or something.
Checking that the depth of the shoulder is less than the register, you can see daylight, so it's smaller.
Next I had to mark out the 3 mounting holes in the right places. This is the method I used, put a centre in the headstock taper and set the cutting tool inline with it.

The spec said 108mm PCD for the mounting holes so a quick
revealed that I needed to wind the cutting tool 2.126" back. (I double checked the PCD with a vernier and it was near enough right.) With the spindle running slowly I touched the sharp corner of the cutting tool onto the backplate scribing a line all the way around at 108mm PCD.
Here you can see the scribed line:
I then thought, how am I going to get the 3 holes equispaced 120 degrees apart?! Well I'd done this before, I don't know why I removed the back plate from the spindle, it needed to stay on there. I used the holes that were already drilled in the back plate to get my 120 degree offsets. I lined one of the existing holes up with a mark on the head stock by eye with the aid of a straight edge (cutting tool). This could have been improved by putting something through the hole I guess ... just thought of that though! Anyway, once lined up I scribed a short line with the cutting tool intersecting the 108 PCD line. This was then repeated with the other 2 holes.
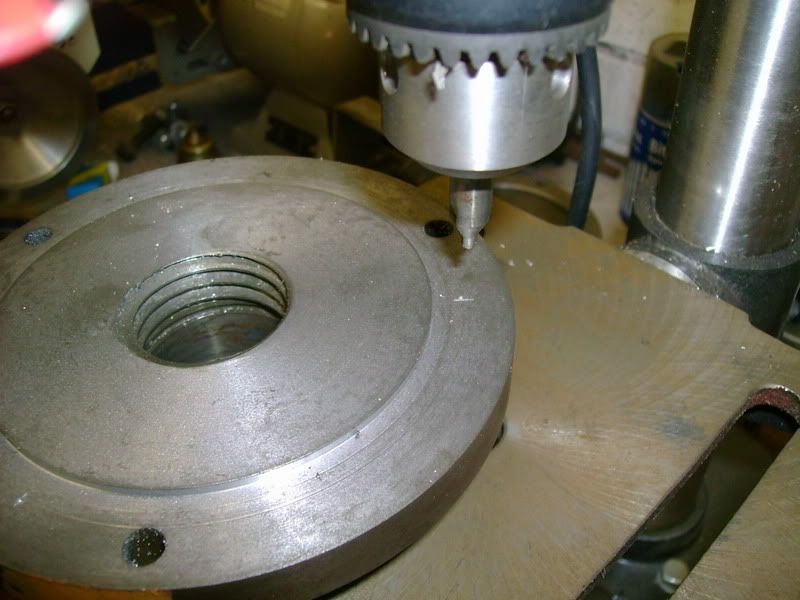
Next, the holes had to be centre punched, centre drilled and opened up to 8mm clearance.
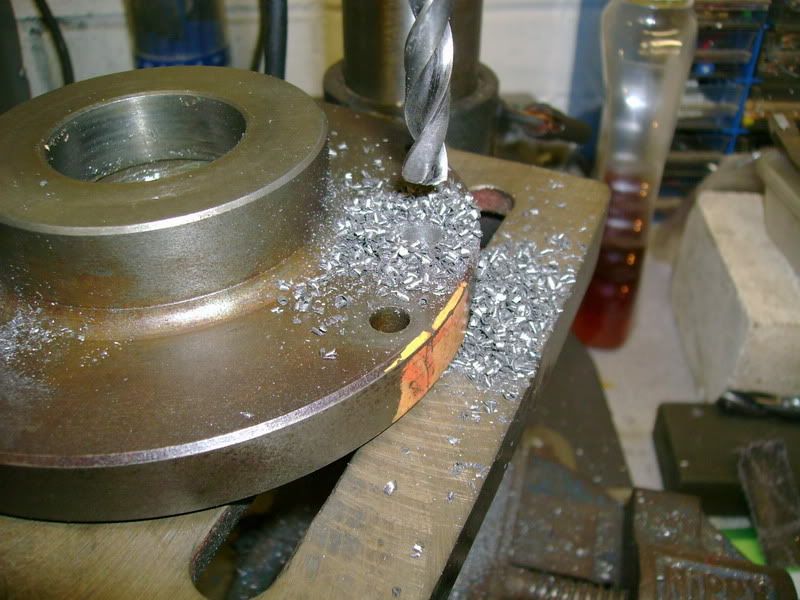
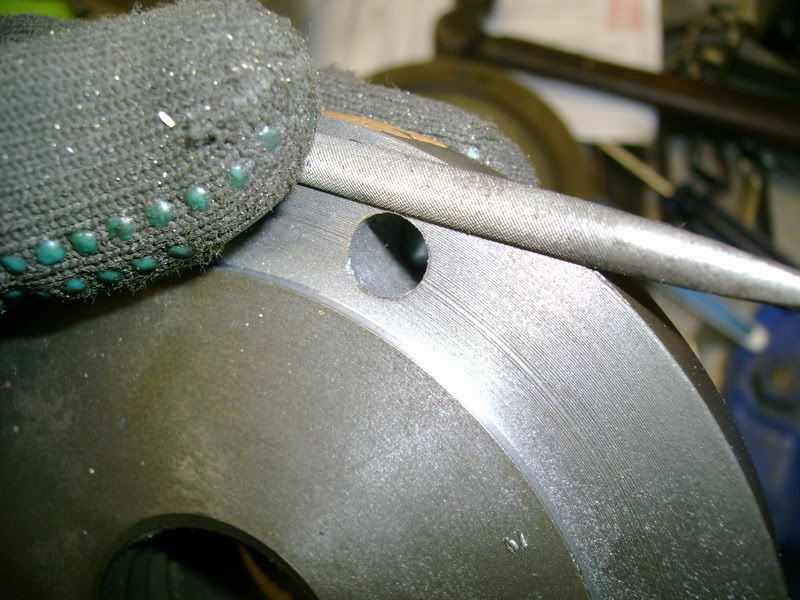
Taking the burrs of with needle file, don't get much burr drilling cast iron:
Tapping the backplate onto the chuck ensuring it's driven fully home:
Tightening in the allen bolts a bit at a time, pulling the chuck up nice and square against the face:
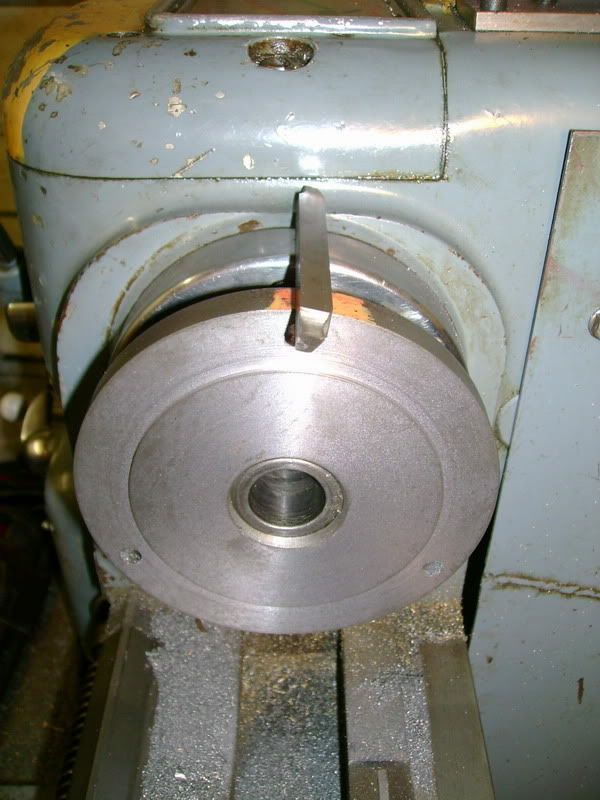
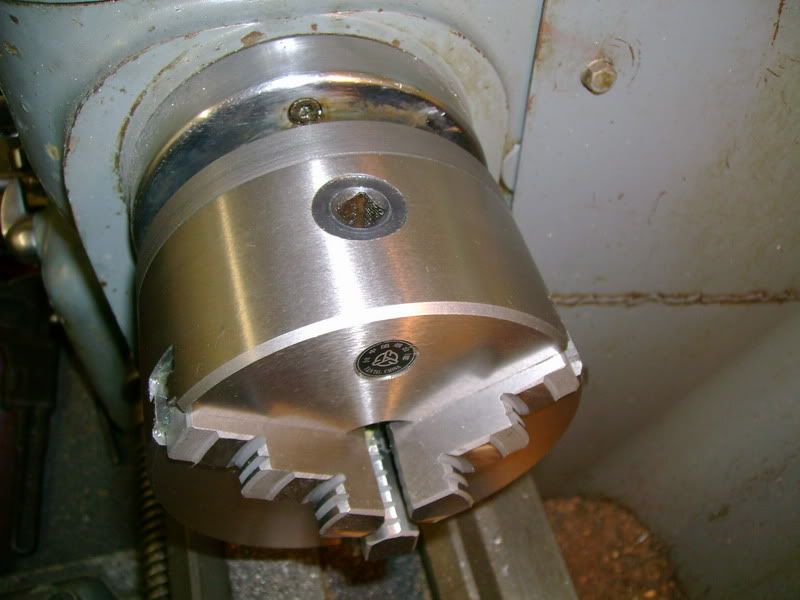
Chuck fitted with a bit of grease in the jaws etc.
All that was left was to turn the OD of the backplate to match the chuck ... probably unnecessary really.
The finished job:
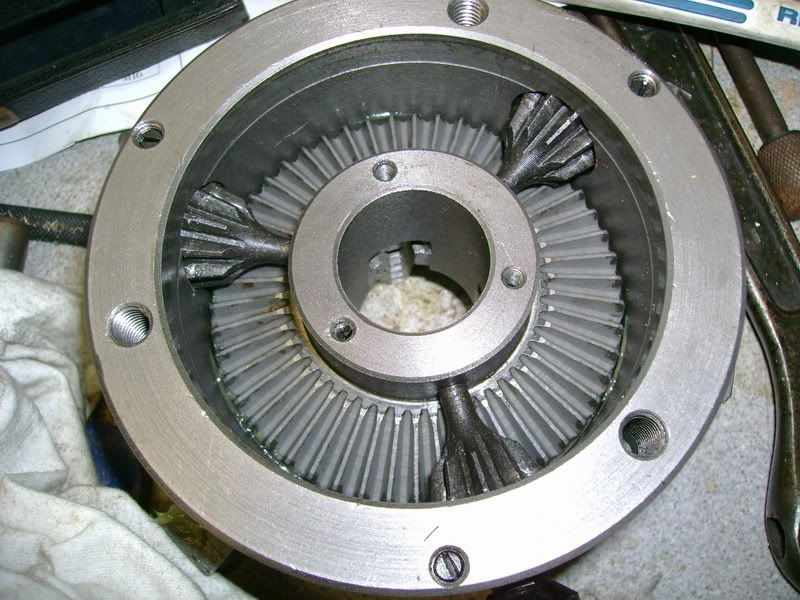
Actually, I found the motion of the jaws really tight so decided to take it back off. Took the cover off the back and the insides were bone dry
Is it meant to be like this? I thought not so put some grease in there! That probably wasn't what was causing the friction though, there are 3 screws that hold cover plate on and it seems if they are too tight the whole motion locks up. Wondered why they weren't tight. This seems the same on the pratt & bernard chuck that I took off too.
That's about it really. I haven't really tried it out yet but I did put a DTI on the chuck body and an end mill gripped in the jaws. There was 0.02mm runout on the chuck body and between 0.02-0.03mm on the end mill. More than good enough for me, and not bad for £45!

Next job is to try it out and make a special bush for the gear that will replace the one I smashed! Then onto a proper project, possibly with a house move in between!


