Firstly.... HAPPY NEW YEAR

So, it's been a while. I've not had anything new (style/creation wise) in the making for some time. But as luck would have it I took my standard NYE tradition and made it work....
That tradition being workshop time.
A little story first, I gifted a soldering iron and a couple of soldering kits to my nephew for Christmas. it was a battery powered iron, thought it might work.... Disappointed to be fair

So I went and got a gas one .
This then gave rise to the issue of excessive heat from the catalyst at the tip and him working on my sisters dining room table!
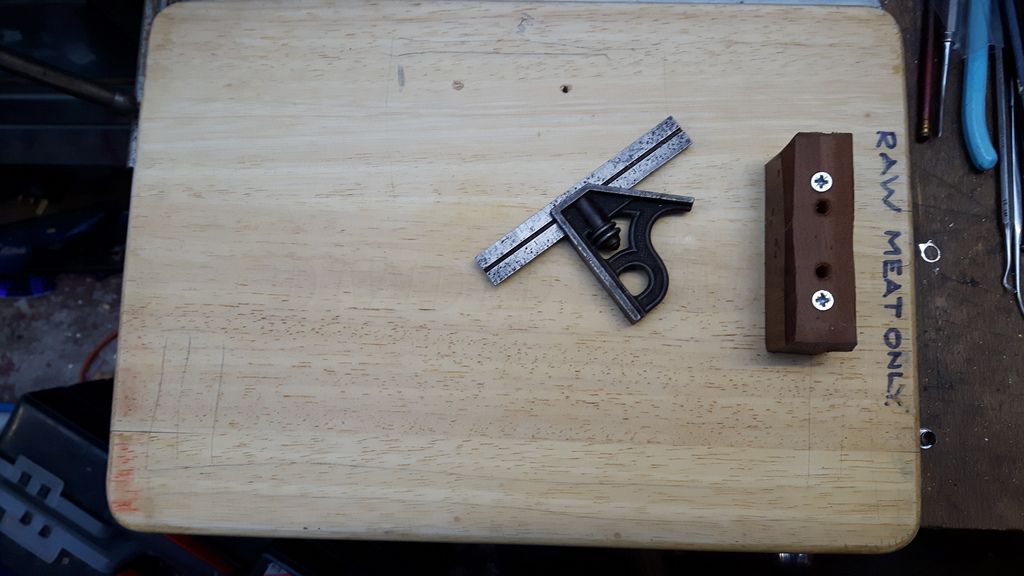
I came up with "he needs a protective mat" This lead me to searching the house for a candidate. A slightly split chopping board was selected.
The rest is in mostly pictorial form (they sigh with relief

)
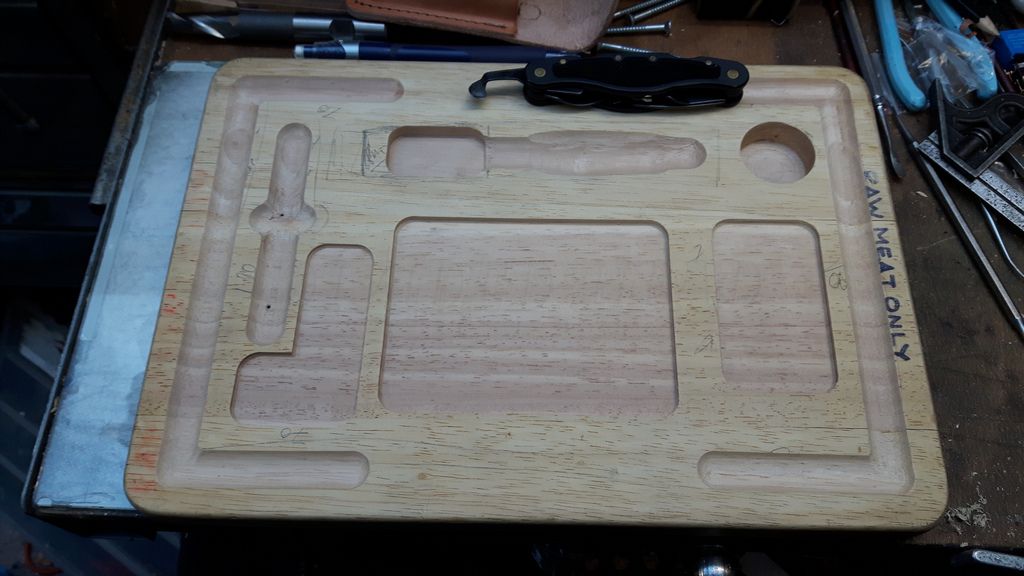
First, draw out a plan of attack....
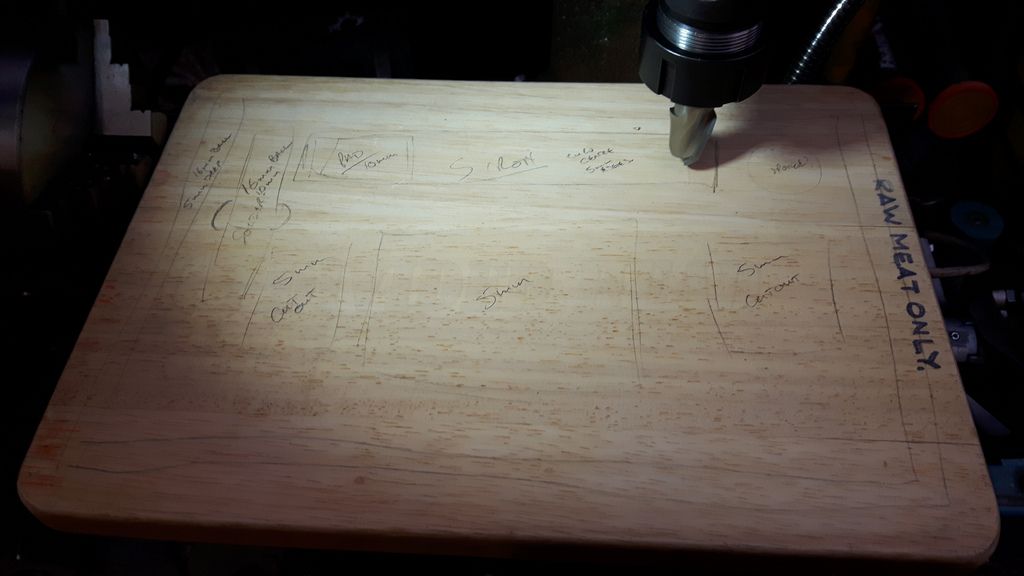
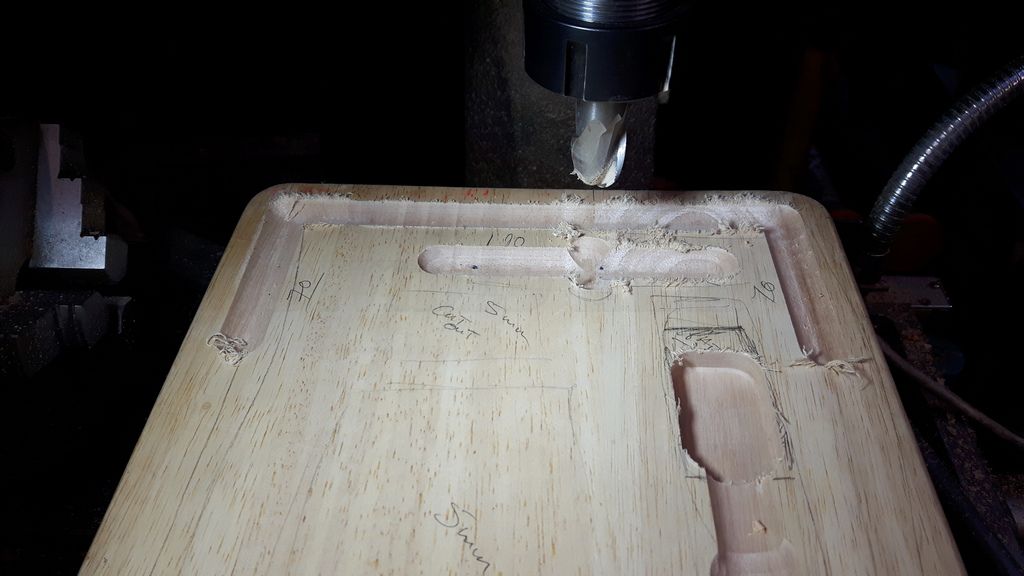
Then ATTACK!

18mm ball nosed cutter.
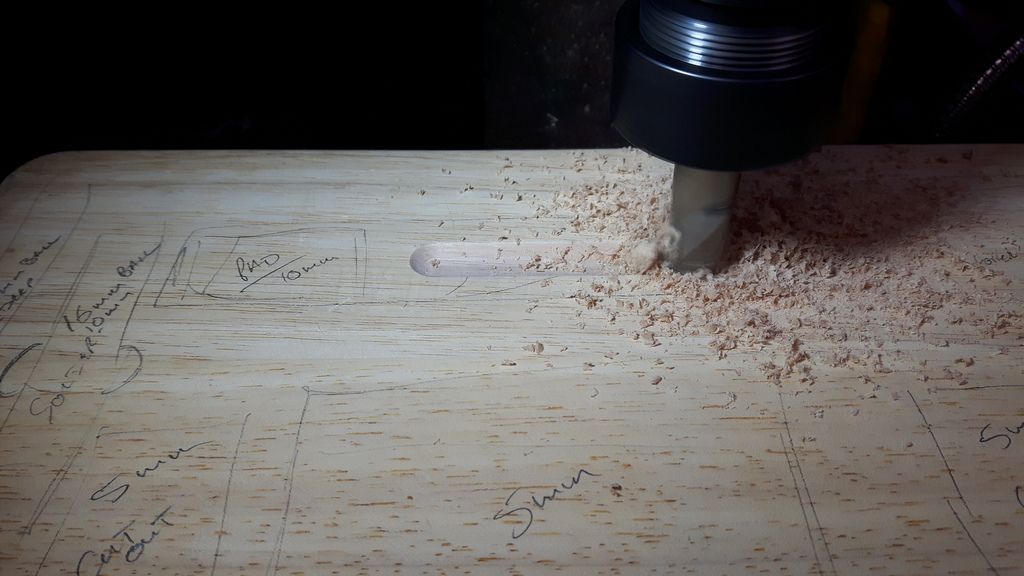
Recess shaped by using hand wheels while feed was on slow.... a bit rough but close enough to start with.
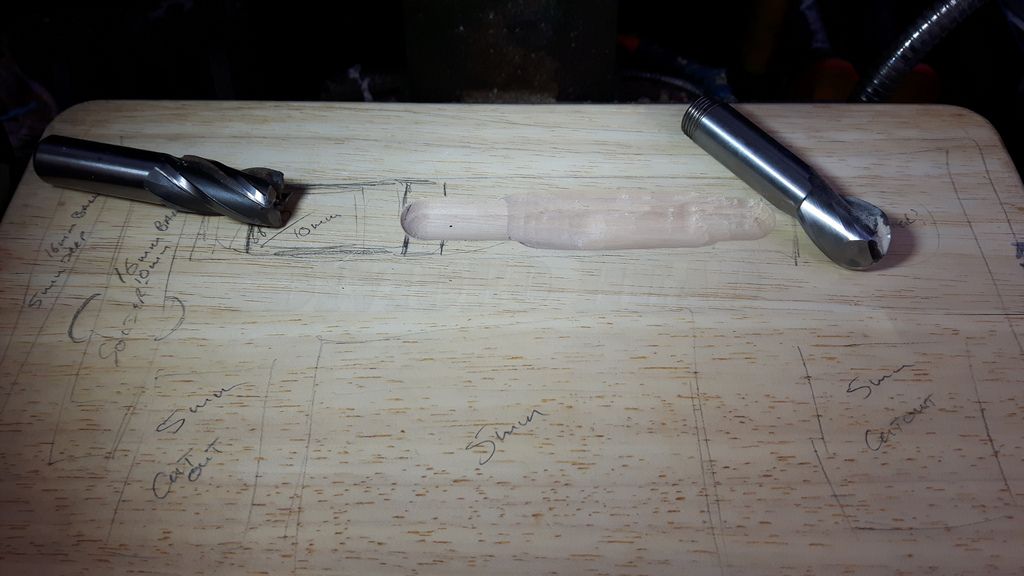
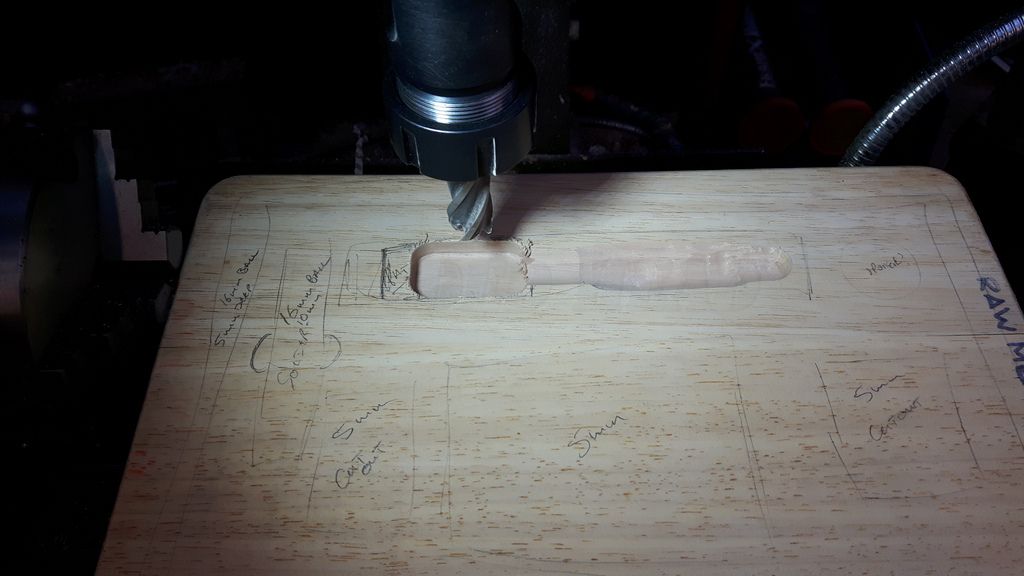
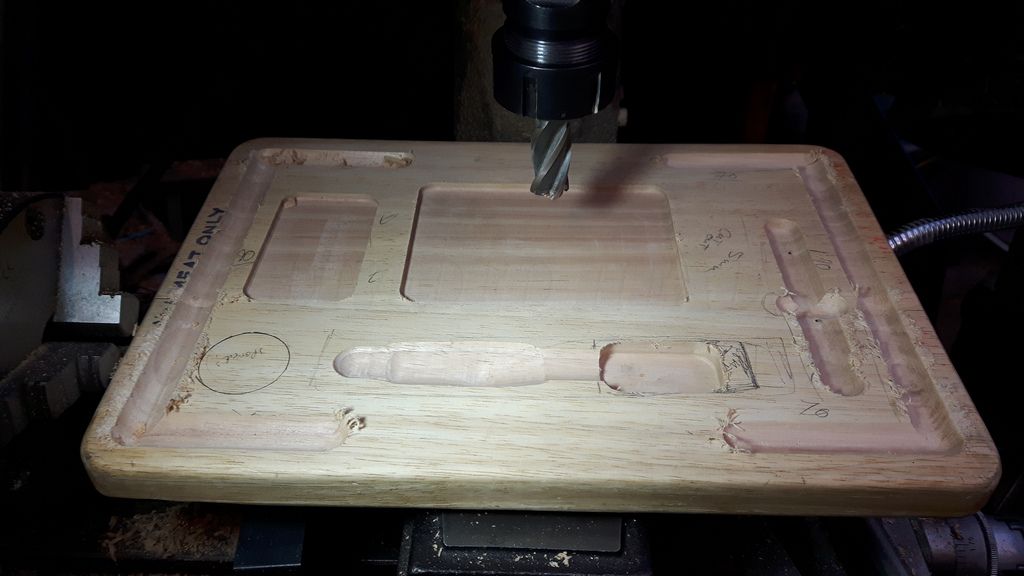
I then fitted a chamfered edged endmill to create the pocket at the end.
My holding device to save having to remove the vise and rotary table...
I then got to work putting in the channels. These are useful for not only keeping things from rolling away but to help separate the components before soldering.
Recesses were then added for the circuit board and other component placement.
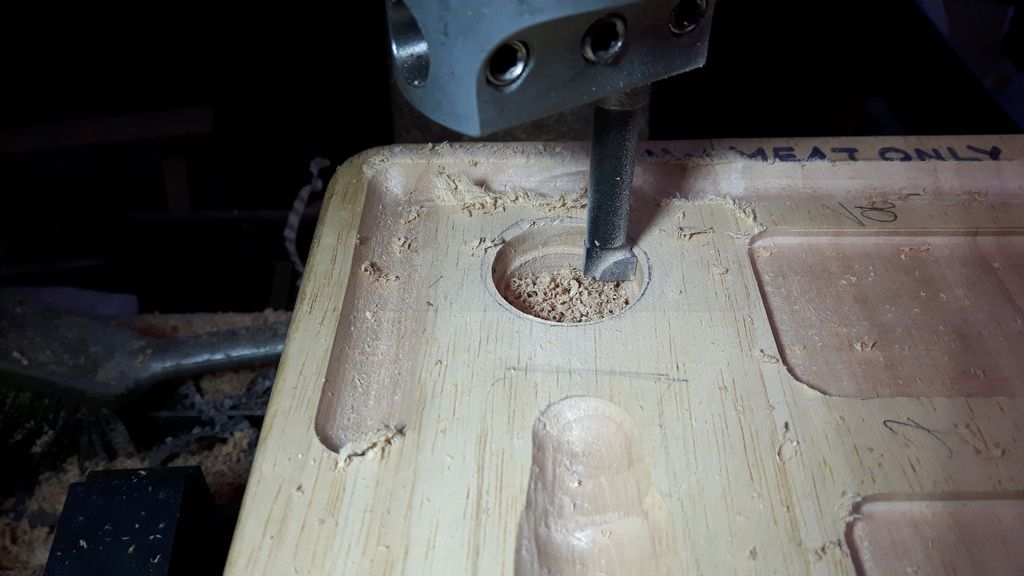
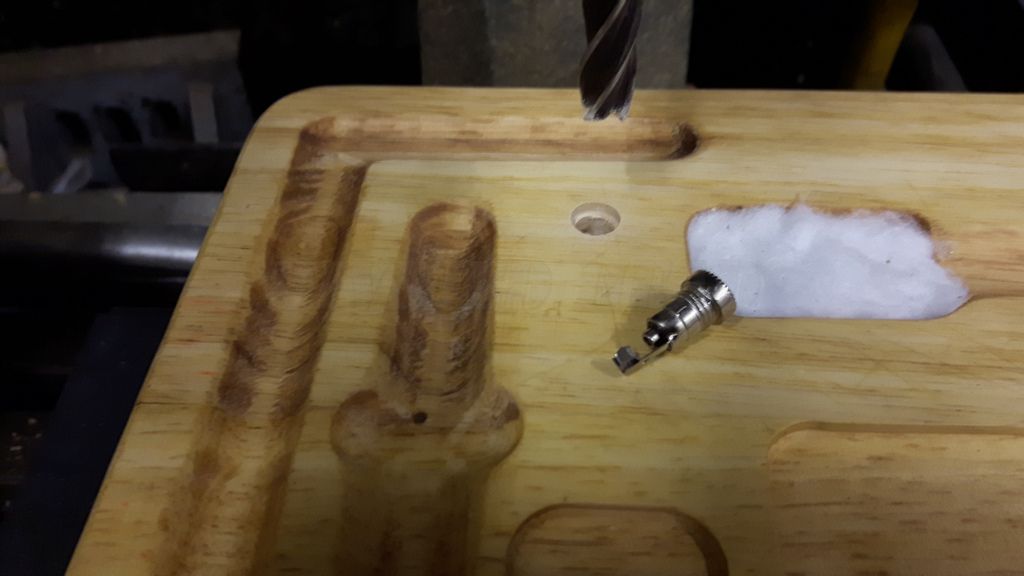
The hole for the cleaning sponge was made with a 20mm slot drill and then opened out with the boring head.
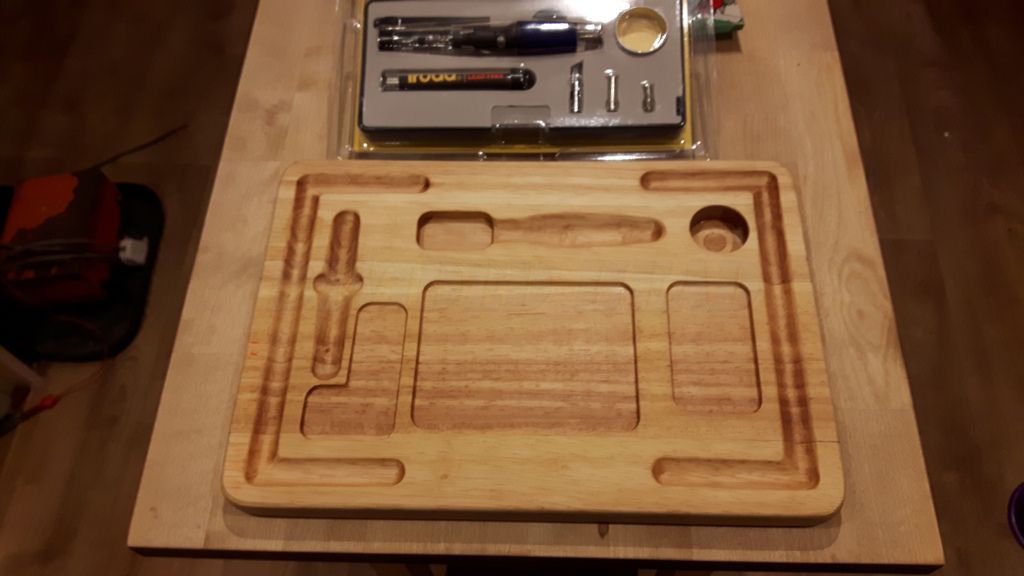
The channels were then cleaned up using a carving tool ~10mm curved gouge.
The board was then sanded all over with a vibratory sander for speed and the channels sanded by hand.

Then it was sealed with an oil.
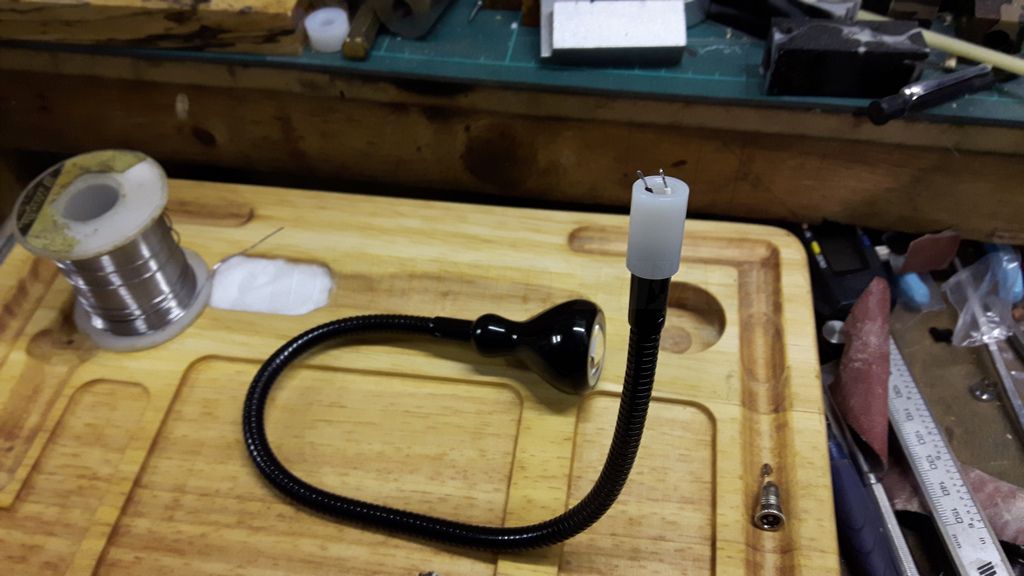
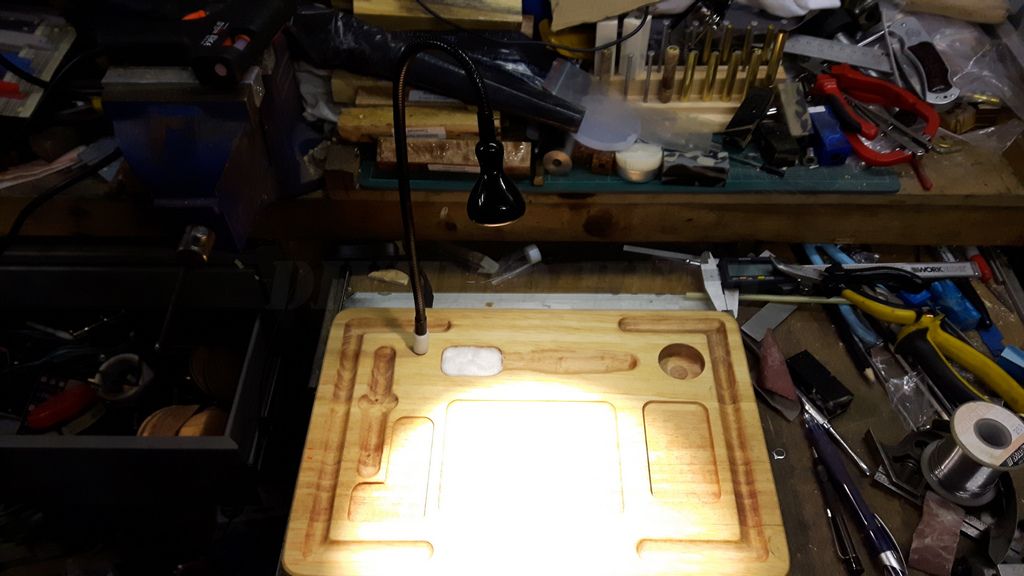
Now at this point I thought there was something missing..... So I ripped an Ikea lamp apart and made an adapter out of a bit of nylon M8x1.0
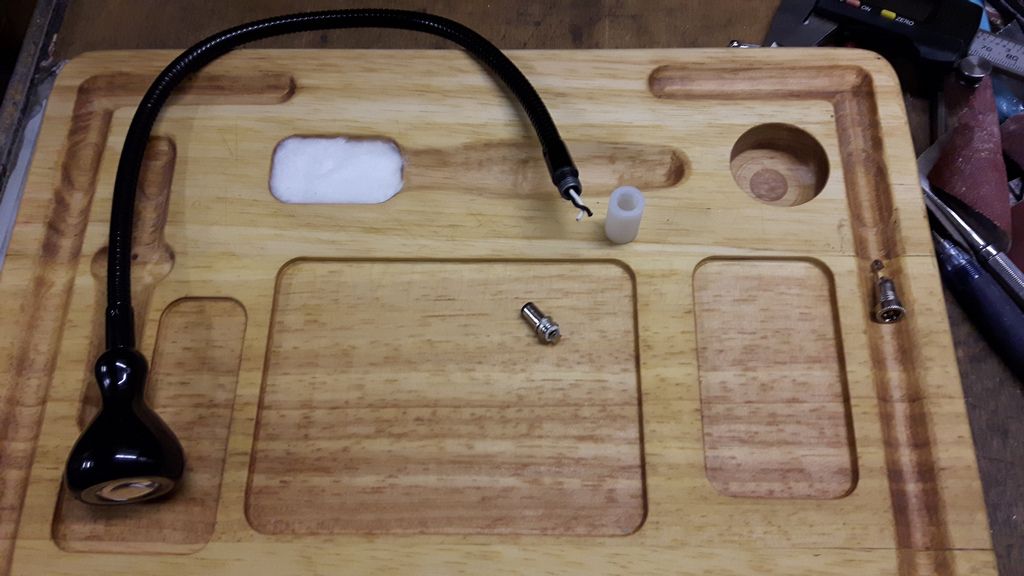
Ready for the male power adapter to be soldered on and screwed into place...
The board was re-mounted to the mill and a hole 8mmx15mm was drilled into the board and recessed 10mmx3mm
Then cross drilled, a female power adapter was soldered to a twin wire and fed through...
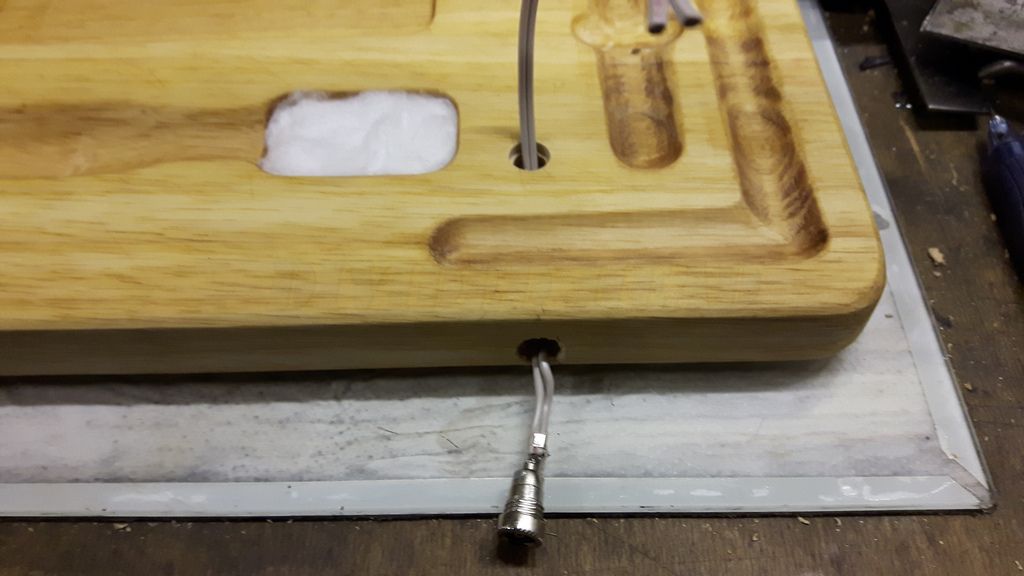
Another female power adapter was soldered on the other end and glued into position. The other socket was then glued into the rear of the board.
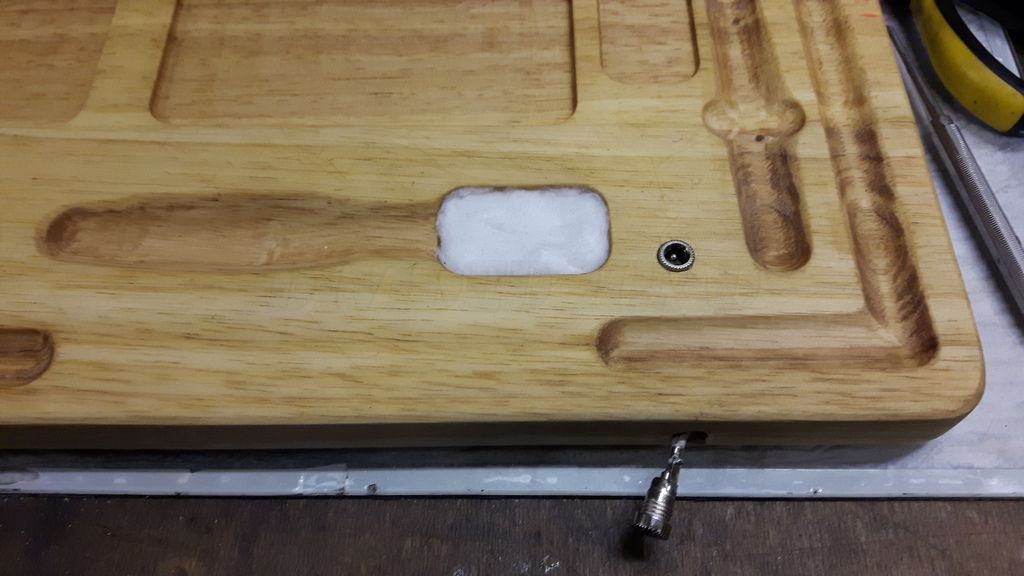
The lamp plugs into the top socket and can be adjusted easily as it will rotate in the socket....
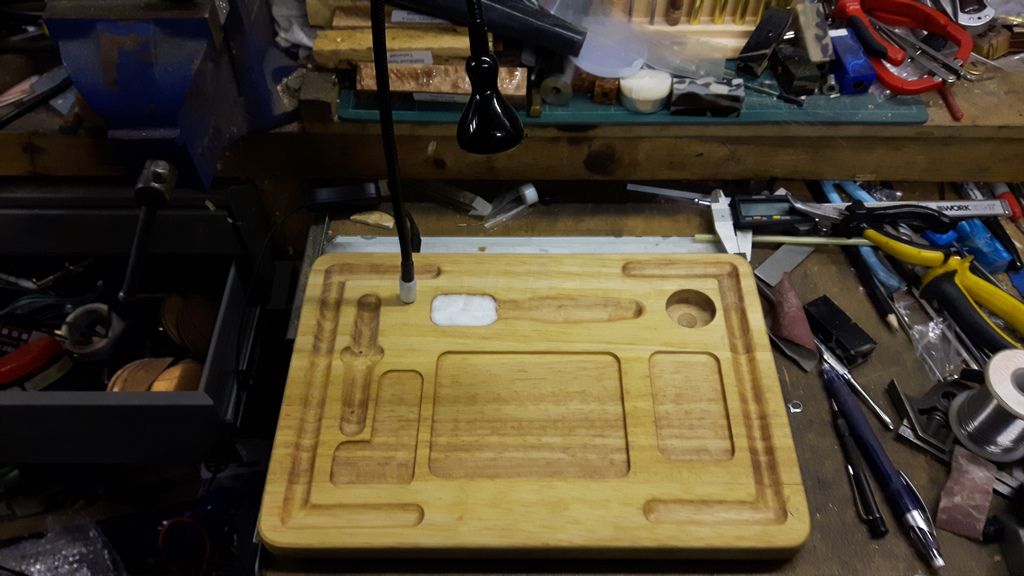
And finished...
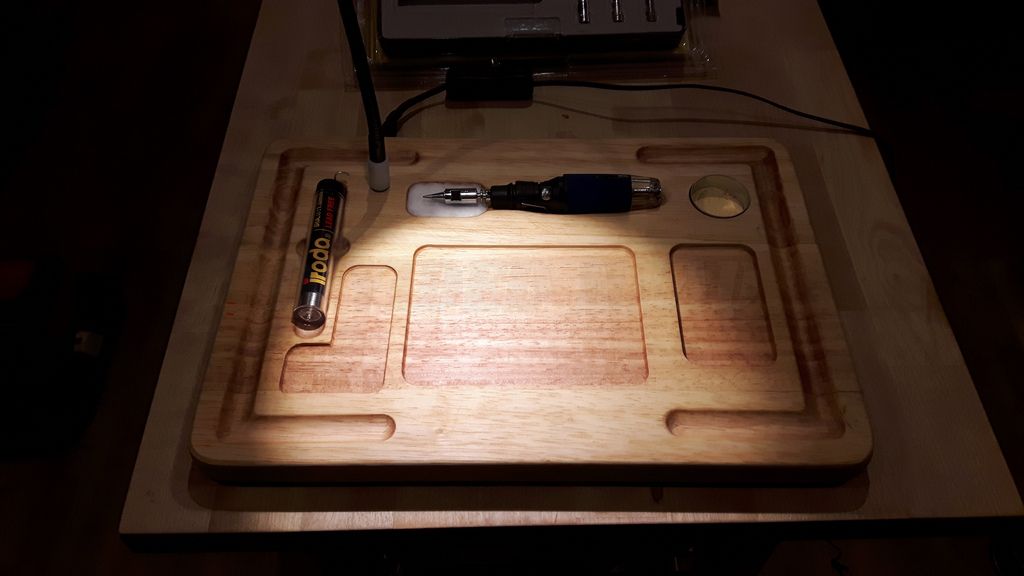
Well, that's it..... Not is the test. As I finish this my nephew is here and ready to learn to solder

Ralph.


