Haven't achieved a lot, this past week or so. But, I'm pretty pleased with end quality.....

I planned long and hard, how to seal between displacer and cylinder.

Eventually, I decided to follow the previous pattern, with a threaded tube......
First, I needed the top deck fixing in alignment with the rest of the engine. Referenced the exhaust pipe.....
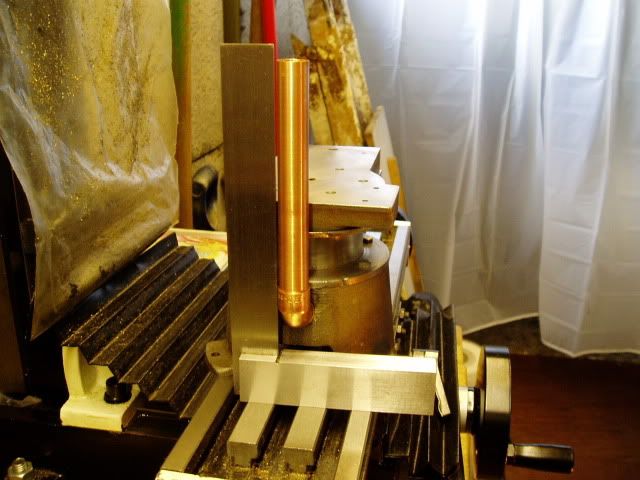
Then aligned the deck to it, and held with a through bolt/ clamp.
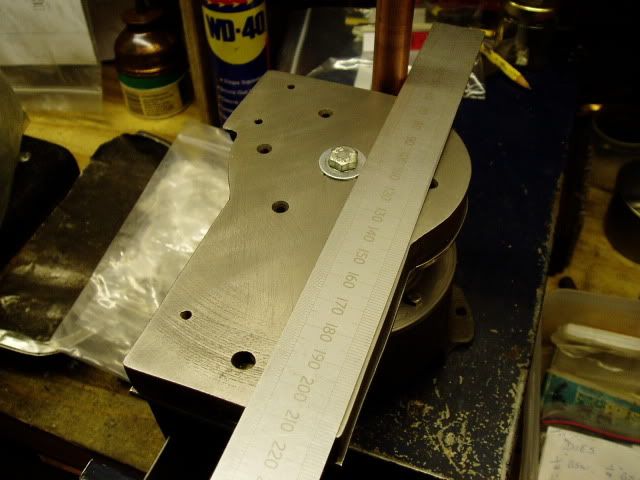
I then spot drilled the 6 hole pcd, through the deck.
Drilled & tapped all ok, after replacing the plug tap for a better quality one.

Found a nice piece of stainless bar. Drilled through 4.5mm. Then turned the o/d to a nice sliding fit in the brass repair tube......
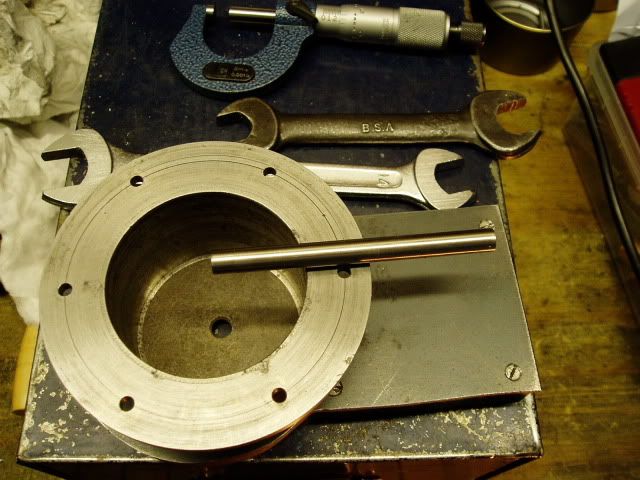
Used the blank to align the casting tube hole......
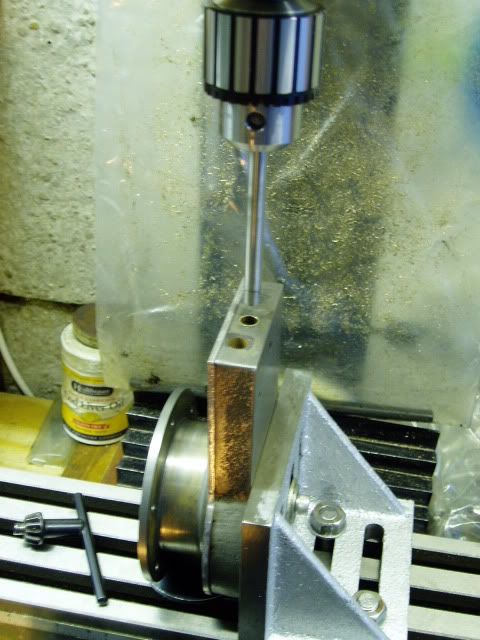
Plunged it all the way in. Then aligned in X to a snug fit against the angle plate. (No gap, as is shown here)......
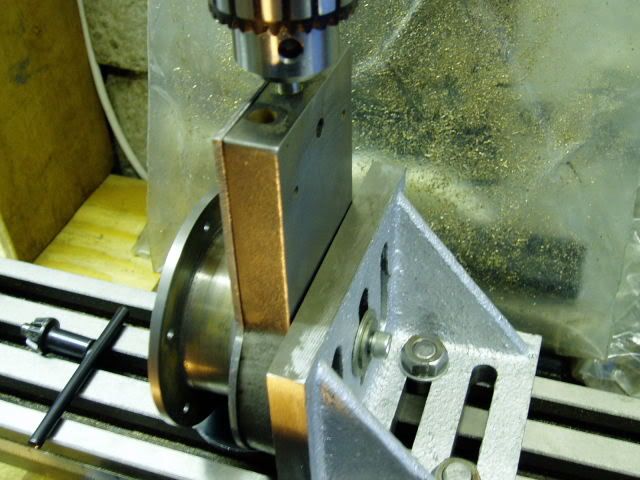
Aligned in Y direction, and tightened to the angle plate. Leaving the assembly vertically in line with the m/c spindle.
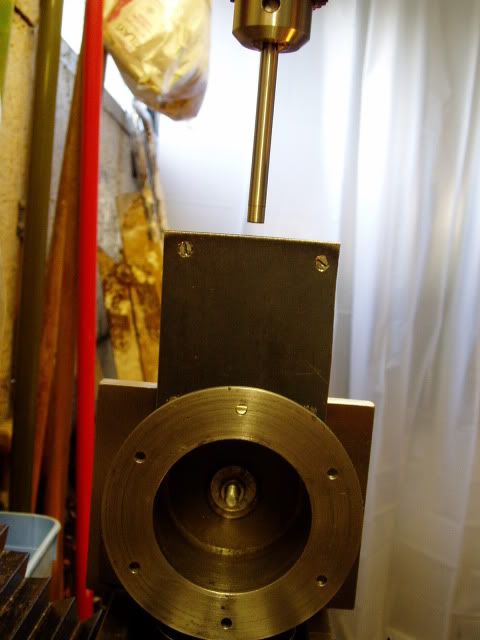
Made a 5mm bore drill bush, and dropped it down to rest on the cast iron displacer sleeve......
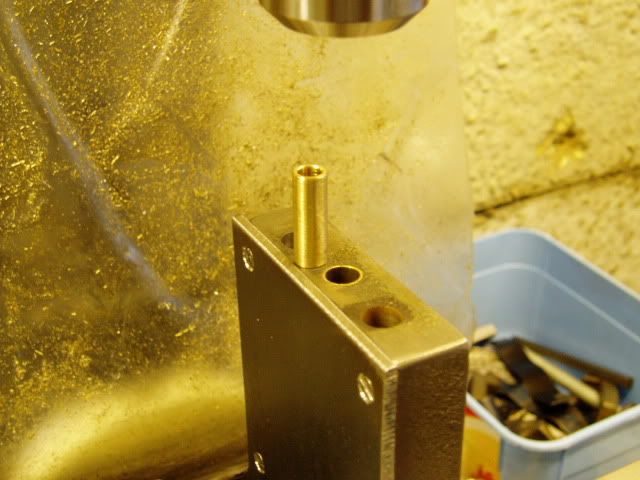
Drilled through 5mm. Fished out the bush, then opened out to 6mm......
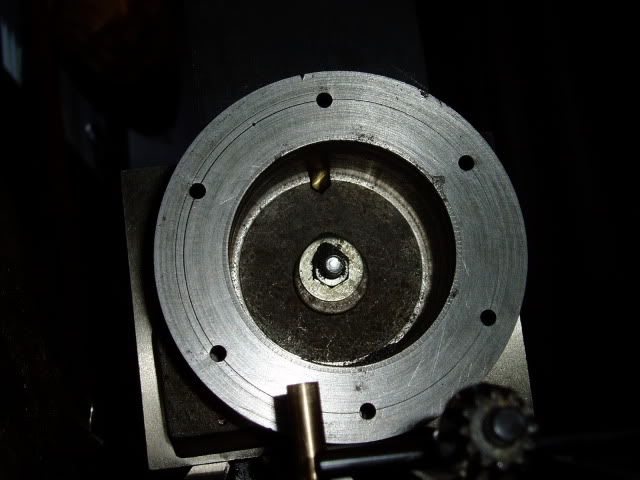
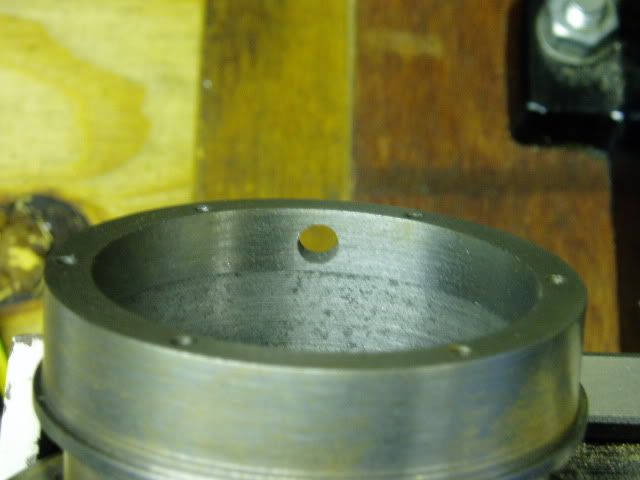
Nice crisp hole......
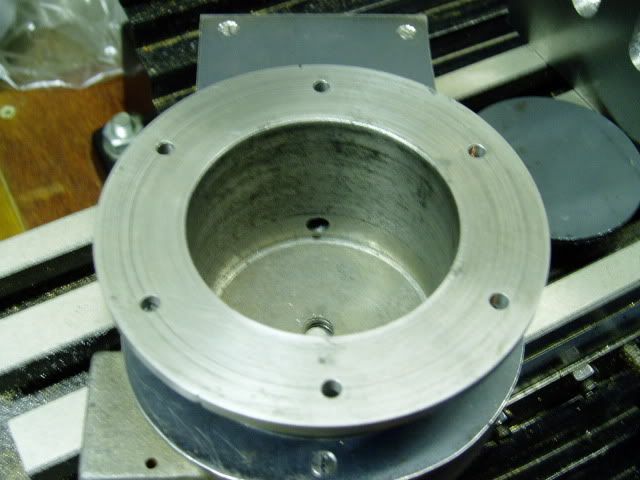
In the new section......
As before, aligned in X, then Y, using a piece of 6mm bar in the drill chuck and snug in the hole......
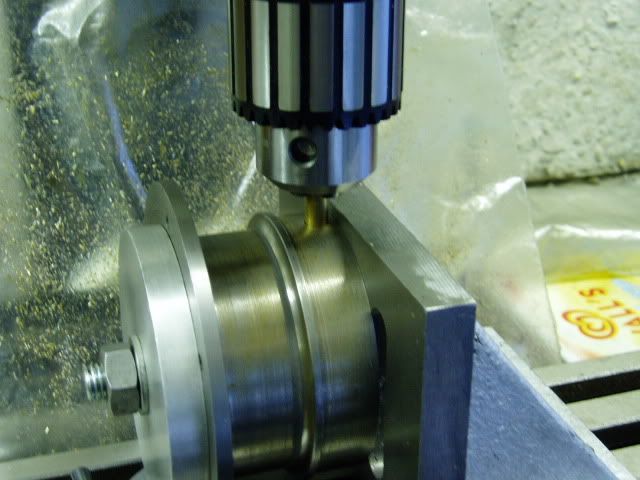
Perfect alignment for tapping, M7 x .75.......
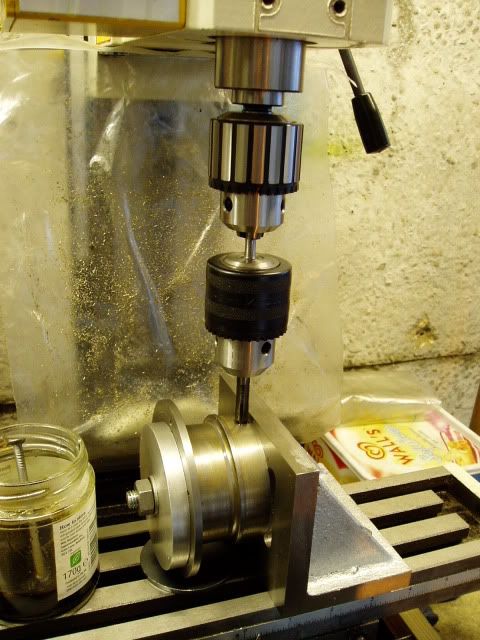
Threaded the tube, and tapped M6 in 'tother end......
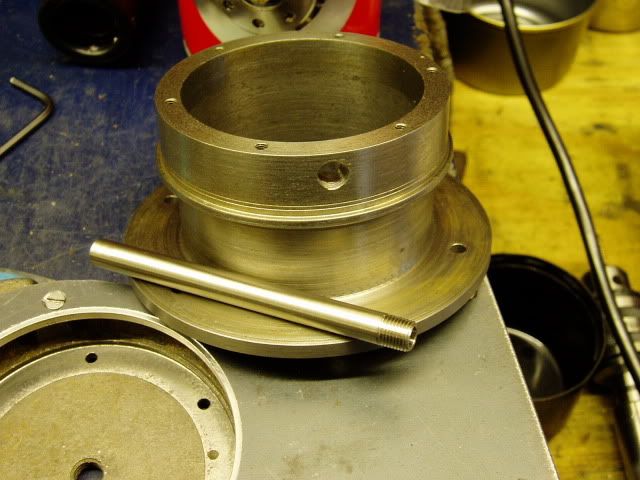
After all my worries over alignment of several components, and threads.
It screws smoothly into place, between finger & thumb!! 

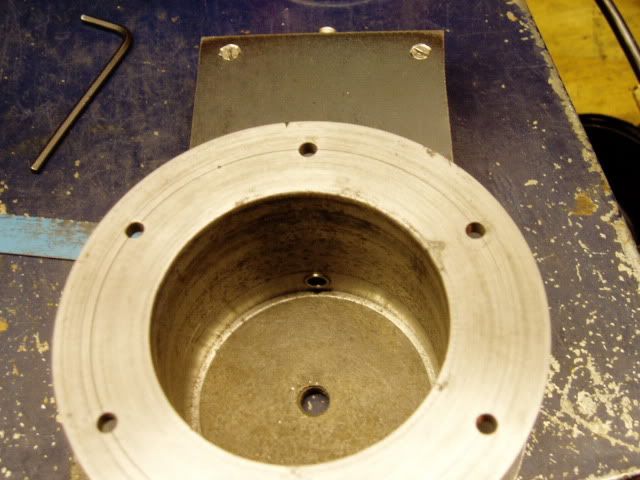
Thinking how I it previously had a screwdriver slot, and wanting something neater looking.......
I realised I could insert and extract, with a locknut in the speed control threads!

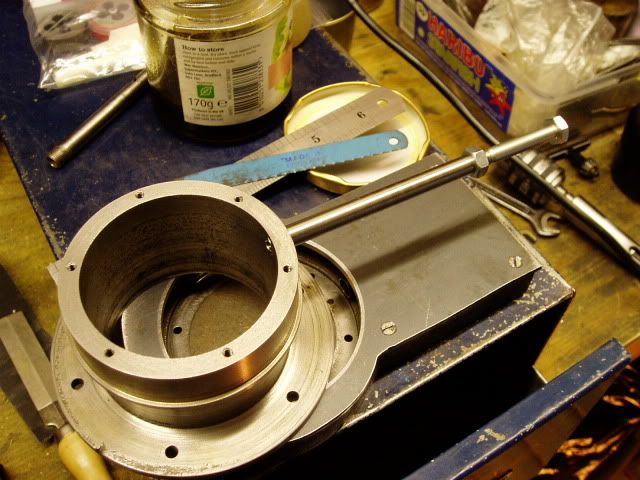
Just a bit pleased.....

Hope the euphoria lasts...... Can't see much being done next week!

David D