Rob, Dave, Eric & Tim - thanks gents

- apologies for the belated thank-you!
I didn't post yesterday's work yesterday evening, as a social commitment (

) interfered

Work started on the flywheel.
I got a phosphor bronze off-cut from one of my suppliers - not cheap, but it was the best I could do:
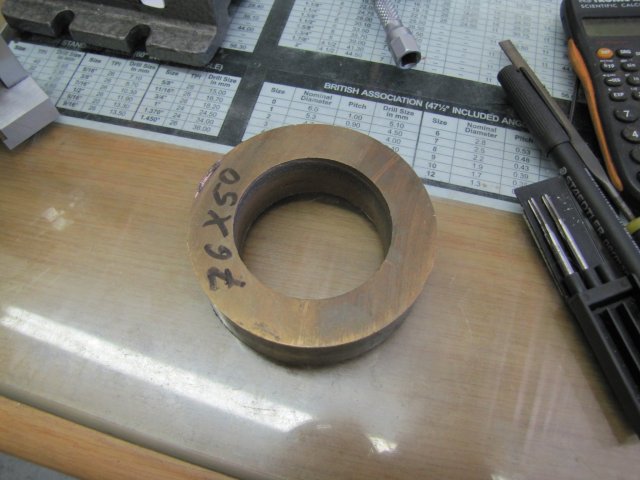
Started cleaning it up; this piece is just long enough to make two flywheels from. I've machined quite a bit of PB so far - always without any problems, but this piece was giving me some grief; it had soft and hard spots in it and was a bear to turn:
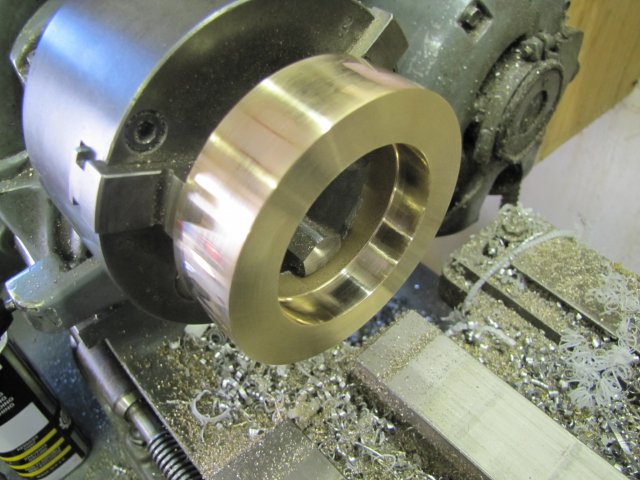
Parting it off was no fun; my rear parting tool wouldn't touch it, even though I'd honed it up super sharp! So I tried my old jig-saw parting bit and that ran through it without any problems:
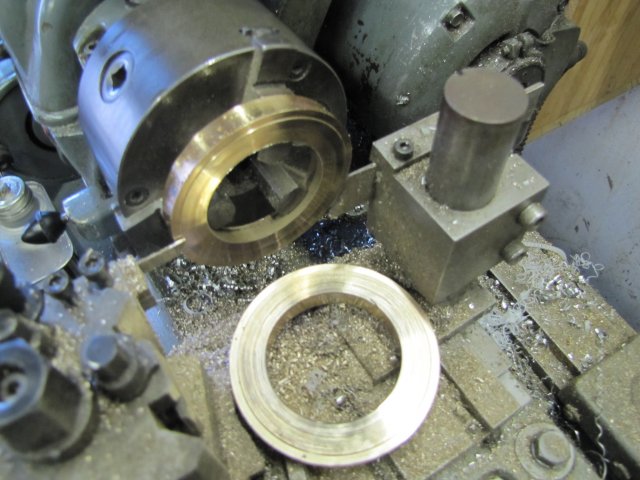
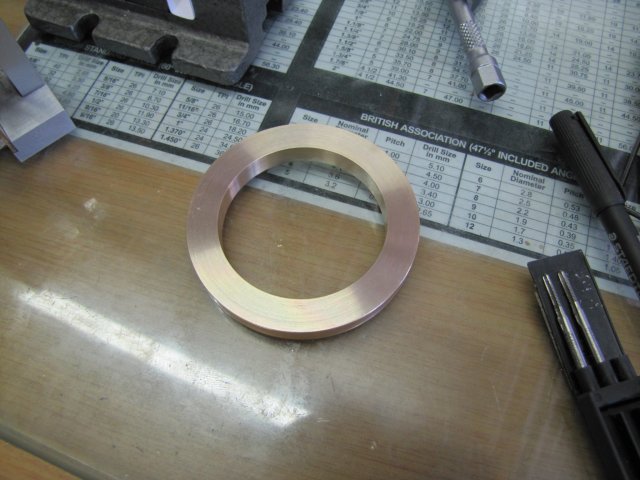
After some more turning, I had the flywheel rim:
Next I turned up the flywheel hub, and drilled six 2mm holes in it for spokes, and a 2.5mm hole between two spoke locations to tap M3 for a grub screw:
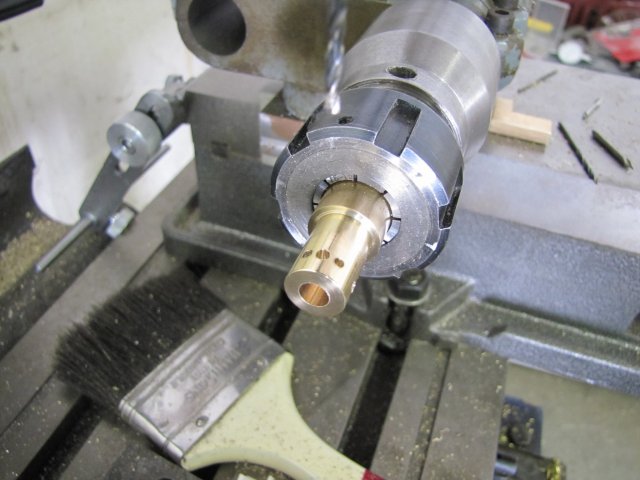
While I had the dividing head mounted on the mill, I also drilled the rim for the spokes. The hard and soft spots made the drill wander quite a bit in each hole...
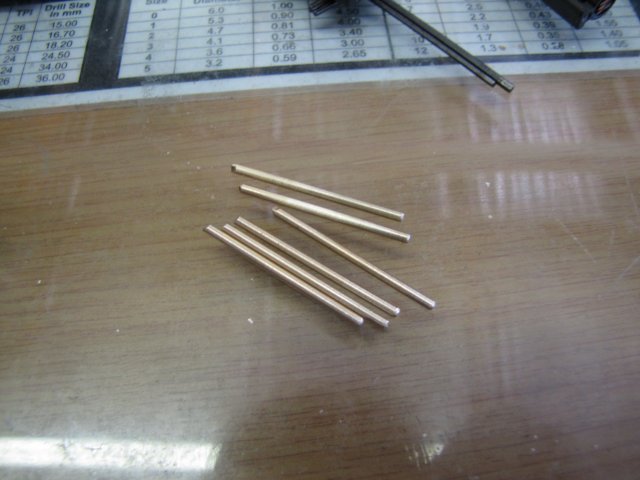
Spokes were cut from 2mm brazing rod, and one end of each cleaned up with a file:
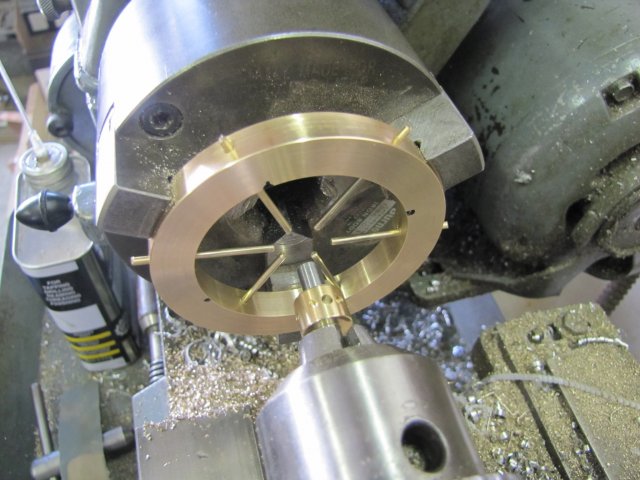
The wandering of the drill in the rim made for a tight fit for the spokes through the rim; I had to resort to a small hammer to tap them in to just outside of the hub's radius. Then I set the hub on a piece of 6mm rod in the tailstock to help with positioning:
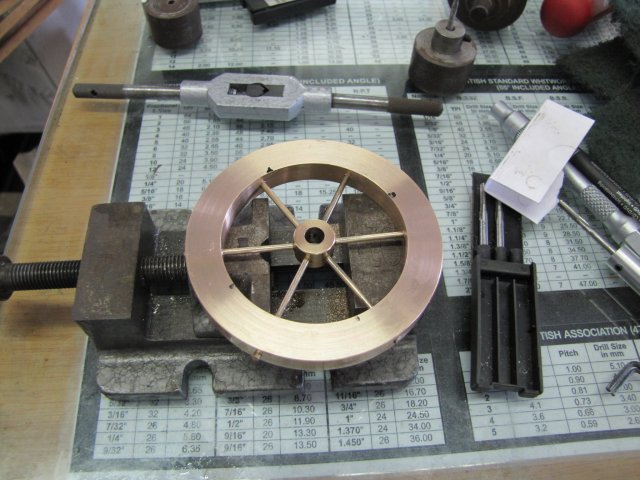
I put a drop of retainer in each hole in the hub, and also on the bits of the spokes still sitting outside the hub. Then I tapped each spoke in. I then moved away the tailstock, and with the rod left in the hub, I clocked the hub as center as I could by lightly tapping the bits of spoke still sticking out of the rim. Because the holes through the rim had wandered, axial run-out would have caused a very wobbly flywheel - so I checked further away as well, and used the rod to bend the spokes slightly to get the wobble out:
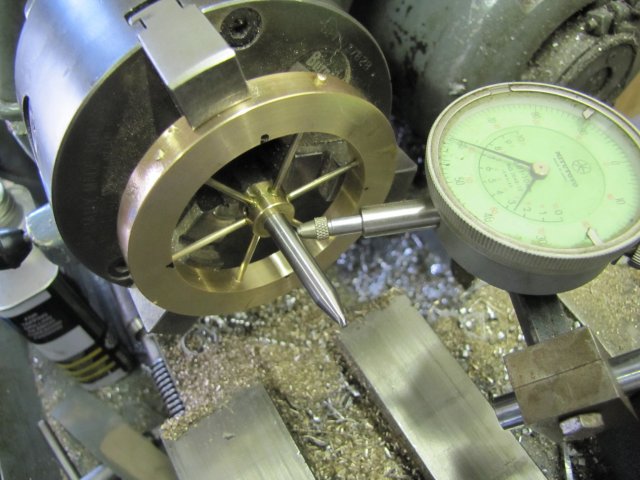
The flywheel was then set aside to let the retainer cure overnight. The spokes need to be filed or turned down later:
On to some woodwork...
Earlier this year while visiting, my father brought me a circular saw and a mounting table that my grandfather had very generously donated to me:
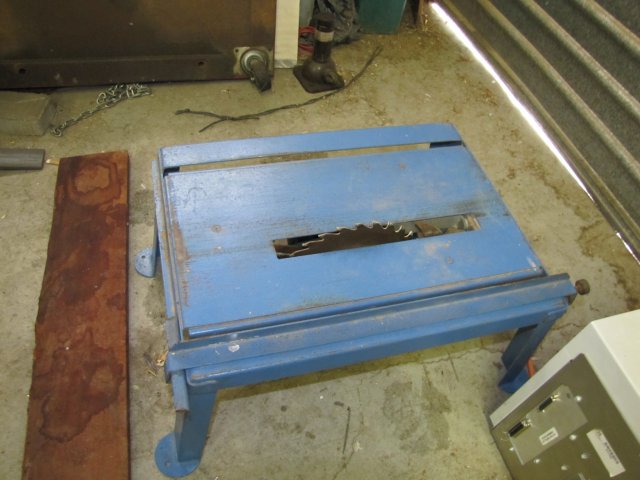
I haven't used it yet as I steer away from woodwork in general, but now was the time to try it

The piece of teak I have for bases is quite difficult to cut with a jigsaw as I had done in the past - the circular saw did in seconds what used to take me many minutes to get done:
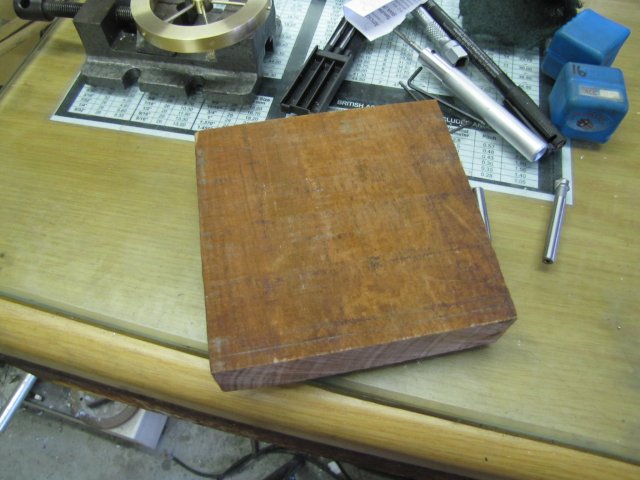
A final cleanup of the uncut edges of the block was done on the mill:
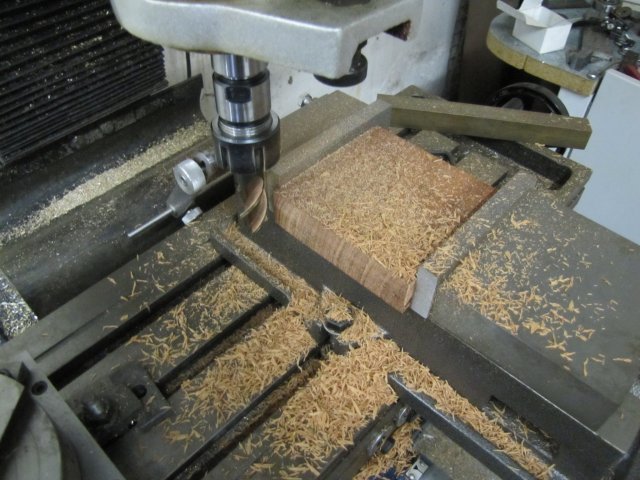
The piece of timber is very rough, and had spent quite a bit of time out-of-doors before I bought it, so all the faces are impregnated with dust and sand, so instead of breaking out the wood plane to plane down the flat faces, I used a very sharp HSS flycutter on the mill:
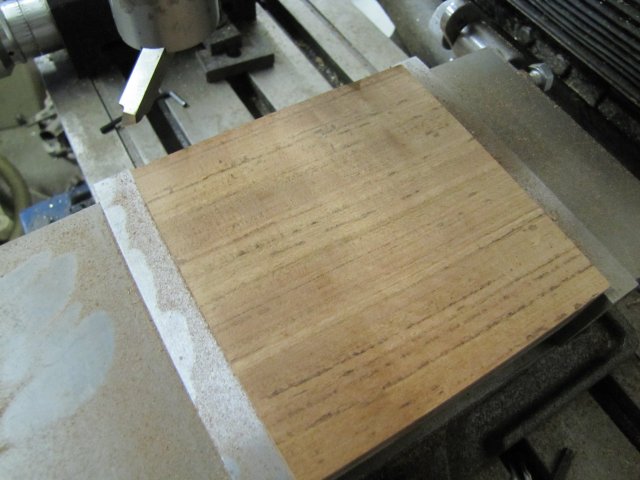
That left a really smooth finish

Mounting holes for the engine base was drilled - part-way 8mm and then 4mm through - to match some M4 countersink screws I have:
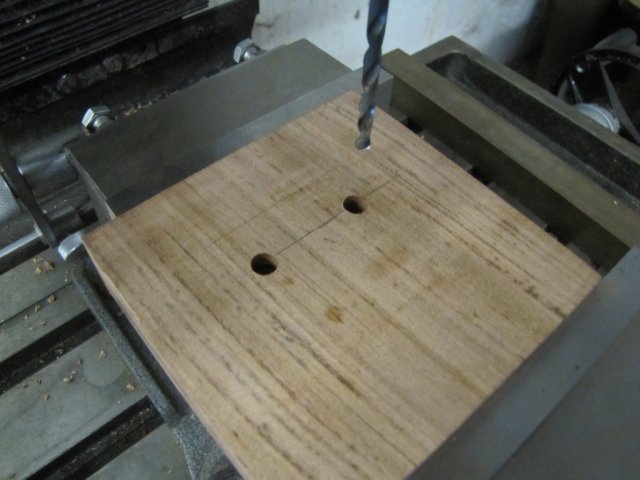
I used a router bit to add a bit of detail - first on both cross-grain faces:
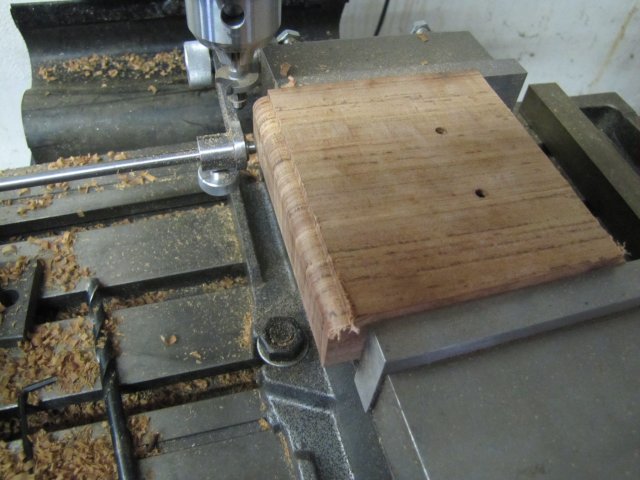
As can be seen in the photo above, the cross grain faces splintered out a bit, but the splintered bits are in areas that would be removed when routing along the grain - without additional splinters coming off.
After a final bit of work with sand paper, the base was looking OK:
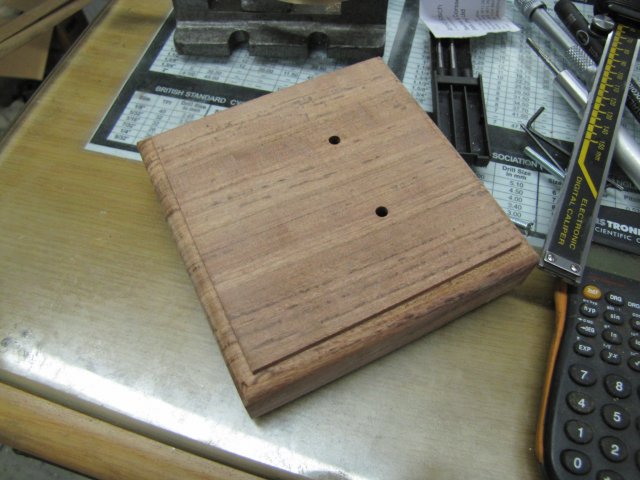
I then lavishly applied furniture wax to it, and set it in the sun to have the wax draw into the wood a bit.
Work stopped there for yesterday - I'll carry on in another post for today's bit; have to finish uploading some things first


, Arnold