Hello lads,
I have suffered for years with manual dials and exotic ways to hang indicators on my machines to get measurements, the procrastinator than I am, I've done hours of research and seen countless people all over the forum world buy these cheap Chinese digi dro's and install them, rate them and so forth so now it's my turn to jump in.
This will not be concentrated so much on how I install them but more like whats the best way to install them and the challenges that come with free thinking seat of the pants design. Then at the end give an honest report on how they work, which I would like to add my confidence is a little low.
I purchased this pack from Flea-bays for $140.00 incl shipping, which for adding three axis's measurement capabilities to a machine is downright cheap. I have decided to put them on my RF Mill Drill since this machine is used the most in the shop.
Head scratching in the shop I spent a lot of time visualizing these things at work, I then concentrated on fixing the parts to the machine, I focused on the Quill first and my thought was to have the beam fixed and the head slide up the beam, off I go making brackets, drilling and tapping holes, then while I was putting the idea to work and offering up the parts I had made I hit snags, everywhere I looked I saw this idea flawed, it hit screws coming out of the casting and the quill lock arm hit the reader, the protruding wires would be bunching up and flexing, then it dawned on me affix the reader and make the slide move. This realization took 4 hours of trail and error.
So yesterday I realized the quill install would have to be postponed due to a new face plate needs to be made so I started on the table and here's my progress so far.
I had some aluminum angle handy and decided to hang it on the side rail slot, this takes away the function of using the slide table stops but the benefit of using this real-estate outweighs that function
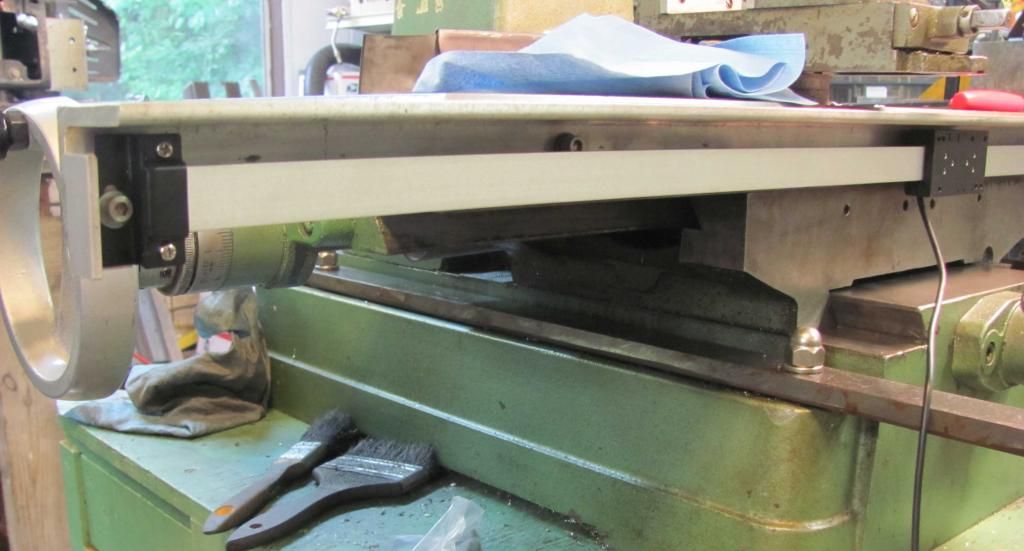

A top shot to give you a general view from a working perspective.

All I did was drill two holes in the angle and affix it by the taper nuts into the slot on the side of the table, then with the hardware supplied I drilled the holes for that, if you notice the top of the angle is not quite flush with the surface plane of the table, that because I used thin parallels to set down the angle elevation but still have it level with it, plus I did not want any work pieces touching that angle surface in case it moved it which might affect the reading of it. The slide elevation was made by inserting a parallel on top of the beam and touching the underneath of the angle at both ends to make it level with the table, all the hardware and holes drilled into the angle were oversized because I wanted this movement for alignment. Now the reader will be static and the slide will travel, no wire movement or bunching, an added bonus of this idea is it will naturally protect the beam and reader from dirt and oil.
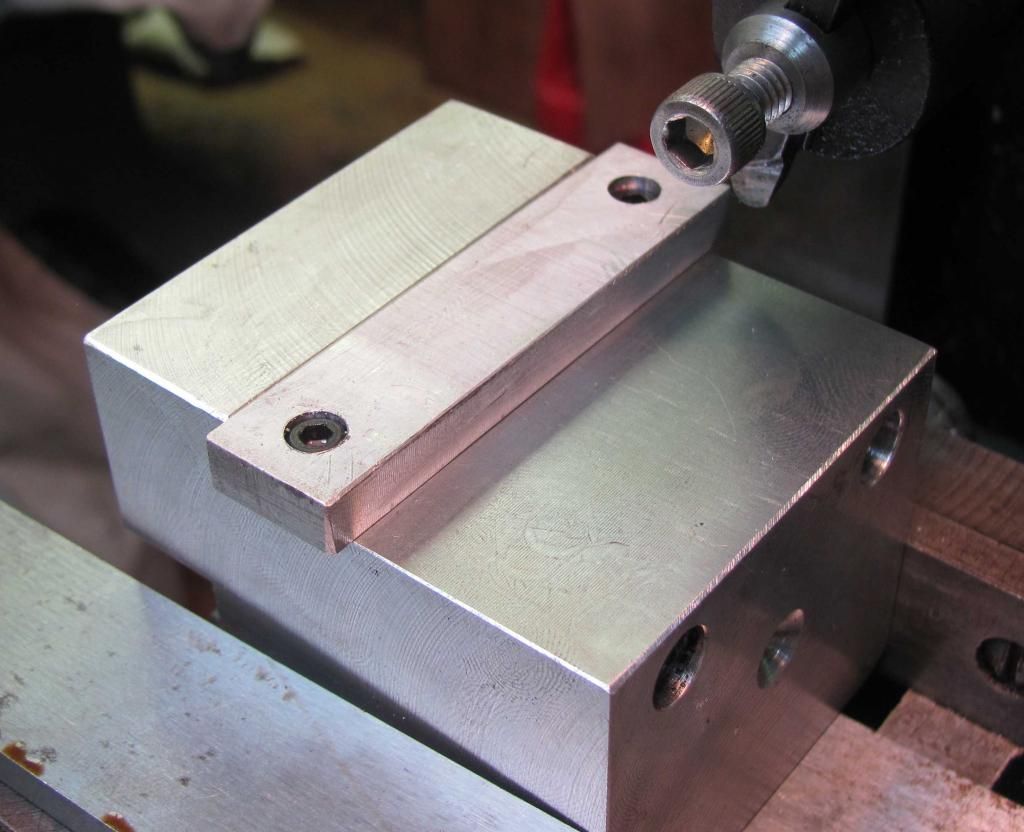
This aluminum block was made to be affixed to the table base and was a mount for indicators and such but now i can use it for the Head reader mount with a little tweaking i can make it work for this job
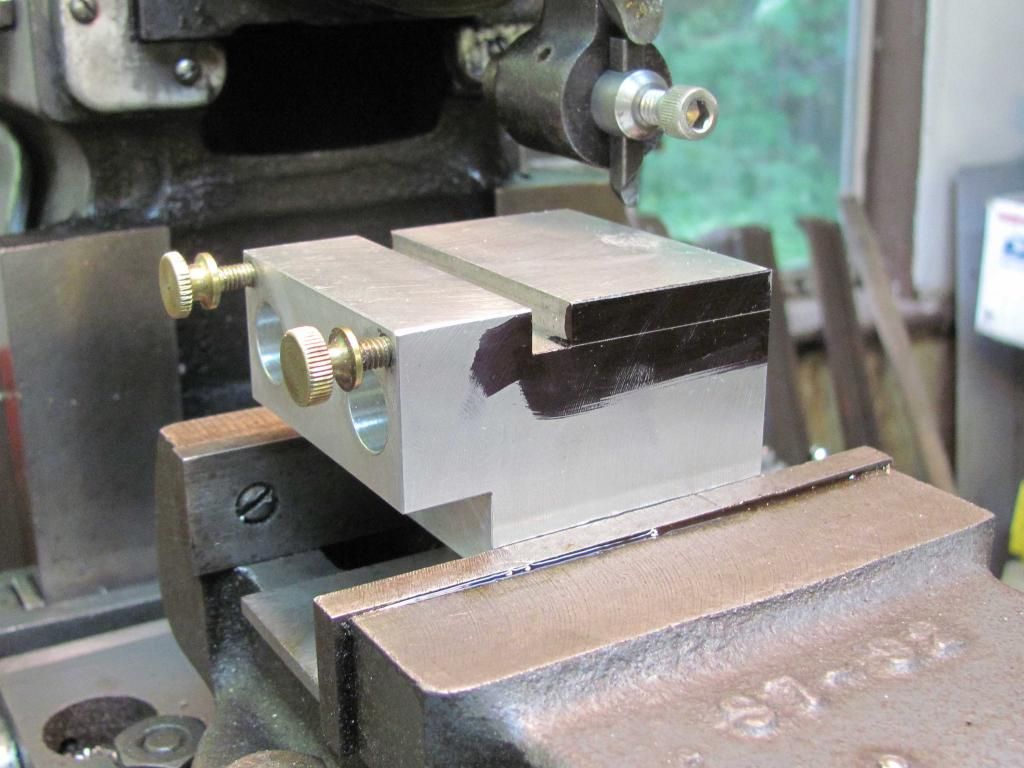
Ready for a little scraping from the shaper to remove some material to lower the elevation so it sits just underneath the Reader Head, There is a slot in it already and i need that to be raised up so i am taking off material and adding later, the pictures will tell the story.
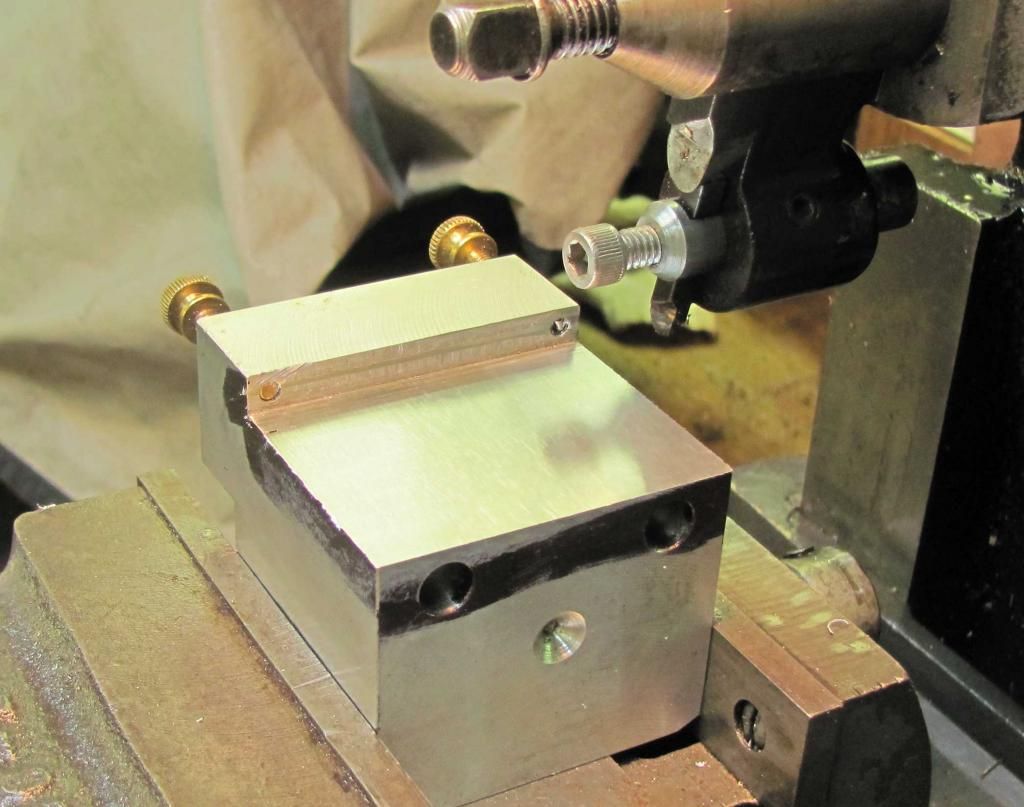
All done and here is the finish.
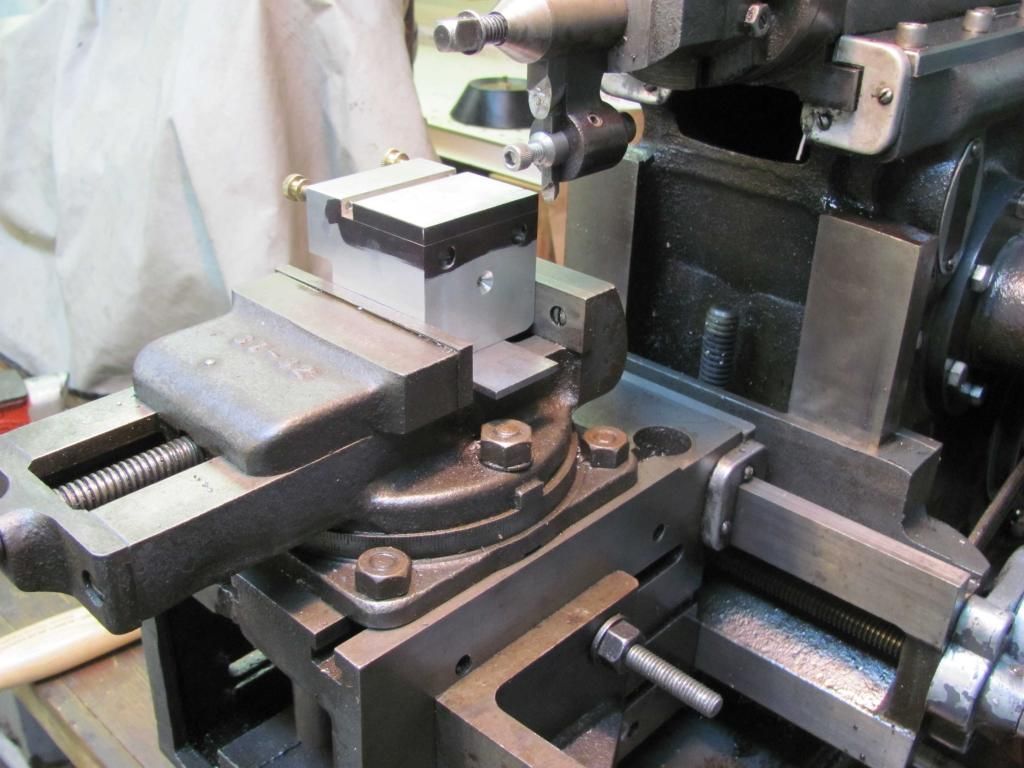
Here is the piece with the added block installed and will be machined to to blend in all contours.
Well thats all i have done so far, i will be back at it soon and show you all the progress. all ideas and suggestions are welcome.
Thanks for watching..
Anthony.


