Hi Guys, been a while

I've been AWOL for quite a bit I know.... Summer is a very busy time for me and my workshop was pretty much neglected.
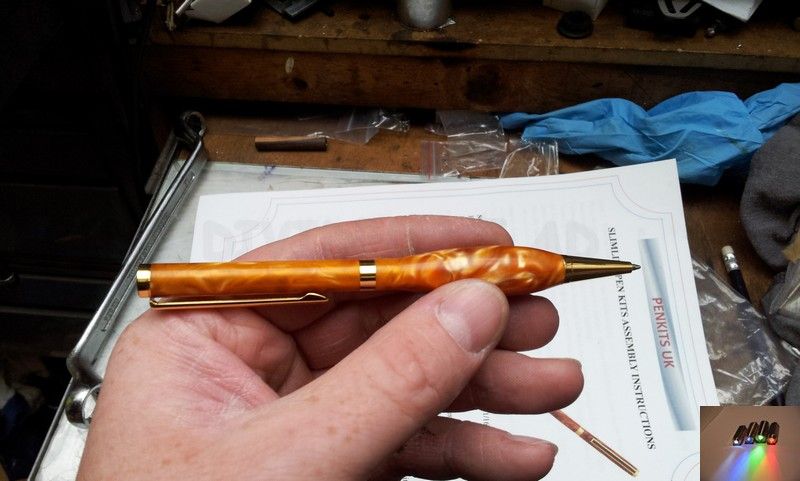
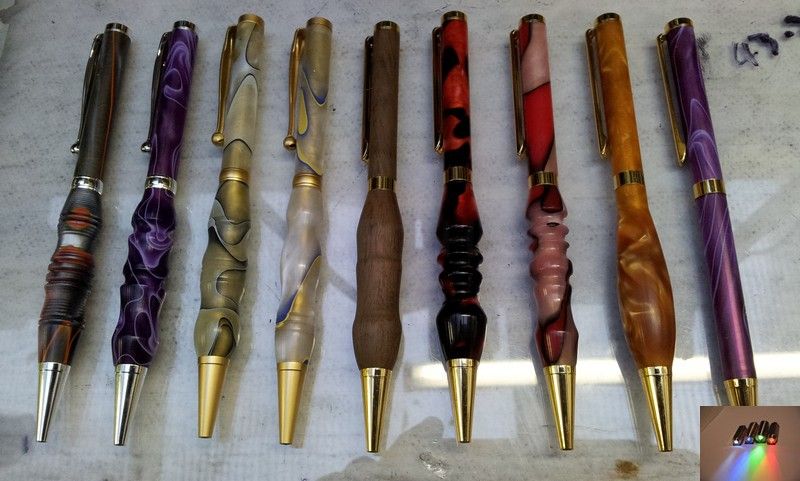
But with a new found want for cheep Xmas prezzies and a reason to get machining again I thought I'd have a go at some pen kits I purchased about 5 months ago. Here are a few stills out of the 300 or so I have already

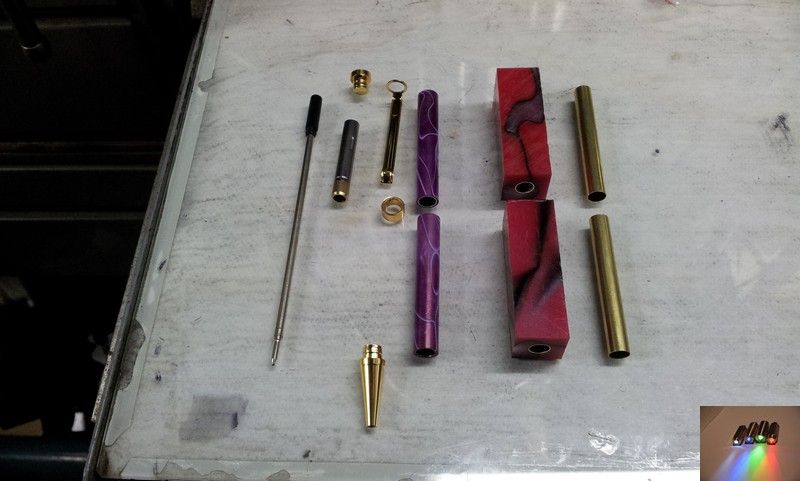
First the basic. I started with a generic Chinese pen kits that you can buy of e-blag etc. Added to that were some acrylic pen blanks and some wood blanks too..
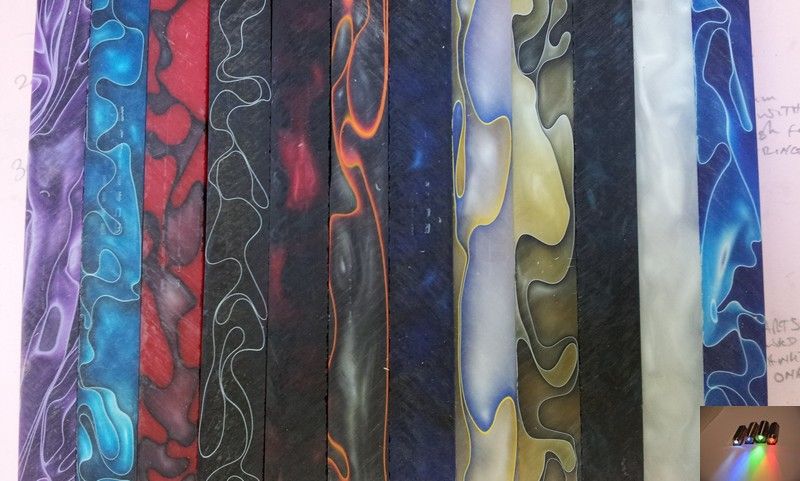
The wooden ones mostly didn't go to plan.... I'm sticking to acrylic

I made a rough and ready pen mandrel and an assortment of brass bushings (as needed to fit the kits I purchased)
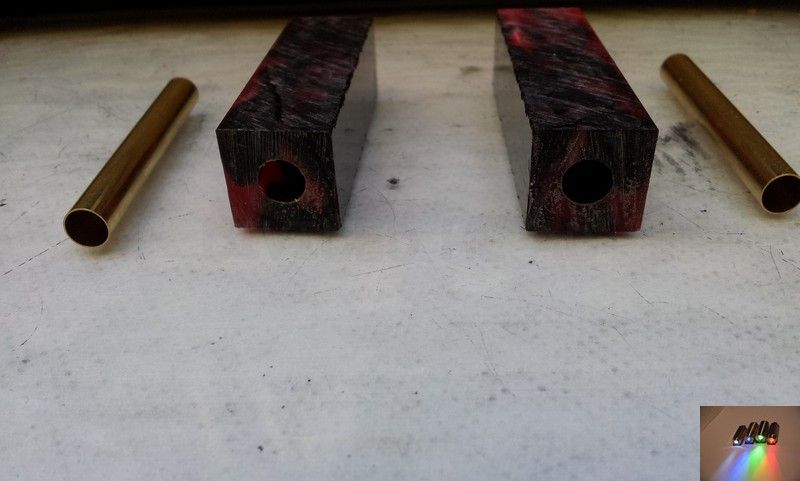
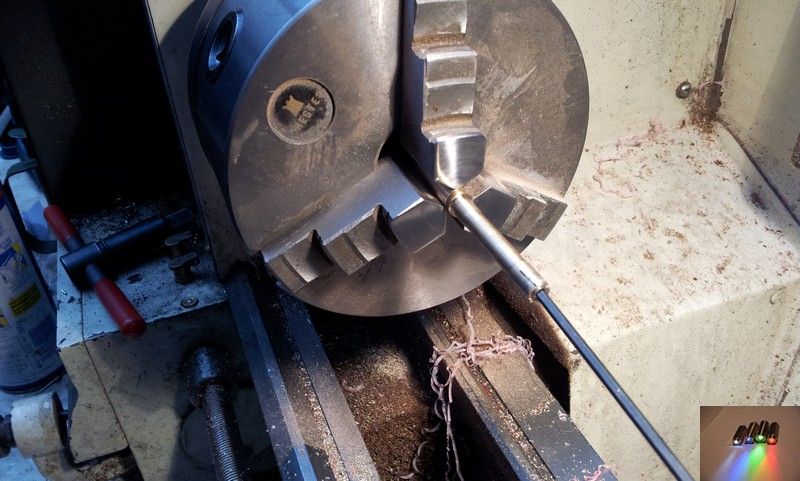
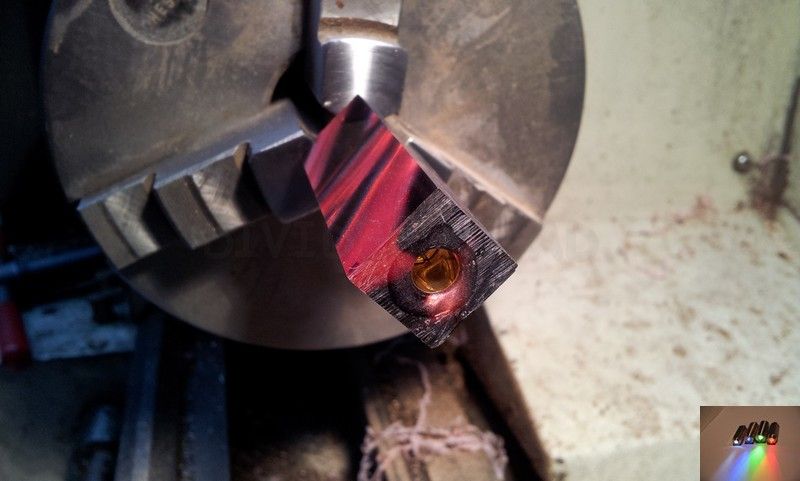
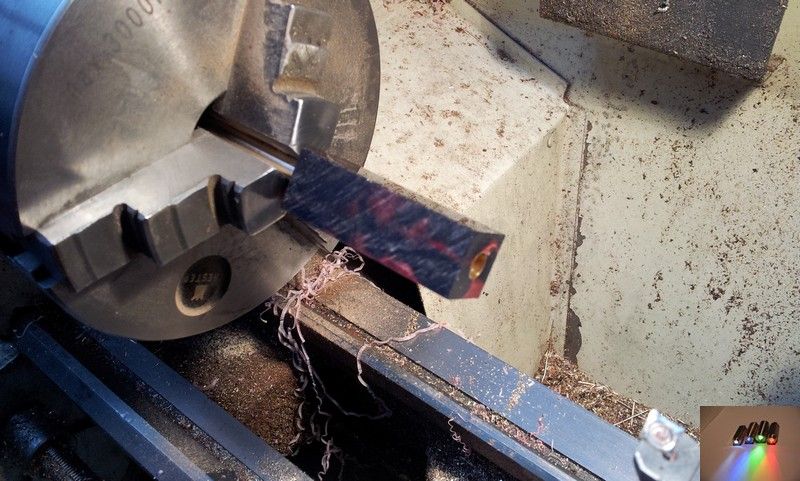
I then started by chucking up the square blanks in the 4jaw chuck. Roughly centred using the cutting tool and the corners of the blank. ( roughly cause the blanks are far bigger than the final pen size). Drilling them with a long series 7mm drill bit with a long spiral for easy swarf clearance.
The blanks are then cut to slightly longer than required and the brass pen tubes are glued in using a 5min epoxy clear resin.
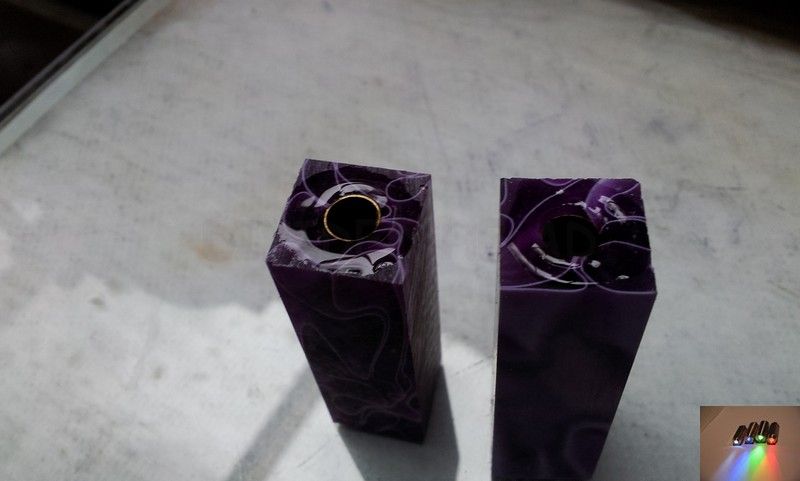
The resin sets to a glass like hardness quite quickly and was easier to remove any overspill that dripped into the tubes after 2 mins ish, while it was still elastic.
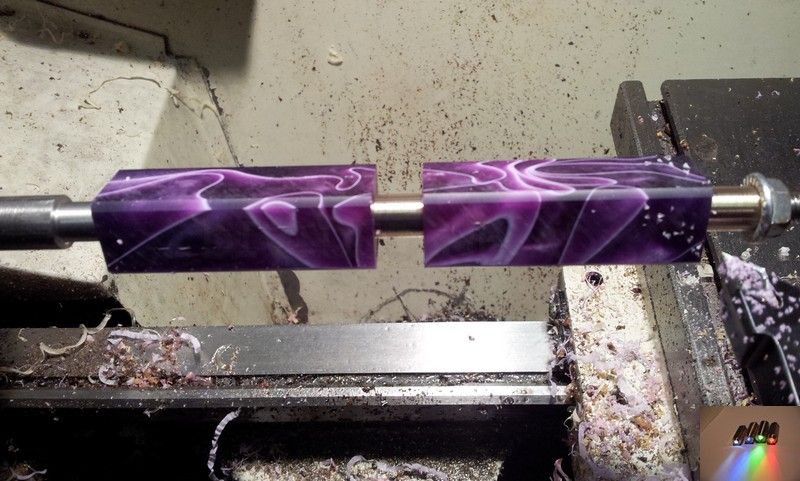
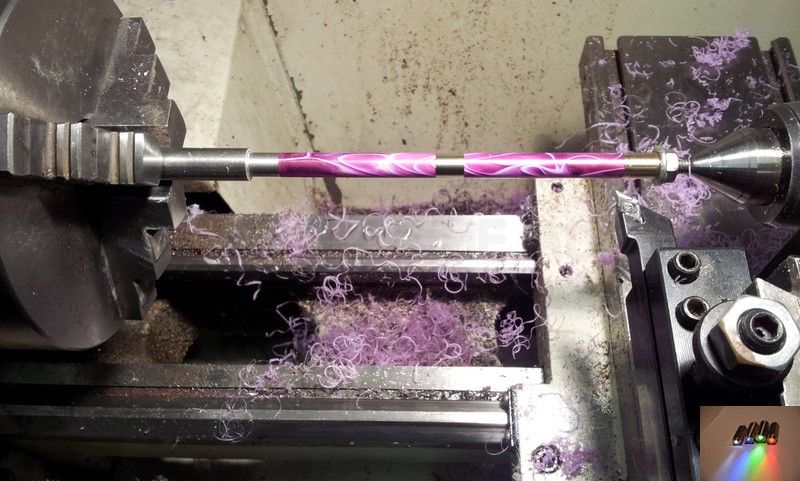
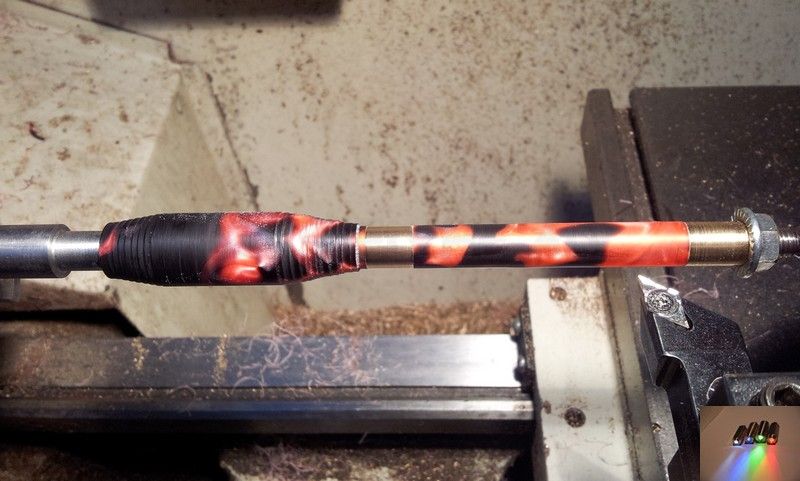
I squared off the blanks to the tube ends and then mounted them on the mandrel with the bit to become the tip of the pen to the left (just the way I did it) then a spacer bushing then the other blank, a spacer bushing and then a nut to hold it all there tight for turning.
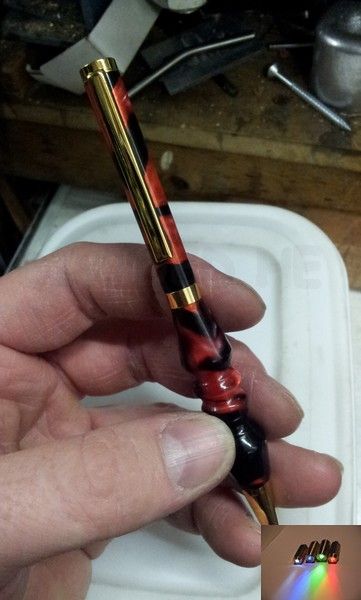
First pen was an experiment and was made to basic "just turn it all down and press it together" spec.
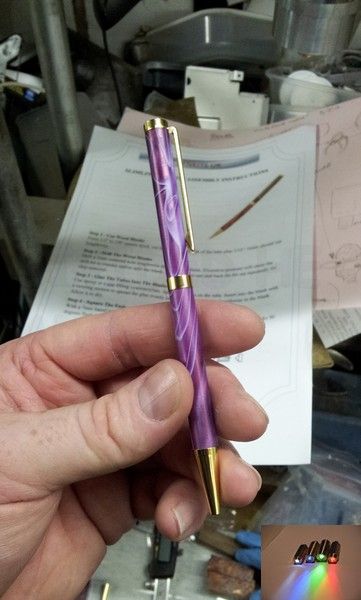
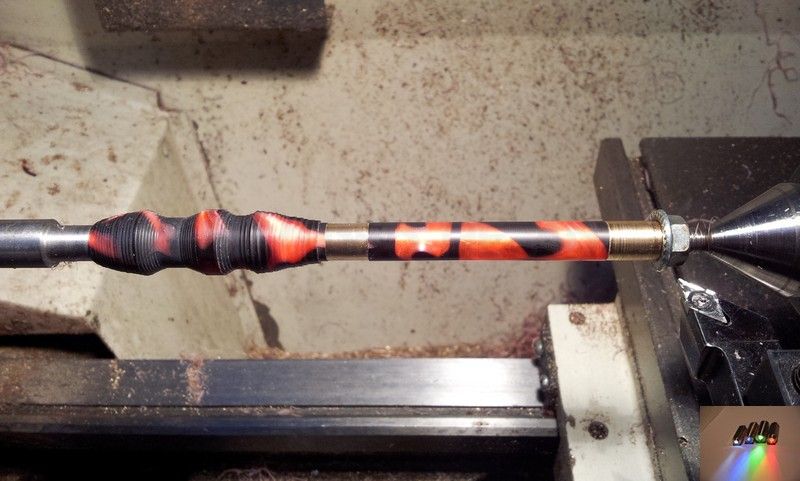
With that under my belt I started getting a little adventurous.....
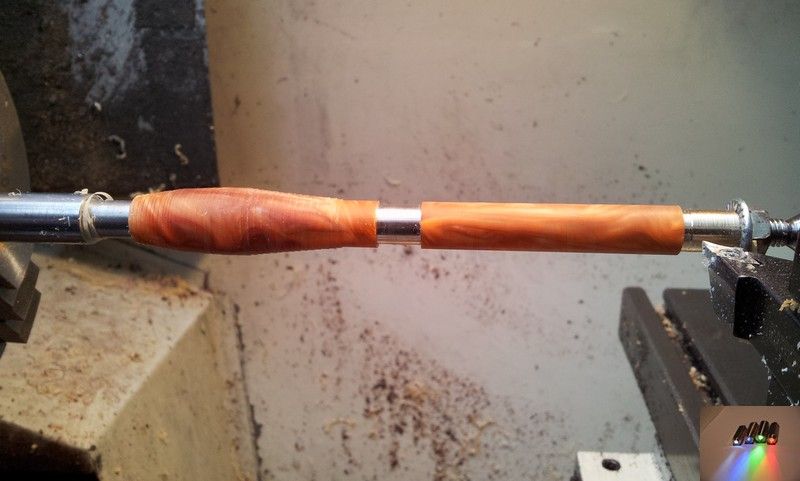
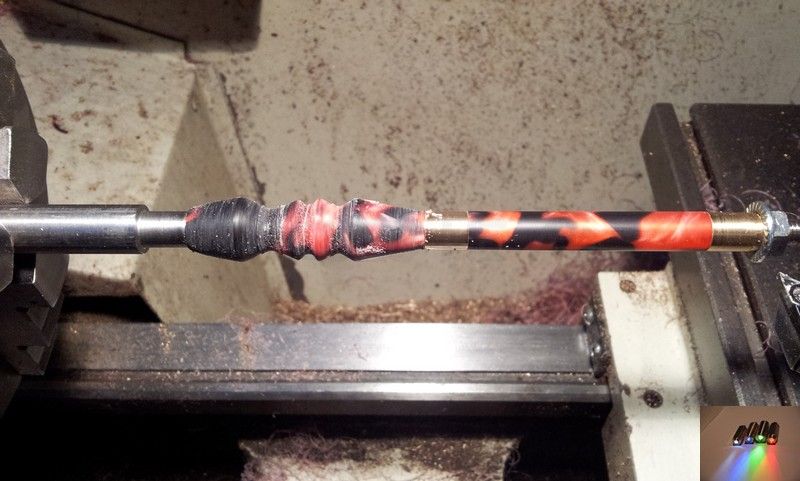
And more adventurous....
I ran into a but of a niggle with squaring the blanks off after gluing. I had changed the chucks back over to use the mandrel and found it annoying changing back to the the 4 jaw in order to square the blanks.
So I made a little rough and ready arbour ( I was rushing to make more pens so no slitting saw was employed... Rough but functional)
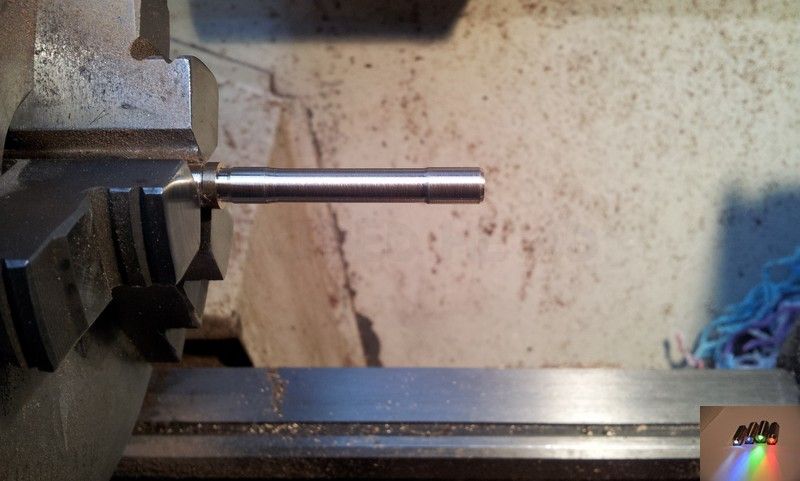
First, I turned the mandrel/arbour to size (6.3mm - 1/4") Then I turned away the centre section to make it easier to mount the blanks. Drilled and tapped using only the starter tap to make a tapered thread inside the tip.
As said, Rough and ready... Terrible hacksaw cross cut

Screwing in a grub screw forces the 4 sections apart due to the tapered thread created using only the tip of the number 1 tap.
I can now mount blanks quickly in the 3 jaw and square them off.
This is my first week or so's efforts... I have 20+ done now! All sorts of different sized and types are starting to enter the collection. Some would say I'm becoming obsessed

That's all for now.... I may post some pic's of the others when I get around to transferring them from my phone
Ralph.
Oh, BTW I'm using the super sharp carbide inserts for aluminium to do the turning. Razor sharp and cuts this stuff like butter


