Phewee, two days work to write up. We had friends round for tea last night, jolly tasty they were too! But its put me a day behind keeping updated.
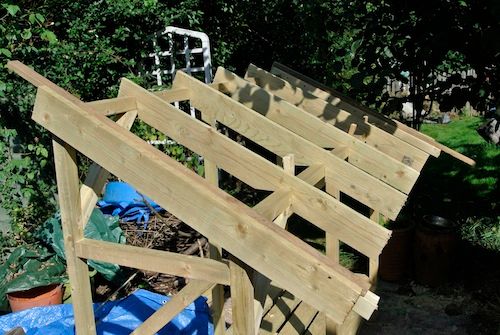
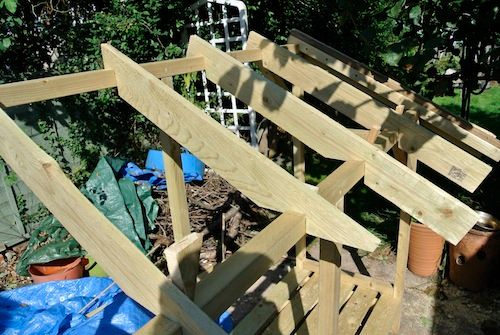
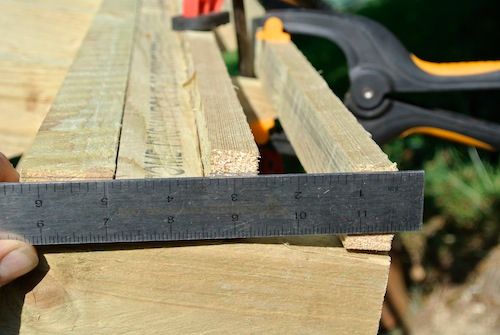
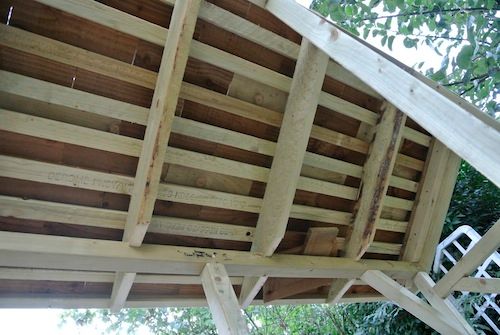
I think last time Id put the end-rafters on and cut slots for the normal rafters, but not cut in the birds mouths. So, with all the rafters in place, I strapped The Big Austrian across the rafters;
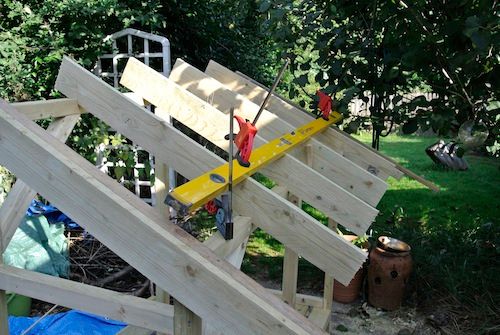
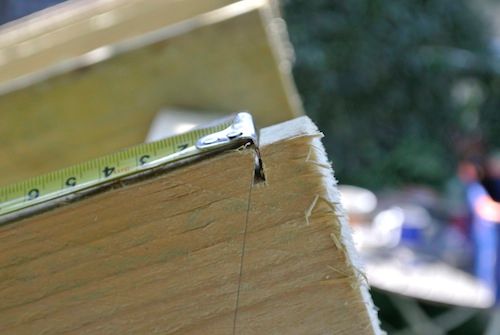
and measured the drop to the end boards;
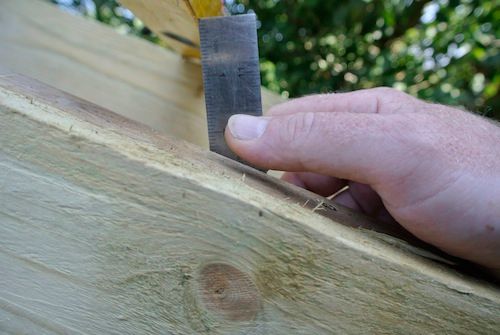
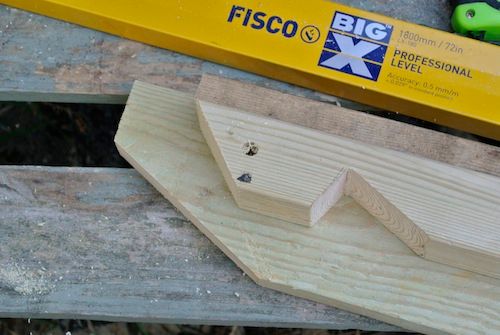
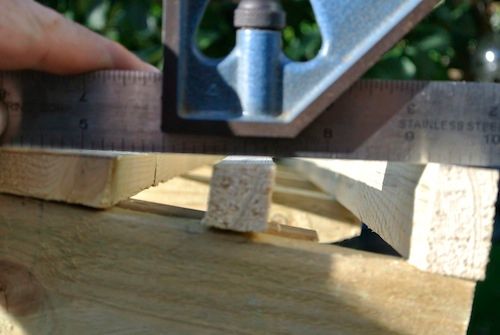
I could then mark up the rafter and squared back;
I could then cut out the birds mouths;
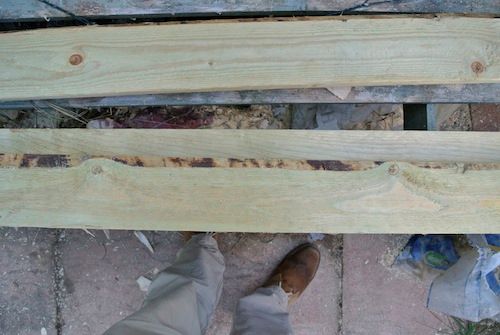
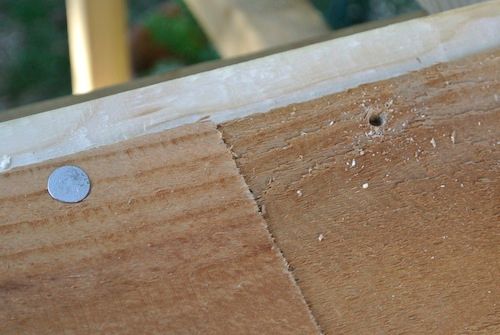
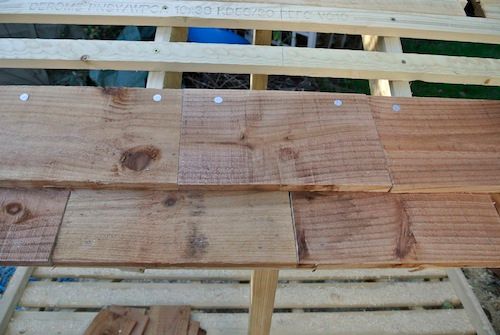
These boards were waney edged I think its called, with bark along the edges on one side;
Then I could start putting the rafters in;
I found one was a little out;
..so I recut the other birds mouth;
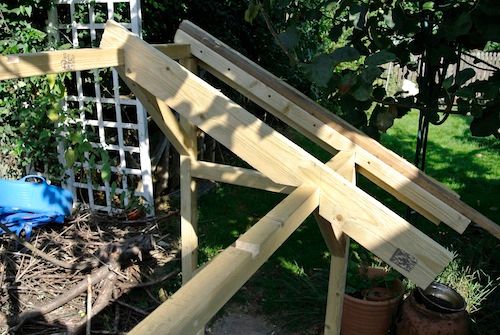
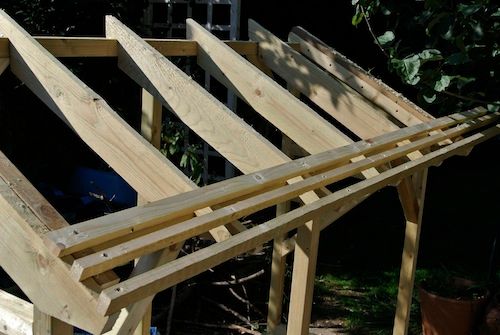
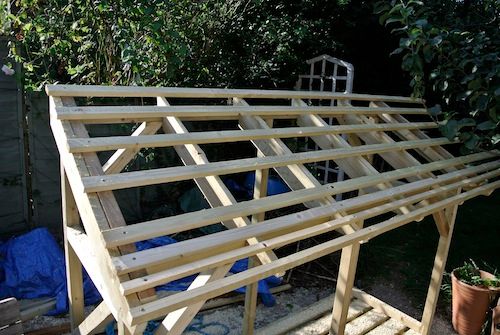
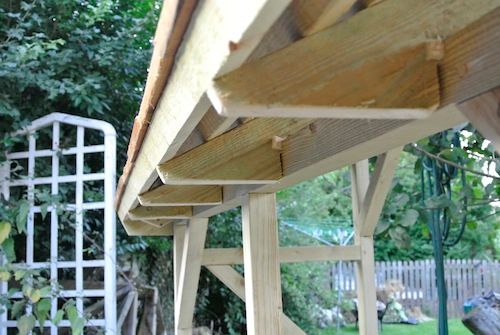
And then they were all in;
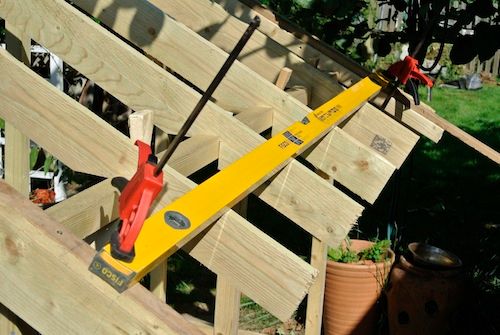
I wanted to mark out the front edge of the roof, so set the distance from the top of the end rafters, in multiples of 3 inches to where the front looked okay, I used the 3 inch measure as the shingles were 6. I cut a kerf in the rafter to slot the tape in;
Then I could clamp up The Big Austrian to mark out the ends of each rafter to get a good straight line;
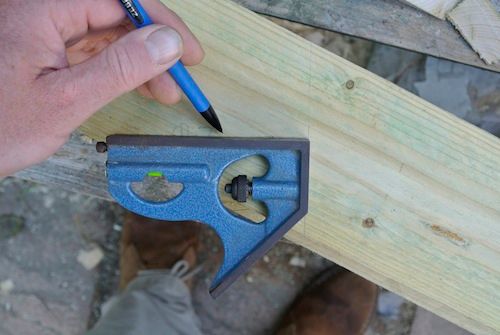
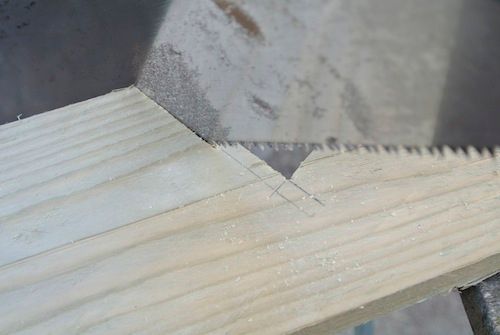
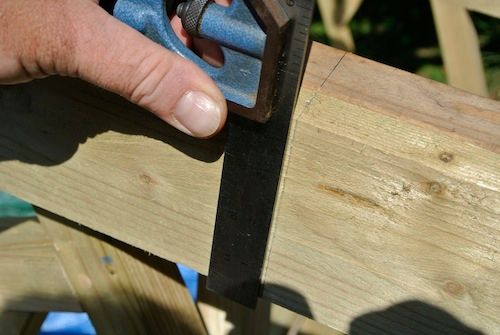
Then I squared down for the rafter ends and marked out the bottom of the rafter, on one, to use as a template;

Then a bit of ZZZd ZZZe ZZZd ZZZe;
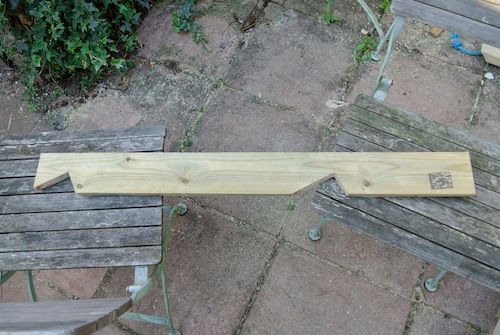
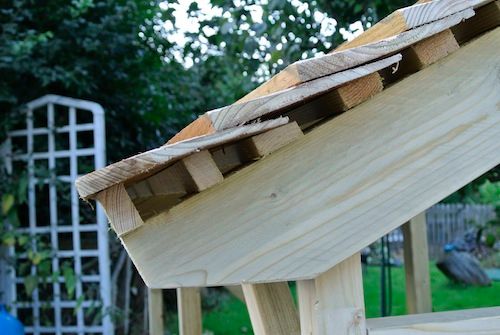
And then I could cut the end rafter from the template, I also cut away some of the internal support, so it wouldnt be seen so easily;
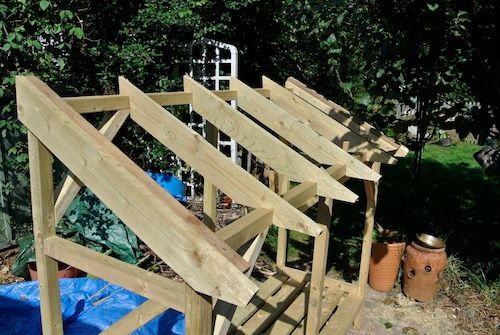
..and before we knew it, a bunch of rafters;
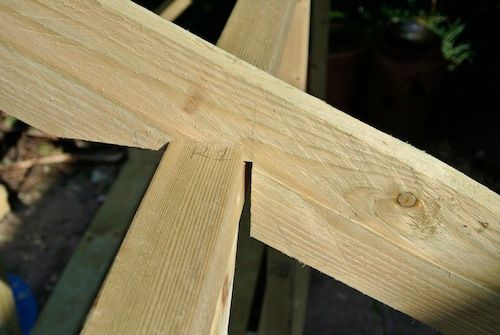
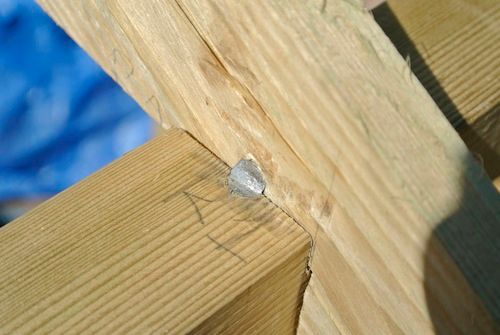
Some how, all my slots were a wee bit wider than necessary, so I cut some mini-wedges;

to wedge the doo-dahs;
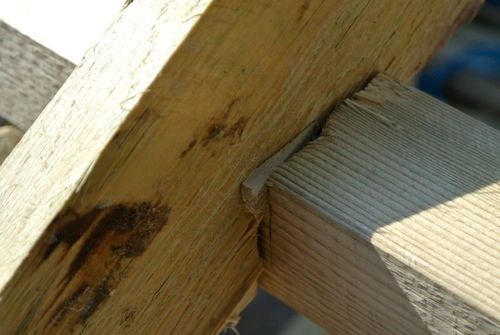
.and then bashed some nails in to hold them down;
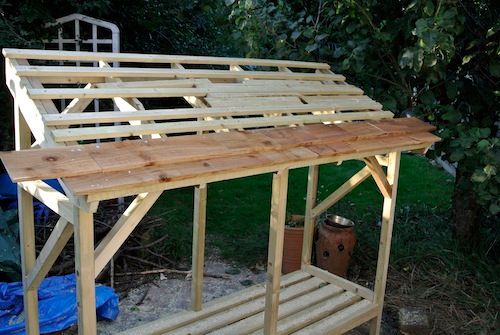
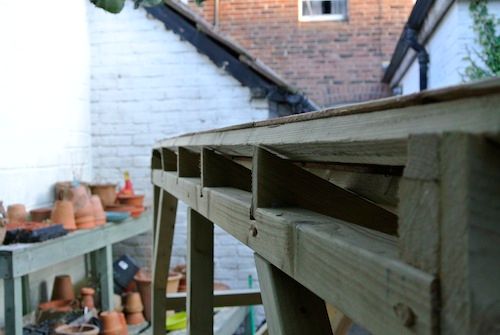
And then I could put the first three battens on;
The first two were on edge and the third was flat, this was to take account of the front row of shingles not having another shingle to rest on. I used a rule to mark a straight line from the top of the front batten down to the third;
..then apply the noisy blue machine to get a smooth planed line (not);
Well not get too worried about that, lets just put some more battens on shall we;
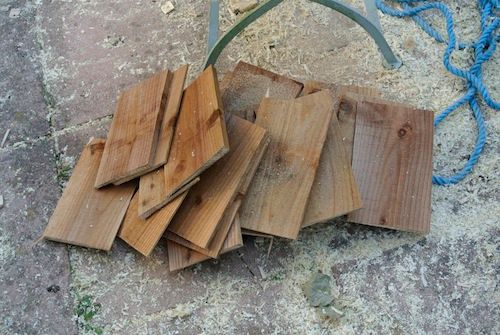
and then well cut up some shingles;
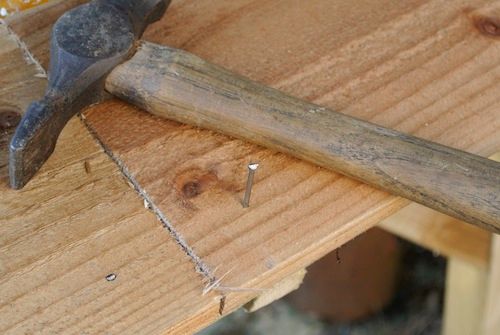
I placed the shingles on the front battens, starting on a centre(ish) line, with a ¼ overhang, drilled holes for two nails at the top (to prevent splitting) and DDDRRRRRLLL, Bang;
I also pinned the front of the shingles down to prevent movement. These pins are just plain steel wire, so will rust out in time;
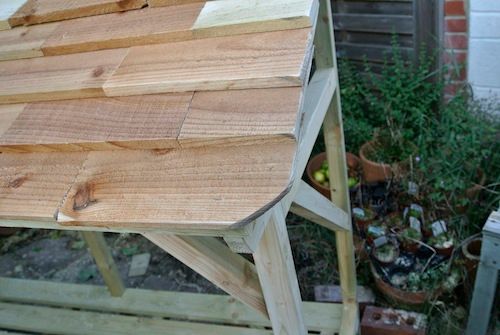
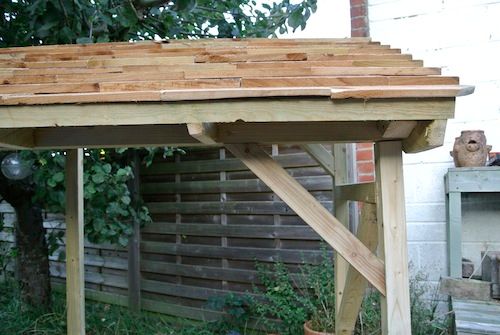
and voila, two rows of shingles;
That was yesterday, and today ZZZd ZZZe ZZd ZZe, BANG BANG BASH;

A finished log store! I must say Im well chuffed with the result (and even more chuffed with some of the jokes Ive come up with along the way). I generally enjoyed doing this and felt working in the garden, with only a bit of staging for a workbench was quite liberating. Ive learnt a lot and had some good repartee with people on this site. I hope you enjoyed watching and had as much fun as I did.
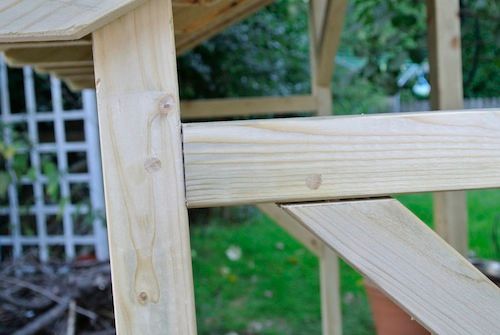
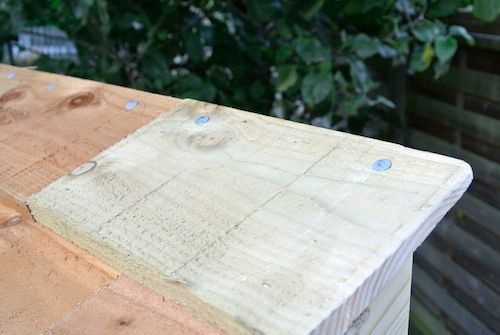
Heres a few details;

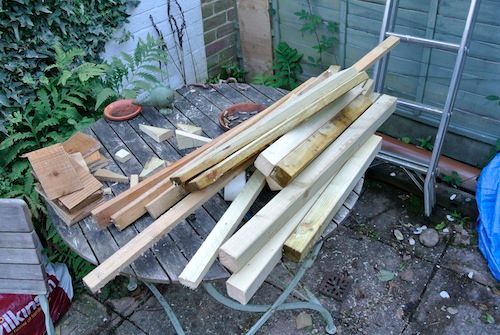
Heres whats left of the £150 of wood;
And here it is gone;

Thanks for watching and thanks for all the friendly and helpful comments. Cheery bye!


