Author Topic: Dividing head  (Read 108895 times)

Offline mattinker

  • Hero Member
  • *****
  • Posts: 1316
  • Country: fr
Re: Dividing head
« Reply #125 on: November 16, 2013, 09:25:21 PM »
Thanks Northumbrian,
 I'm glad you enjoyed it! I'm on the last leg now, I'm looking forward to getting on to using it!

Glad you enjoyed it, regards, Matthew

Offline Mayhem

  • Full Member
  • ***
  • Posts: 130
  • Country: au
  • purveyor of mischief
Re: Dividing head
« Reply #126 on: November 16, 2013, 11:07:01 PM »
Thanks for the update Matthew - this project turned out very nice.

In response to your question: I don't think there is such a thing as "too much detail".

Offline NeoTech

  • Hero Member
  • *****
  • Posts: 826
  • Country: se
    • Roughedge Hobbyworks
Re: Dividing head
« Reply #127 on: November 17, 2013, 04:49:42 AM »
After watching two of these threads i kinda had an.  :smart:  moment.. These bases and the banjo is a really good candidate for a stepper motor conversion and using a arduin for controlling the divides, geared properly and the stepper would have all the sufficient holding power it ever needs.
Machinery: Optimum D320x920, Optimum BF20L, Aciera F3. -- I have not failed. I've just found 10,000 ways that won't work. http://www.roughedge.se/blogg/

Offline mattinker

  • Hero Member
  • *****
  • Posts: 1316
  • Country: fr
Re: Dividing head
« Reply #128 on: November 17, 2013, 05:19:38 AM »
Neo Tech,

I agree with you, the only thing I would change is the gears, drive it using toothed belts to eliminate backlash. With the lock set up as it is, the spindle is locked.

Don't stop thinking about the idea!

Regards, Matthew

Offline Its Me

  • Jr. Member
  • **
  • Posts: 10
Re: Dividing head
« Reply #129 on: December 15, 2013, 11:22:55 AM »
mattinker, WOW you good and that sure is a lot of work, now I am going to the tube to see, Its Me

Offline mattinker

  • Hero Member
  • *****
  • Posts: 1316
  • Country: fr
The final bits and pieces. Conclusion
« Reply #130 on: December 15, 2013, 03:07:46 PM »
Hi It's Me,

Thanks for the complement!

Hi everybody,

well, life has been getting in the way, so it's taken a bit of time to get back to you.

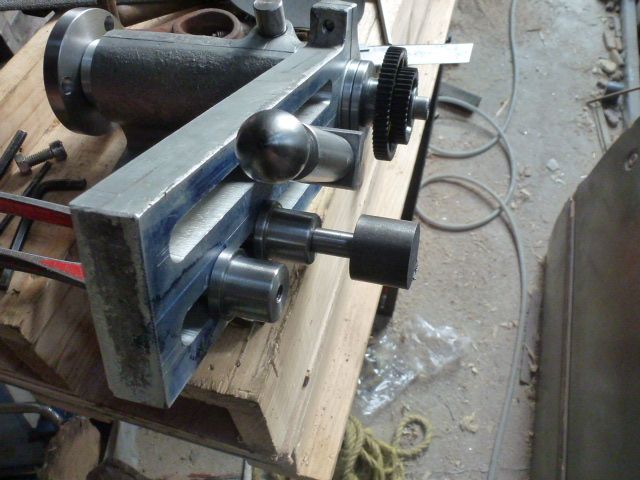
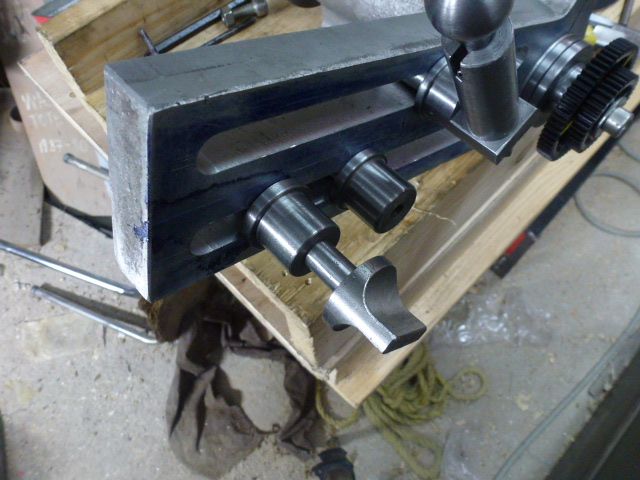
The remaining parts are the layshafts and the keyed bushes that carry two gears, locking them together. I've made these in to fit the Emco banjo, so that the two other sets of gears that I have will work there as well. This means that I have amongst other things, the 127 tooth gear for inch threads that I can now use.


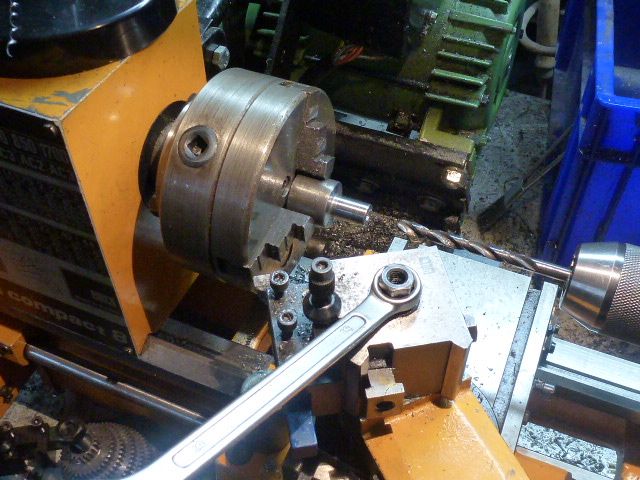
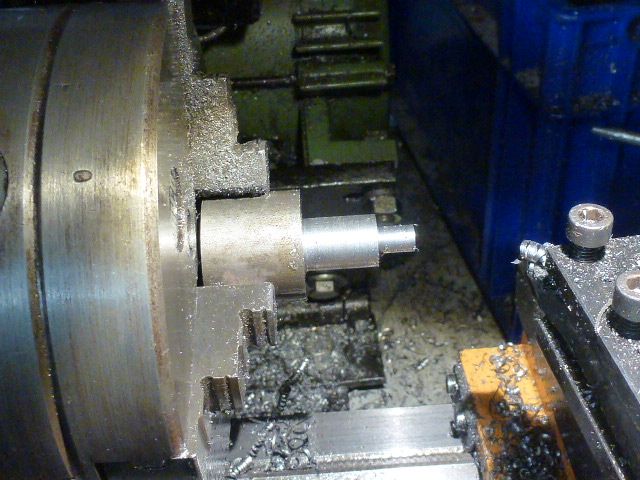
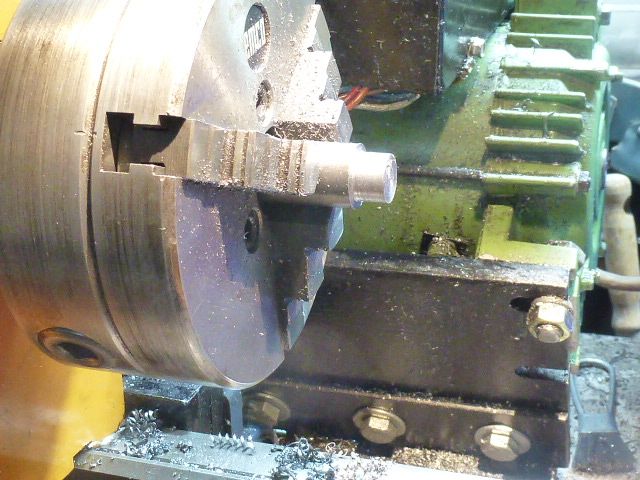
I needed two lay-shafts to mount the change gears on the banjo. A piece of cold rolled was reduced to 12mm in diameter a little shorter than the thickness of the banjo.


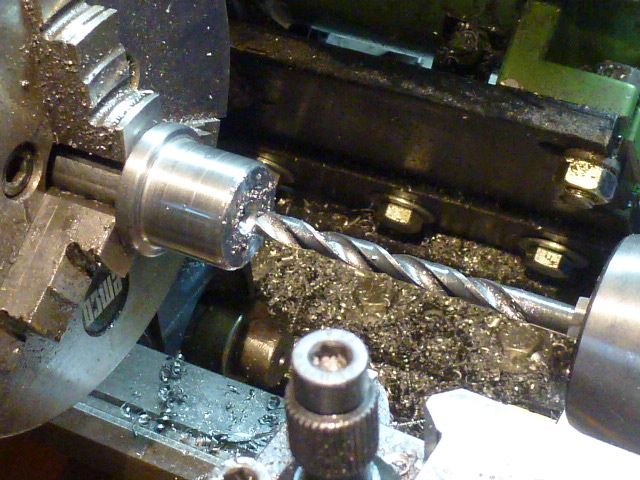
Drilled 6.75, to tap M8.
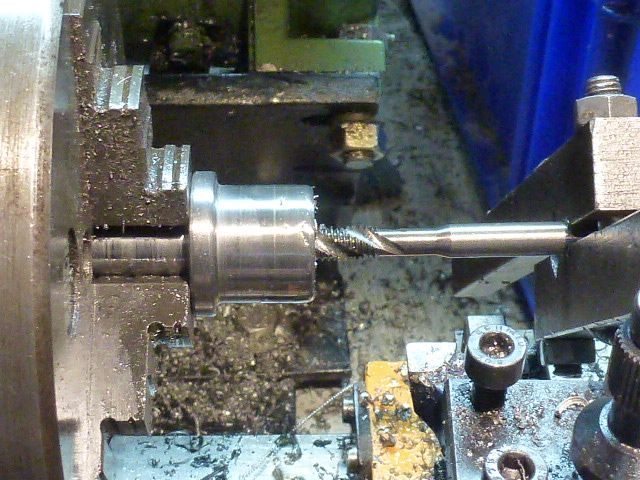


Tapped M8


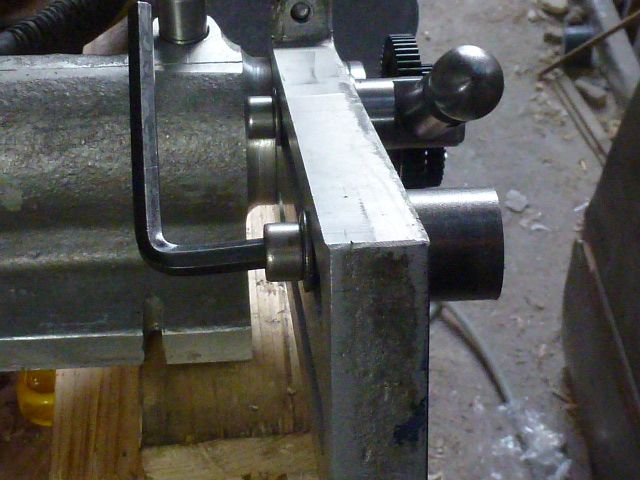
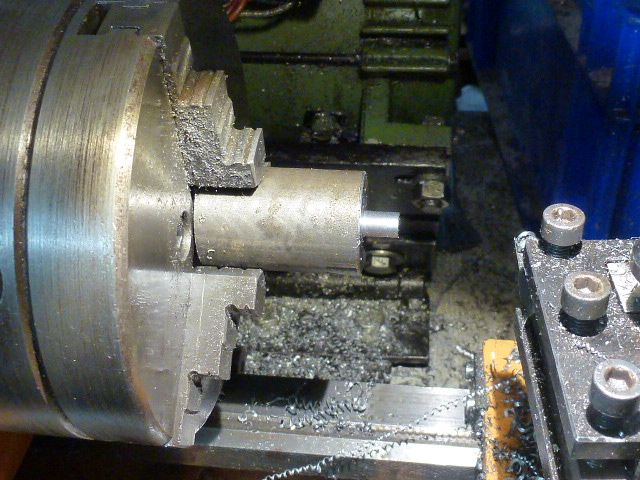
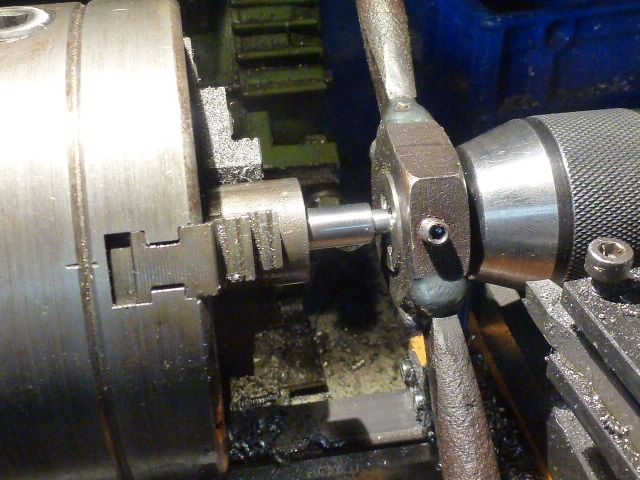
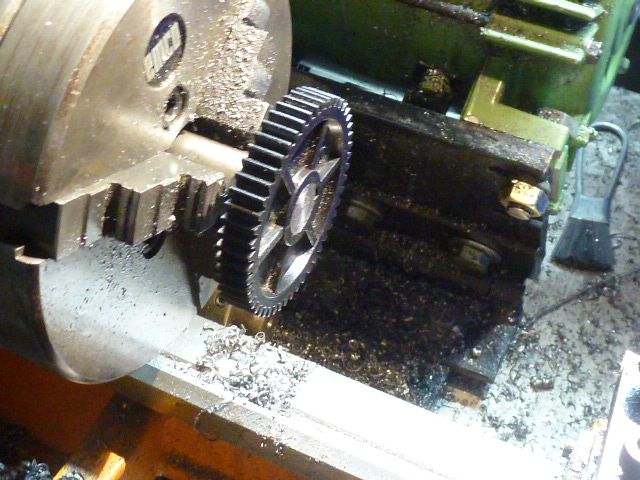
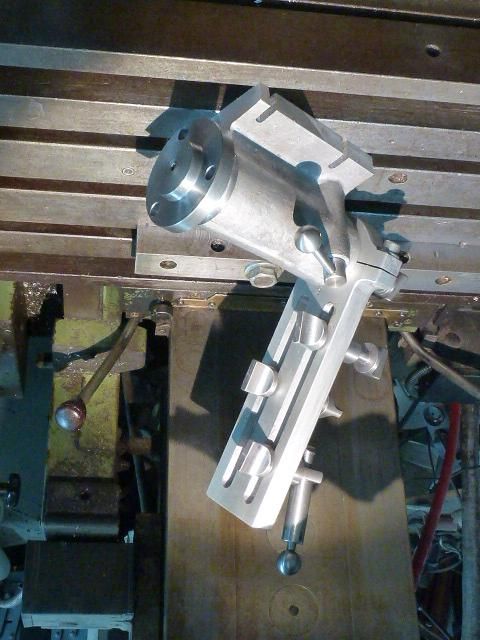
Test fit on the banjo.


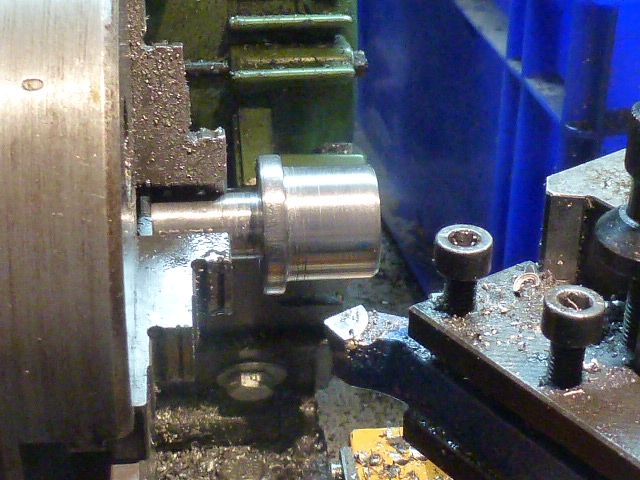
I reduced the outside diameter to make it look nicer!


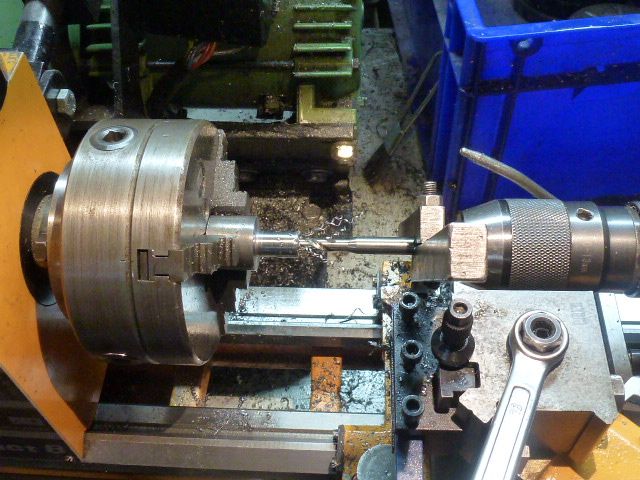
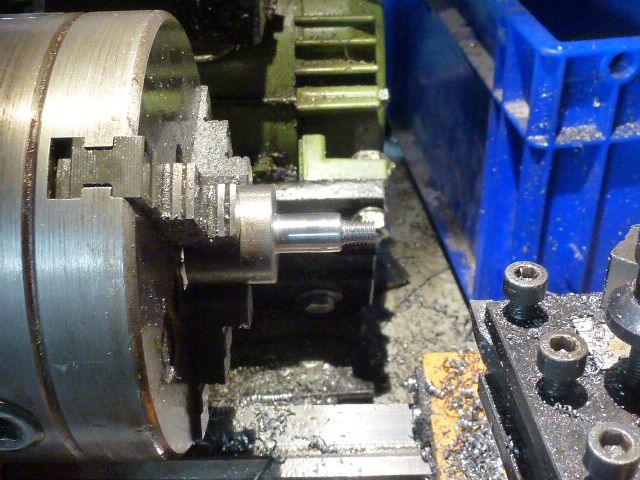
I drilled the gear side 5mm, tapping size for M6.


tapped M6.


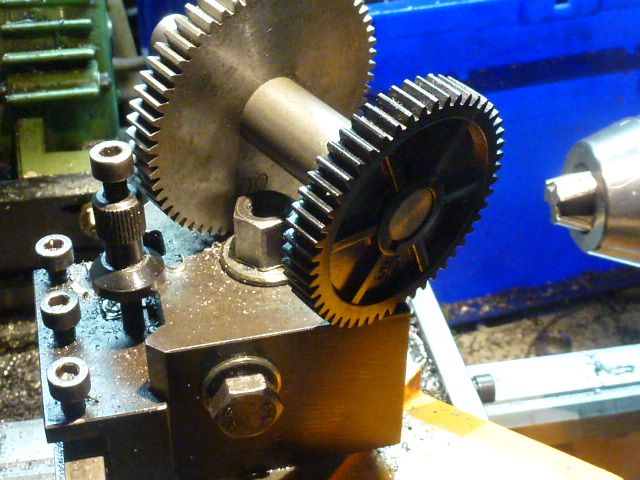
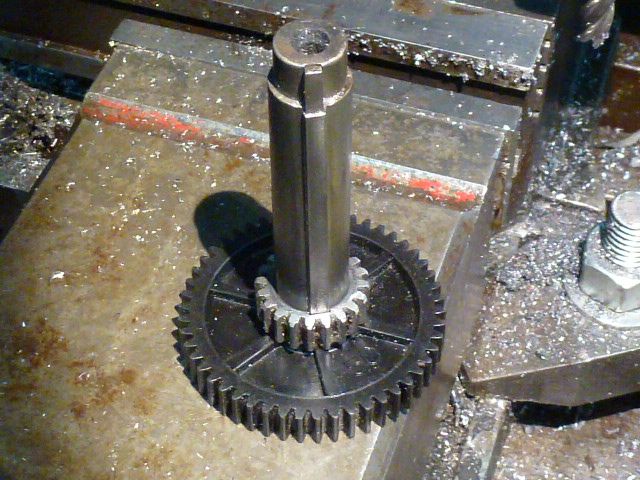
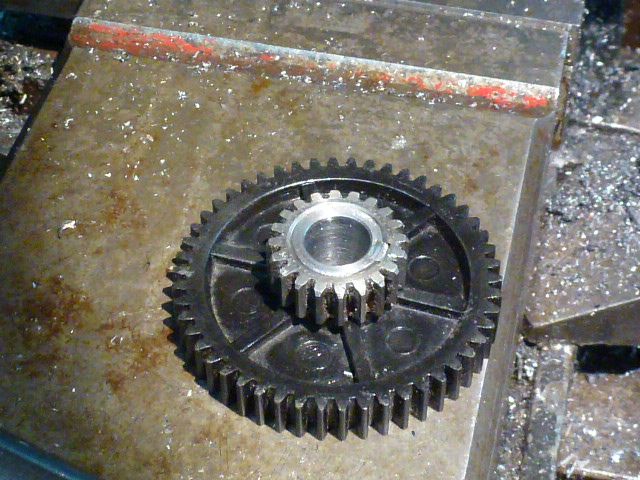
Completed and in position. The large gear is mounted on the other lay-shaft using the sindle and keyed bush from the Emco.


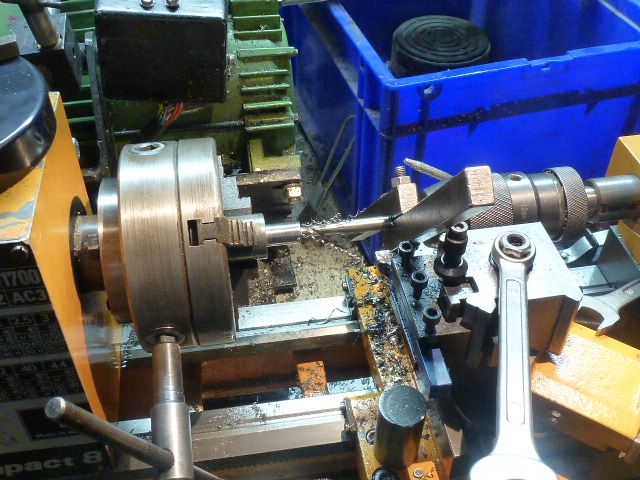
A piece of cold rolled, reduced to 6mm to thread M6.


Reduced to 10mm over 16.5mm, two gear thickness’s, with a little clearance.


Threaded to M6


Test fit.


Rather than thread and add a nut, I decided to make a built in button.


The button.


Test fit.


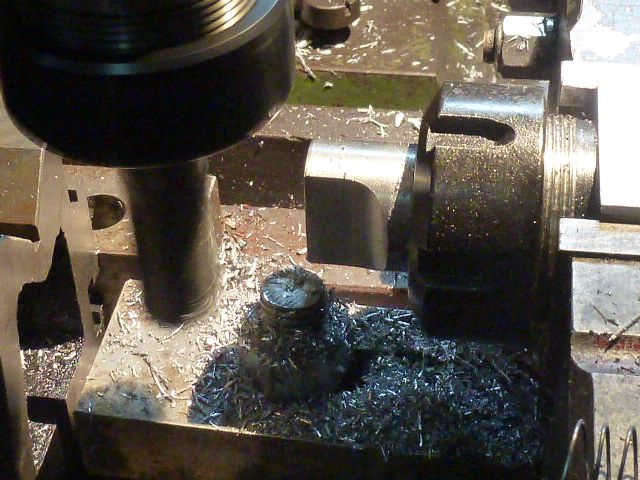
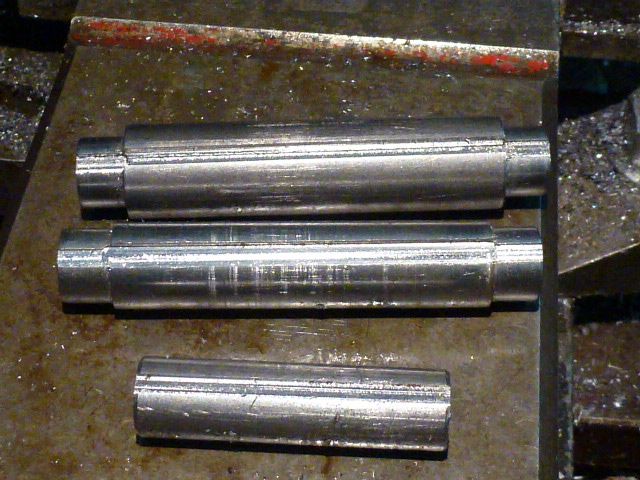
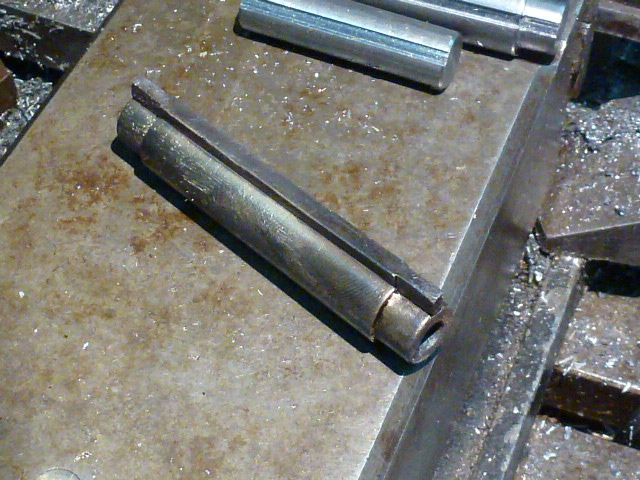
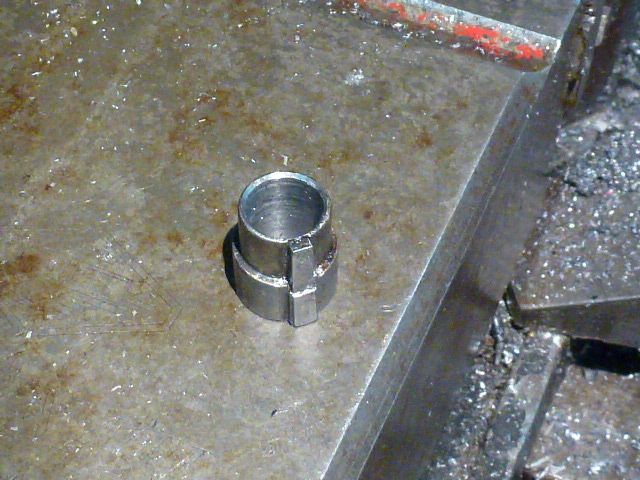
In order to couple two change gears together on a lay spindle, I needed to make keyed bushes. The key needs to be brazed onto the bushes, especially the 12mm ones as the bus is only 1mm wall. In the chuck I have a piece of cold rolled, turned to 14 and 12mm Øs this is going to make two 14mm bushes and two 12/14 stepped bushes.


Test 12mm plastic gear.


Test 14mm gear.


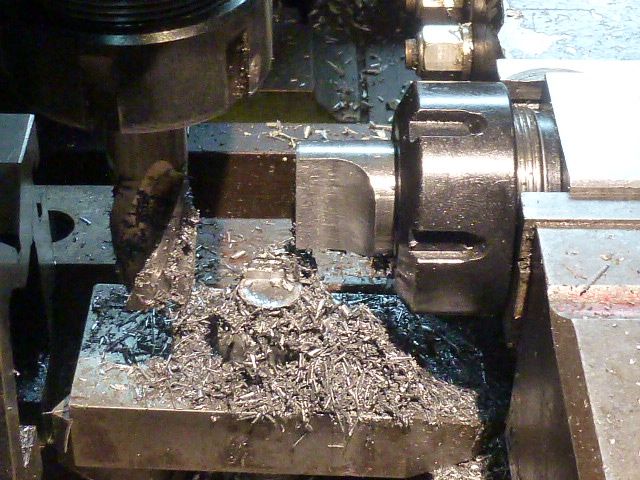
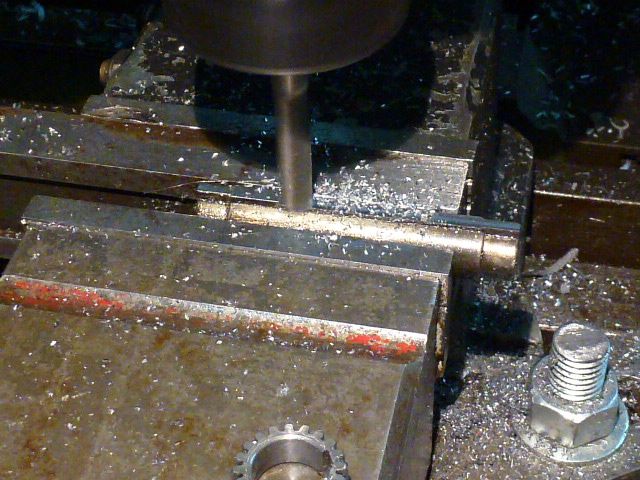
Milling the key way.


Key ways cut, one of the complications is that the 14mm gears have 4mm wide keys, whereas the 12 and 16mm ones have 3mm wide ones.


Key brazed in place.


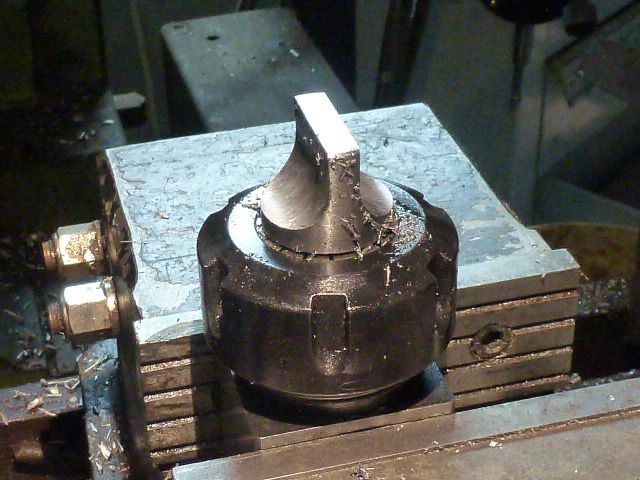
Milling the key down to fit.


Test fit 12mm and 14mm.


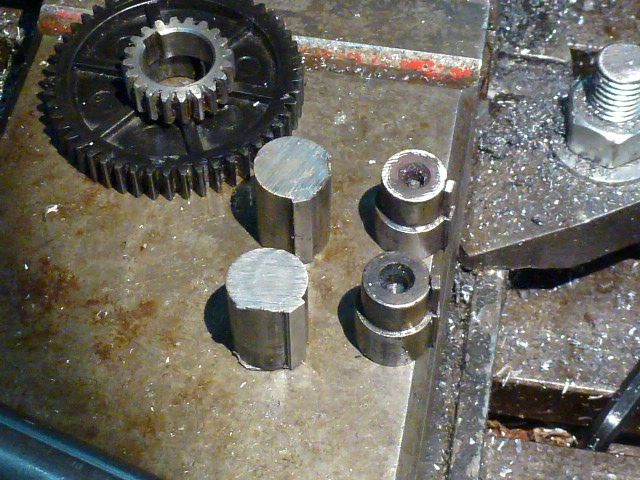
2 14mm and 2 stepped bushes before drilling out to 10mm.


Finished 12/14mm bush.


Test 12/14mm bush.


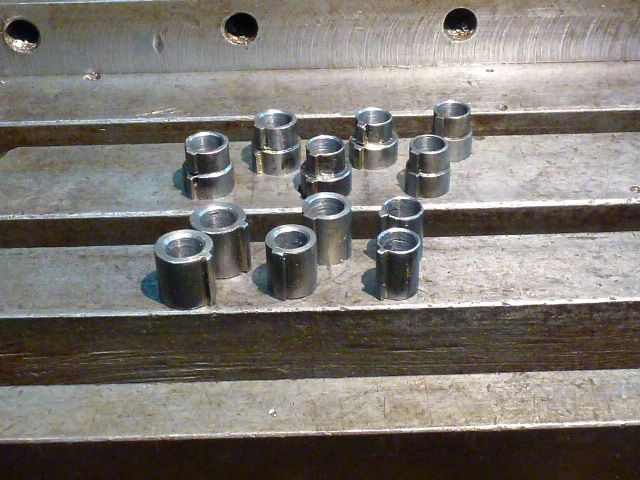
The complete full set of bushes.


In the end, I decided to make buttons for all of the shaft ends, I only need one Allen key to make any combination of gear changes.

I learnt a lot on this project, my surface finish on the lathe has greatly improved. I found milling the 3 and 4mm key ways with a 2mm mill a little hairy to say the least but the mill was very docile and precise!

I'm really glad to have finished this !

Regards, Matthew

Offline millwright

  • Sr. Member
  • ****
  • Posts: 273
  • Country: gb
  • Leeds West Yorshire
Re: Dividing head
« Reply #131 on: December 15, 2013, 03:17:21 PM »
Ive followed it all the way through Matthew, enjoyed your build and pics, very clear and infomative. A nice useful piece of eqipment you now have, Well done  :clap:
John

Online awemawson

  • Global Moderator
  • Hero Member
  • *****
  • Posts: 9015
  • Country: gb
  • East Sussex, UK
Re: Dividing head
« Reply #132 on: December 15, 2013, 03:26:35 PM »
Very nice Matthew  :thumbup:

It must be immensely satisfying to get to the end of the project - now you can start using it  :wave:

Andrew
Andrew Mawson
East Sussex

Offline doubleboost

  • Madmodder Committee
  • Hero Member
  • *****
  • Posts: 1619
  • Country: gb
  • Newcastle Upon Tyne
Re: Dividing head
« Reply #133 on: December 15, 2013, 03:34:06 PM »
Very nice Mathew
It was good to see how we made the same thing with different methods
John

Offline mattinker

  • Hero Member
  • *****
  • Posts: 1316
  • Country: fr
Re: Dividing head
« Reply #134 on: December 15, 2013, 06:33:01 PM »
Thanks guys,

thanks for the kind remarks, it's been satisfying and interesting build. Now to move on to using it!

John, I found the differences interesting as they came about for material reasons, lathe size, spindle nose and experience!

Thanks again, regards, Matthew

Offline tom osselton

  • Hero Member
  • *****
  • Posts: 1277
  • Country: ca
Re: Dividing head
« Reply #135 on: December 16, 2013, 02:26:34 AM »
I've enjoyed following your build it's a beaut!

Offline Mayhem

  • Full Member
  • ***
  • Posts: 130
  • Country: au
  • purveyor of mischief
Re: Dividing head
« Reply #136 on: December 16, 2013, 10:11:49 AM »
Well done Matthew - I've enjoyed this project.

Offline mattinker

  • Hero Member
  • *****
  • Posts: 1316
  • Country: fr
Re: Dividing head
« Reply #137 on: December 16, 2013, 03:09:32 PM »
Tom, Mayham,

I'm glad you enjoyed the project, I had a good time doing it and I'm looking forward to using it!

Regards,  Matthew.

Offline Fredbare

  • Full Member
  • ***
  • Posts: 169
  • Country: gb
  • Fakenham, Norfolk
Re: Dividing head
« Reply #138 on: December 16, 2013, 03:14:44 PM »
Excellent work Mathew, very informative, its been a great watch, thank you.

John

Offline ieezitin

  • Hero Member
  • *****
  • Posts: 662
Re: Dividing head
« Reply #139 on: December 16, 2013, 05:58:45 PM »
Mathew.

very good. I liked your amount of pictures you furnished in your blogs, very informative. i like the whole finish of your build, the buttons especially very attractive.

i think you have made a quality tool that will when passed down will be appreciated for the hard work and attention to detail that it deserves.

thank you for taking the time in showing us your work.

Anthony..
If you cant fix it, get another hobby.

Offline mattinker

  • Hero Member
  • *****
  • Posts: 1316
  • Country: fr
Re: Dividing head
« Reply #140 on: December 16, 2013, 06:31:19 PM »
John and Anthony,
I'm touched by the positive remarks, it's hard to know how many photos to put in and whether one is being repetitive or informative. I certainly got a lot out of doing this build.

Thanks again, regards, Matthew

Offline nel2lar

  • Jr. Member
  • **
  • Posts: 81
Re: Dividing head
« Reply #141 on: December 20, 2013, 07:46:26 PM »
Matt
Fantastic piece of work. Love the knobs for your gear train. I think that same knob would look better on your indexing pin. Top-Shelf
Nelson Collar

Offline mattinker

  • Hero Member
  • *****
  • Posts: 1316
  • Country: fr
Re: Dividing head
« Reply #142 on: December 20, 2013, 09:39:51 PM »
Thanks Nelson,

an interesting idea, but its not the same action, lift and turn as opposed to screwing up tight. I've got to the point where I need to use it so I'll see how it all functions in use! I'm getting ready to make some gears, but progress is slow.

Thanks for the complement, regards, Matthew

Offline Pete49

  • Sr. Member
  • ****
  • Posts: 353
  • Country: au
Re: Dividing head
« Reply #143 on: December 20, 2013, 09:43:48 PM »
 :thumbup:  :thumbup: Great job Matt. Enjoyed the write upas well
Pete
oops..........oh no.........blast now I need to redo it

Offline mattinker

  • Hero Member
  • *****
  • Posts: 1316
  • Country: fr
Re: Dividing head
« Reply #144 on: December 20, 2013, 09:46:22 PM »
Thanks Pete!

Offline krv3000

  • Hero Member
  • *****
  • Posts: 2188
  • Country: gb
Re: Dividing head
« Reply #145 on: December 21, 2013, 05:26:30 PM »
well dun 100%  :ddb:

Offline mattinker

  • Hero Member
  • *****
  • Posts: 1316
  • Country: fr
Re: Dividing head
« Reply #146 on: December 21, 2013, 07:41:54 PM »
Thanks Bob,

it's nice to finish it!

Regards, Matthew

Offline Pete49

  • Sr. Member
  • ****
  • Posts: 353
  • Country: au
Re: Dividing head
« Reply #147 on: December 21, 2013, 09:44:32 PM »
Love the finish on it. It seems that Ali is more than suitable for this type of tool. Mine is steel weldment and looks crappy next to yours and DB's efforts. Maybe I'll paint it and hide it in a corner :bugeye:. Just joking.
pete
oops..........oh no.........blast now I need to redo it

Offline mattinker

  • Hero Member
  • *****
  • Posts: 1316
  • Country: fr
Re: Dividing head
« Reply #148 on: December 22, 2013, 07:31:59 AM »

Thanks Pete,
it's pretty photogenic! In the flesh, the defects show up more!!

Regards, Matthew

Offline nel2lar

  • Jr. Member
  • **
  • Posts: 81
Re: Dividing head
« Reply #149 on: December 22, 2013, 04:26:10 PM »
Matt
Just like the ball, you pinch it and pull. The spring is not that strong, is it? I was just thinking it would look good having all the same kind of knobs.
Again a very nice build.
Nelson Collar