Good and steady progress, well I do not know really, I definately feel like a beginner with this.
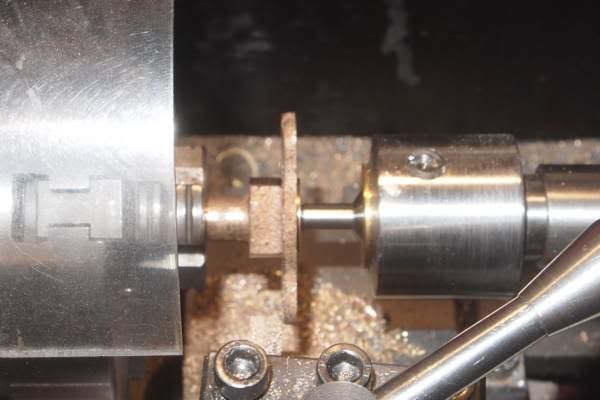
First I made the top end cap from the supplied casting. It had a cast-in spigot so it could be gripped in the chuck and that way the "inside" towards the cylinder bore was made. Carefully approaching the fit diameter of the cylinder I succeeded to achieve an easy fit without slop.

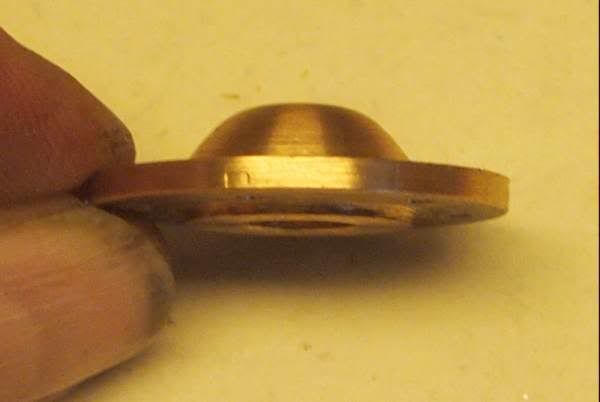
Turned the cap round to remove the spigot and take down the thickness to drawing measure. Succeeded with this as well but "re-designed" the cap to become domed instead of just "cut off". Worked out fine so far.


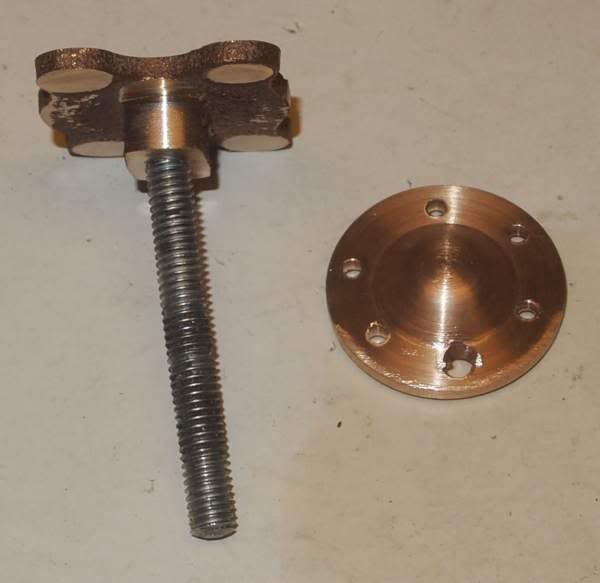
Then marked out for the six fasteners and now I got into problems. The marking out was OK but after drilling the first guidance holes, one of them was misplaced as the tip of the drill decided to walk outside of the punch mark

OK It was a pilot hole and as this is the first engine I can live with it

When then trying to chamfer the holes using a countersink bit, the bit grabbed the cap and threw it out from my vice = one hole destroyed

Heavy sigh,

if I shall save this I have to think a bit. Will be back on this. Perhapsd I decide to redo the cap as I have a 10 mm thick brass flat bar.
Well I turned my attention to the bottom cap instead. It also had a cast-in spigot to use, which I did. The same first stage went fine and I managed to achieve the same nice fit in the cylinder with this cap. When it all was set up I drilled all the way through for the piston with a 4 mm drill. Now the casting is made for the bottom cap Mk 1 which means that it is necessary to remove some of the casting to make room for the Mk 2 piston guide (tube). Also this went fine even if it was thight for space.

I made use of my newly made tailstock support using the smallest center in the 4 mm hole, worked well. I also found that well sharpened and honed HSS tools were actually better for this soft gunmetal than the usual triangular carbide inserts. It should probably be those aluminium tips instead, they look sharper than the ordinary CCMT bits.
Anyway, it went fine and I could come to measure and cut off the spigot as intended. Time to open up the 4 mm hole to 5 mm to make the packing gland nut thread. As I work in metric I went for M6x1 which was OK up to the point where I tried a screw for fit, new disaster

It turned out that the cap had tipped in the vice when opening up the 4 mm hole and becoming angled instead if straight along the center axis. I did do the other holes in the bottom cap and they went fine all of them.
So, after today I have two half-ruined bits


Now I am thinking of how to save these errors so I donīt have to get new bits.

I can of course make plugs from the left over spigots and solder them into the respective holes and then re-drill and tap as required, but I am not sure this is the best way forward.
BR
/Peter