Author Topic: Building Stuarts Compound Steam Engine  (Read 34918 times)

Offline NickG

  • Madmodder Committee
  • Hero Member
  • *****
  • Posts: 1890
Re: Building Stuarts Compound Steam Engine
« Reply #50 on: October 13, 2012, 04:53:14 AM »
Benni,

very nice work it looks really pretty.  :thumbup: One question though, aren't the cross heads meant to be screwed home onto the shoulders of the rods? If not you might get the pistons hitting the top covers. Worth checking that length.

Nick
Location: County Durham (North East England)

Offline saw

  • Hero Member
  • *****
  • Posts: 1003
  • Country: se
  • lucky amateur
    • Svenssons AckordsWerkstad
Re: Building Stuarts Compound Steam Engine
« Reply #51 on: October 13, 2012, 05:04:29 AM »
Yes NickG it's very impotante that the lenght is correct. Right now I have only gone after drawing from Stuart but I assume that I need to make some adjustments.  :smart:
_________________________
Greetings / Benni
http://myprojecty.wordpress.com/category/steam-engine/

Offline NickG

  • Madmodder Committee
  • Hero Member
  • *****
  • Posts: 1890
Re: Building Stuarts Compound Steam Engine
« Reply #52 on: October 14, 2012, 04:10:08 AM »
Yeah, I am sure drawing wouldn't intend it to be like that, have a look on the assembly drawing - I don't think there'll be a gap like on yours. This is where the standard of model engineering drawings fall short or need some interpretation, you can't actually make these things to the drawing and you haven't so far or it wouldn't assemble.

More than likely what's happened is you can't actually get to the bottom of the hole with the tap, so it either needs to be drilled and tapped a little deeper, or the thread on the rod needs shortening or a large chamfer put on the end.

 :thumbup:
Location: County Durham (North East England)

Offline saw

  • Hero Member
  • *****
  • Posts: 1003
  • Country: se
  • lucky amateur
    • Svenssons AckordsWerkstad
Re: Building Stuarts Compound Steam Engine
« Reply #53 on: October 14, 2012, 05:16:26 AM »
Wow, it's a miss of me   :zap:
...but it's easy to fix.  :coffee:
Thanks NickG for pointed out  :thumbup:
_________________________
Greetings / Benni
http://myprojecty.wordpress.com/category/steam-engine/

Offline NickG

  • Madmodder Committee
  • Hero Member
  • *****
  • Posts: 1890
Re: Building Stuarts Compound Steam Engine
« Reply #54 on: October 15, 2012, 01:24:38 PM »
No problem, I don't think it's an easy task to machine a kit from castings and model engineering drawings - especially if there are no instructions.

For example, if you were to send out parts to different companies to be manufactured, they would not assemble because model engineering drawings aren't well specified enough, it's up to the machinist to interpret what fit is needed where etc.

I've never machined a model from castings yet, I don't think I'd do as good a job as you have - I just happened to notice the gap.

Keep up the good work.  :thumbup:
Location: County Durham (North East England)

Offline saw

  • Hero Member
  • *****
  • Posts: 1003
  • Country: se
  • lucky amateur
    • Svenssons AckordsWerkstad
Re: Building Stuarts Compound Steam Engine
« Reply #55 on: November 21, 2012, 07:06:18 AM »
Connecting rod
Hello Gentlemen.
At last I found some time to continue my build of Stuarts Compound Engine. 
This time it’s the connecting rod, and it is a very important part of the engine.
They have to be in straight line, square and the dimension must be exact.
Here is the casting of the connecting road, as you can see there is plenty of material to remove.
 
First I have to square the bottom end with an end mill.
 
And after that I have to draw out and mark where the holes for the crankshaft should be. 

Next I drilled the top and bottom end…
 
 
… and this is for my set up in my lathe.
 
It shows up that this set up was not so good idea, so I changed to this.
 
And now I could finish some parts on the lathe.
 
Then I drilled some holes for the bolt before I partial bottom end in two parts.
 
Then I use  a hacksaw…
 
…and there was two parts of each connecting roads.
 
Next I drilled the hole for the crankshaft.
 
And some more turn on the lathe.
 
This set up looks crazy but it is to help me drilling the holes square for connecting to the crosshead.
 
After that some milling.
 
Here I try to round off the top part.
 
 
And here we go, two connecting roads are finish.
 
And then I mounted the connecting roads on the engine.
 
This was a little tricky to do but another part is finish,  but still there is a lot more to do.
I’ll be back
_________________________
Greetings / Benni
http://myprojecty.wordpress.com/category/steam-engine/

Offline andyf

  • In Memoriam
  • Hero Member
  • *****
  • Posts: 1795
  • Country: gb
    • The Warco WM180 Lathe - Modifications
Re: Building Stuarts Compound Steam Engine
« Reply #56 on: November 21, 2012, 08:53:06 AM »
It's looking really good, Benni  :thumbup:
Andy
Sale, Cheshire
I've cut the end off it twice, but it's still too short

Offline Meldonmech

  • Hero Member
  • *****
  • Posts: 933
Re: Building Stuarts Compound Steam Engine
« Reply #57 on: November 23, 2012, 02:56:28 AM »
Hi Benni
                   What a first class build presentation and so detailed, nearly there now.

                                                            Regards David

Offline saw

  • Hero Member
  • *****
  • Posts: 1003
  • Country: se
  • lucky amateur
    • Svenssons AckordsWerkstad
Re: Building Stuarts Compound Steam Engine
« Reply #58 on: December 08, 2012, 06:19:55 AM »
Steam Chests
Hello Gentlemen.  :wave:
Now it’s time to take care of the steam chest. This is a very important piece of the steam engine, it’s truly the heart of the steam engine.
I’ll begin with the cover. The cover has a spigot on the backside so it’s very easy to set up in the lathe.
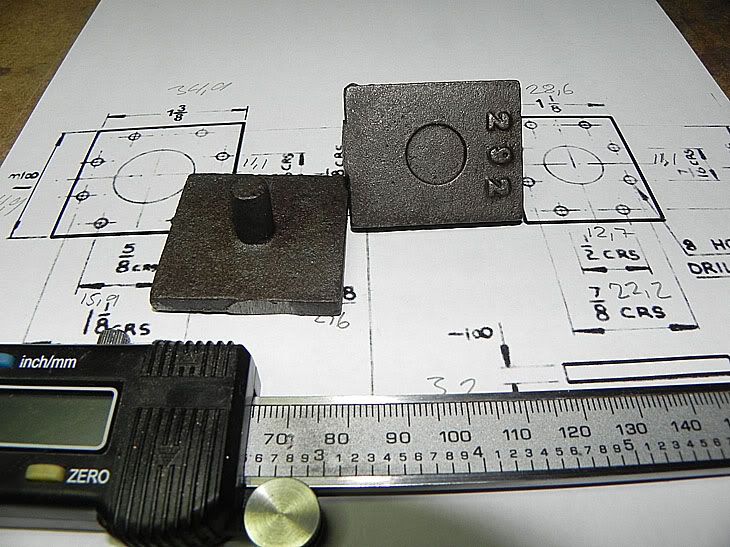
   
Here I have set up the cover in my lathe for removing the cast skins.
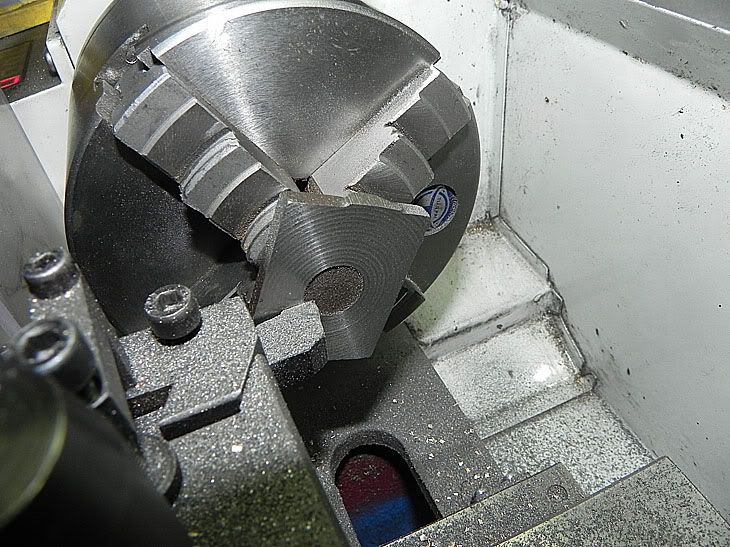
 
After that I move the cover to my mill so I can mill the side in square.
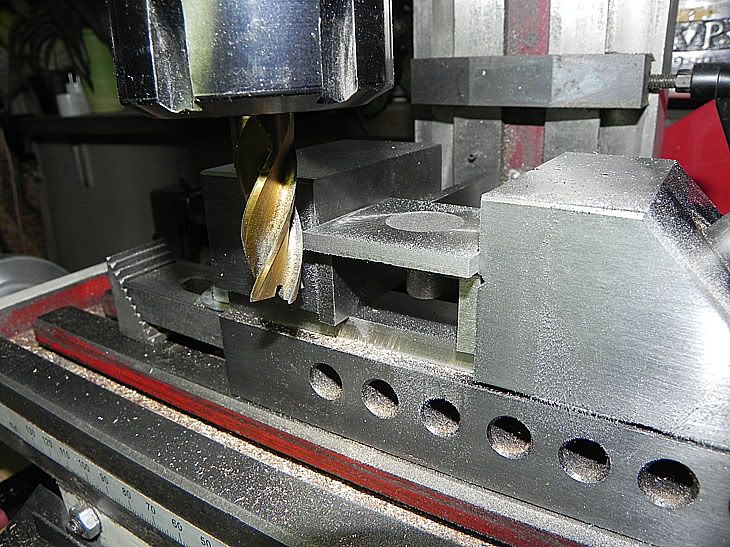
 

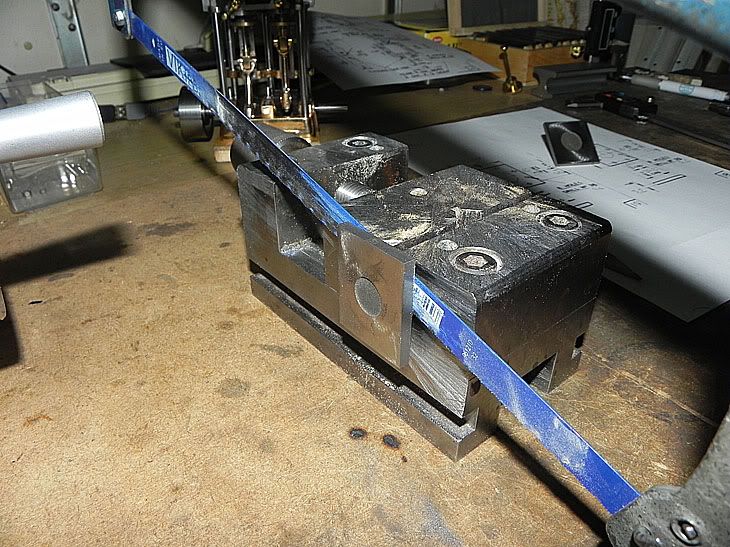
Then with a hacksaw I cut of the spigot.
 
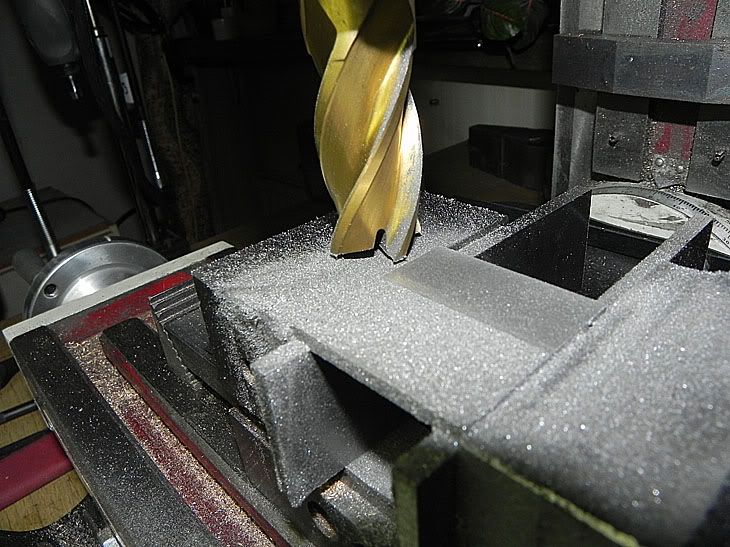
Then flatten the backside.
 
Now I have to mark out for all holes…
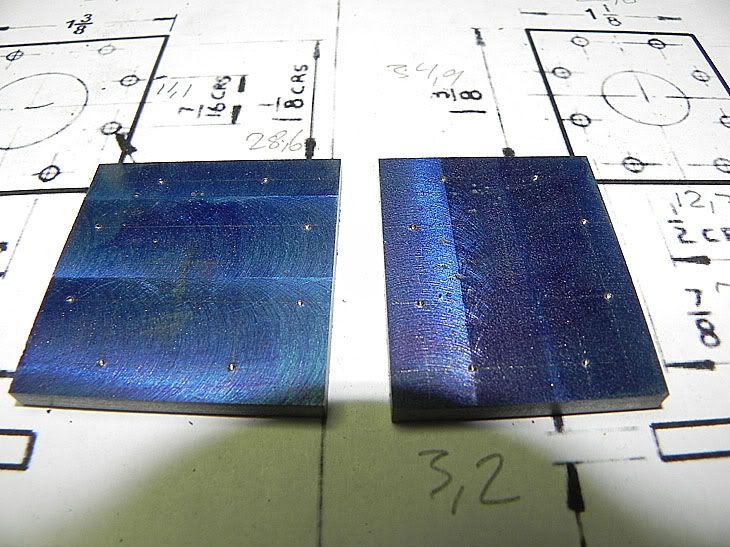
 

… and drilled the holes and countersink the holes.
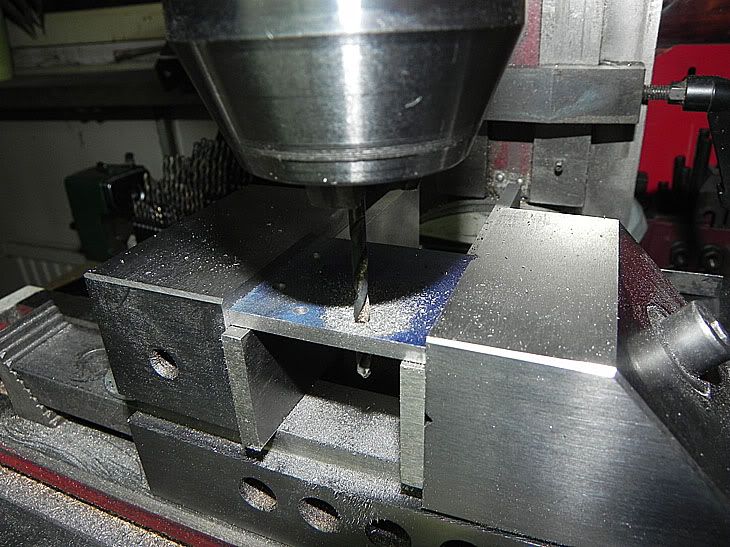
 
I feel radar pleased with the result.
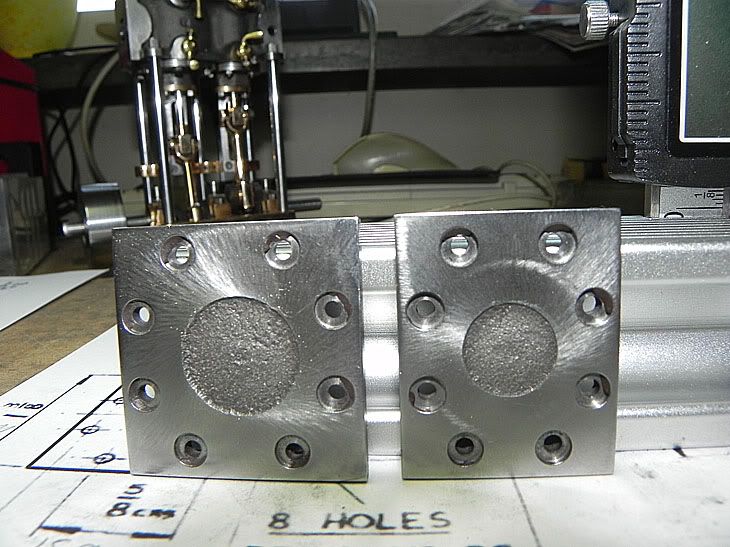
 
I’ll continue with the steam chests.
In the lathe I set up the steam chest in a four jaw chuck and took some turn on the top making the valve rod guide…
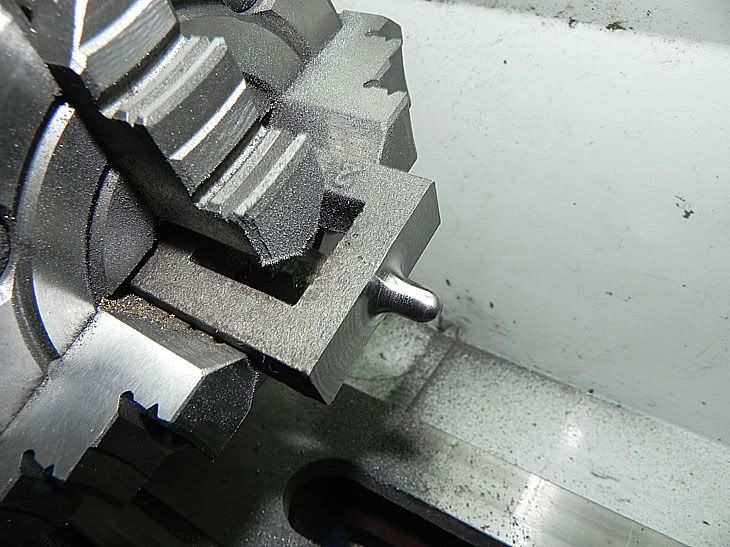
 
… and the bottom for the packing gland.
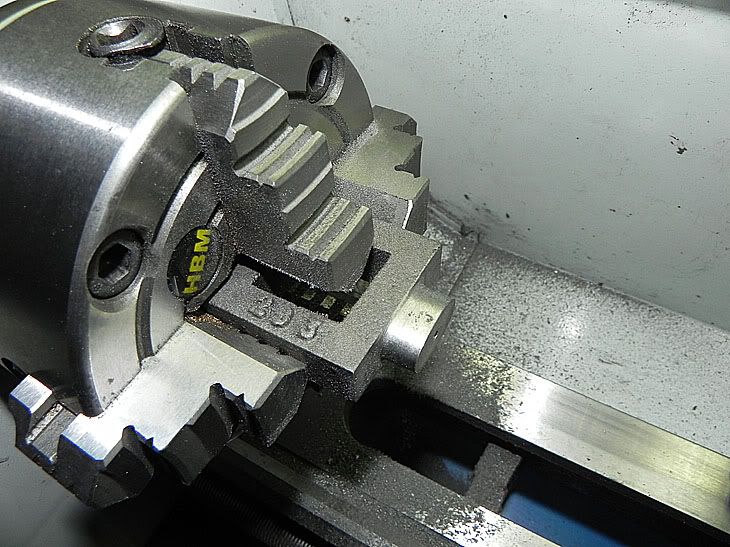
 
With a good fill I smooth the packing gland.
Moving over to the mill for milling both sides to the steam chest…
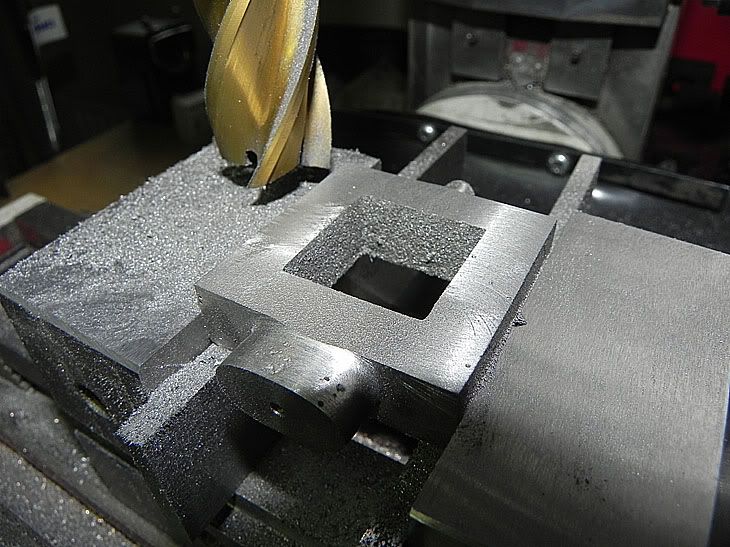
 
Then I milled both sides…
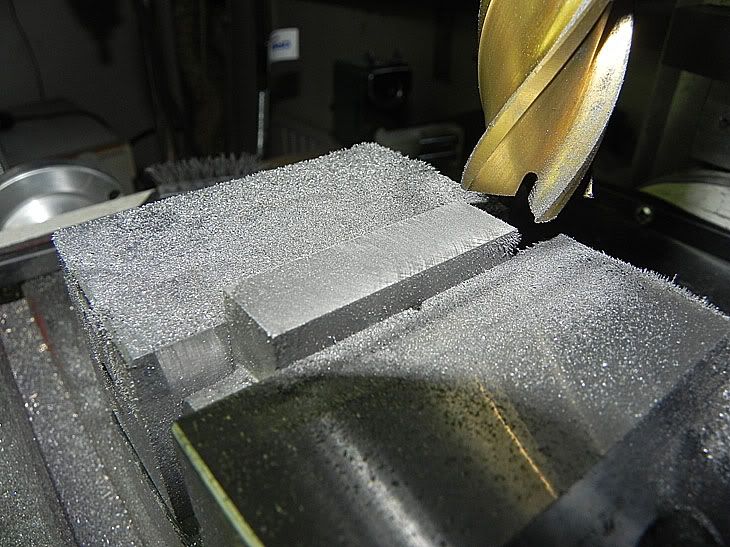
 
… and the insides as well.
 
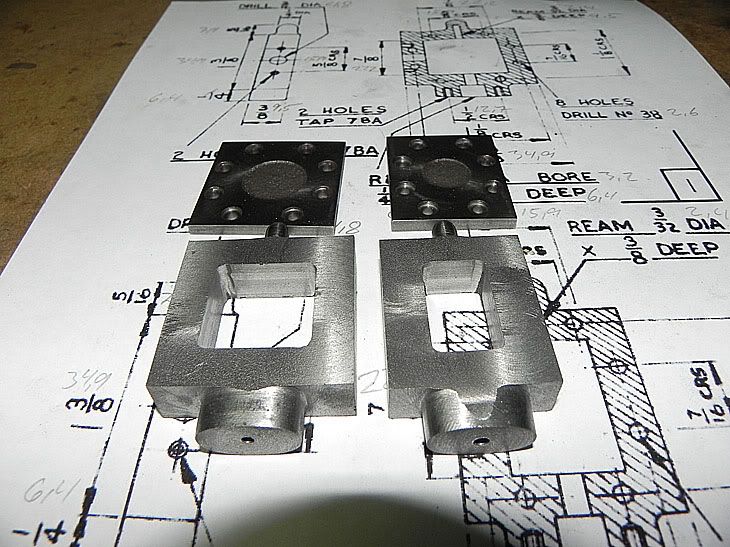
And now I have four pieces so far.
 
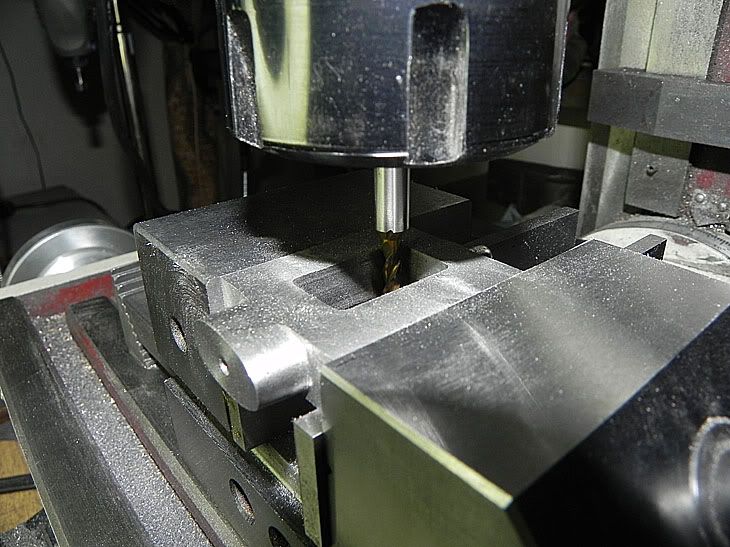
Next, drilling the holes for the valve rod guide…
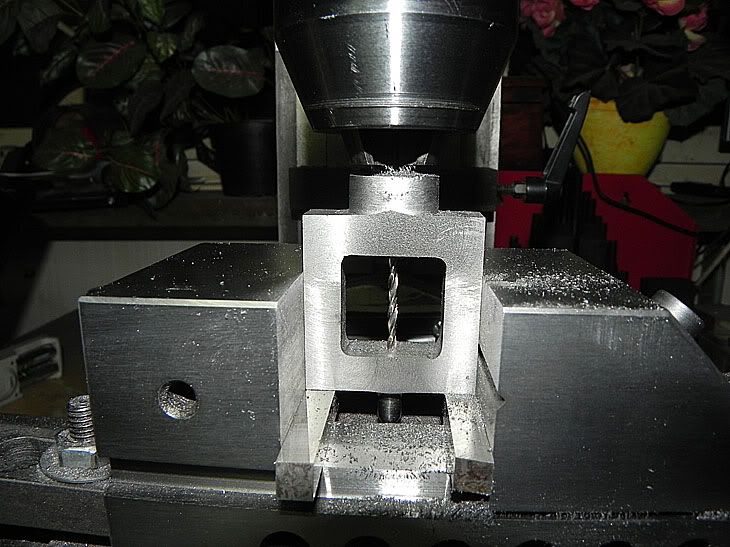
 
…and then using an end mill for the packing gland.
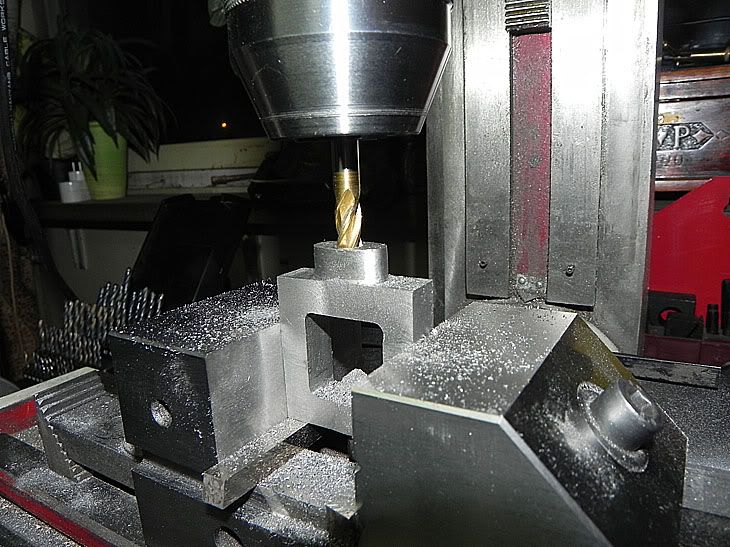
 
After that I drilled the hole for the steam inlet.
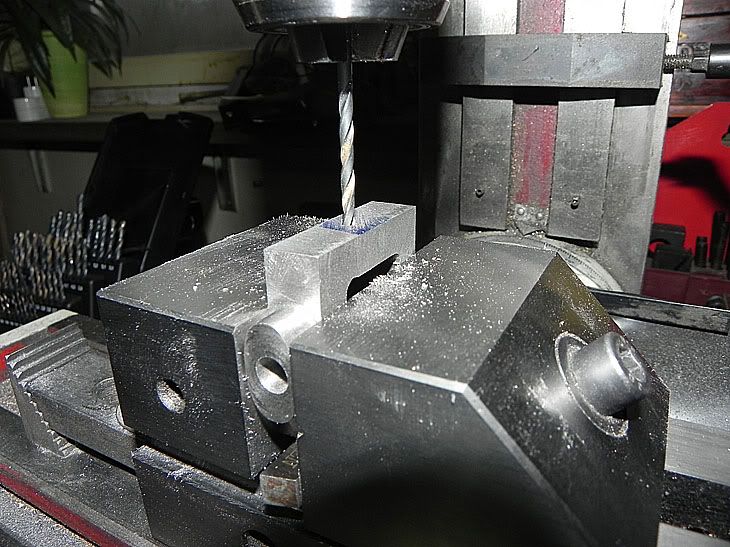
 
A new setup so I could drill the hole into the steam chest.
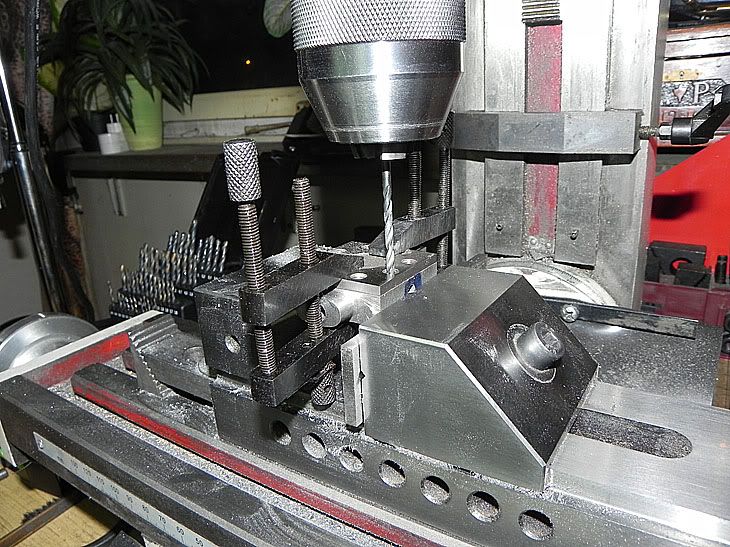
 
After two holes I’ll use bolt and nuts to hold the two pieces together.
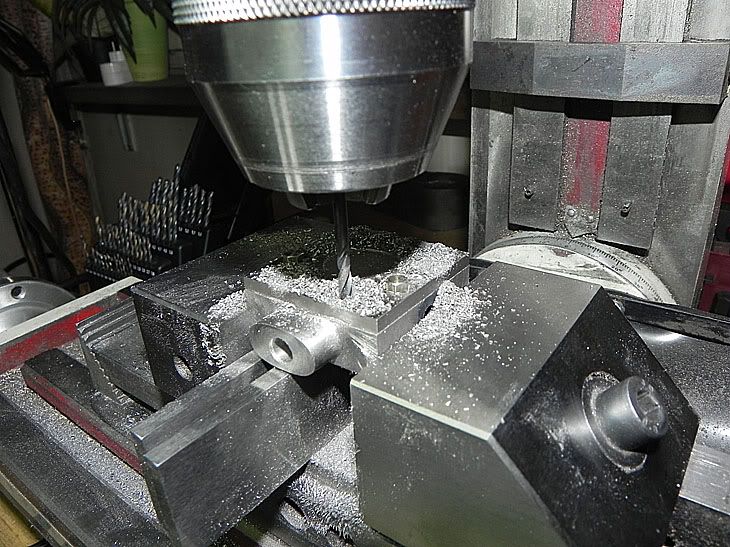
 
And here we go.
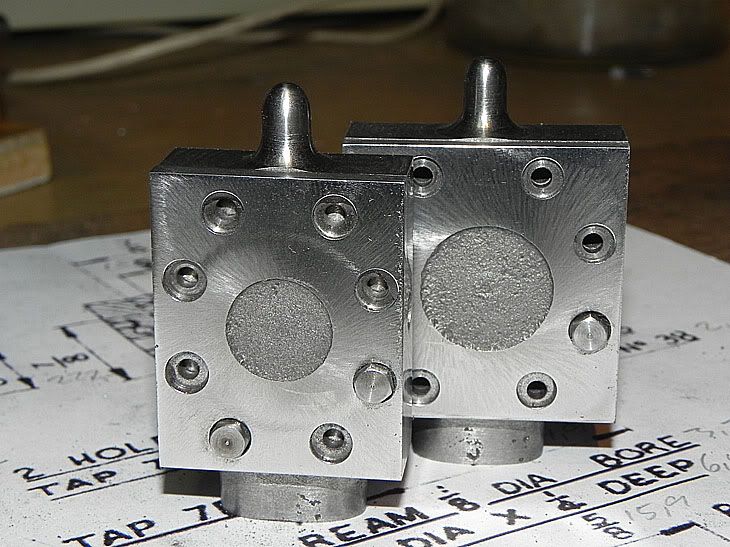
 
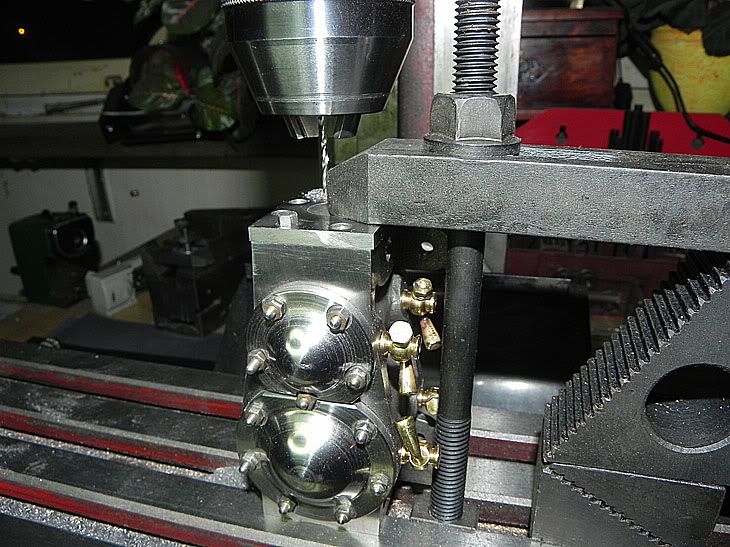
Then, using the cover I drilled the holes in the cylinder block…
 
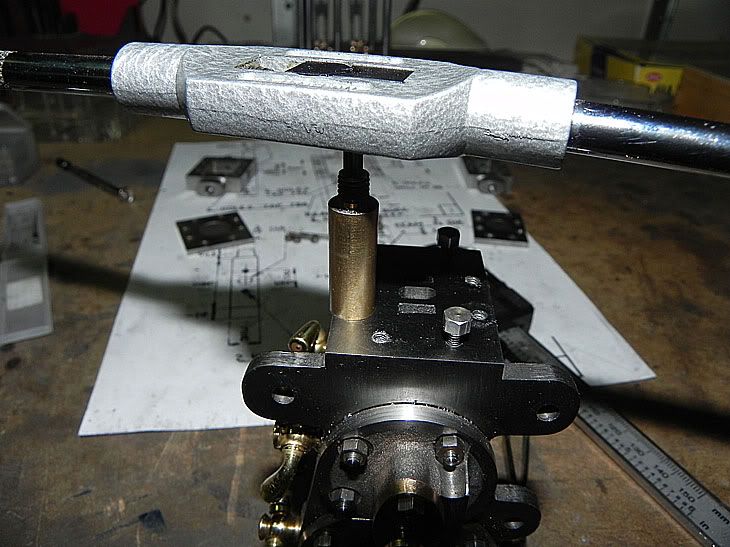
…and threaded the cylinder block with help of a top hat.
 
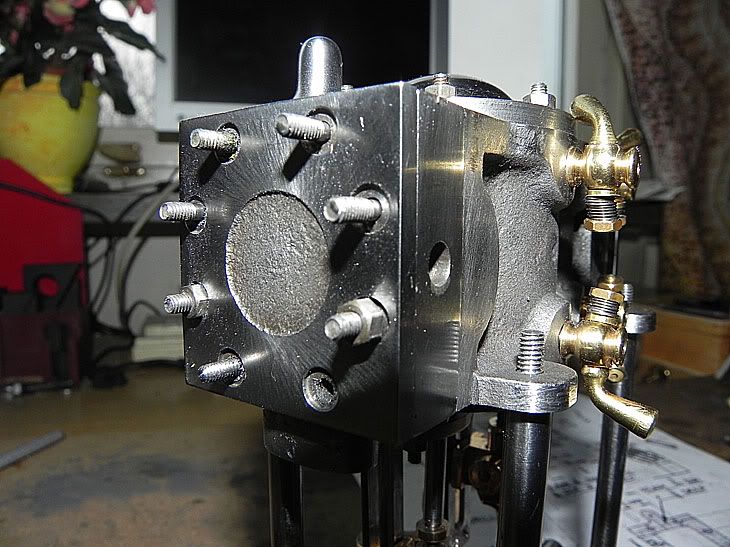
The stem chest with the cover seams to fits very well.
 
Next, the packing glands.
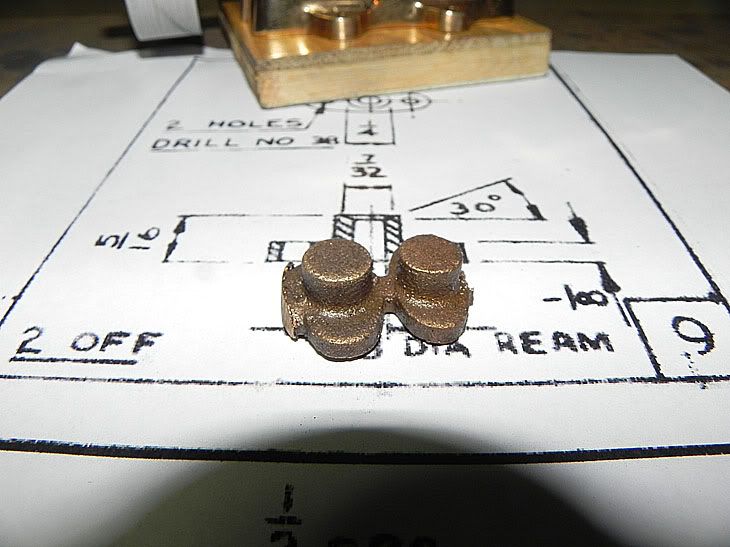
 
First I have to cutting of the pieces…
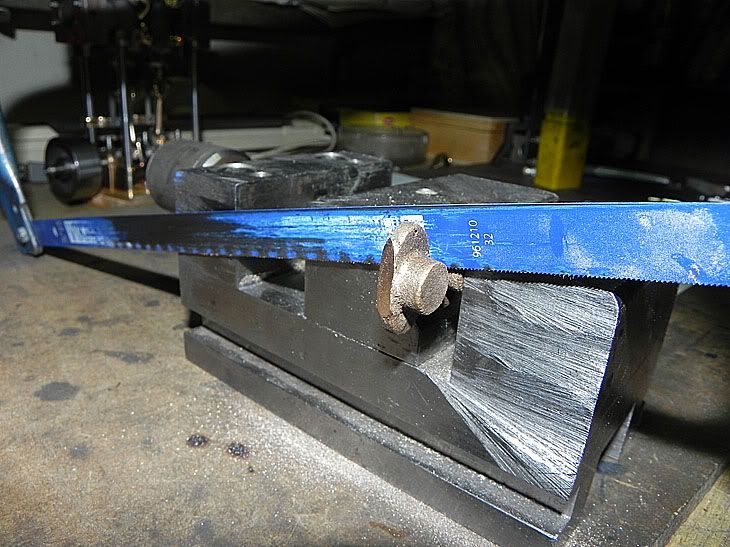
 
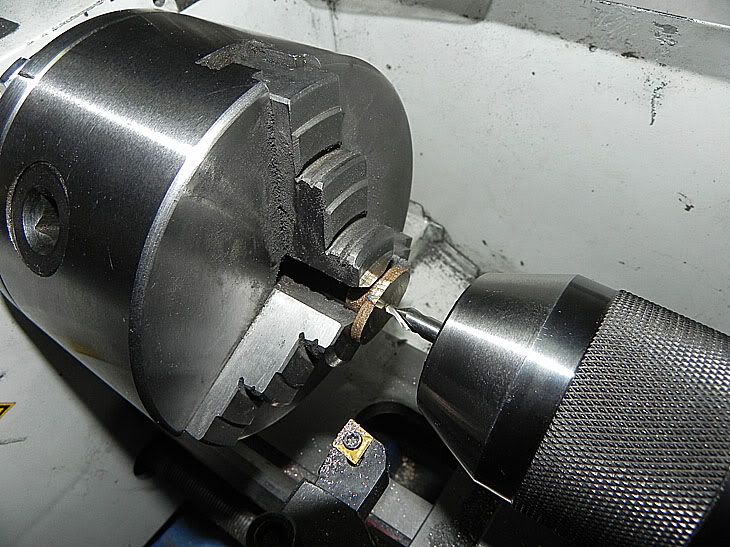
…and the in the lathe for some turns, flatten one side and center drill /drilled a hole.
 
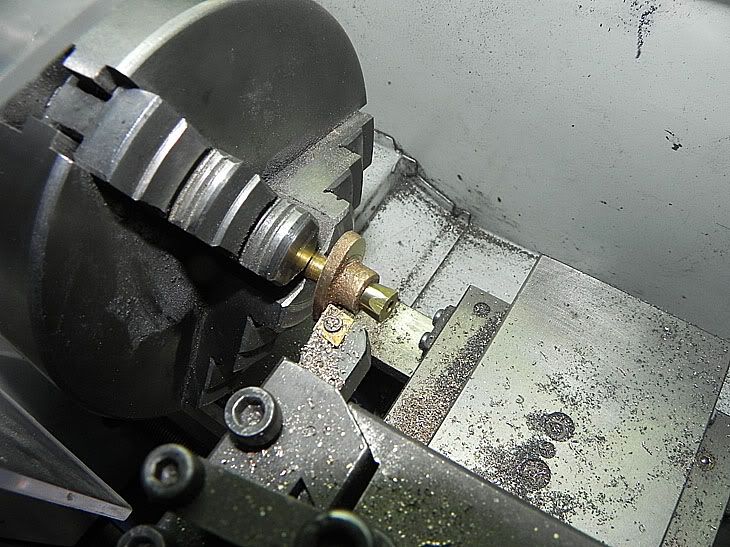
Then I use a spigot so I could turn the other side.
 
Marking for the holes for the stud, then threaded and then drilling through …
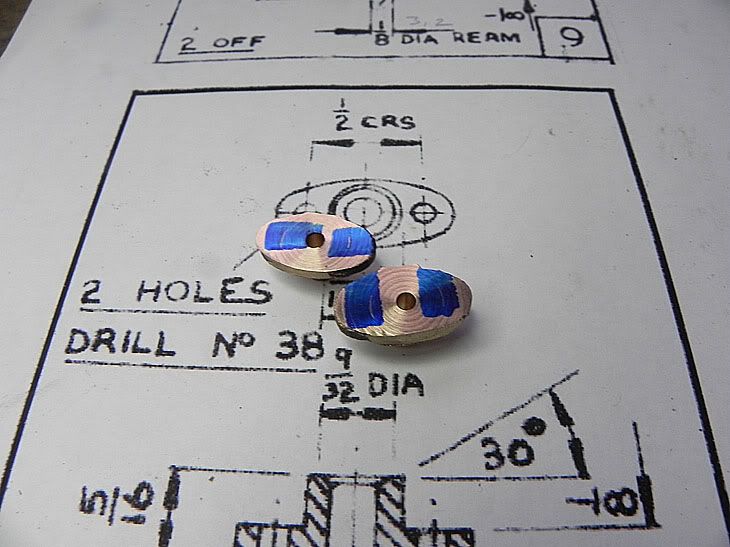


…and after some good work with my fill I have to check so it fits well.
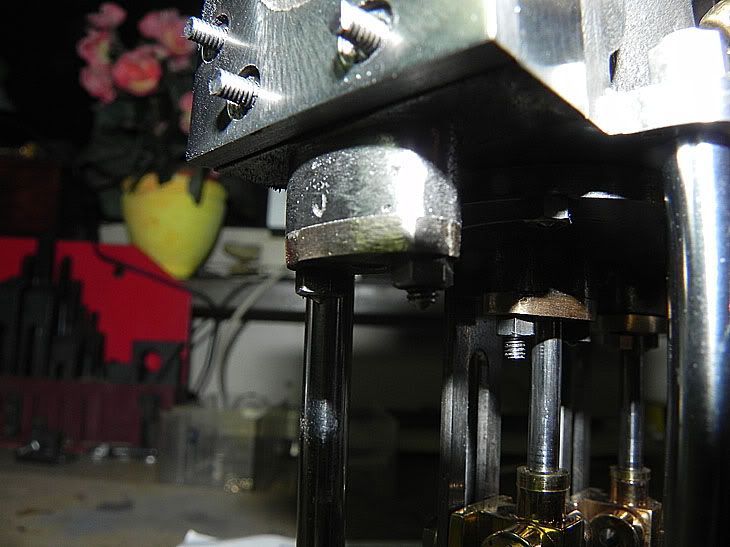
 
No it’s time for the valve roads.
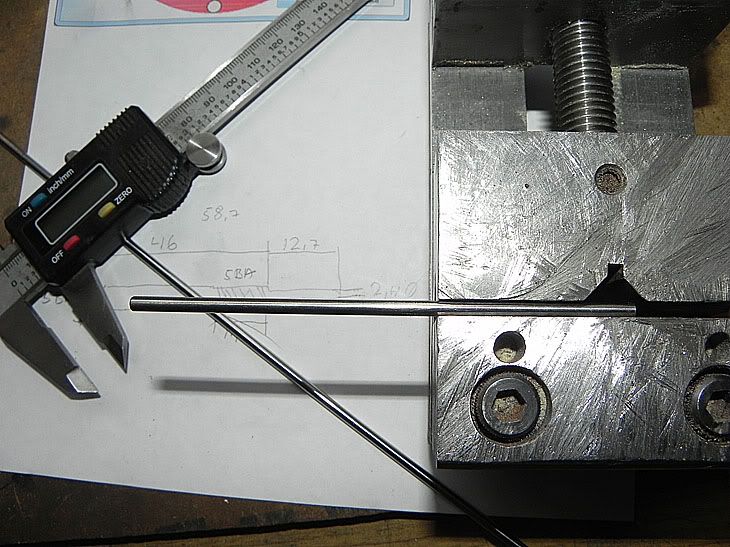
 
After cutting the parts I took some turn in the lathe and threaded the valve roads …
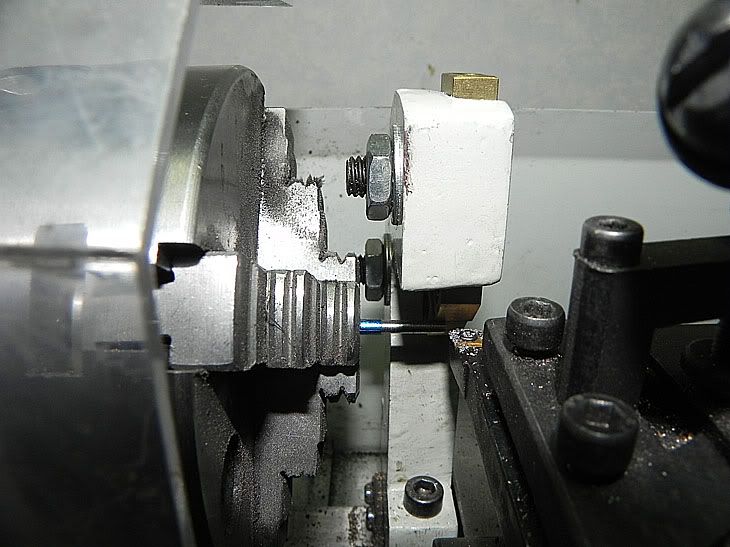
 
…in both end.
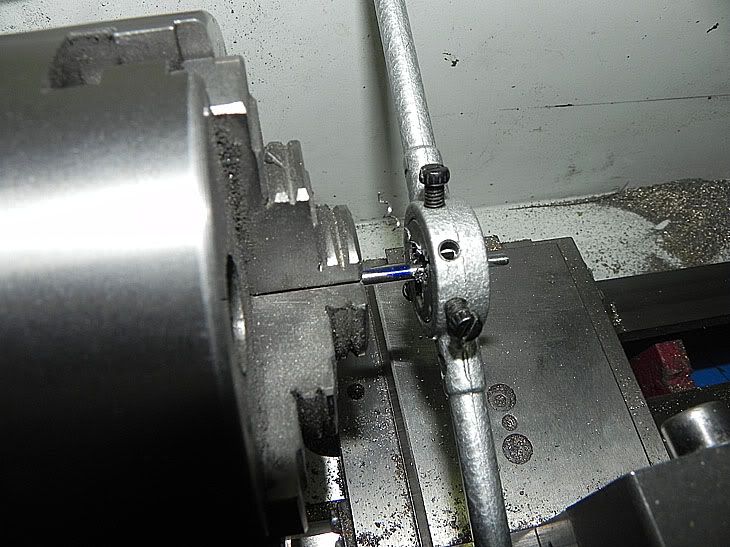
 
And now there is to more pieces to the steam chest.
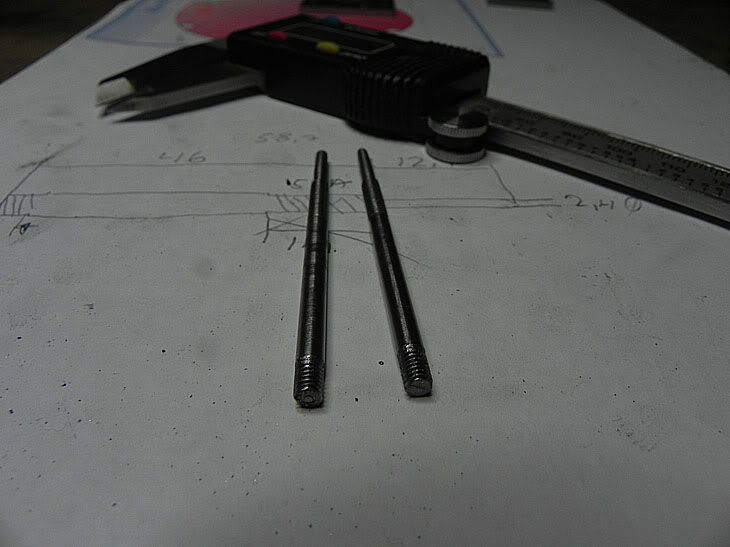
 
Next, the valve.
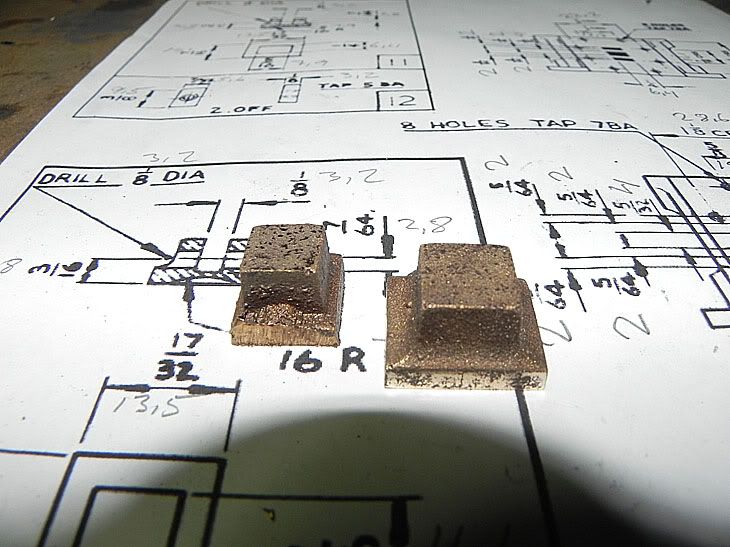
 
First in the mill I flatted both sides…
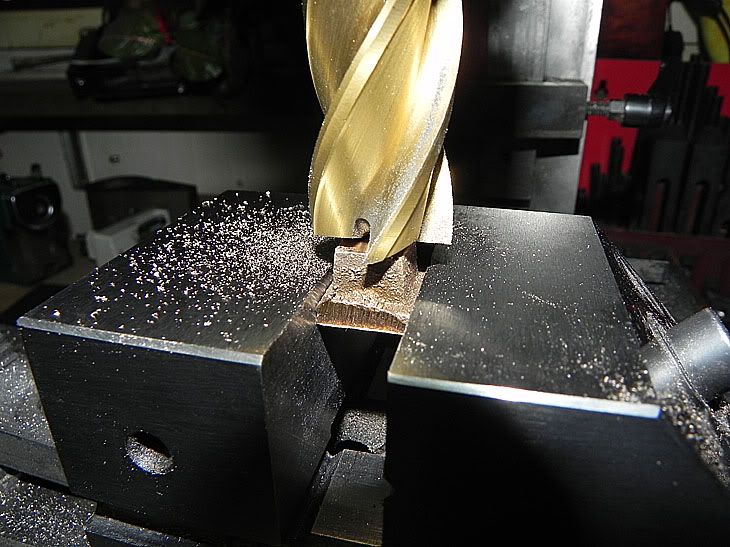
 
…trying to have a smooth side on the valve.
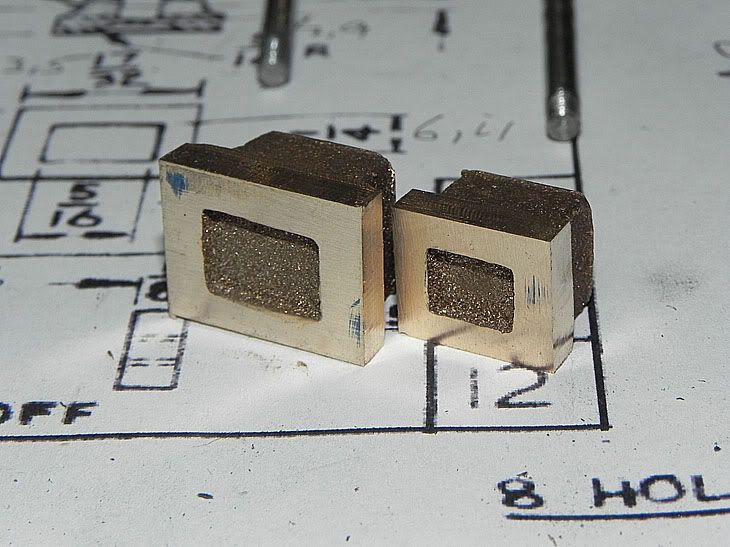
 
Then drilled throe …
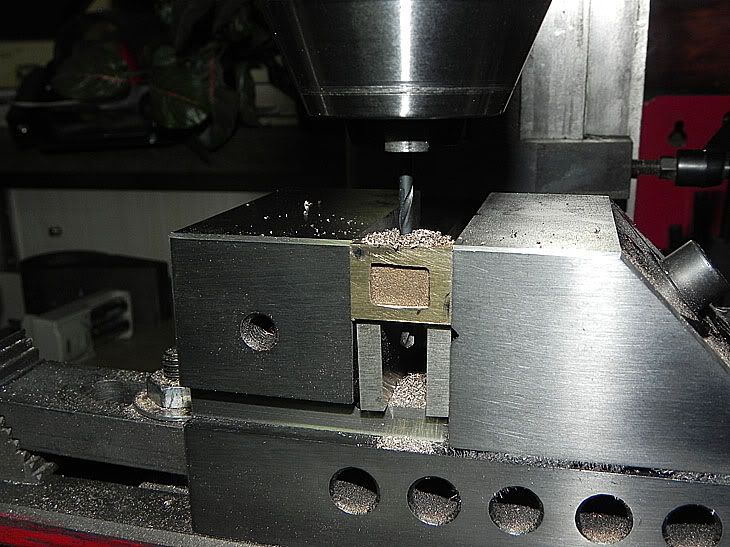
 
…and then mill a track in the valve.
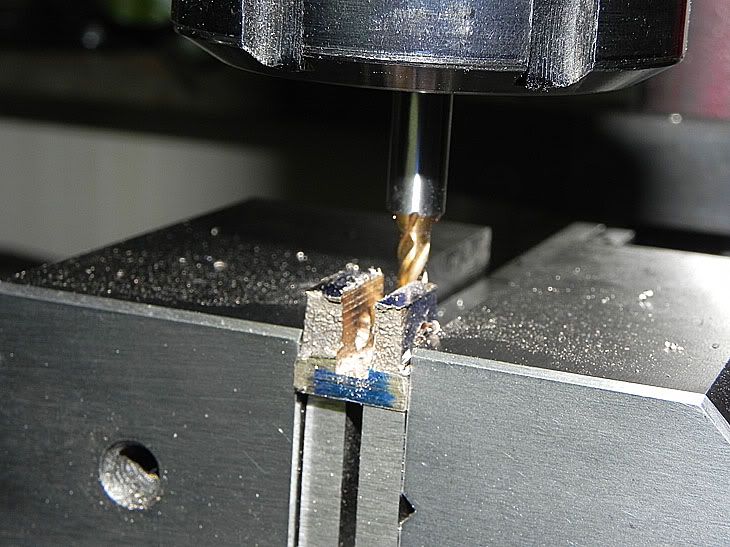
 
And now two more pieces finish.
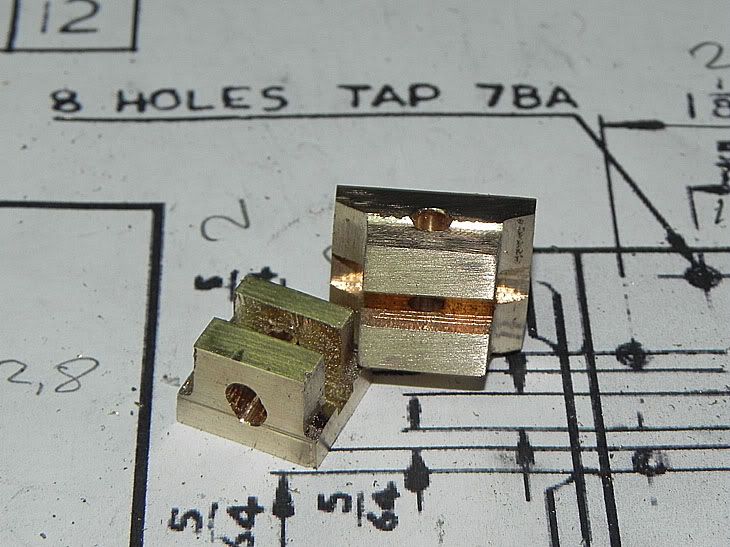
 
Then I cut of a piece of bras…
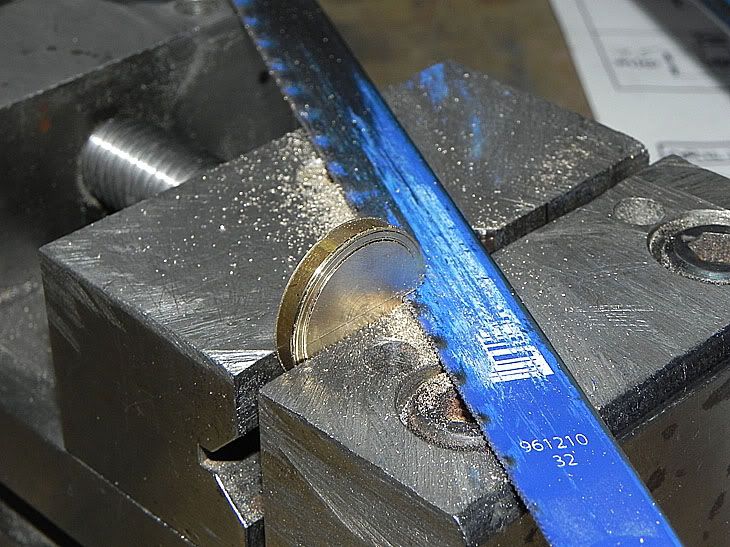
 
…and mark up for a hole to be drilled…
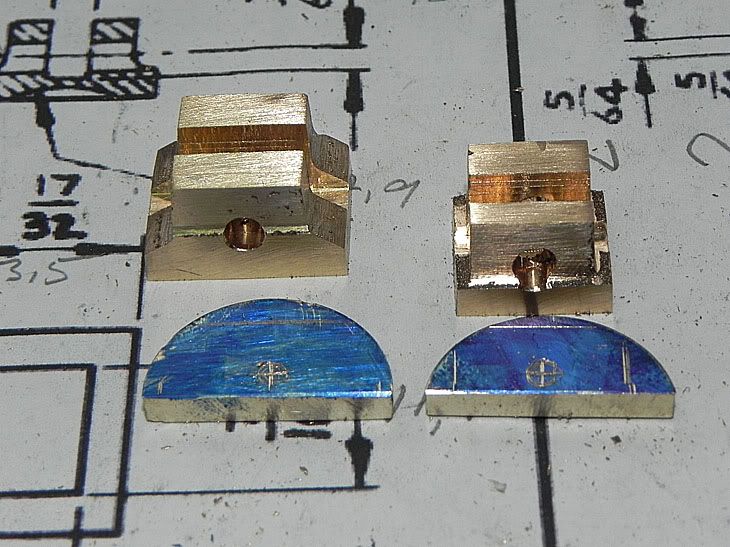
 
…and threaded…
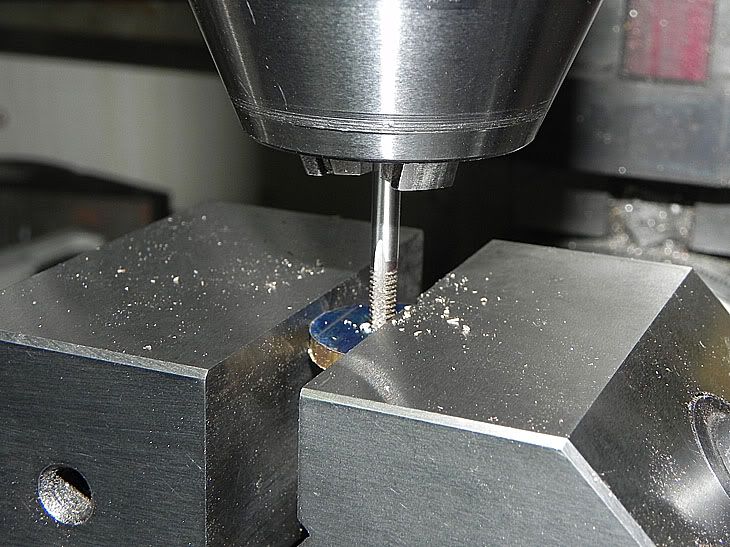
 
…and again check for fitting.
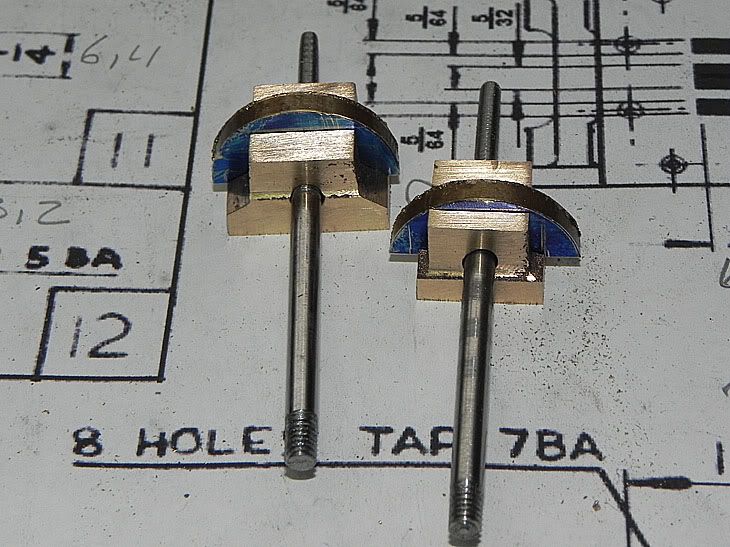
 
Then with a hacksaw and a fill I’ll got this…
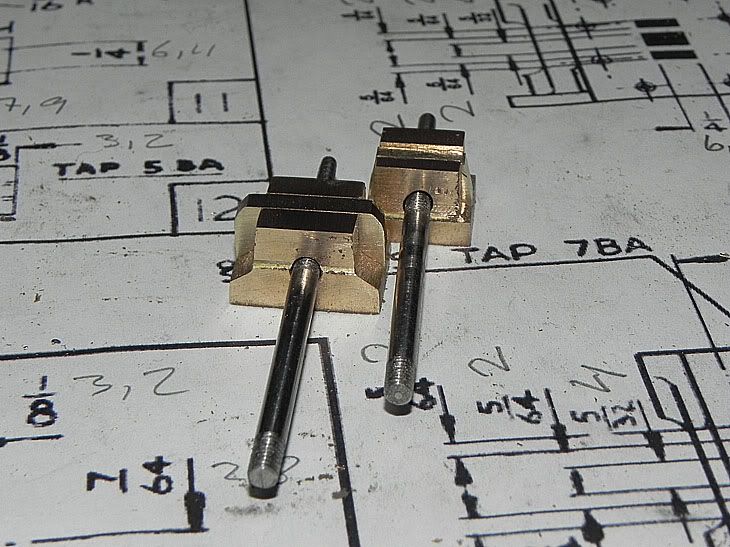
 
…and it fits well in the steam chest.
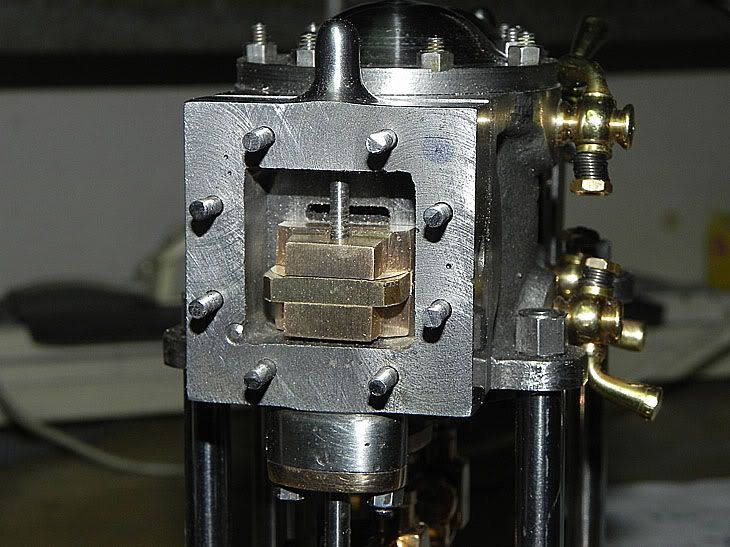
 
And now another piece is finish.
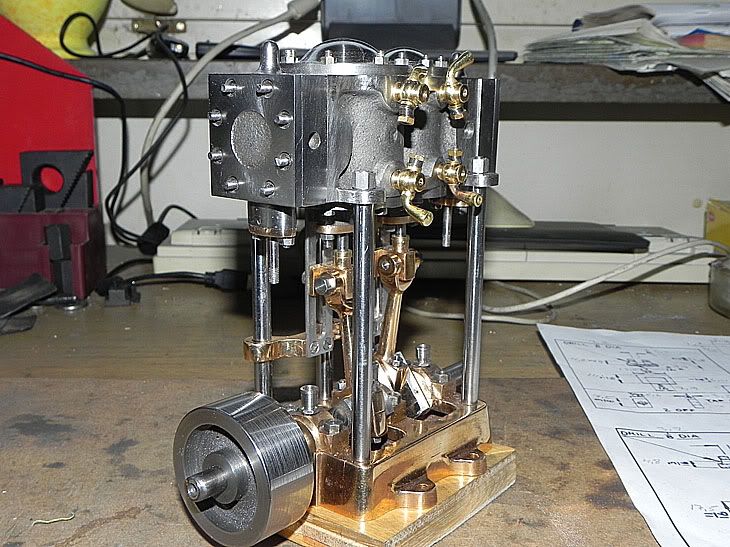
 
This update took some times, it was radar many pieces to make and they have to be accurate, but nothing bad happened so I am very pleased over this update.
I’ll be back.
 
_________________________
Greetings / Benni
http://myprojecty.wordpress.com/category/steam-engine/

Offline Stilldrillin

  • Global Moderator
  • Hero Member
  • *****
  • Posts: 4972
  • Country: gb
  • Staveley, Derbyshire. England.
Re: Building Stuarts Compound Steam Engine
« Reply #59 on: December 08, 2012, 09:53:10 AM »
That's good work you've done Benni!  :clap: :clap:

Very well shown, too.  :thumbup:

David D
David.

Still drilling holes... Sometimes, in the right place!

Still modifying bits of metal... Occasionally, making an improvement!

Offline andyf

  • In Memoriam
  • Hero Member
  • *****
  • Posts: 1795
  • Country: gb
    • The Warco WM180 Lathe - Modifications
Re: Building Stuarts Compound Steam Engine
« Reply #60 on: December 08, 2012, 11:26:05 AM »
Nice work, Benni!

I see you have been converting all the inch dimensions on the plans to mms. Are you using the nearest ISO metric threads instead of the BA ones on the plans?

Andy
Sale, Cheshire
I've cut the end off it twice, but it's still too short

Offline saw

  • Hero Member
  • *****
  • Posts: 1003
  • Country: se
  • lucky amateur
    • Svenssons AckordsWerkstad
Re: Building Stuarts Compound Steam Engine
« Reply #61 on: December 08, 2012, 12:29:23 PM »
Hi and thanks for nice comments.
andyf: No I am using BA but I need to understand the dimensions so I have program in Visual Studio a small program that convert inch to mm. Everything so an old man can build this engine  :zap: .
_________________________
Greetings / Benni
http://myprojecty.wordpress.com/category/steam-engine/

Offline NickG

  • Madmodder Committee
  • Hero Member
  • *****
  • Posts: 1890
Re: Building Stuarts Compound Steam Engine
« Reply #62 on: December 08, 2012, 02:22:02 PM »
Wow, Benni, that was a huge installment. You seem to be improving with each one, well done - fantastic work  :thumbup:
Location: County Durham (North East England)

Offline DavidA

  • Hero Member
  • *****
  • Posts: 1219
  • Country: gb
Re: Building Stuarts Compound Steam Engine
« Reply #63 on: December 08, 2012, 03:21:11 PM »
Benni,

You are an inspiration !

Most excelent work.

Dave

Offline NickG

  • Madmodder Committee
  • Hero Member
  • *****
  • Posts: 1890
Re: Building Stuarts Compound Steam Engine
« Reply #64 on: December 10, 2012, 01:37:13 PM »
Benni, just a couple of small things to point out that may help with running. You may already have done but you should lap the valves and port faces of cylinder block on fine wet & dry on a flat surface then with oil in a figure of 8 motion to ensure they are both nice and flat and make a good seal. Also the pocket of the inside of the valves should be an accurate size not left as rough casting. The length and position of the pocket are critical. You may need to size this dependent on how you ports came out rather than go straight from the drawings.
Location: County Durham (North East England)

Offline saw

  • Hero Member
  • *****
  • Posts: 1003
  • Country: se
  • lucky amateur
    • Svenssons AckordsWerkstad
Re: Building Stuarts Compound Steam Engine
« Reply #65 on: December 10, 2012, 02:53:14 PM »
NickG: Thanks for coments, I have not lap the valves and portface, but I have not forgot that. I thought that when I have manufactu all pieces I should strip down the whole engine, polish and adjust everything.
About the inside of the valve, I did not know that but now when you tell me, I will do that. Thank you very much NickG to be so accurate.  :D
_________________________
Greetings / Benni
http://myprojecty.wordpress.com/category/steam-engine/

Offline saw

  • Hero Member
  • *****
  • Posts: 1003
  • Country: se
  • lucky amateur
    • Svenssons AckordsWerkstad
Re: Building Stuarts Compound Steam Engine
« Reply #66 on: January 02, 2013, 02:09:21 PM »
Eccentric Rods
Hello Gentlemen.  :wave:

Now it’s time for the head, that connecting the valve road with the eccentric rods.
A piece of mild still in the lathe…

Eccentric_Rods_063

…and some turns and center drill.
After drilling  and cut off…
Eccentric_Rods_065

…then in the mill some more drilling for connecting to the eccentric rods.
Eccentric_Rods_066

Then with an end mill…
Eccentric_Rods_067

…and it begun to look as a head.
Eccentric_Rods_068

Then some threading for connecting to the valve rods…
Eccentric_Rods_069

…and then finish off with some end mill.
Eccentric_Rods_070

After some work with a good fill and some polish…
Eccentric_Rods_071

…and here is how it looks on the engine.  :coffee:
Eccentric_Rods_072

Next the eccentric.
Eccentric_Rods_073

First I have to center drill…
Eccentric_Rods_074

…then some turn on the lathe…
Eccentric_Rods_075

…and then turning the small track on the eccentric.
Eccentric_Rods_076

Half way done.
Eccentric_Rods_077

And now a very crazy setup, I was force to use the cuck from my unimat be course   
I was unable to clamp it to the original chuck.  :smart:
Eccentric_Rods_078

Center drill…
Eccentric_Rods_079

…and drilled…
Eccentric_Rods_080

… and reaming.
Eccentric_Rods_081

Then drilling and trheading for the stop screw.
Eccentric_Rods_082

And this job was finish…
Eccentric_Rods_083

…and mounted.  :coffee:
Eccentric_Rods_084

Now the last part, the eccentric rod.
Eccentric_Rods_085

First I have to measure and mark out where to cut and where to drill…
Eccentric_Rods_086

…then drill the hole for the bolts before cutting off the parts.
Eccentric_Rods_087

I’ll then use an end mill so the bolts head could fit better…
Eccentric_Rods_088

…on both side.
Eccentric_Rods_089

Then with my hacksaw I cut the part…
Eccentric_Rods_090

…and threading the bottom part.
Eccentric_Rods_091

Some turns on the lathe…
Eccentric_Rods_092

…and then borring the inside…
Eccentric_Rods_094

…and checking so the hole fits well to the eccentric.
Eccentric_Rods_095
Next I have done a little special for turning the track inside the eccentric rod.  :D
Eccentric_Rods_096

And again checking the result…
Eccentric_Rods_097

…then back to the mill for milling the surface…
Eccentric_Rods_098

…and then some more milling.
Eccentric_Rods_099

And now some filling and polish…
Eccentric_Rods_100

…and the result…
Eccentric_Rods_101

…and then mounting to the engine.  :med:
Eccentric_Rods_102

Well she is beginning to look like the real thing. It is not so many parts to manufacturing but it’s still long way to go before she’s run.
I’ll be back.
Benni
_________________________
Greetings / Benni
http://myprojecty.wordpress.com/category/steam-engine/

Rob.Wilson

  • Guest
Re: Building Stuarts Compound Steam Engine
« Reply #67 on: January 02, 2013, 02:54:30 PM »
 :clap: :clap: :clap: :clap: coming along Very nicely Benni  :thumbup:


Rob

Offline NickG

  • Madmodder Committee
  • Hero Member
  • *****
  • Posts: 1890
Building Stuarts Compound Steam Engine
« Reply #68 on: January 02, 2013, 03:16:08 PM »
Yep, looks lovely Benni. Not long before you start setting the timing etc- which am not quite sure how on a compound like this. Will be good to see, looking forward to it.
Location: County Durham (North East England)