Well OK, just glowing ball really....But it wasn't as funny of a topic heading in the singular

Anywho... On with the post.
I started this about 2 months ago I think, finished it off just last week and left the write up till this week
The idea arose from an e-mail conversation with John Sommers where he suggested I made a self illuminating mini disco ball.
I got the wrong idea and went off with this below, where as John meant fibre optics etc.
Where as I thought John's idea was too hard for my current capabilities I could in my mind machine my version. so.......
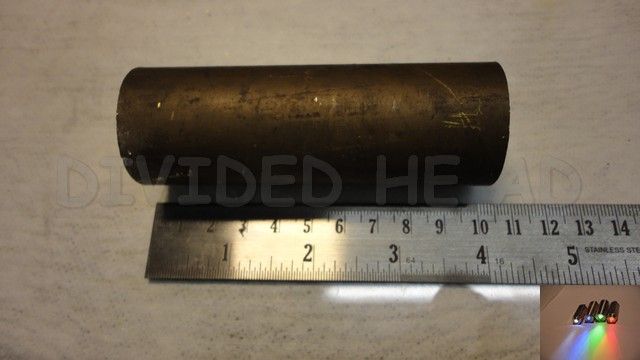
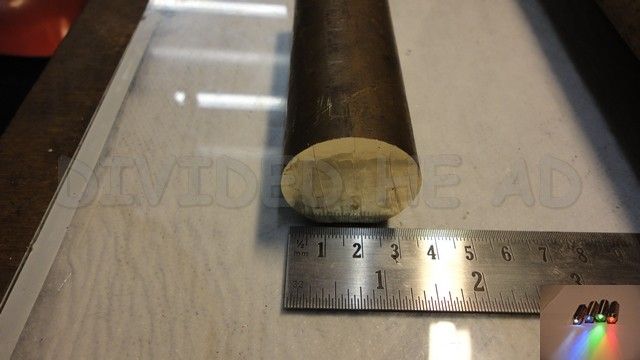
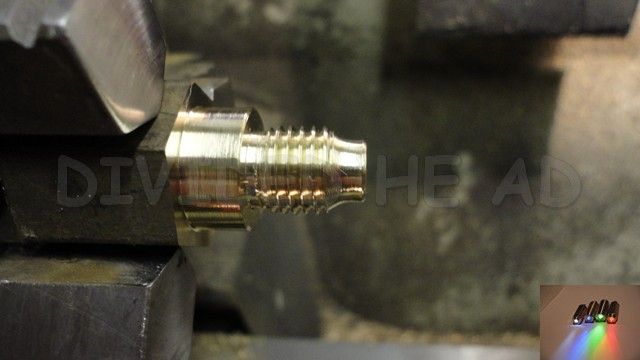
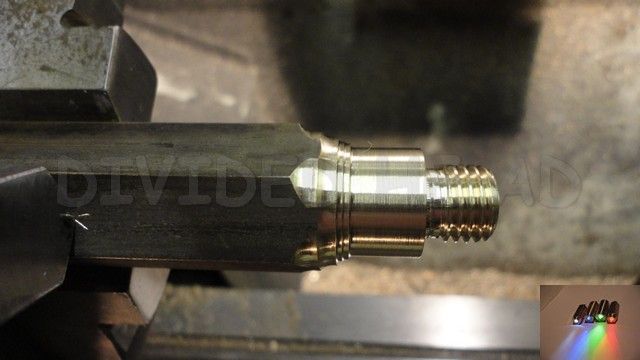
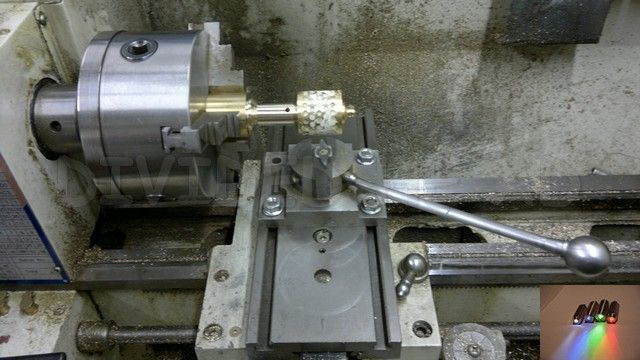
We start wit a big lump of brass!
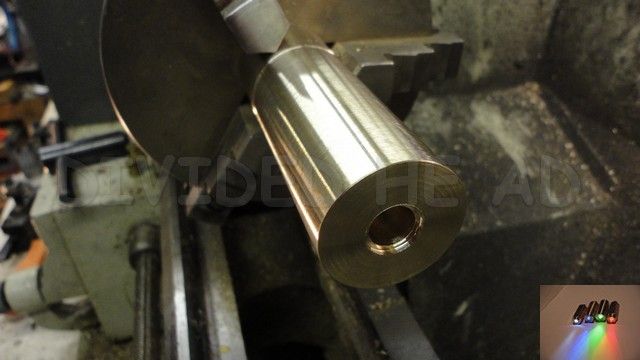
This was cleaned up and then the basic internals of my mini brass torches were bored and threaded into the end of it.
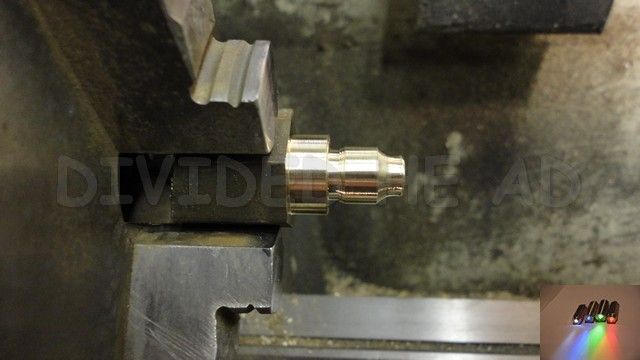
The end cap was made and all the jiggery pokery fine adjustments were made to get the contact point correct for the light to turn on at full tightening.
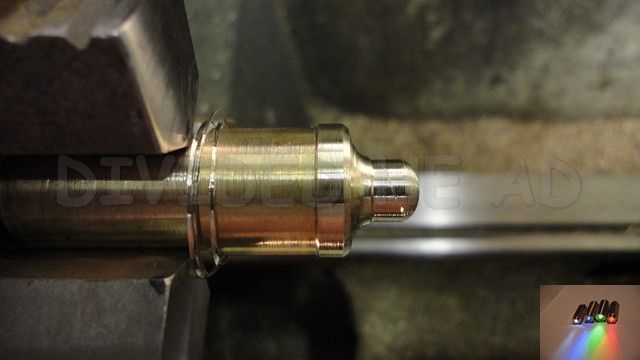
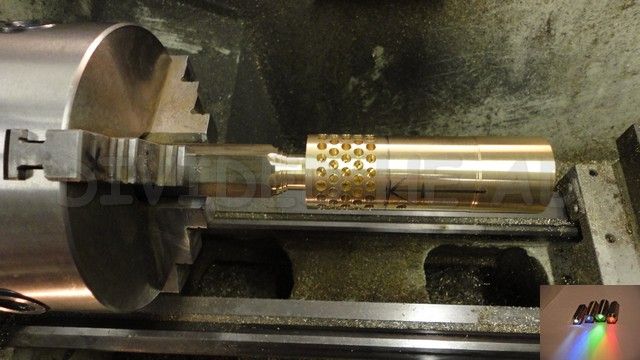
This is then fitted to an arbour for sizing and shaping.
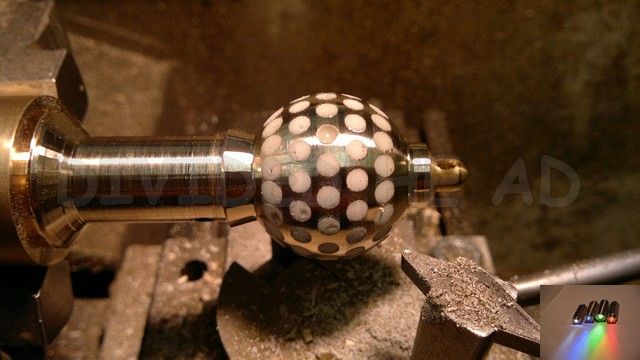
The main body was then transferred to the rotary table and a set of 5 rings of 4mm holes at ** degree spacing were drilled into the outside.
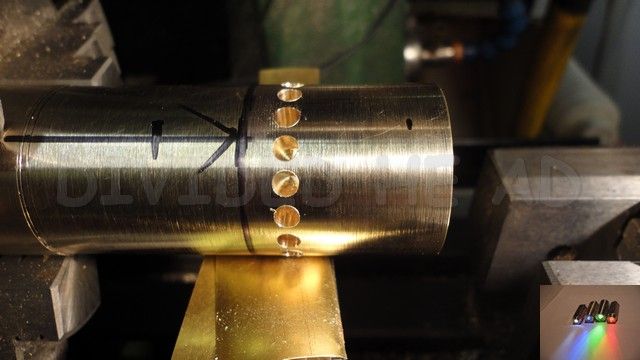
I then made an arbour for use later in the build.
This was then spun up and had very little wobble. Which means I was very happy

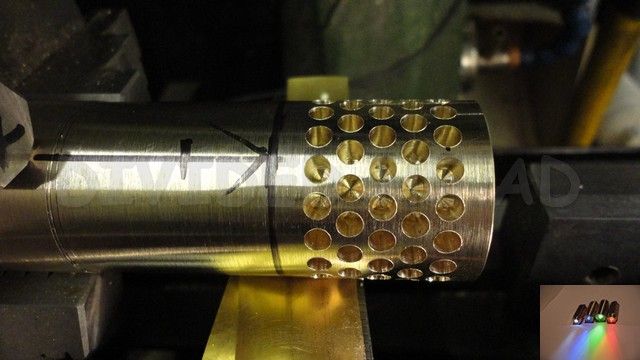
I mixed a few batches of GID powder impregnated epoxy resin and used a syringe to fill the holes from the bottom up to minimise airlocks.
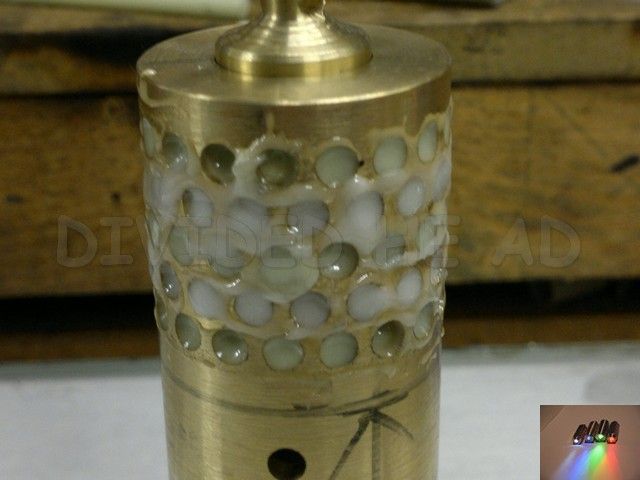
Once set it was ready to machine... It took me 3 weeks to get to this part so it was well set!
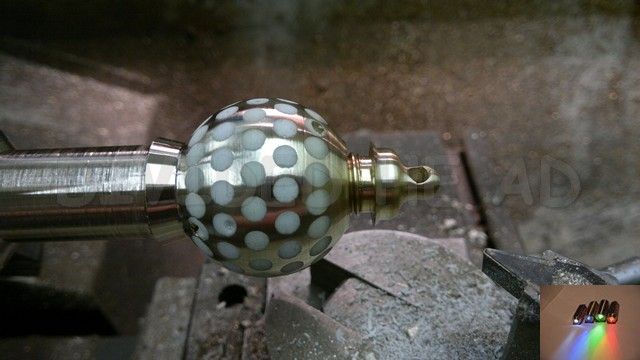
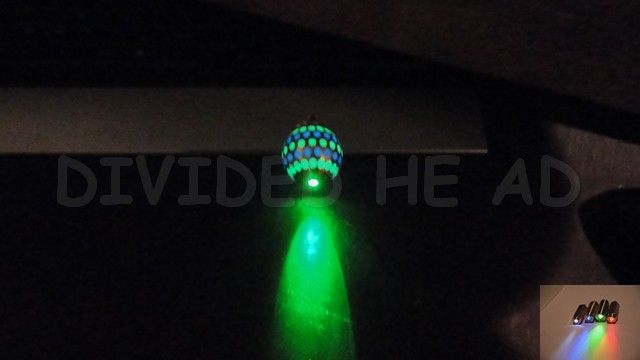
The extra hole visible in the bottom part of the above pic' is the way I knew the torch was working during set-up.
The only way to see the light working

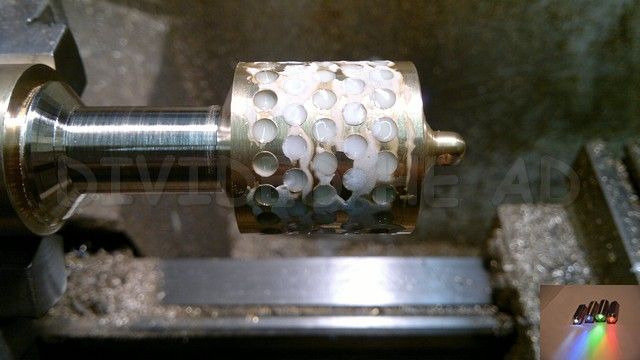
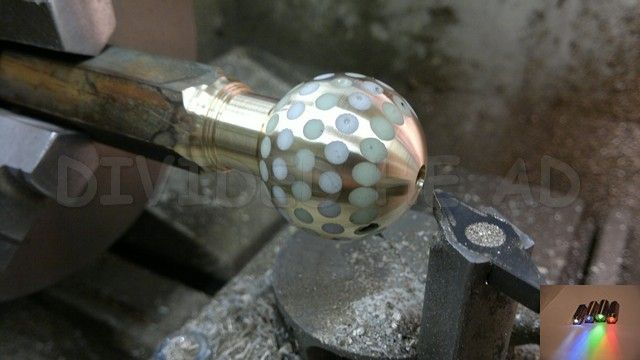
The workpiece was then chucked up in the lathe again (I had marked it for jaw #1 before removing it the first time to help keep register)
The centre part was reduced to allow the main shape to be formed with the ball/radius turner.
The ball shape was started with the cap inserted so that it cut the cap also . (the cap was made deeper than usual so it could be machined in this fashion.)
The ball is cap is removed the sharp edges are smoothed off for safety.
The ball is cut free from it's arbour and screwed onto the arbour I made earlier.
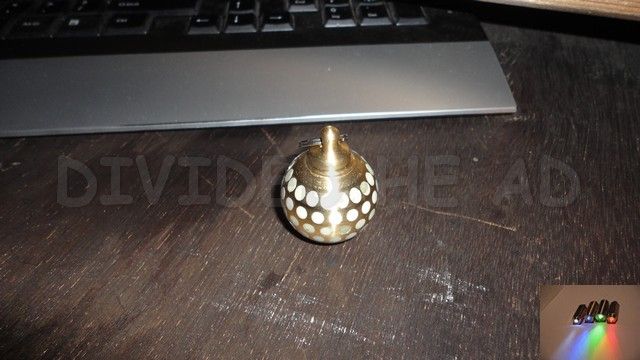
This is then realigned with the ball turner and the stub is machined off, leaving a nice ball shape

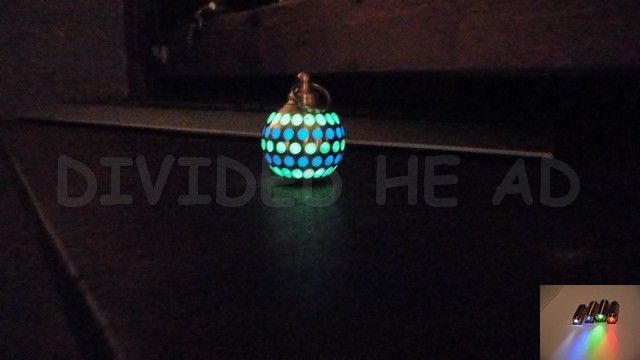
And the obligatory in the dark shot....

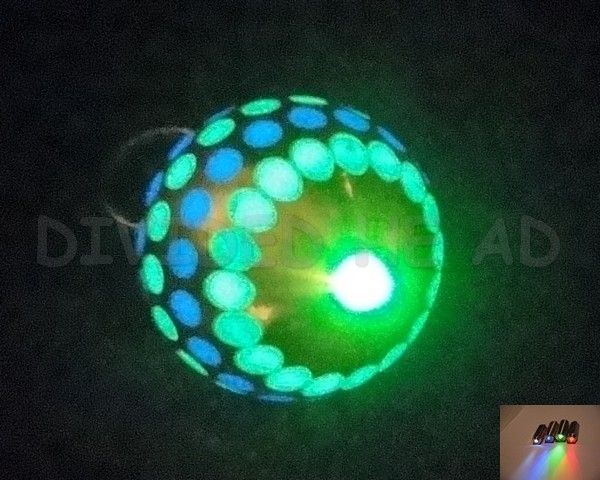
There were a few air bubbles left in the resin even given my bottom up filling technique!
I filled these holes with some batches of resin but it didn't look very good. little rings of dirt were evident despite cleaning
with brake cleaner. This is now permanent. I'm not too bothered as this is only my second attempt at resin filled brass machining!
The final pic's....
You can just make out one of the repair rings in the top of the first green ring.
Well that's it. just a little something that only took about 12 hrs!
Ralph.


