I have patiently trawled fleabay for a Nircona trepanning tool but to no avail and then I had a Sprocket to modify like this:-
http://www.flickr.com/photos/74168320@N00/5613441927/sizes/z/in/photostream/http://farm6.static.flickr.com/5187/5613441927_58db44dd7a_z.jpgDash it I seem to be having trouble getting the BBthingey code from Flickr, I'll try again later.
 Big hole - Copy
 by
Anzaniste, on Flickr
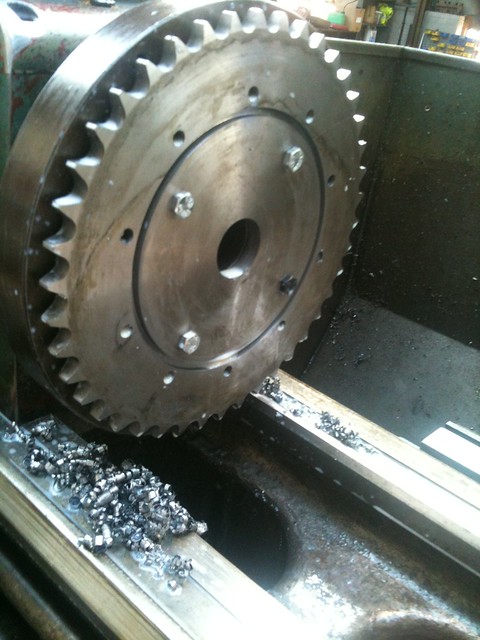
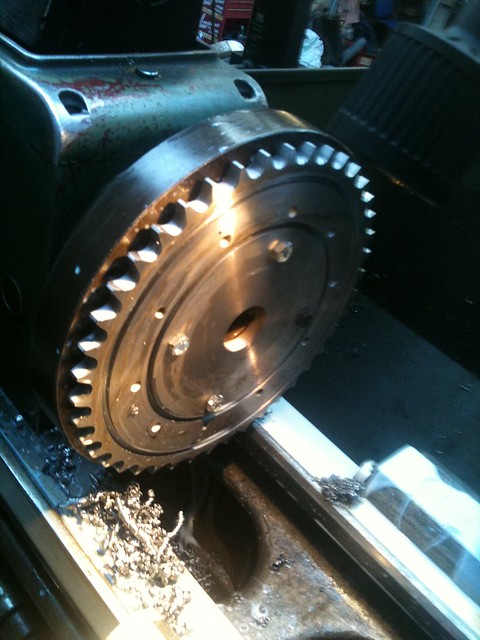
Good grief that took some doing, why do they keep changing things. Rant over back to the subject. The sprocket is 10" diameter and the hole is 6 1/2" diameter and 7/16" thick. Nervously I dug out my trepanning tool, a war scarred veteran of quite a few sprockets.
 IMG_0373
 by
Anzaniste, on Flickr
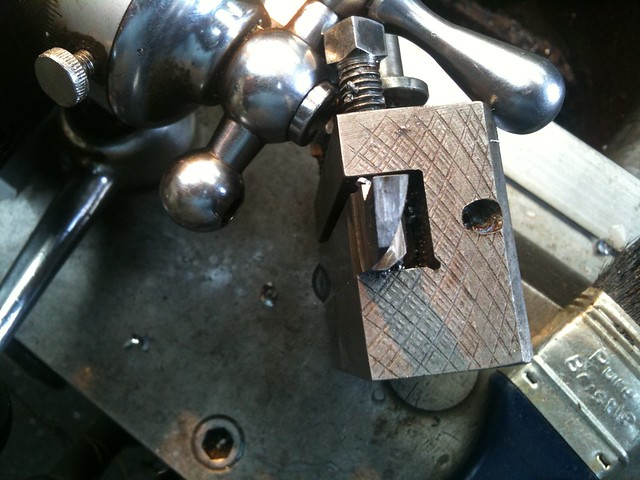
This is it, note the curve on one side and the straight side nearest the centre of rotation to give clearance. Some how or other the front clearance had disappeared (!!!!!) in the drawer and luckily I realised what was going on before I broke the tool.
To mount the sprocket I drilled 4 off 8mm holes to coincide with the slots on my face plate and packed it out from the face plate using a couple of repair washers on each bolt and centred it, using a dial gauge as per 4 jaw technique, on the 1 1/2" pilot hole in the centre of the plate. My lathe is a CVA which is good and solid so it does not give trouble if you are careful.
 Cutting action
 by
Anzaniste, on Flickr
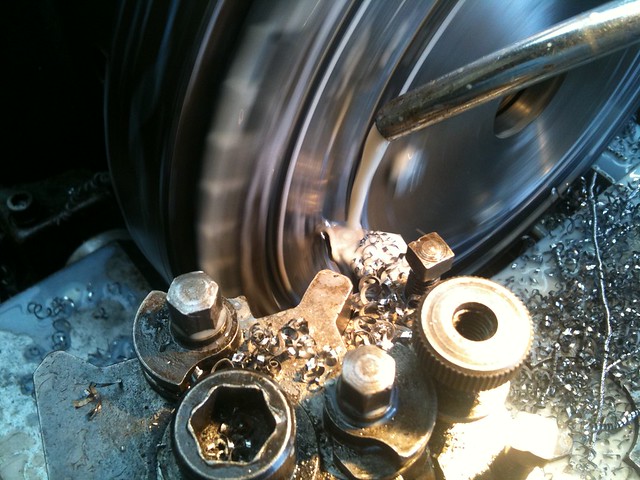
Here is some cutting action to initially achieve this, a 5.5 mm deep grove. The cutting tool is 4.75 mm wide so I am removing quite a wide piece of swarf.
 Swarf
Swarf by
Anzaniste, on Flickr
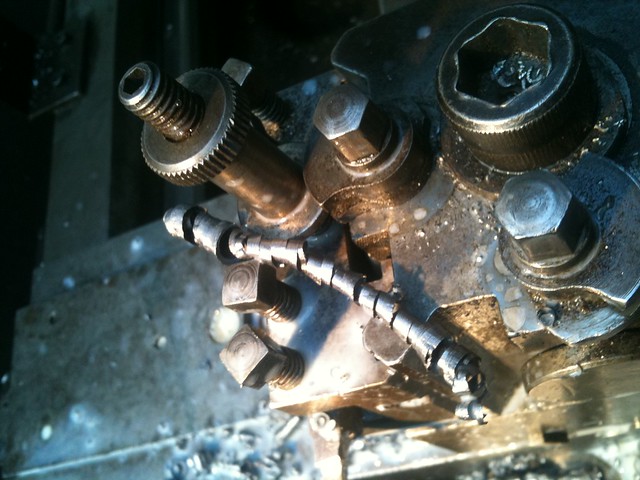
This is the groove.
 5.5mm deep groove - Copy
 by
Anzaniste, on Flickr
To achieve this without breaking the tool requires certain techniques. Firstly the stance, knees slightly bent, buttocks firmly clenched, tong half out and a grim facial expression; this appearance has the effect of keeping anyone in the vicinity well away 'cos they know I'm concentrating and have had the benefit of an attitude assesment when I have been interrupted in the past!!!

On the more technical side, correct cutting speed, buckets of suds, continual smooth slow in-feed of the tool (a two handed job ensuring continuous rotation of the hand wheel) and listening very carefully to the sound of the cut, you are listening for any change in the tune of the song it is singing. I also take frequent rests as these days I cant keep it up for long. I have never been brave enough to power the tool into the cut though I am sure that would be the best way on a very fine feed.
As part of the operation is thinning the bit of the sprocket that I want to use that is the next operation. This then means that I do not have to plunge a full 11mm with the attendant risks. A second groove is plunged nearer the periphery .
 2 grooves - Copy
 by
Anzaniste, on Flickr
And then the waste is turned off and the final plunge is taken leaving the bit in the middle which is where this thread started off.
And here it is showing the packing washers.
 Packing washers
 by
Anzaniste, on Flickr
Sorry if this posting is a bit long winded but I have been so impressed with other folks project threads I thought I would have a practice on some thing simple to start with.
Surprisingly it has taken me all of an hour, I could have made a lot of swarf in that time!!
All the pictures were taken on my Iphone using available light of which there was not much.


