The following is a tutorial on the construction of the tubing bender required to do the stainless tubing on the V-twin engine but first a little bit of background information is needed.
Having built and used a bender in the past I knew somewhat of the results of bending stainless and copper tubing. With that in mind I wanted a tool that would bend as smooth a radius as I could get, with no distortion. In conversation with another builder I also wanted to try and use a low temperature alloy (Cerrosafe, Cerrobend) to fill the tubes prior to bending. I had heard of several different methods but this seemed like the best way to go. I had worked with this alloy as a spotting plug when I worked as a metal patternmaker but had never used it for this purpose. S
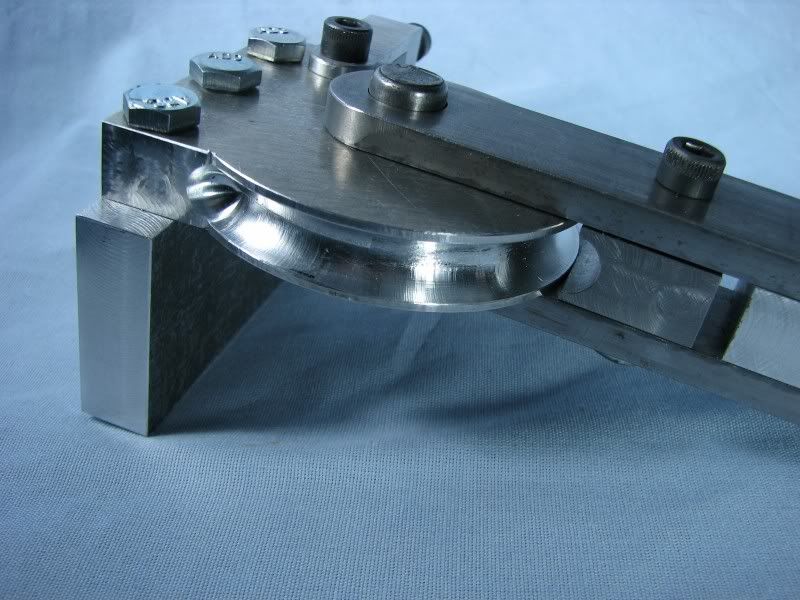
Somewhere I read that the minimum bending radius, wall thickness dependent, is 2-1/2 times the tubing radius. In that case I would need a bending plate with a radius of .938. When I layed it out it looked a little small, seat of the pants determination, so I increased it to 1.34 centerline radius. That was the largest radius I could use and still get everything to fit.
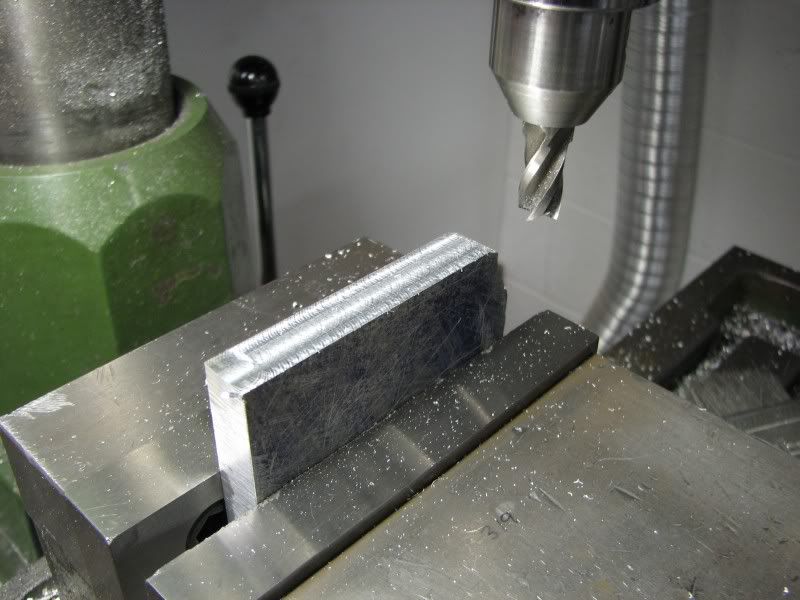
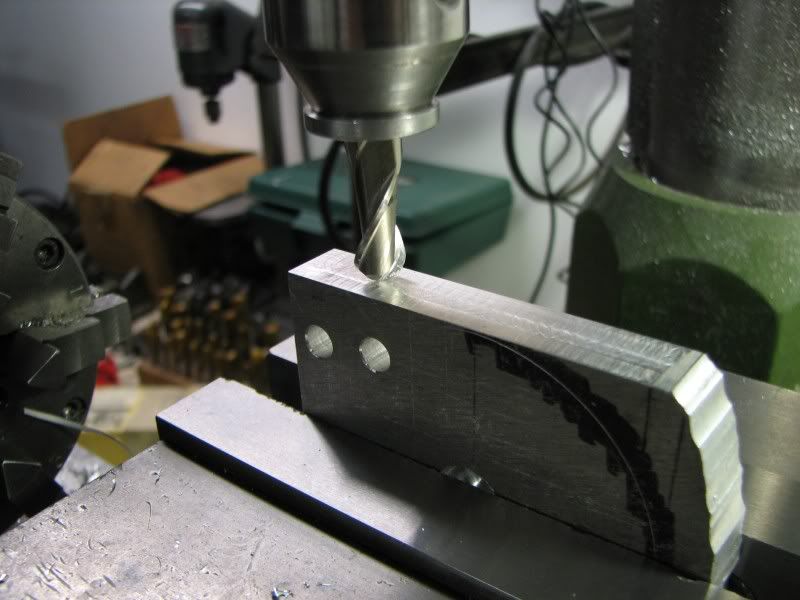
Normally I would have made everything from steel but being as this bender would have limited use I decided to go with aluminum for the plate and clamp strap. The first pictures are the plate layed out and being squared up.


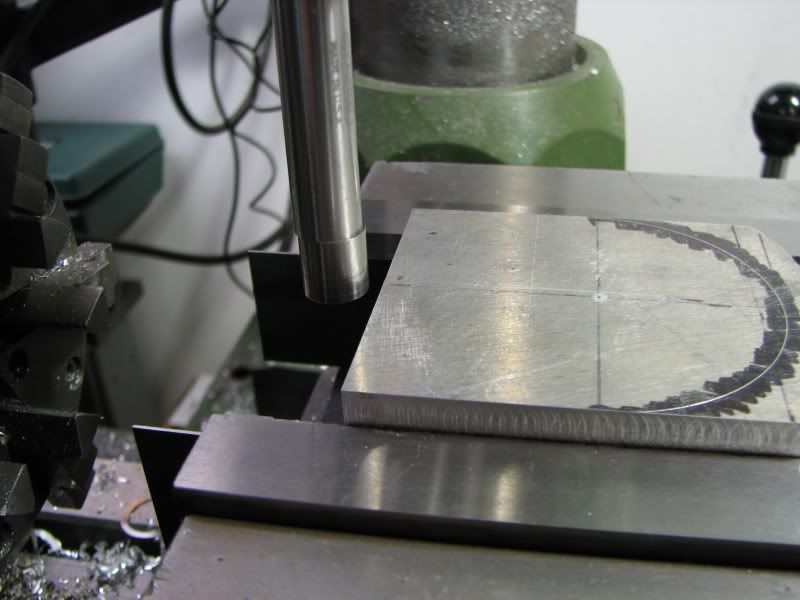
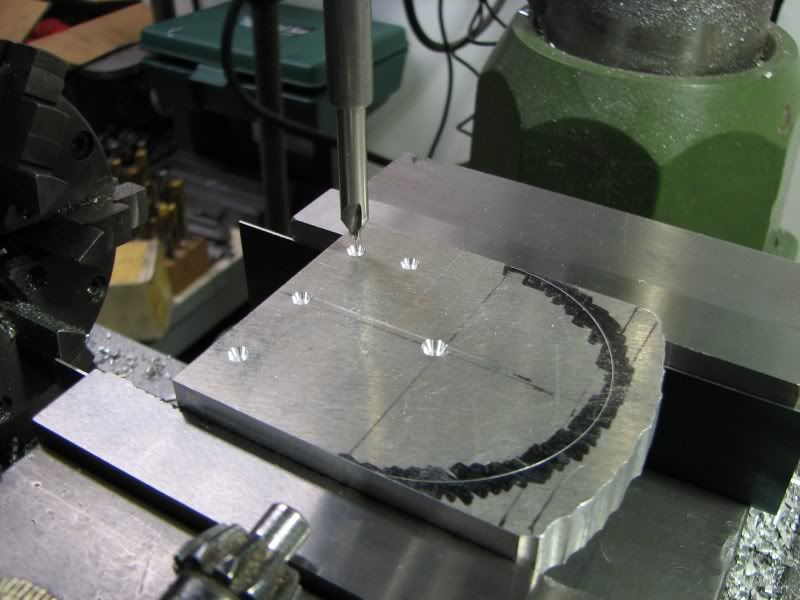
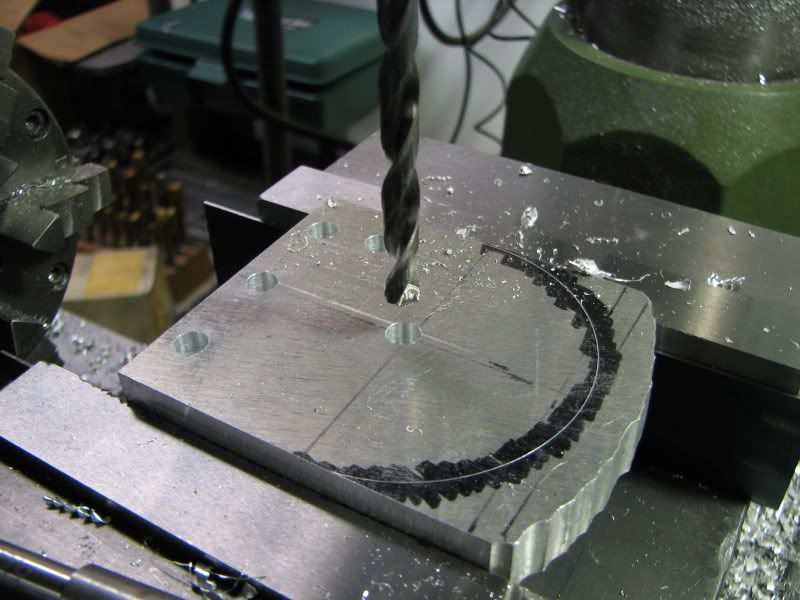
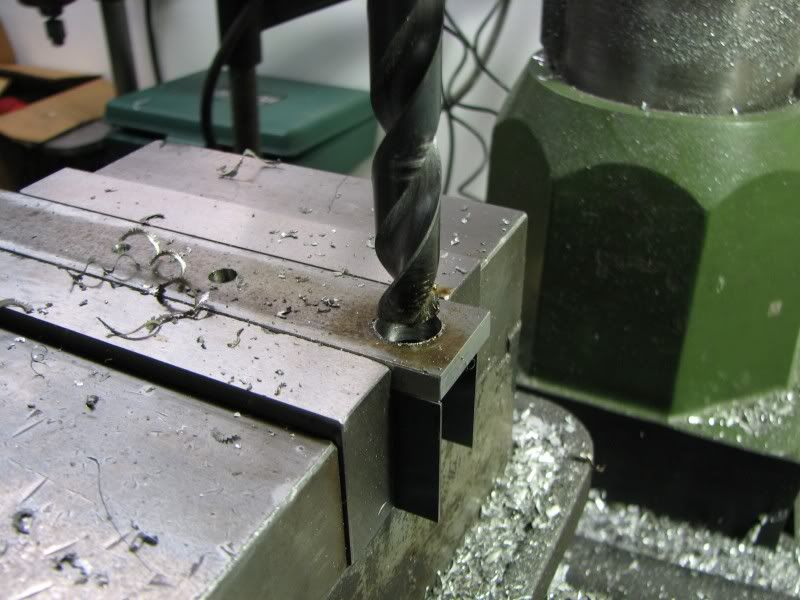
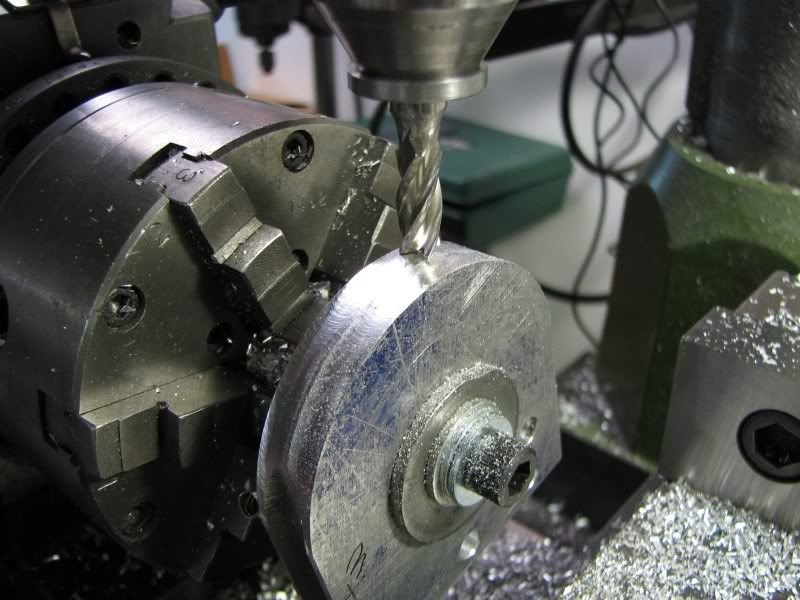
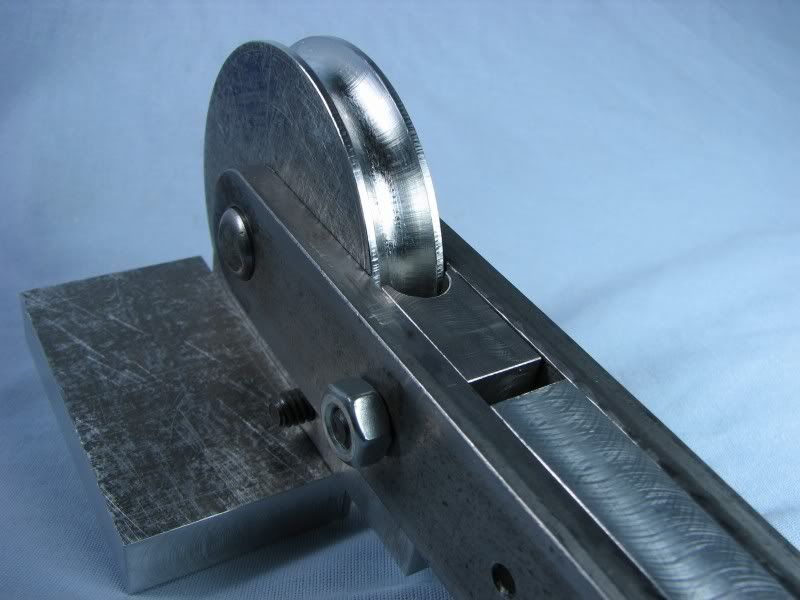
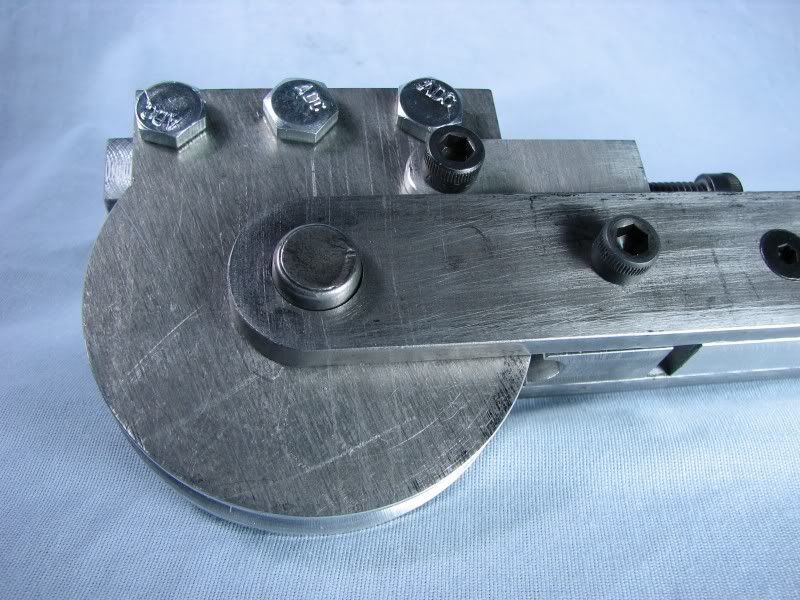
The next step was to pick up the edges with the edge finder so I could put all the mounting holes in, three for the clamping bar, one for the clamp strap and the large center hole (.500) for the pivot post.

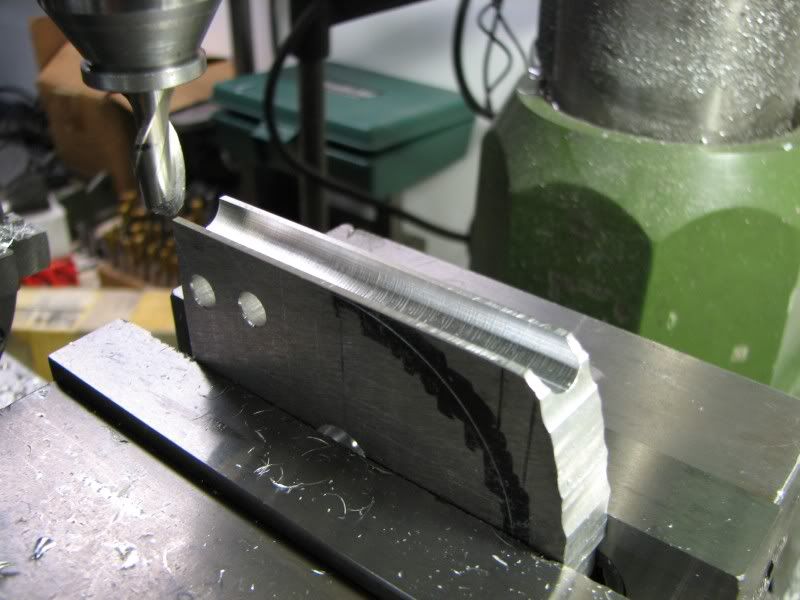
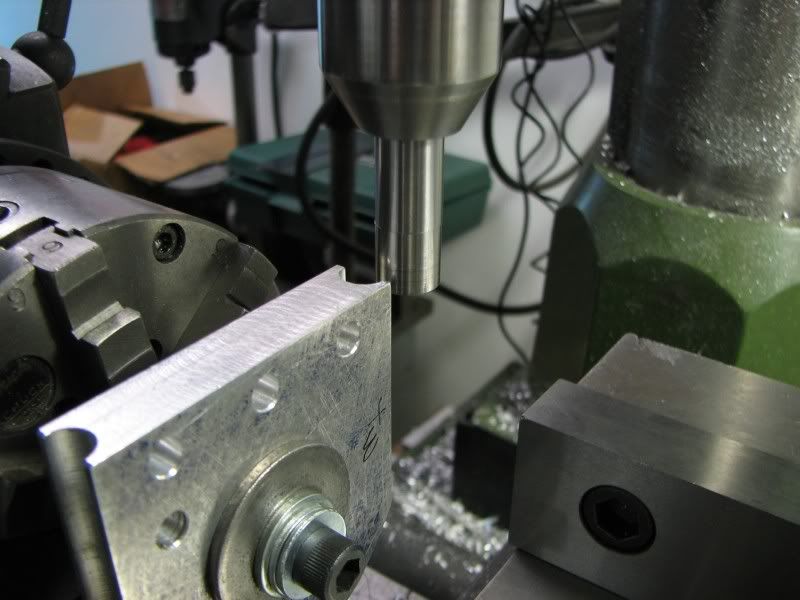
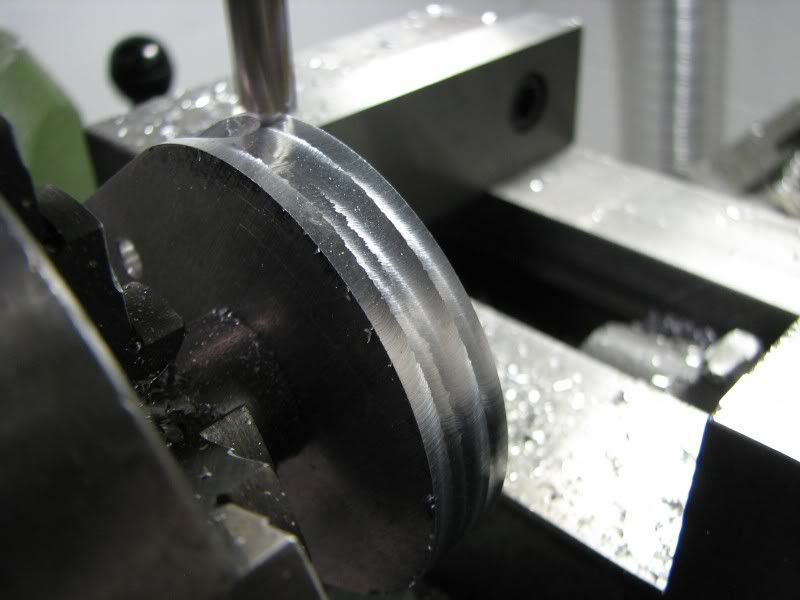
With those finished I put the radius into the long edges with a .375 ball mill
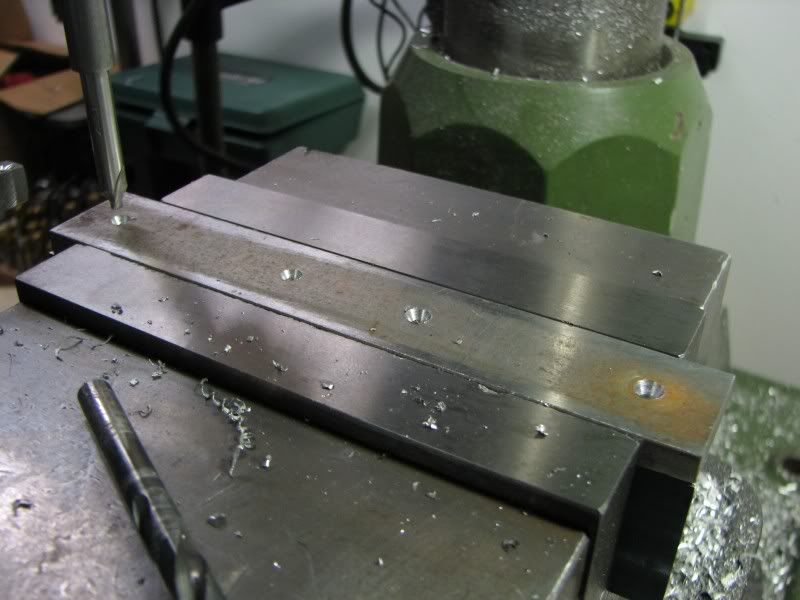
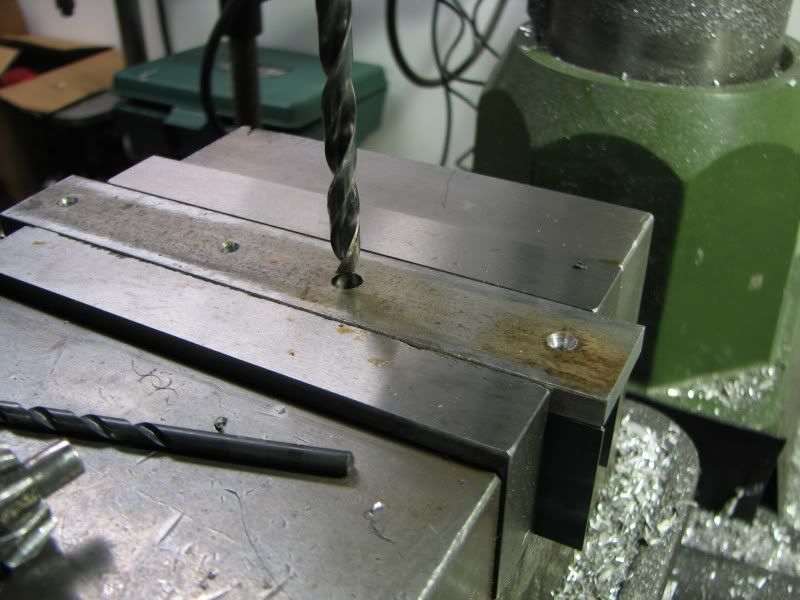
With the size of the tubing and filling is with the alloy I figured that a fairly stout handled would be in order so I used two pieces of .25x1.00 C.R.S. for the outer pieces and made the filler block from aluminum. This was screwed together with some 1/4-20 flat head allen screws.
I didn't document the machining for the clamp strap as there was just some simple squaring up and drilling involved.
To radius the end of the plate I was going to set my horiz/vert rotary table up but the more I thought about it I decided against it. The rotary table is 8'' diameter and I would have had to space the plate out far enough to get the spindle down to the work. I decided instead to use my dividing head, which was already set up. I made an arbor to mount the plate on an adjusted it true with my set true chuck.
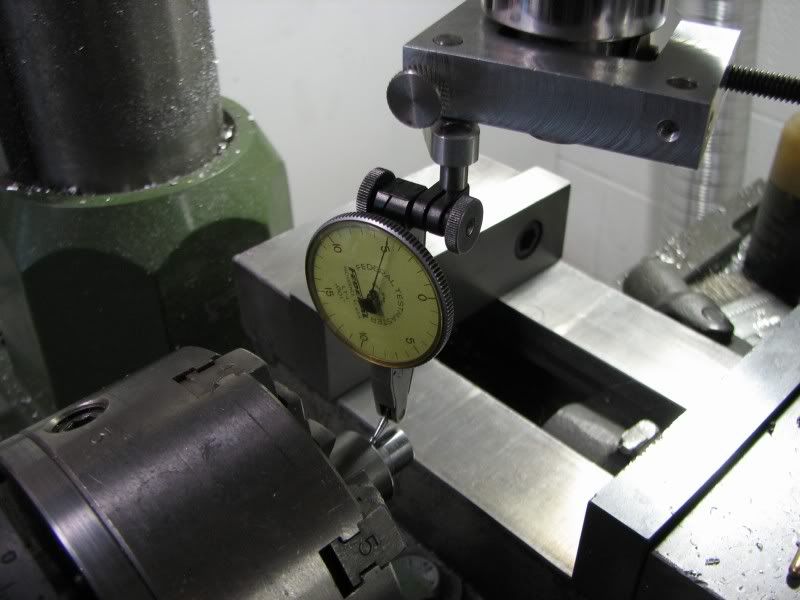
I then set the head at -0- as a reference point and with the plate lightly tightened I rotated it until it indicated -0-.

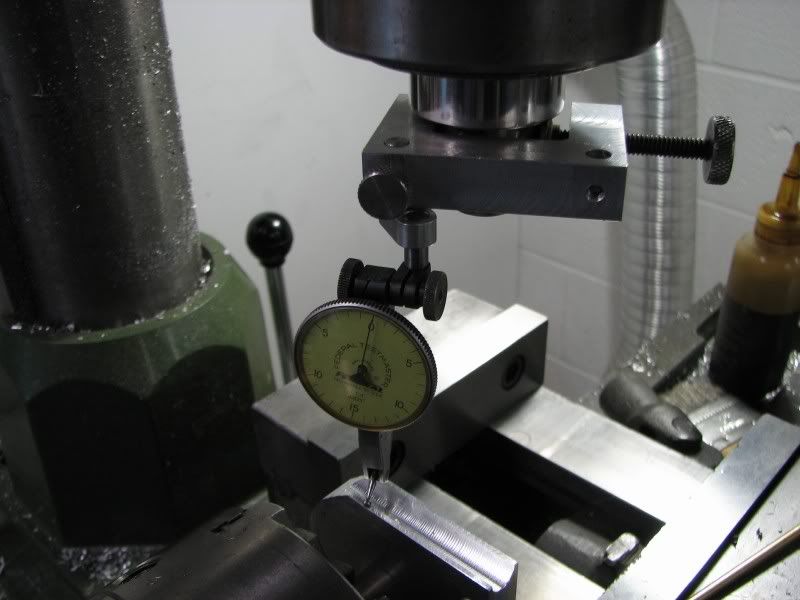
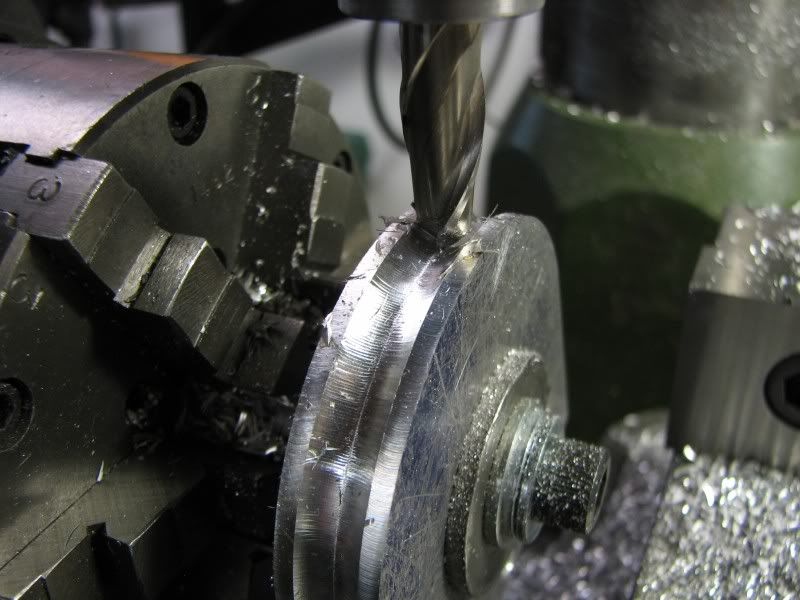
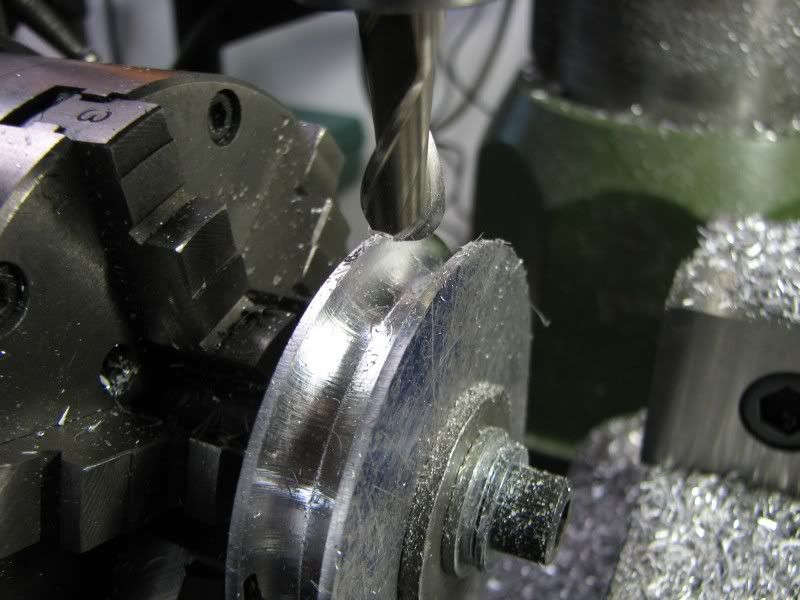
The next step was to pick up one edge so I could establish my center. With that done I put in a .312 end mill and moved off center about .152. The reason for this is because if you stay on center the end mill cuts a scallop and won't clean up to the proper dimension required. In the one picture you can see how it scallops the cut. In my case I only needed the outside edges cleaned up because the center was going to be cut out anyway.
I then moved back to center and put in the .375 ball mill. My first cut was about .08 deep but my little dividing head didn't care for that. Although the ball mill was sharp the cutting edges are relatively flat and you get more banging than with an end mill. I reduced the cut and finished it up with about 4 passes.
The follower shoe and the clamping pad were made from C.R.S. with the thought that if I made the follower shoe from aluminum in might gall against the tubing when trying to bend the radius.
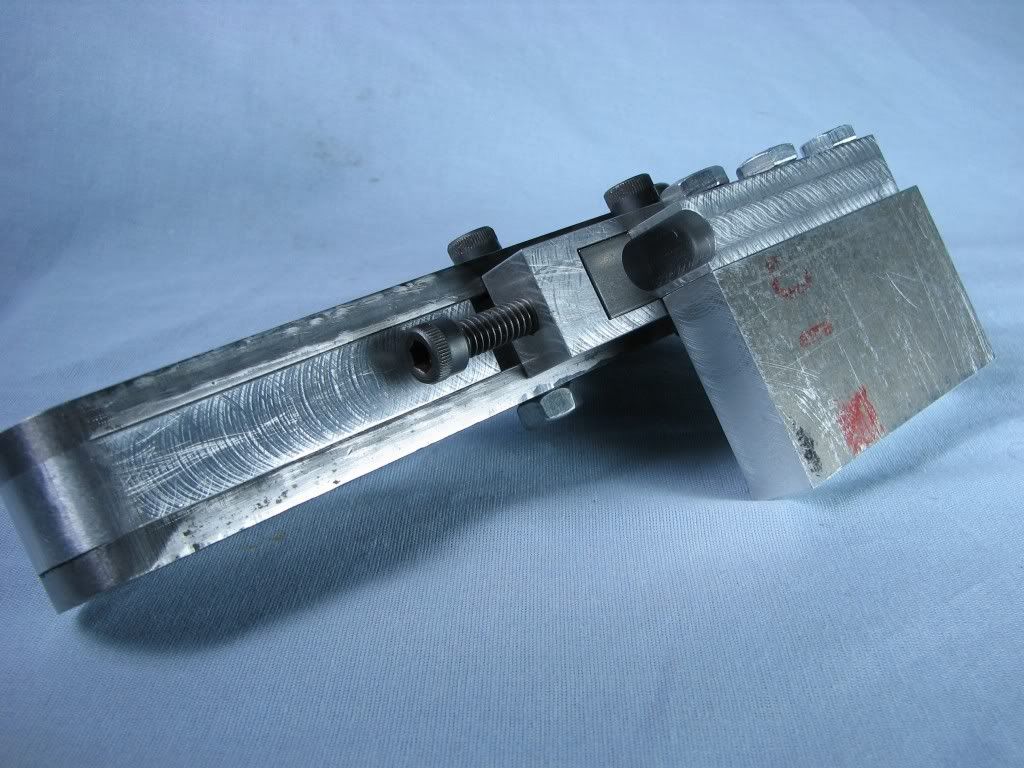
The next four pictures show the assembled bender.
I cut a length of tubing as a tryout piece and plugged the one end with a small nylon plug. The Cerro alloy that I bought has a melting temperature of 154 degrees F. It was just a matter of bringing some water to a boil and putting the coffee can with the alloy into it. Within seconds the alloy melted and I filled the test piece with it. The bender was clamped in my vise and I put a 10" adjustable wrench on the handle for added leverage not knowing how much pressure it would take to accomplish this bend. Surprisingly it didn't take as much as I thought. I needed a 90 degree elbow so when it started to bend I just kept going until I got there just to see what was going to happen. I then took the piece of tubing out of the bender to see what it looked like. I was truly amazed, not flats spots, no kinks, just a nice smooth bend. In the future for any tubing 3/16" and up I will use this method.


