David
Sorry to hear that spring has sprung early. 
We will of course expect a full "How to redo you Bath" tutorial complete with  .
.
Have fun David 
Don
Well, Don...... Just for you!

I couldn`t delay any longer..... Mrs. D was getting agitated. (You all know the signs).

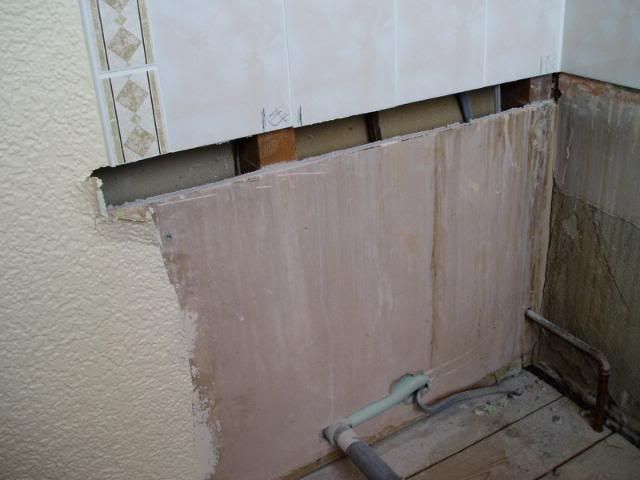
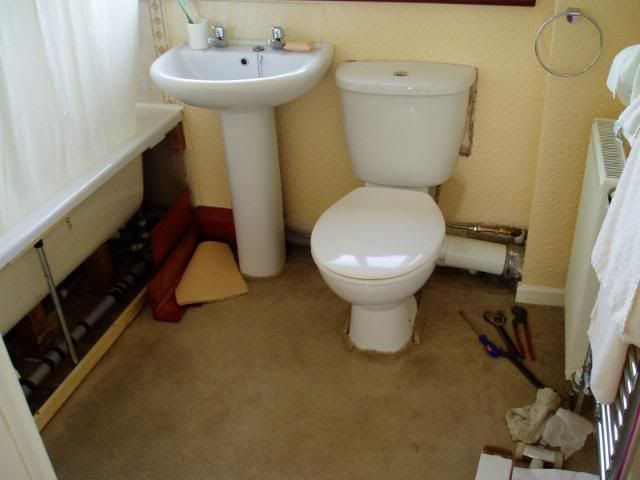
How to remove a bath which is the same length as the bathroom, and tiled in from above?
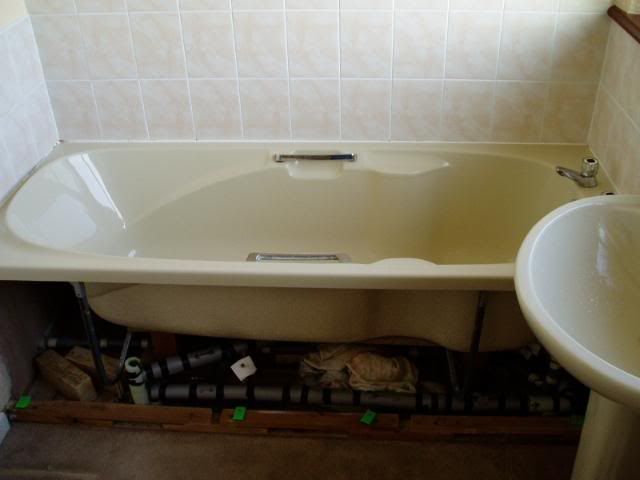
Saw it out!
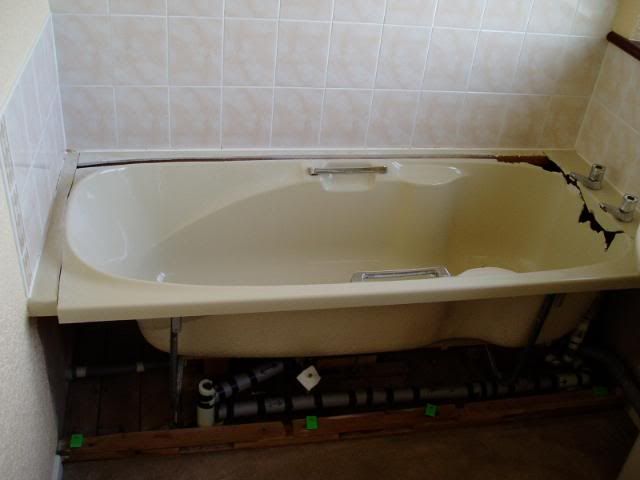
And take it away!
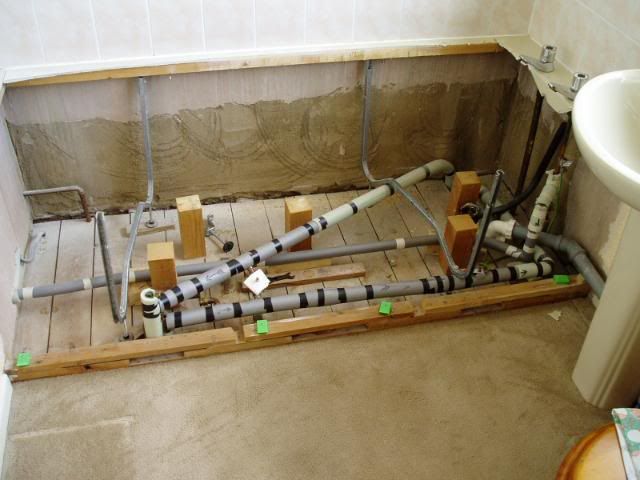
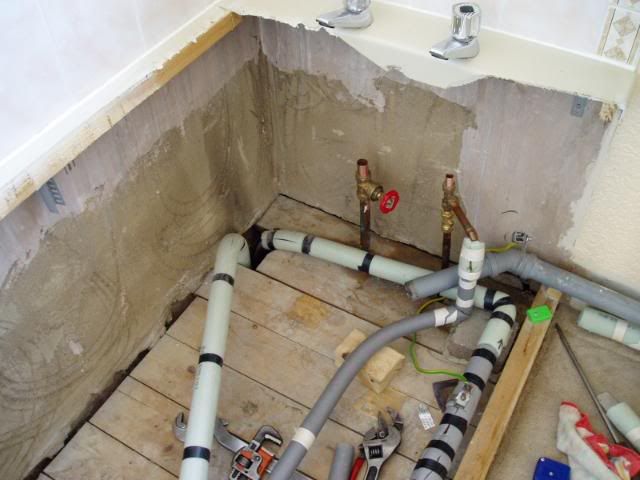
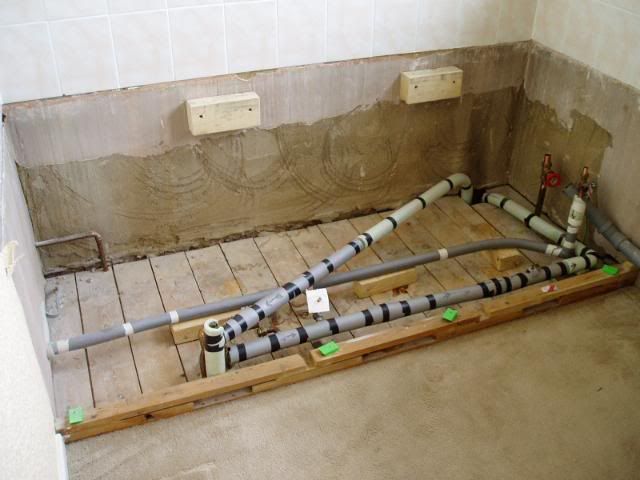
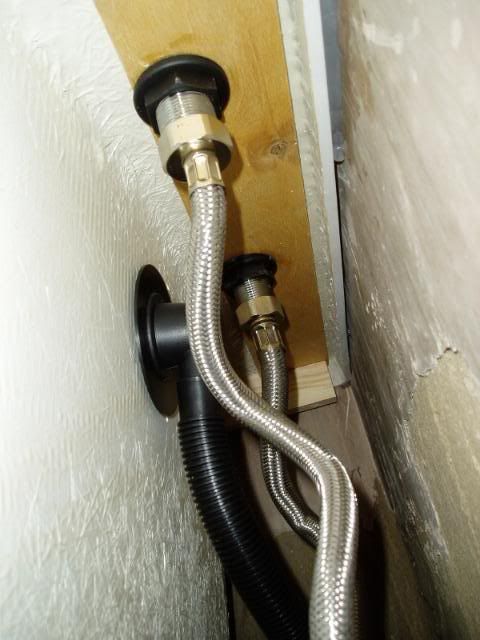
Lots of elbow room, for replumbing purposes.
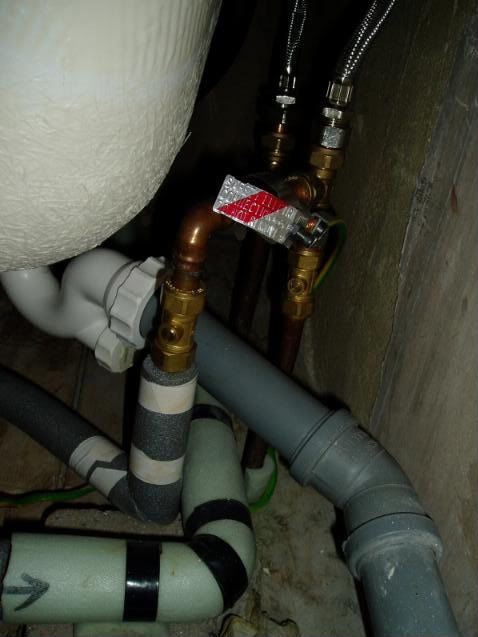
Paid special attention to the lower left 3/4" to 22mm connection, with it`s special adaptor olive.
The new bath is more than 1" longer than the bathroom, between it`s tiled ends.

So, I mentioned making a slot in the wall......
You should have seen Mrs D`s eyes, when I told her, we could lean out of the window to turn the taps!

Here`s the slot........
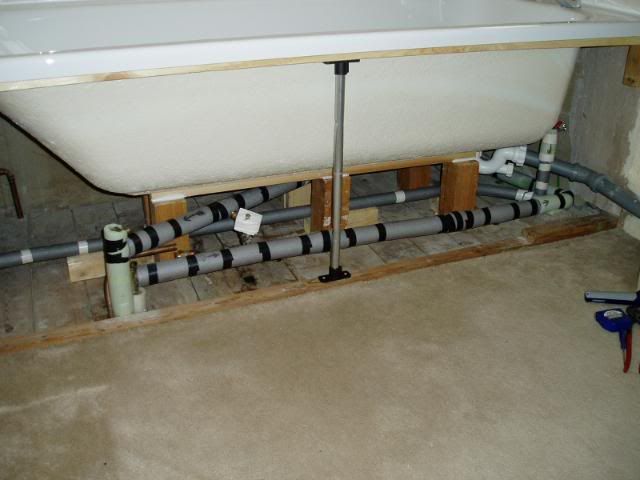
Two horizontal battens, supporting the rear deck section.
The bath dropped into place with 2mm to spare. Then was slid into position under the tiles at the tap end.
Support the 2 front corners, to hold the top deck horizontal. Then 6, wooden 3"x3" blocks.
Milled to precise length (height) to support the base.
Also 1 strut to support the front of the deck.
Then stick all 3 sides to the walls with silicone sealer........
Why, after all that, does the furthest, lowest, most awkward joint start weeping?

And, while you`re struggling, why do all the other joints come out in sympathy??
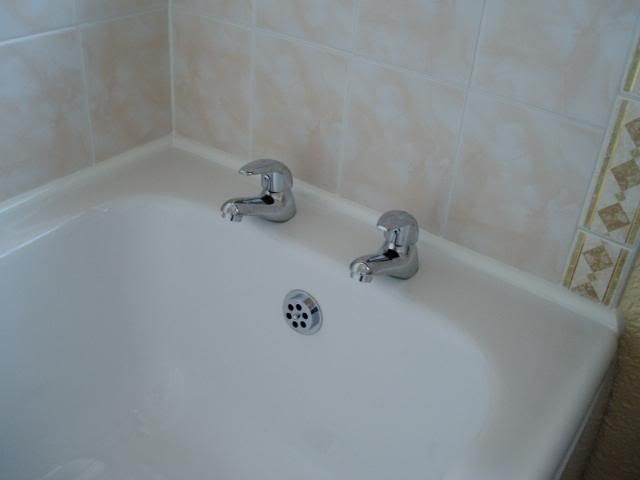
Also, after 10 days, the "cardboard" flexi tail washers started weeping! Which also showed the taps were moving in the bath deck......
Refitted taps with a gasket/ washer under, & fitted red fibre washers to the tails.
Nice finishing touch, with plastic quadrant strip bedded in silicone sealer.
The next 2 components were less of a problem.

All done!
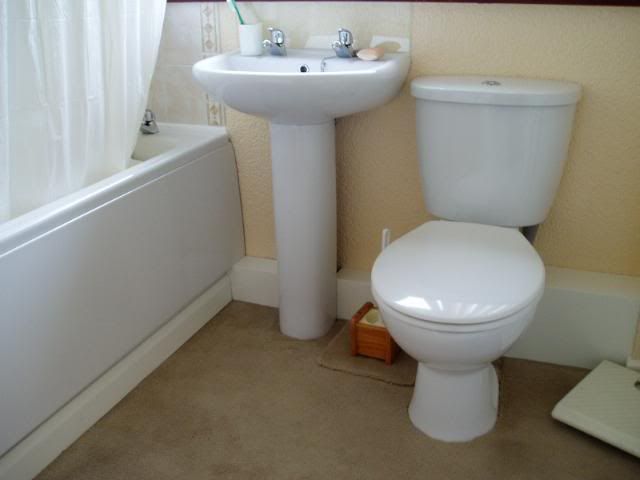
Finished tidying/ cleaning/ replacing etc....... The way to the workshop`s clear! WHOOPEEeee!!!!!!!

(Haven`t we been here before?)
David D


